Online Documentation
Print Documentation
https://drive.google.com/drive/u/3/folders/15Rjh6i9lfp2rxL8oGTBrhGZJD1TdSh3x

Based on work by Hannah Perner-Wilson, Andrew Quitmeyer, Rad students, and more!
Online Documentation
Print Documentation
https://drive.google.com/drive/u/3/folders/15Rjh6i9lfp2rxL8oGTBrhGZJD1TdSh3x
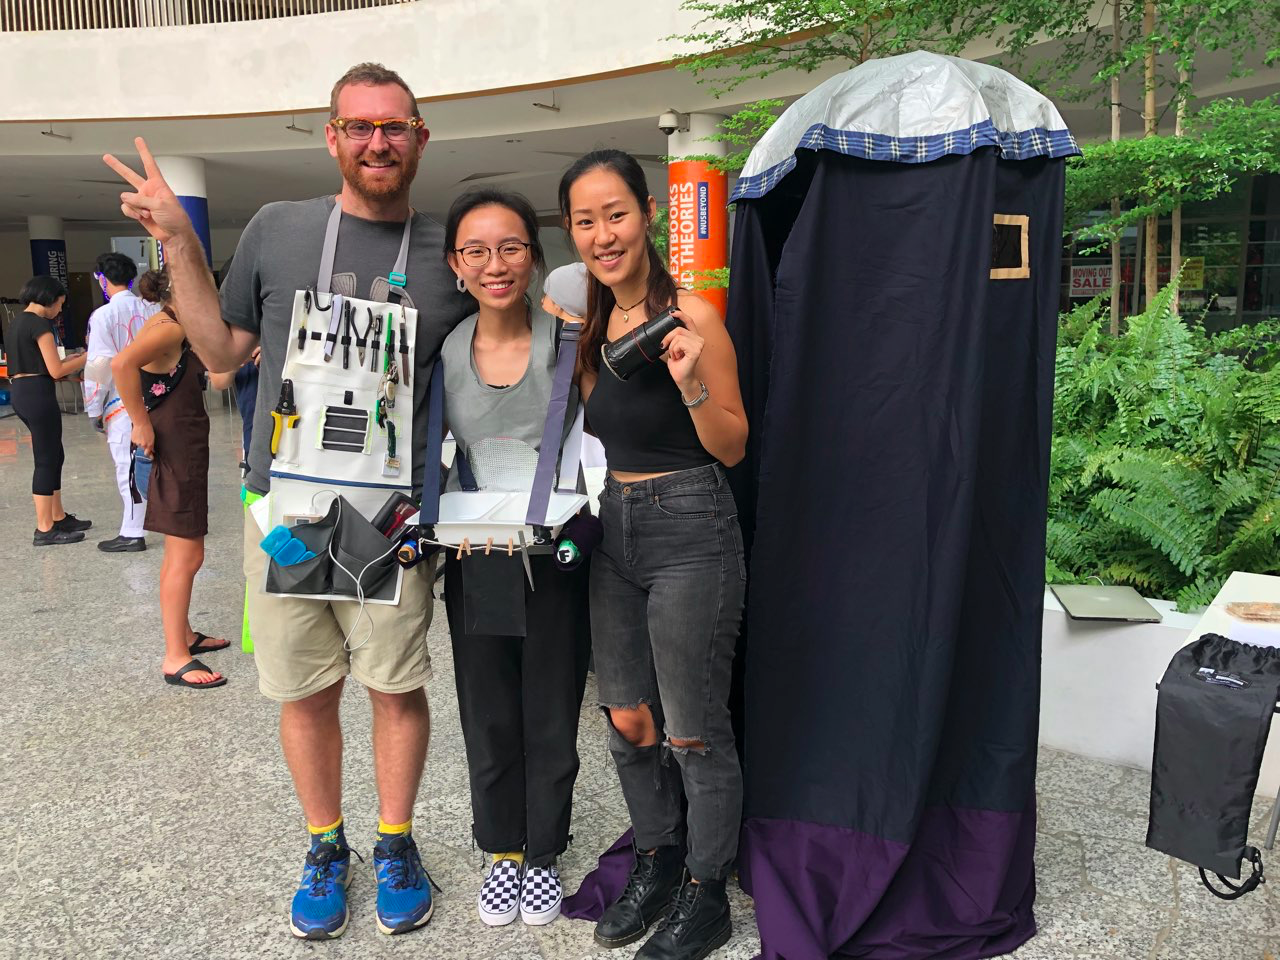
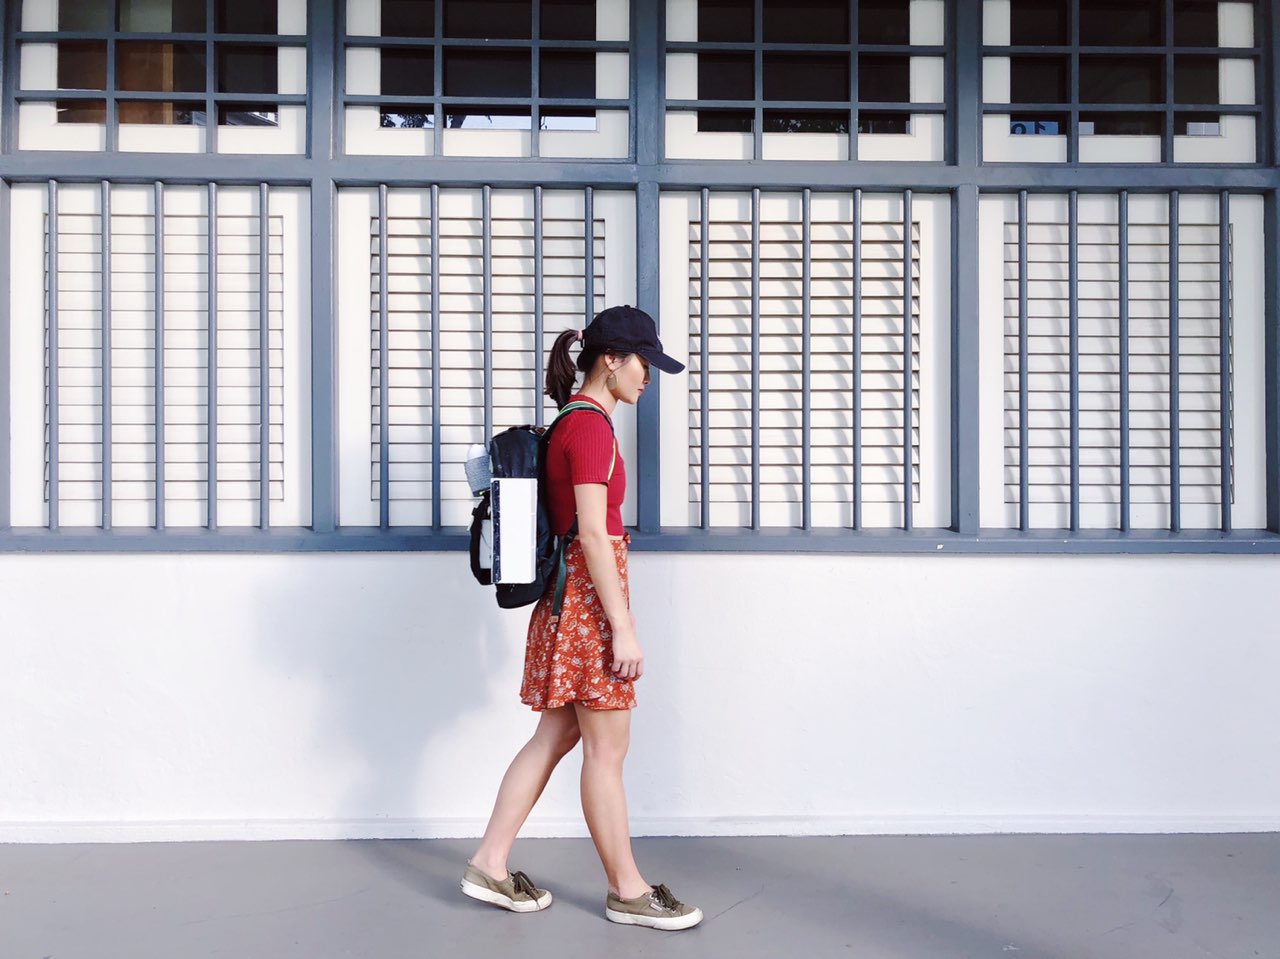
Here is the folder to our documentation for our portable darkroom prototype! (Our print document is only in hardcopy because it is done in a scrapbook style)
https://drive.google.com/drive/folders/198Wu4F_MzXNE9TyiKdNjVJ__KcO1sh4p?usp=sharing
Some extra notes about our prototype:
Ver 1:
Materials used: Foldable umbrella, tray and thin black cloth
Presented during class in Week 5
The cloth was attached to the umbrella with tape and the tray did not have any straps. The cloth was also very thin and translucent!
Ver 2:
Materials used: Hand-held umbrella, tray, twine, reflective material
At this stage, we had multiple factors to consider. We originally thought of using an umbrella hat so that it would be wearable and more portable. However, it was difficult to modify the umbrella to make it an umbrella hat because the mechanism to open the umbrella is completely different. We were also not able to find an umbrella hat online with a diameter large enough for the project. Thus we decided on using a tripod.
We sawed off the handle of the hand-held umbrella so that we could attempt to attached it to the tripod
We used reflective material bought from Daiso for the “walls” of the portable darkroom, by taping and sewing it onto the umbrella. There were two problems: First, the reflective material was not lightproof enough, and second, the umbrella got very bulky when it was closed because we had to fold in the reflective material that was sewn on to it
We duct-taped twine to the tray to create two very thin straps
Ver 3:
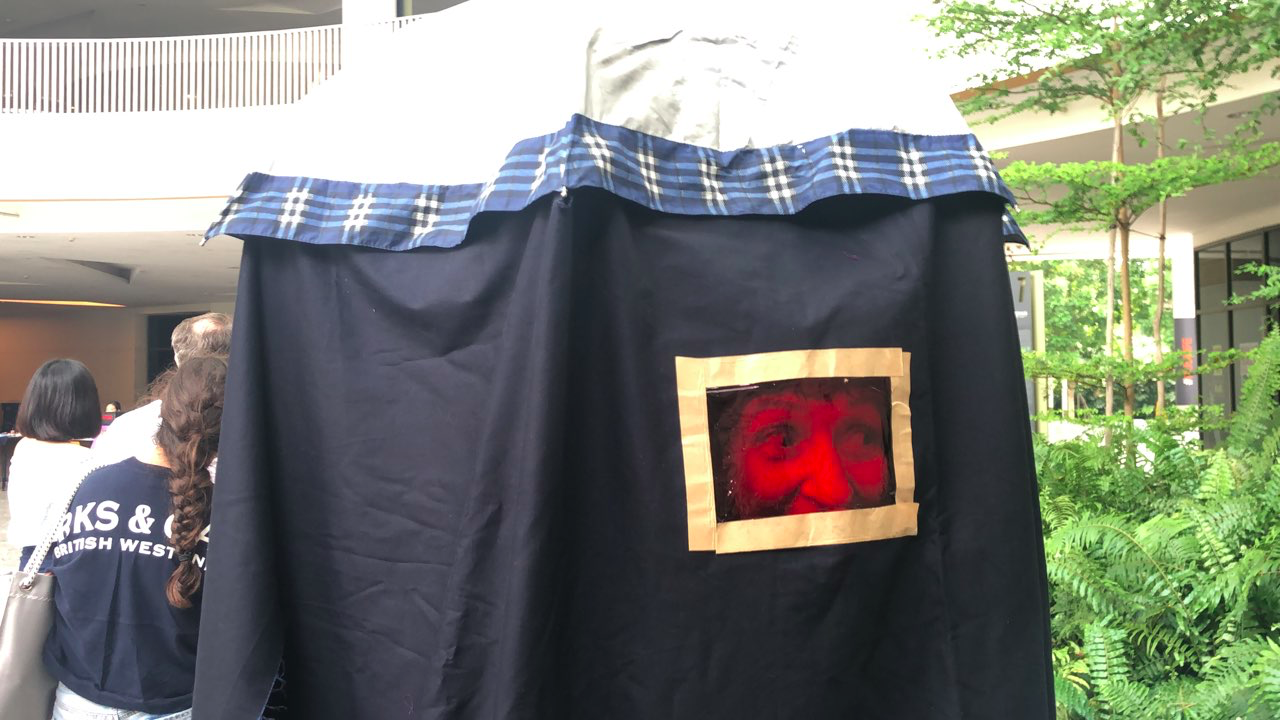
Materials used: Foldable umbrella, thick heavy cloth, tray with straps, tripod
For the tray, we drilled 2 holes and sawed in between them to create a slit for the strap to pass through. This process was repeated three times to get 4 slits for each corner of the tray. One of the straps was reused from an old duffle bag and the other was made from the vinyl banner material (from the makerspace).
We decided to scrap the hand-held umbrella prototype altogether and use the foldable umbrella (from ver 1) so that it would be more portable. We also bought thick cloth from Mustafa so that it would be more lightproof. Velcro was attached to the inside of the umbrella and sewn onto the cloth to make the prototype more portable.
One problem we had at this stage was attaching the umbrella to the tripod. We drilled a hole in the umbrella so that it could attach onto the screw on the tripod, but the screw wasn’t long enough and the umbrella was unstable especially when the heavy cloth was attached onto it. Next we tried to glue to screw to the umbrella, then screw it on the tripod but it still was not strong enough. The last thing we tried was to attach a wooden rod to the umbrella, which fit into the hole of the tripod securely. Yay!
The other elements of the prototype were quite straightforward to make, as seen from our public documentation video. Overall, this was a fulfilling experience because we finally got it our prototype to work after failing a few times! Thank you Andy for your guidance this semester and all the best in Panama 🙂
Online Documentation:
https://justgottokeepworking.tumblr.com/
http://cosmicals792.wixsite.com/hako/product-page/hako
Print Documentations:
https://drive.google.com/open?id=1L2OaScYVxEAeFyaGkPNPzqgHi8446Ntr
https://drive.google.com/open?id=188DD4-f4BpOcvuwCuTVFumwOyNyWuOL2
https://drive.google.com/open?id=14w8pgICJ2wRMtF533OxTwlIrlwdlO5zv
https://drive.google.com/open?id=1NTBXyEAgJUr3dP1Wgm8qLko4LeJfmQ45
Online Documentation:
https://ministryoftattoo.wixsite.com/home
Print Documentation:
https://drive.google.com/open?id=1cYDO8ktzb0ymI_nN7zqmQpjvDt-G6hNP
Product Video:
https://drive.google.com/open?id=1Wb M3BKZDCw9edVR18QgU_k3o1O5gnoA
Online documentation:
https://stfyxy6.wixsite.com/nm4225
Print documentation:
https://drive.google.com/file/d/1M8cbg534kcA29LhU9JJDuzRyxzYNzrJg/view?usp=drivesdk
Product video:
https://drive.google.com/file/d/1oleY_1VTOOIdXjdD-j_Nw6caytdllHaW/view?usp=drivesdk
Hi everyone! Here are our documentations for the Rescuers group!
Print Documentation:
https://drive.google.com/open?id=1SNJtXYQOYvJt-aftS-ikz-MQKQIg5r5m
Online Documentation:
https://bit.ly/therescuers
By Ang Xin Yee and Rachel Teo
Print documentation:
https://drive.google.com/open?id=1bhrszCpynp39sqy8K-QTF0_G5rMJLFrC
Online documentation:
http://bit.ly/4225ohwax
Online Documentation (ART OF THE DEBASED) | Print Documentation Link
Our website is the ‘auction’ page that also reflects more history and details about the items on auction and the press release for the pre-auction exhibition preview.
The Print Documentation was the Exhibition Highlights Booklet that was provided for interested clients during the pre-auction preview, and have also been sent to registered VIP clients.
NOTE TO PROF:
As we are using squarespace for the online documentation, it is a trial website and you just need to click “Visitor Access” and enter the CAPTCHA code to access the website! Sorry for the trouble! We promise it’s worth it.
We hope you enjoy! Thank you for the wonderful semester.
The following are the field trips that I attended:
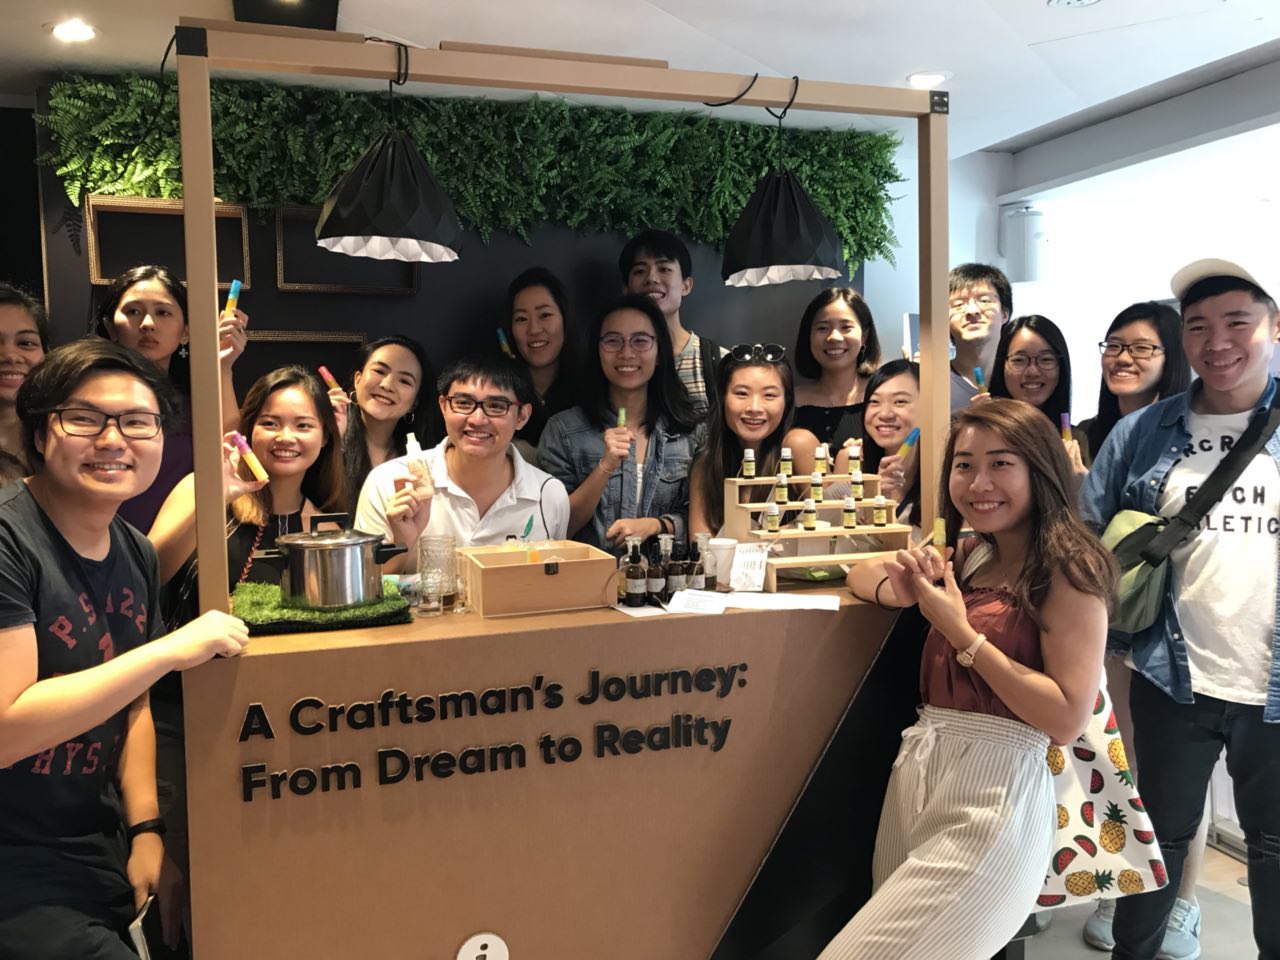
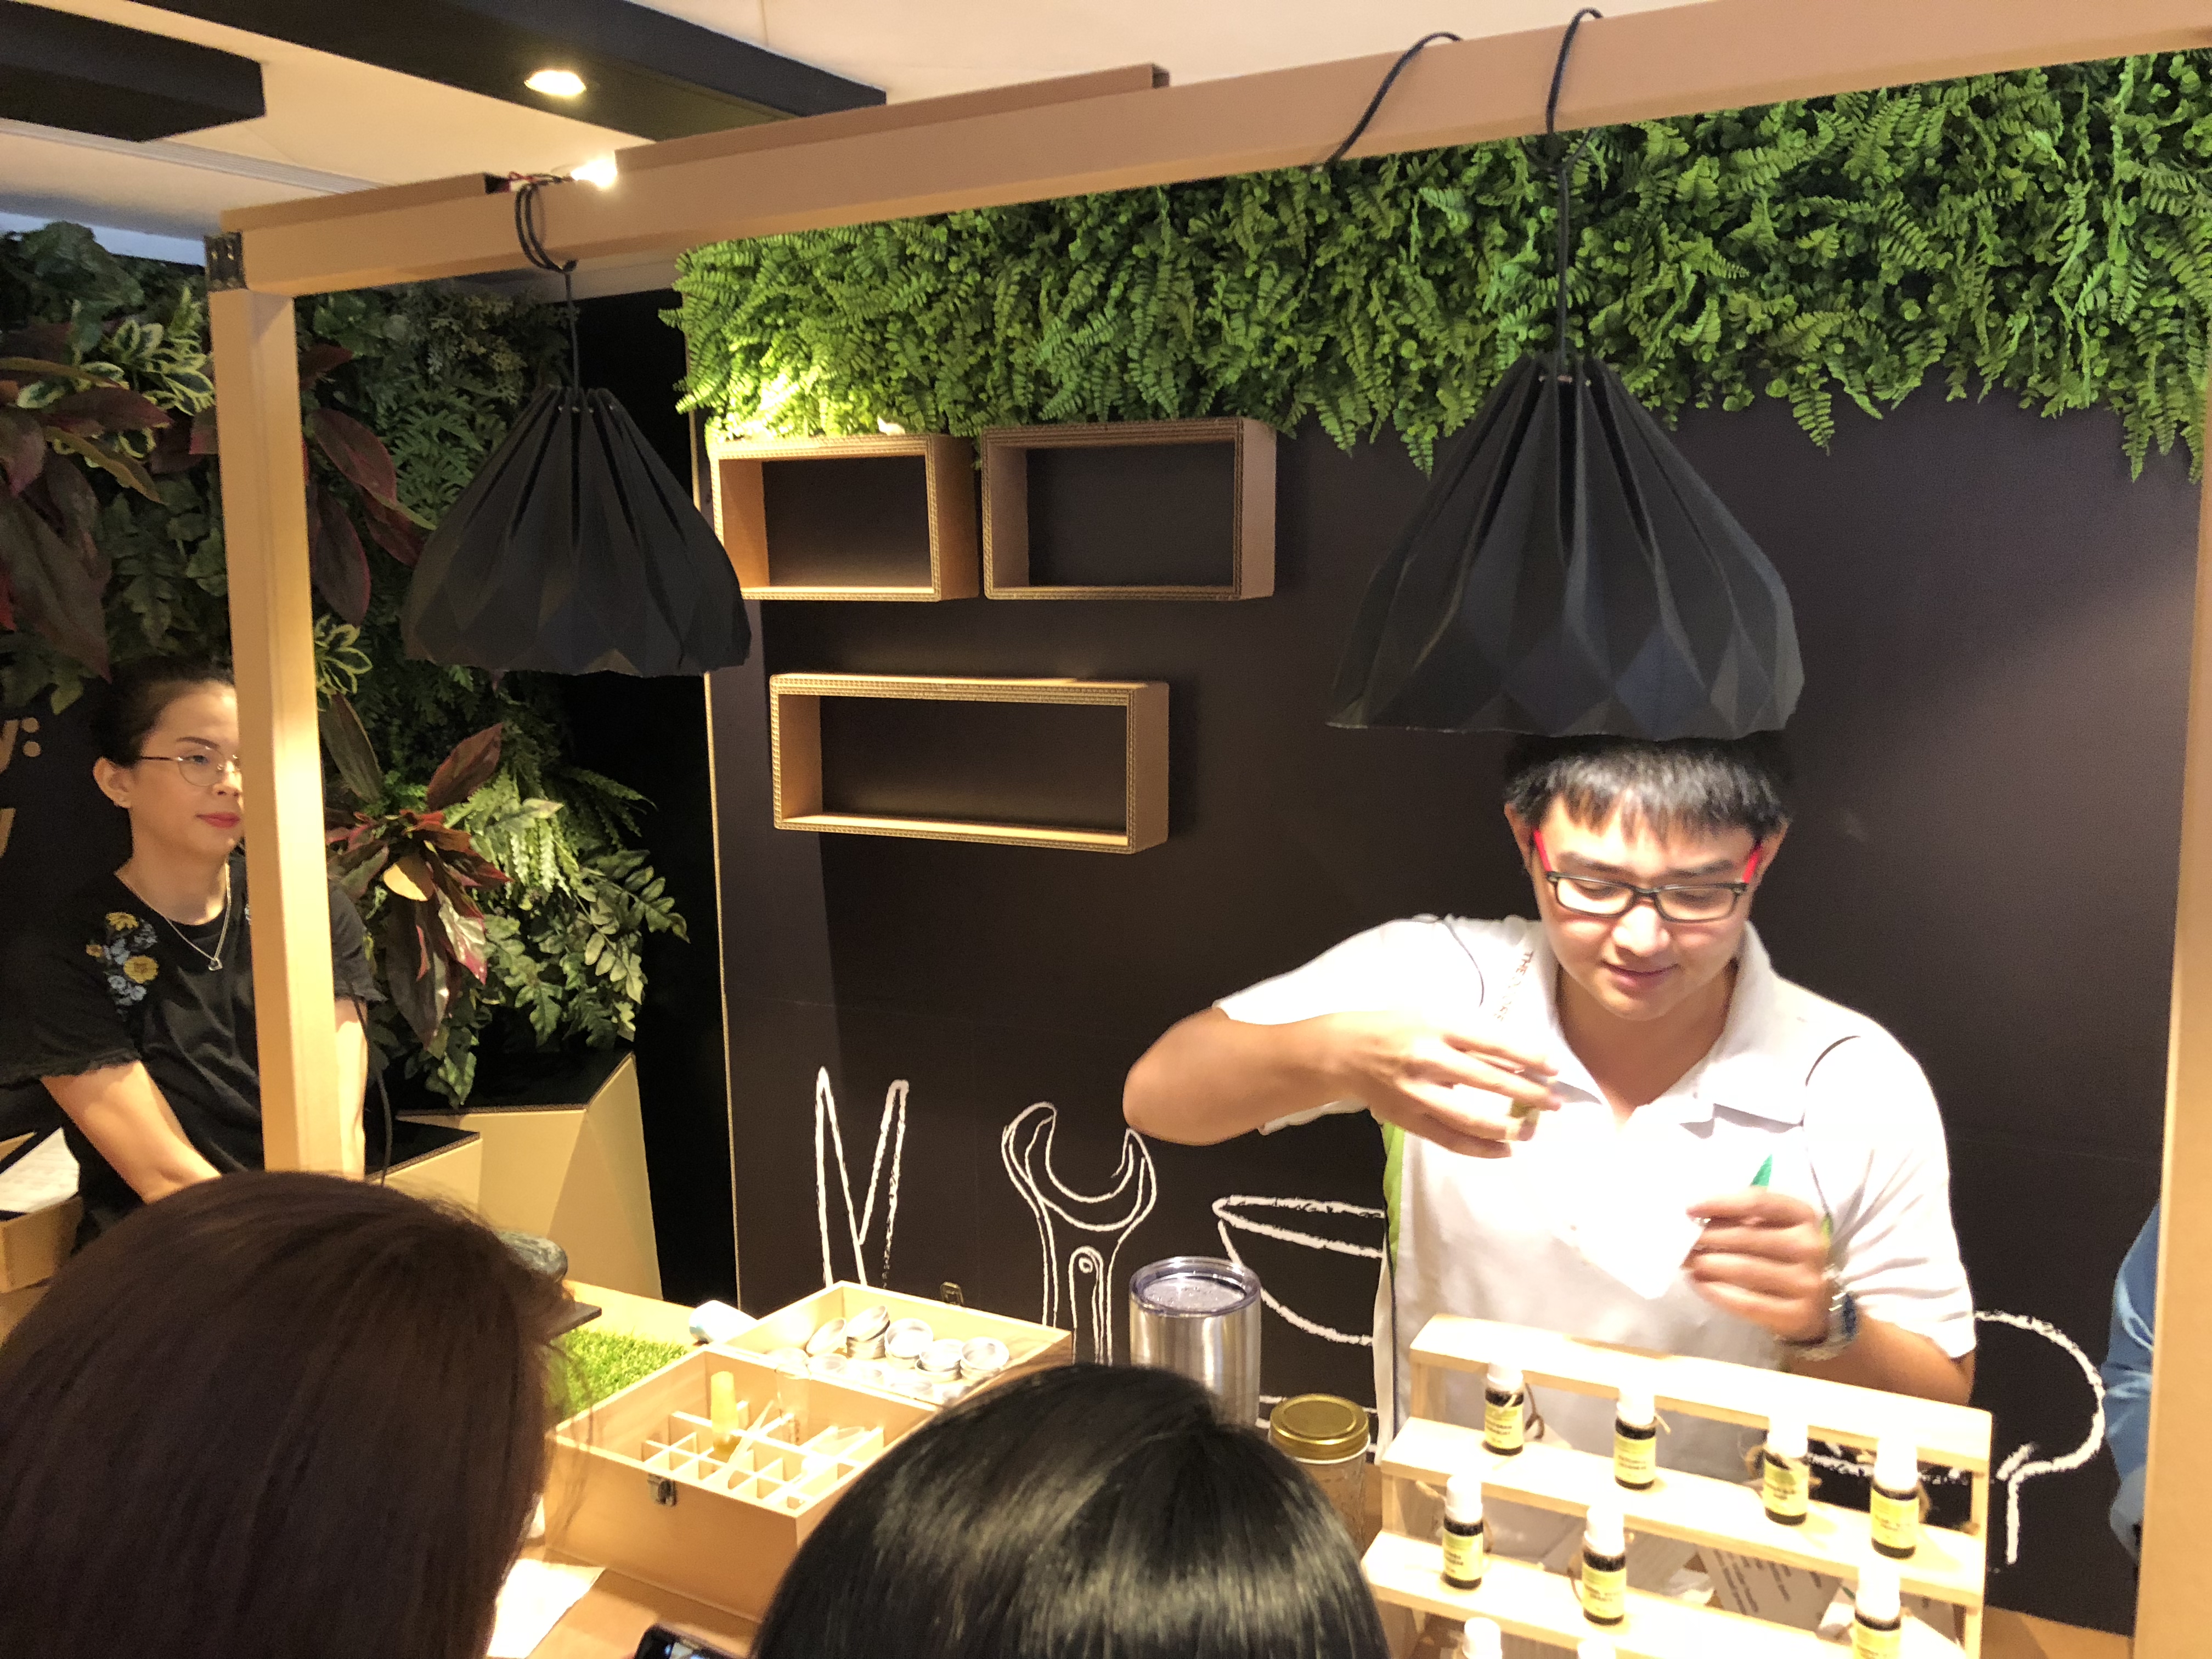
This field trip is the one that I enjoyed the most as I got the chance to create my own moisturiser and insect repellent. It was a very interesting experience as I never knew how challenging it is to come out with a pleasant scent.
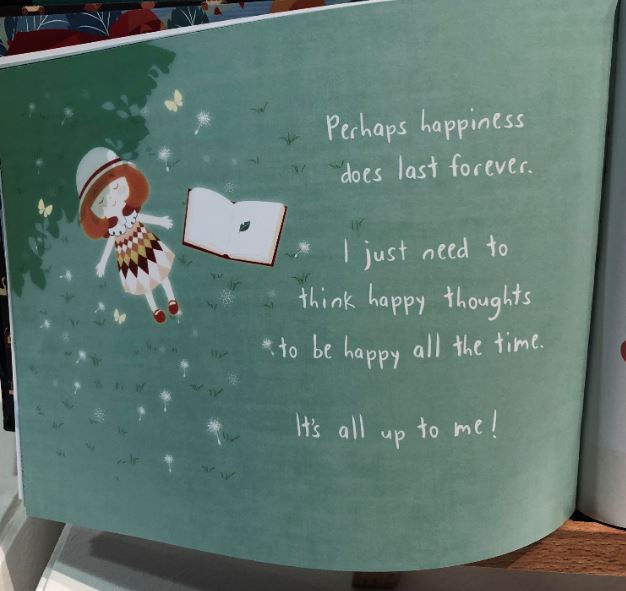
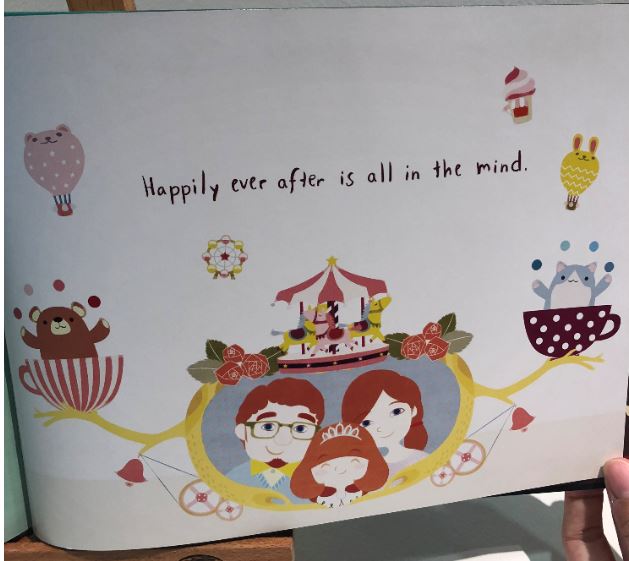
For the second field trip, I came across this artist that published two different children book. One book that contains positive thoughts about life and the other contains the artist’s childhood memories. I find it really nostalgic as it makes me reflect back on my childhood.
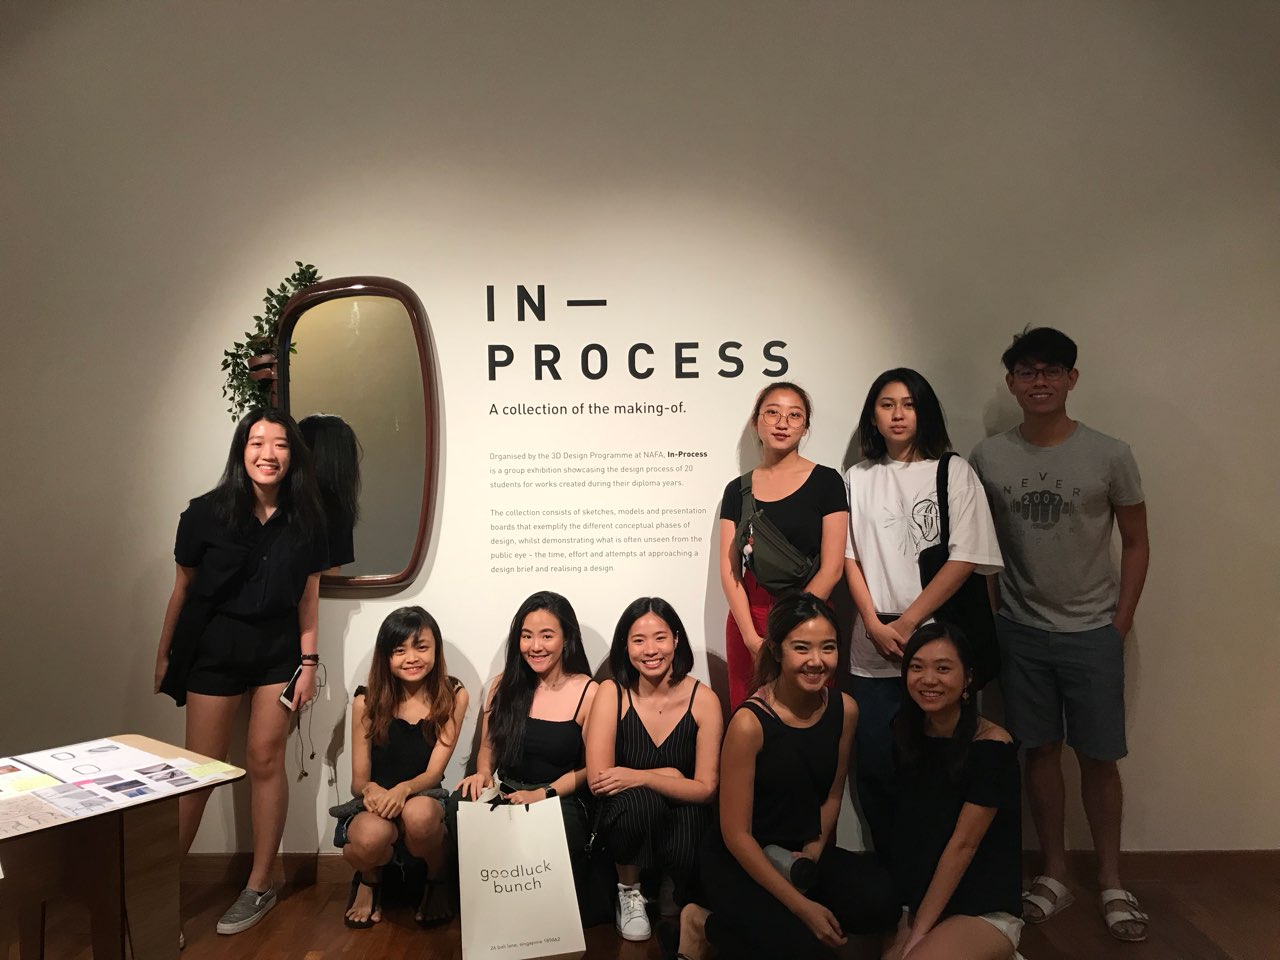
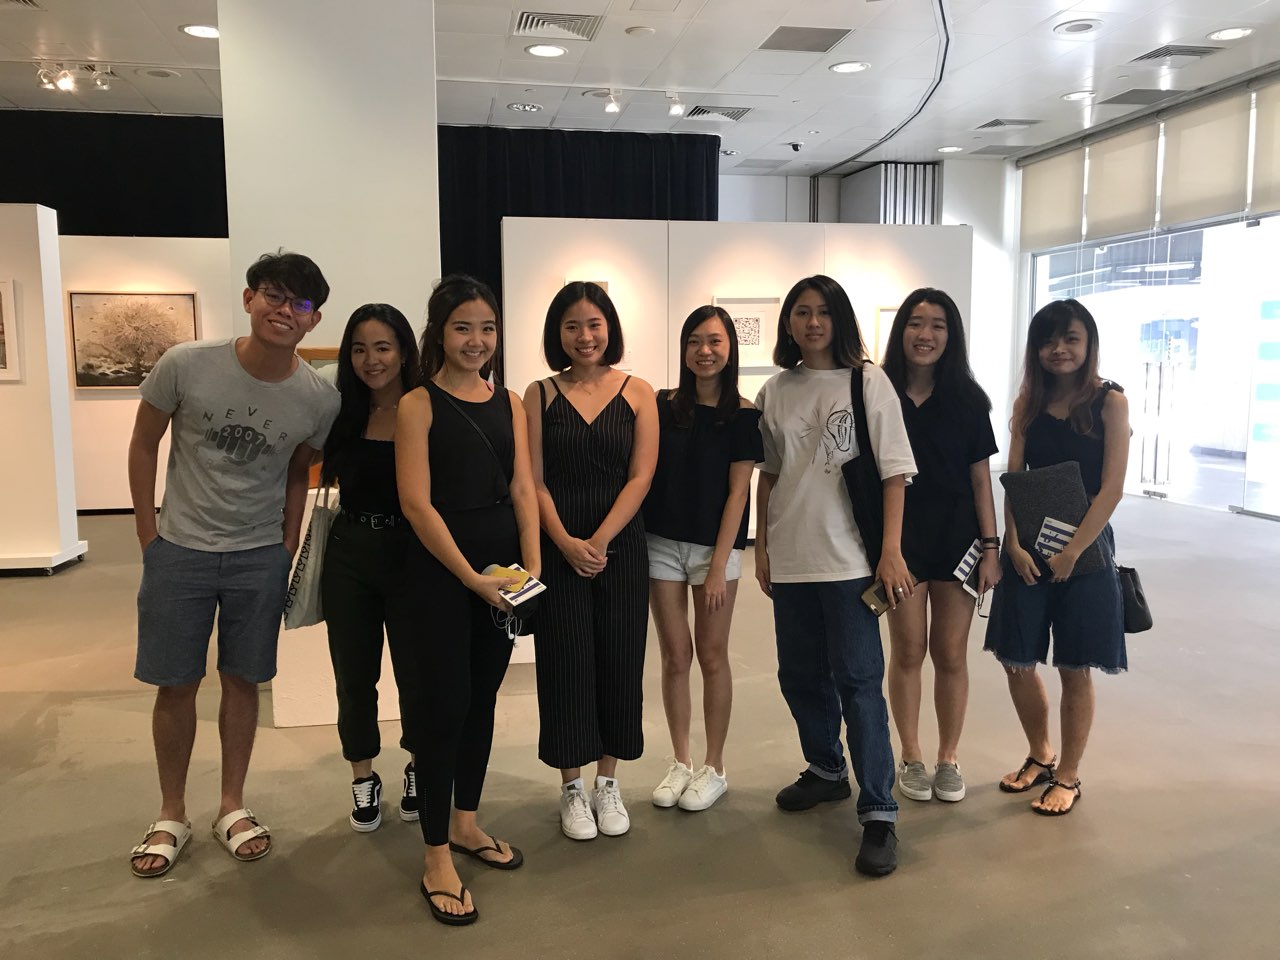
The last field trip I attended is the in-process exhibitions and it contains the art pieces of the NAFA students. Not only they showcase their final product, they also showed their documentation which documents their entire process in coming up with the final design. This was beneficial to me as it helped me when I was documenting for my group project.

Print Documentation:
https://drive.google.com/drive/folders/1USkfWoWlbB953TZo2B3jzXsvMe-S2Jkm?usp=sharing
Production Blog:
https://wonkru.blogspot.com/
Shop: https://jiayilow.wixsite.com/wonkrudesigns
Instagram: https://www.instagram.com/wonkru_designs/