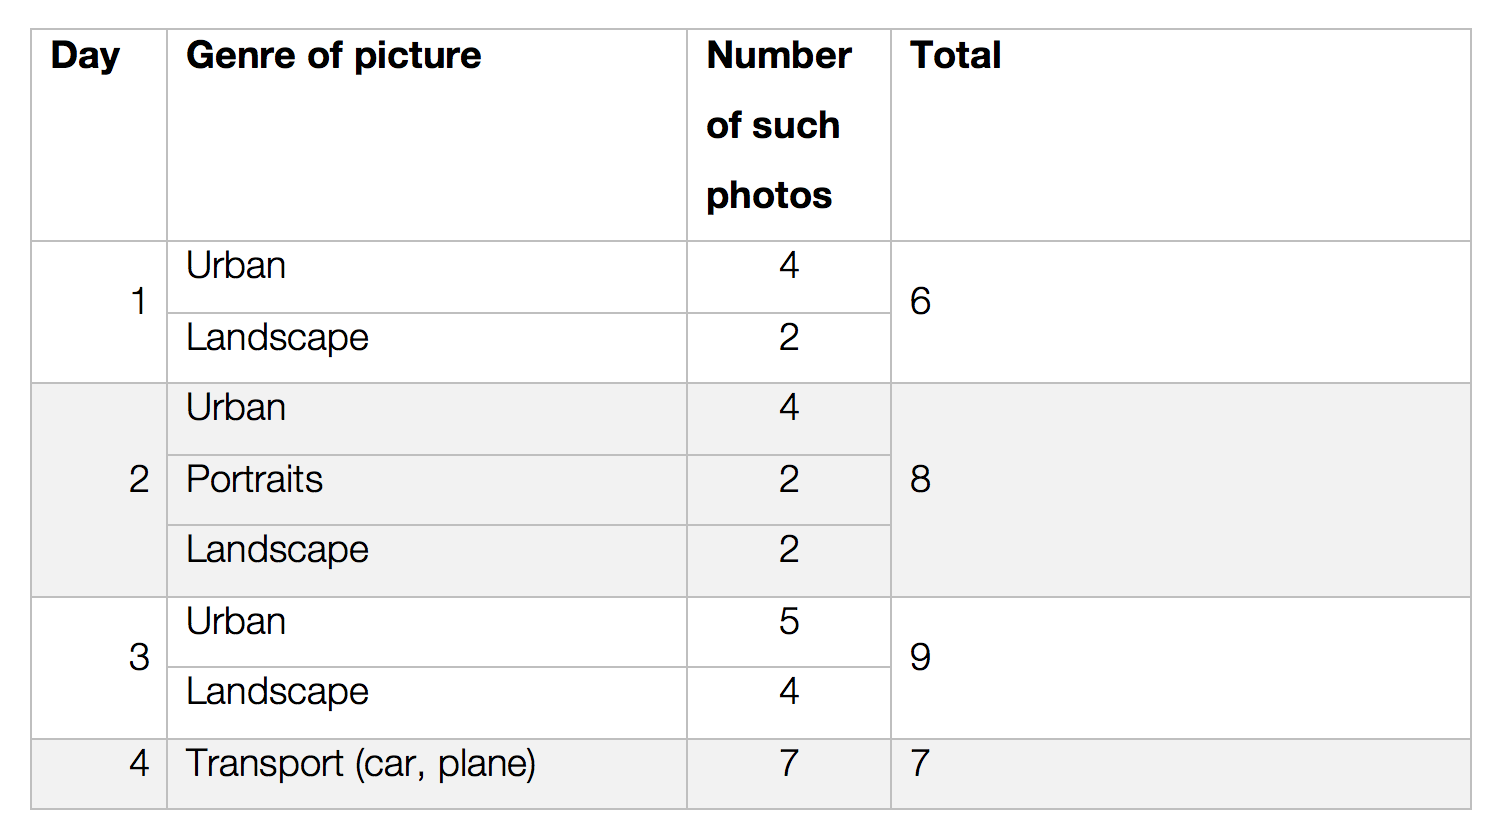
Creative Practice
Art therapy: Anna is an experienced art therapist who works with the elderly. Her sessions focus on encouraging communication and thinking through art activities, during which the elderly’s sense of selves are enhanced.
Tools & equipment used

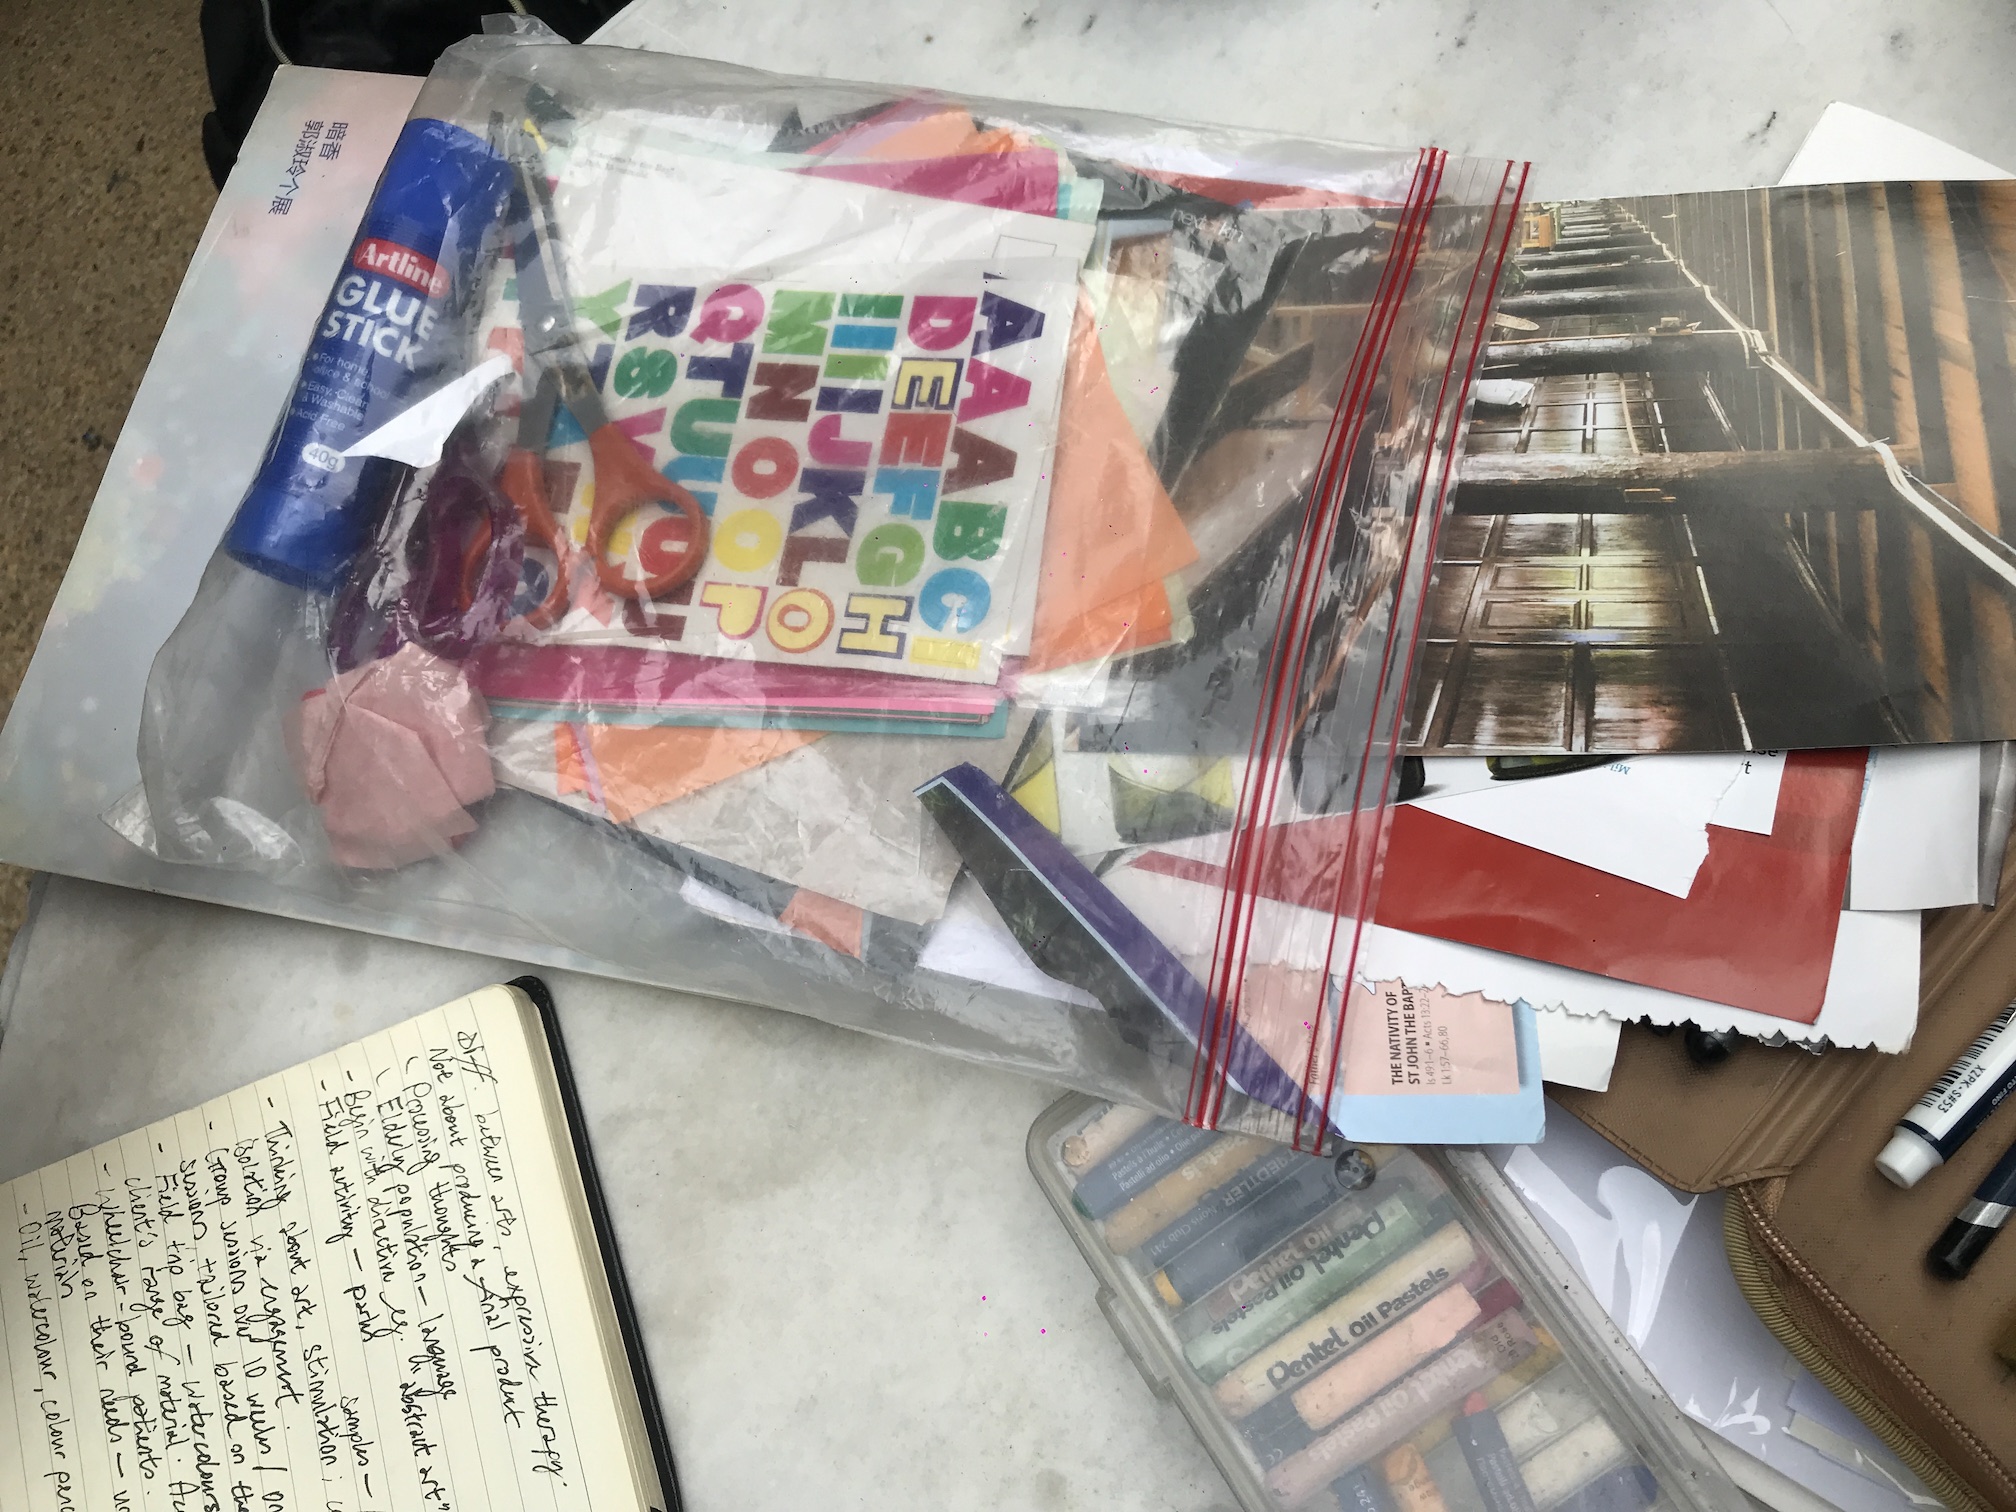
• Visual references: art books or printed cards
• Clipboard as painting or collaging surface
• Canvas: any paper
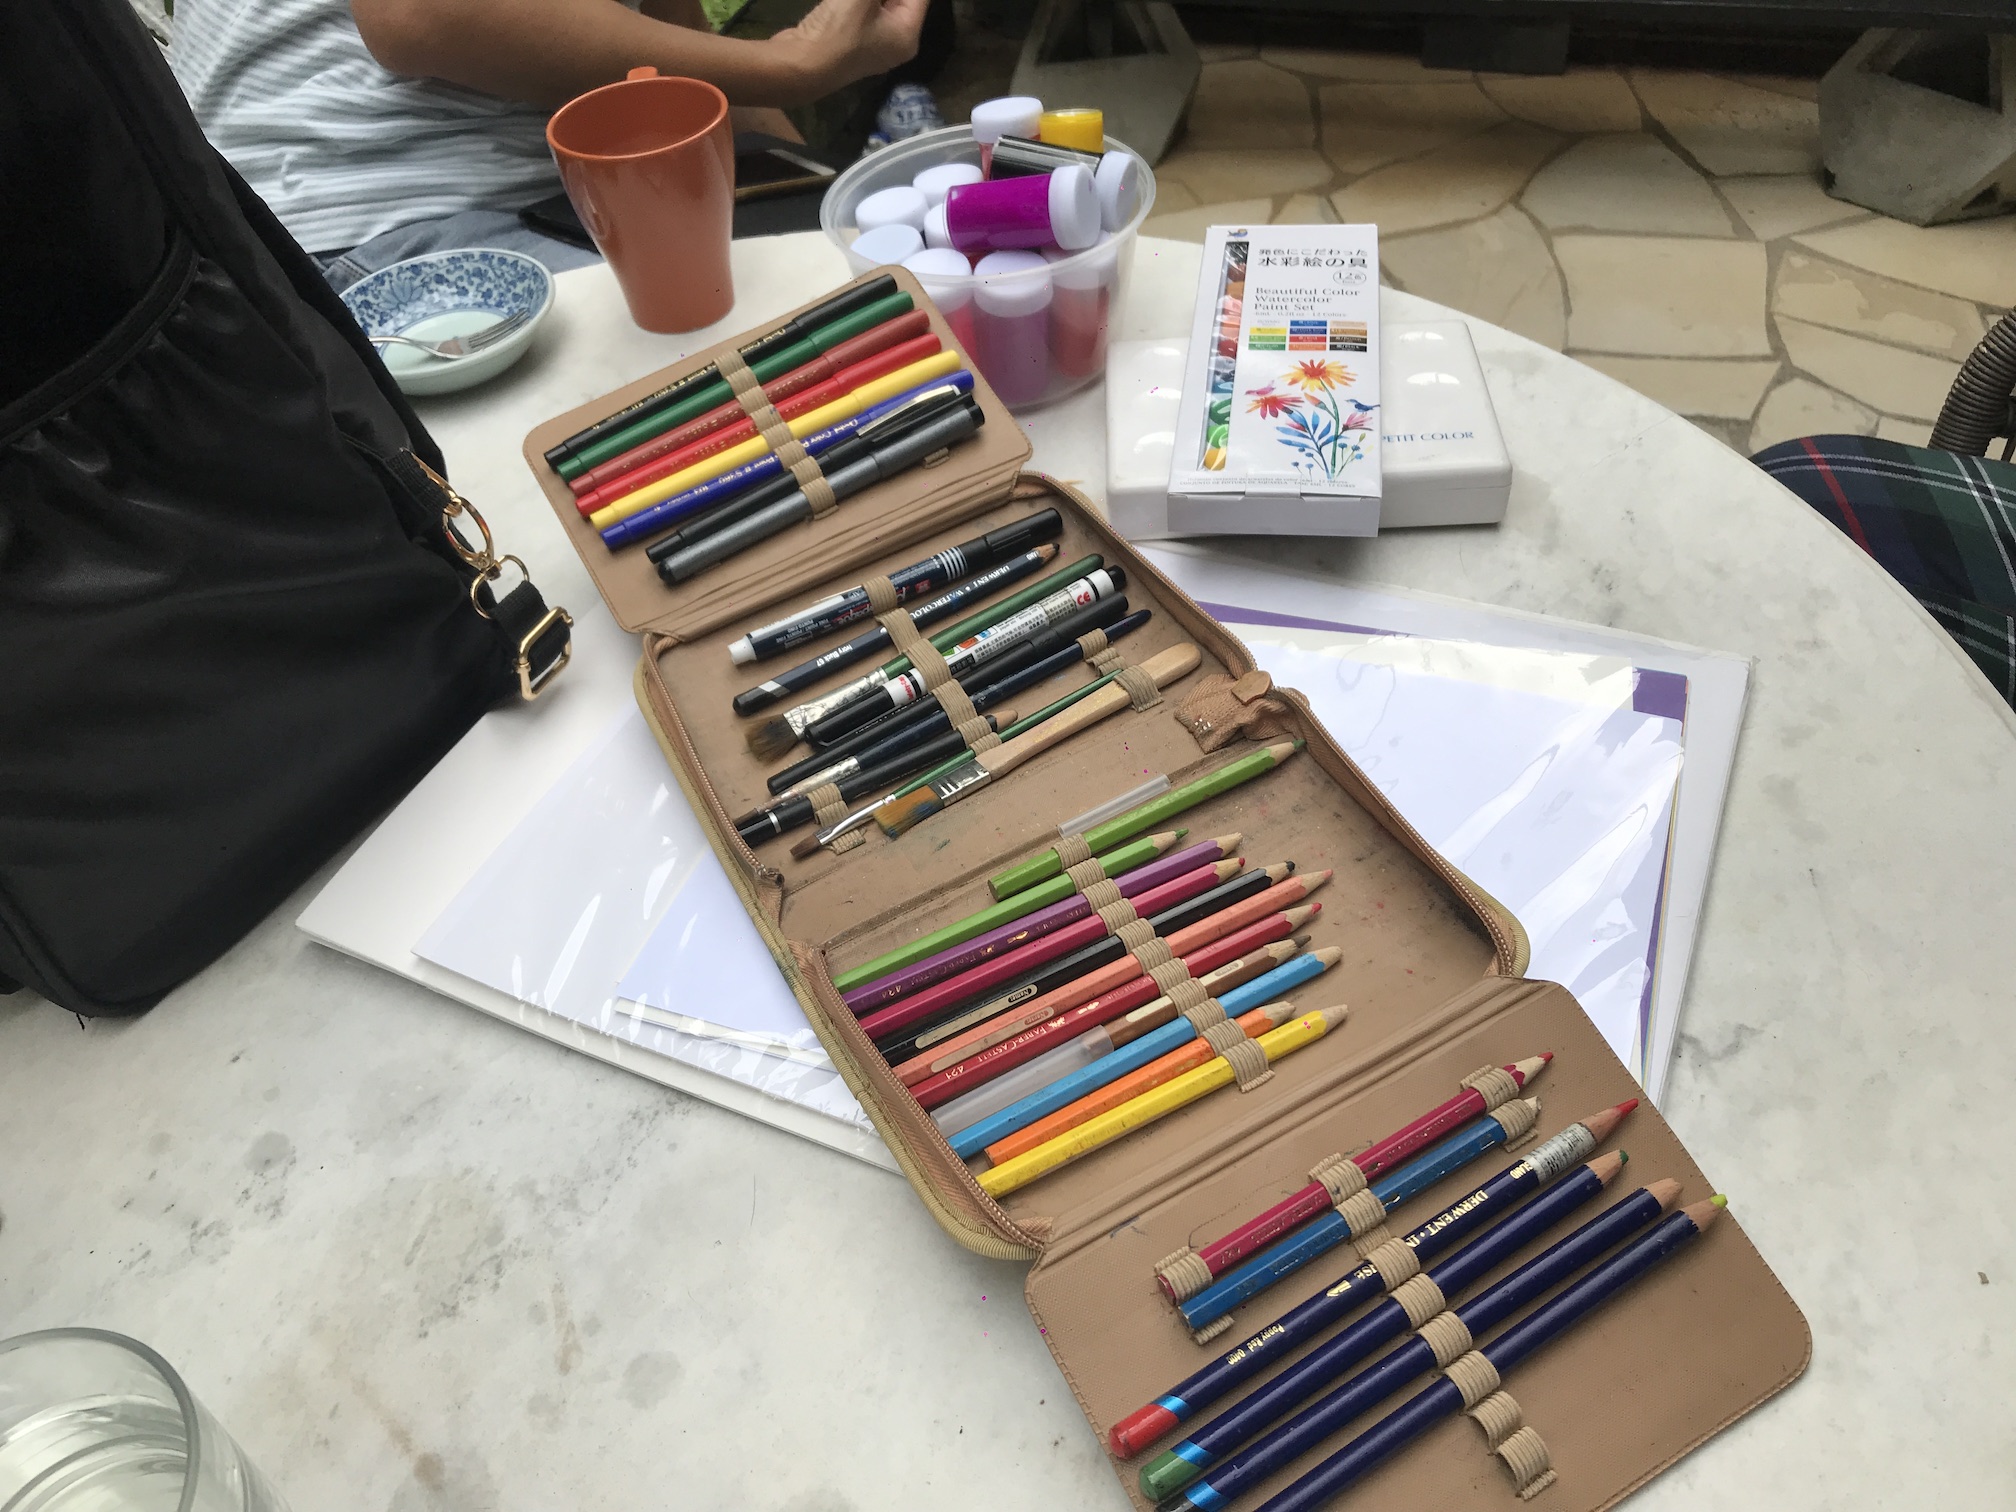
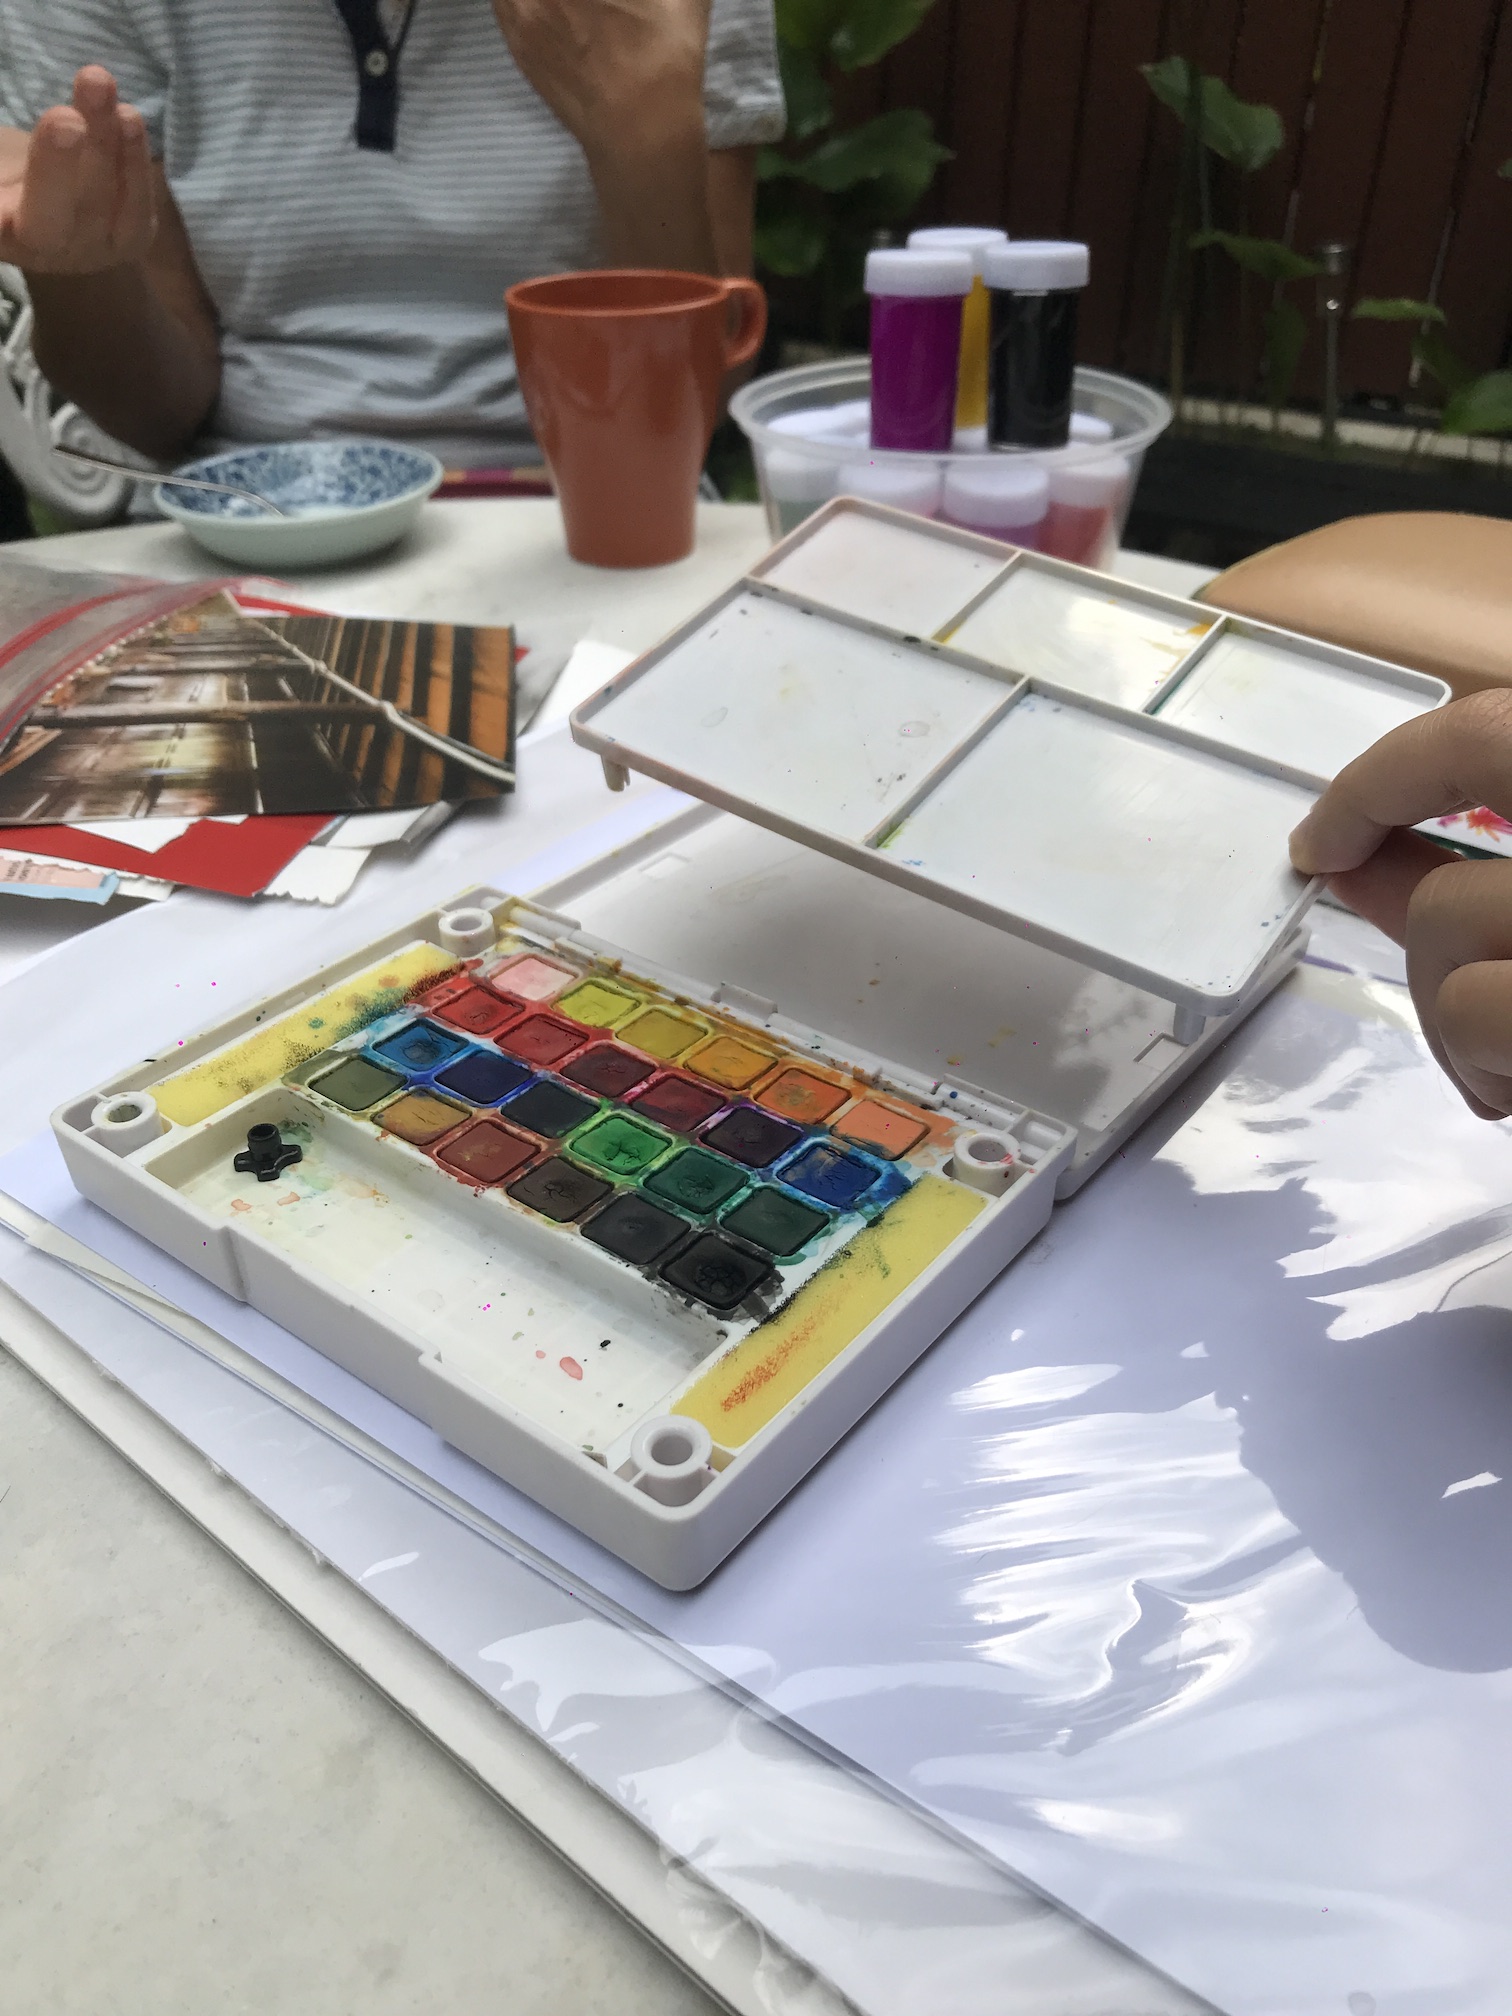
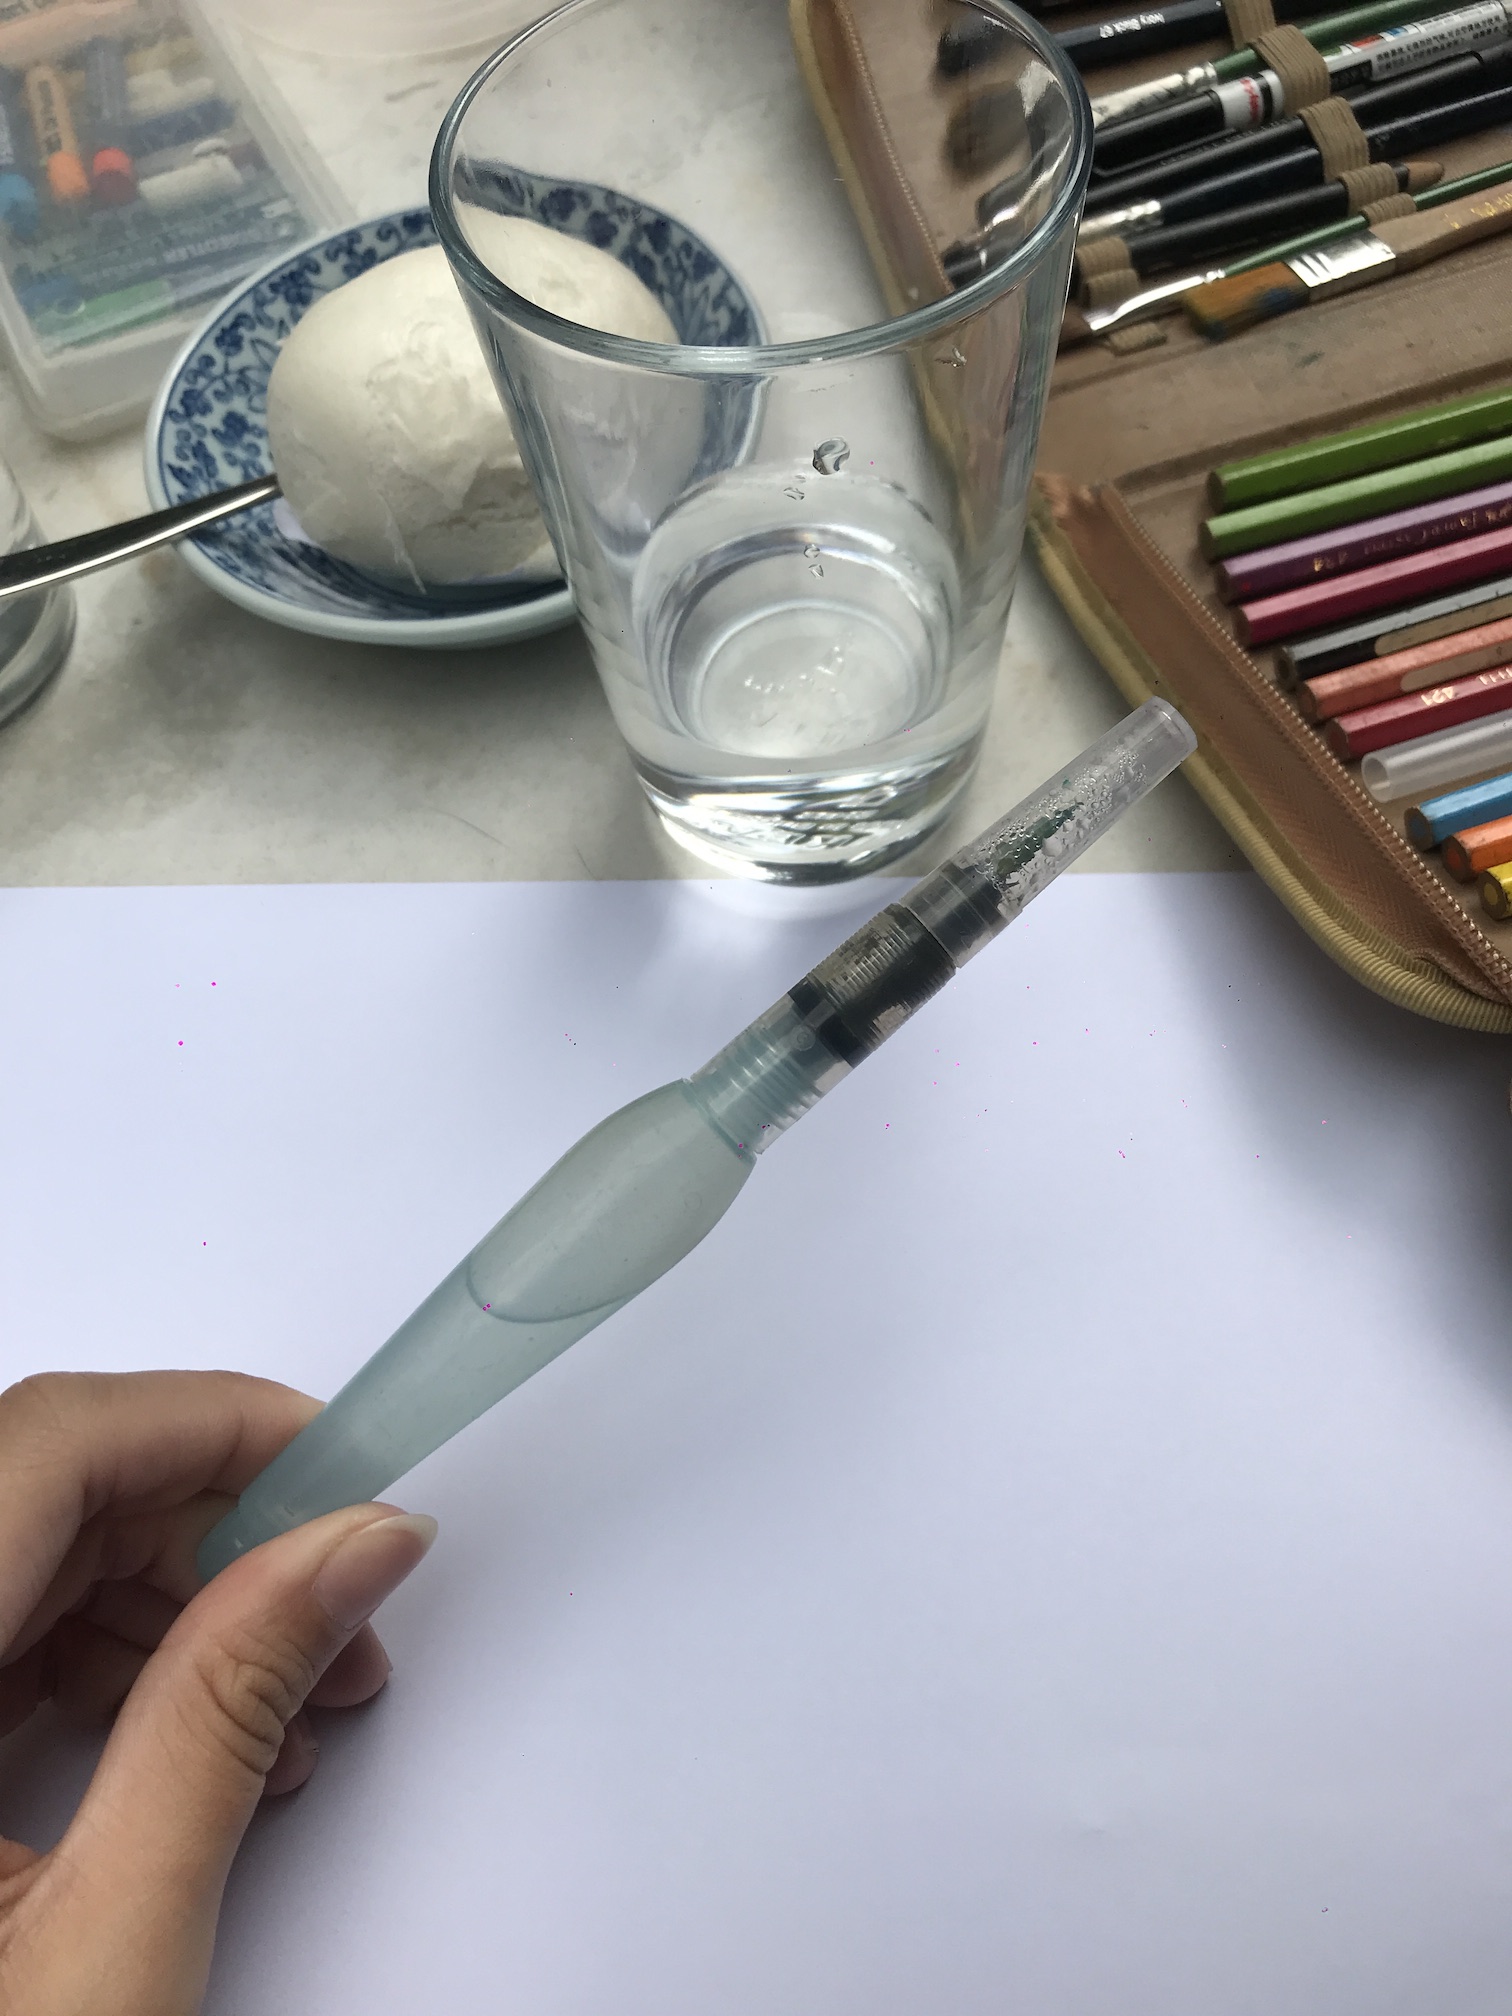
• Medium: colour pencils, crayons, oil pastels, paints, magazines and newspaper cut-outs, stickers
• Paint brushes
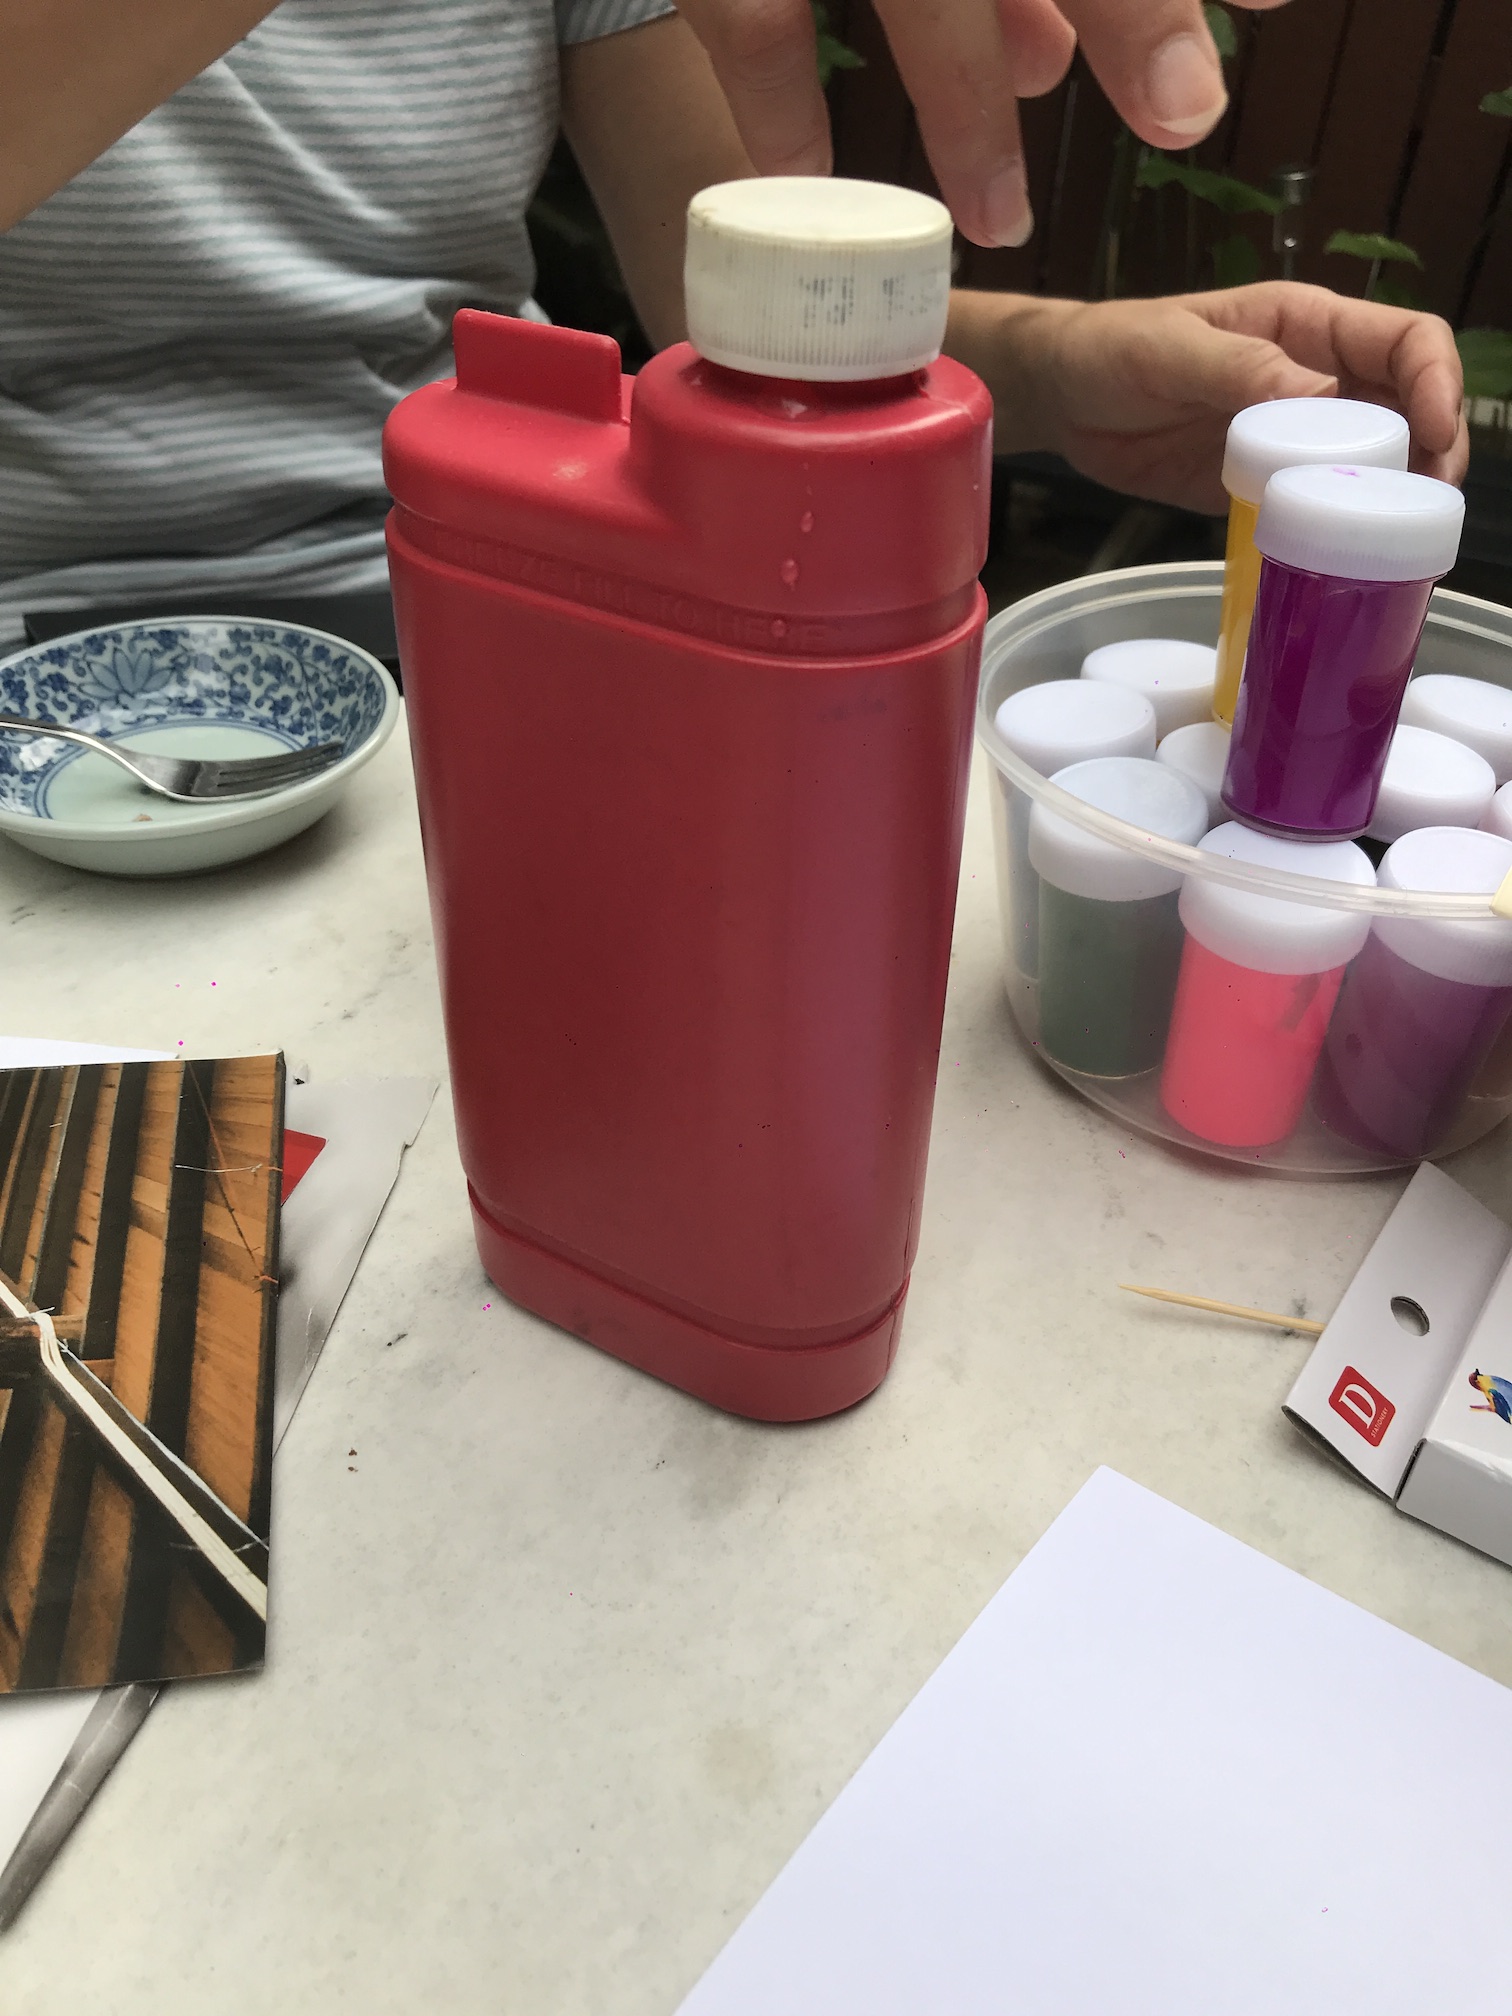
• Water bottle and container
• Disposable aprons
Worksite / Set-up
For twice a week, Anna would conduct art therapy sessions at an elderly centre. Other times, she would conduct therapy sessions outdoors, such as in parks or nature reserves. As she would usually need to push her clients on their wheelchairs, Anna carries all her tools and equipment in a back pack or 2 for ease of transportation.
Backpack that carries foldable storage cases of brushes and colour pencils 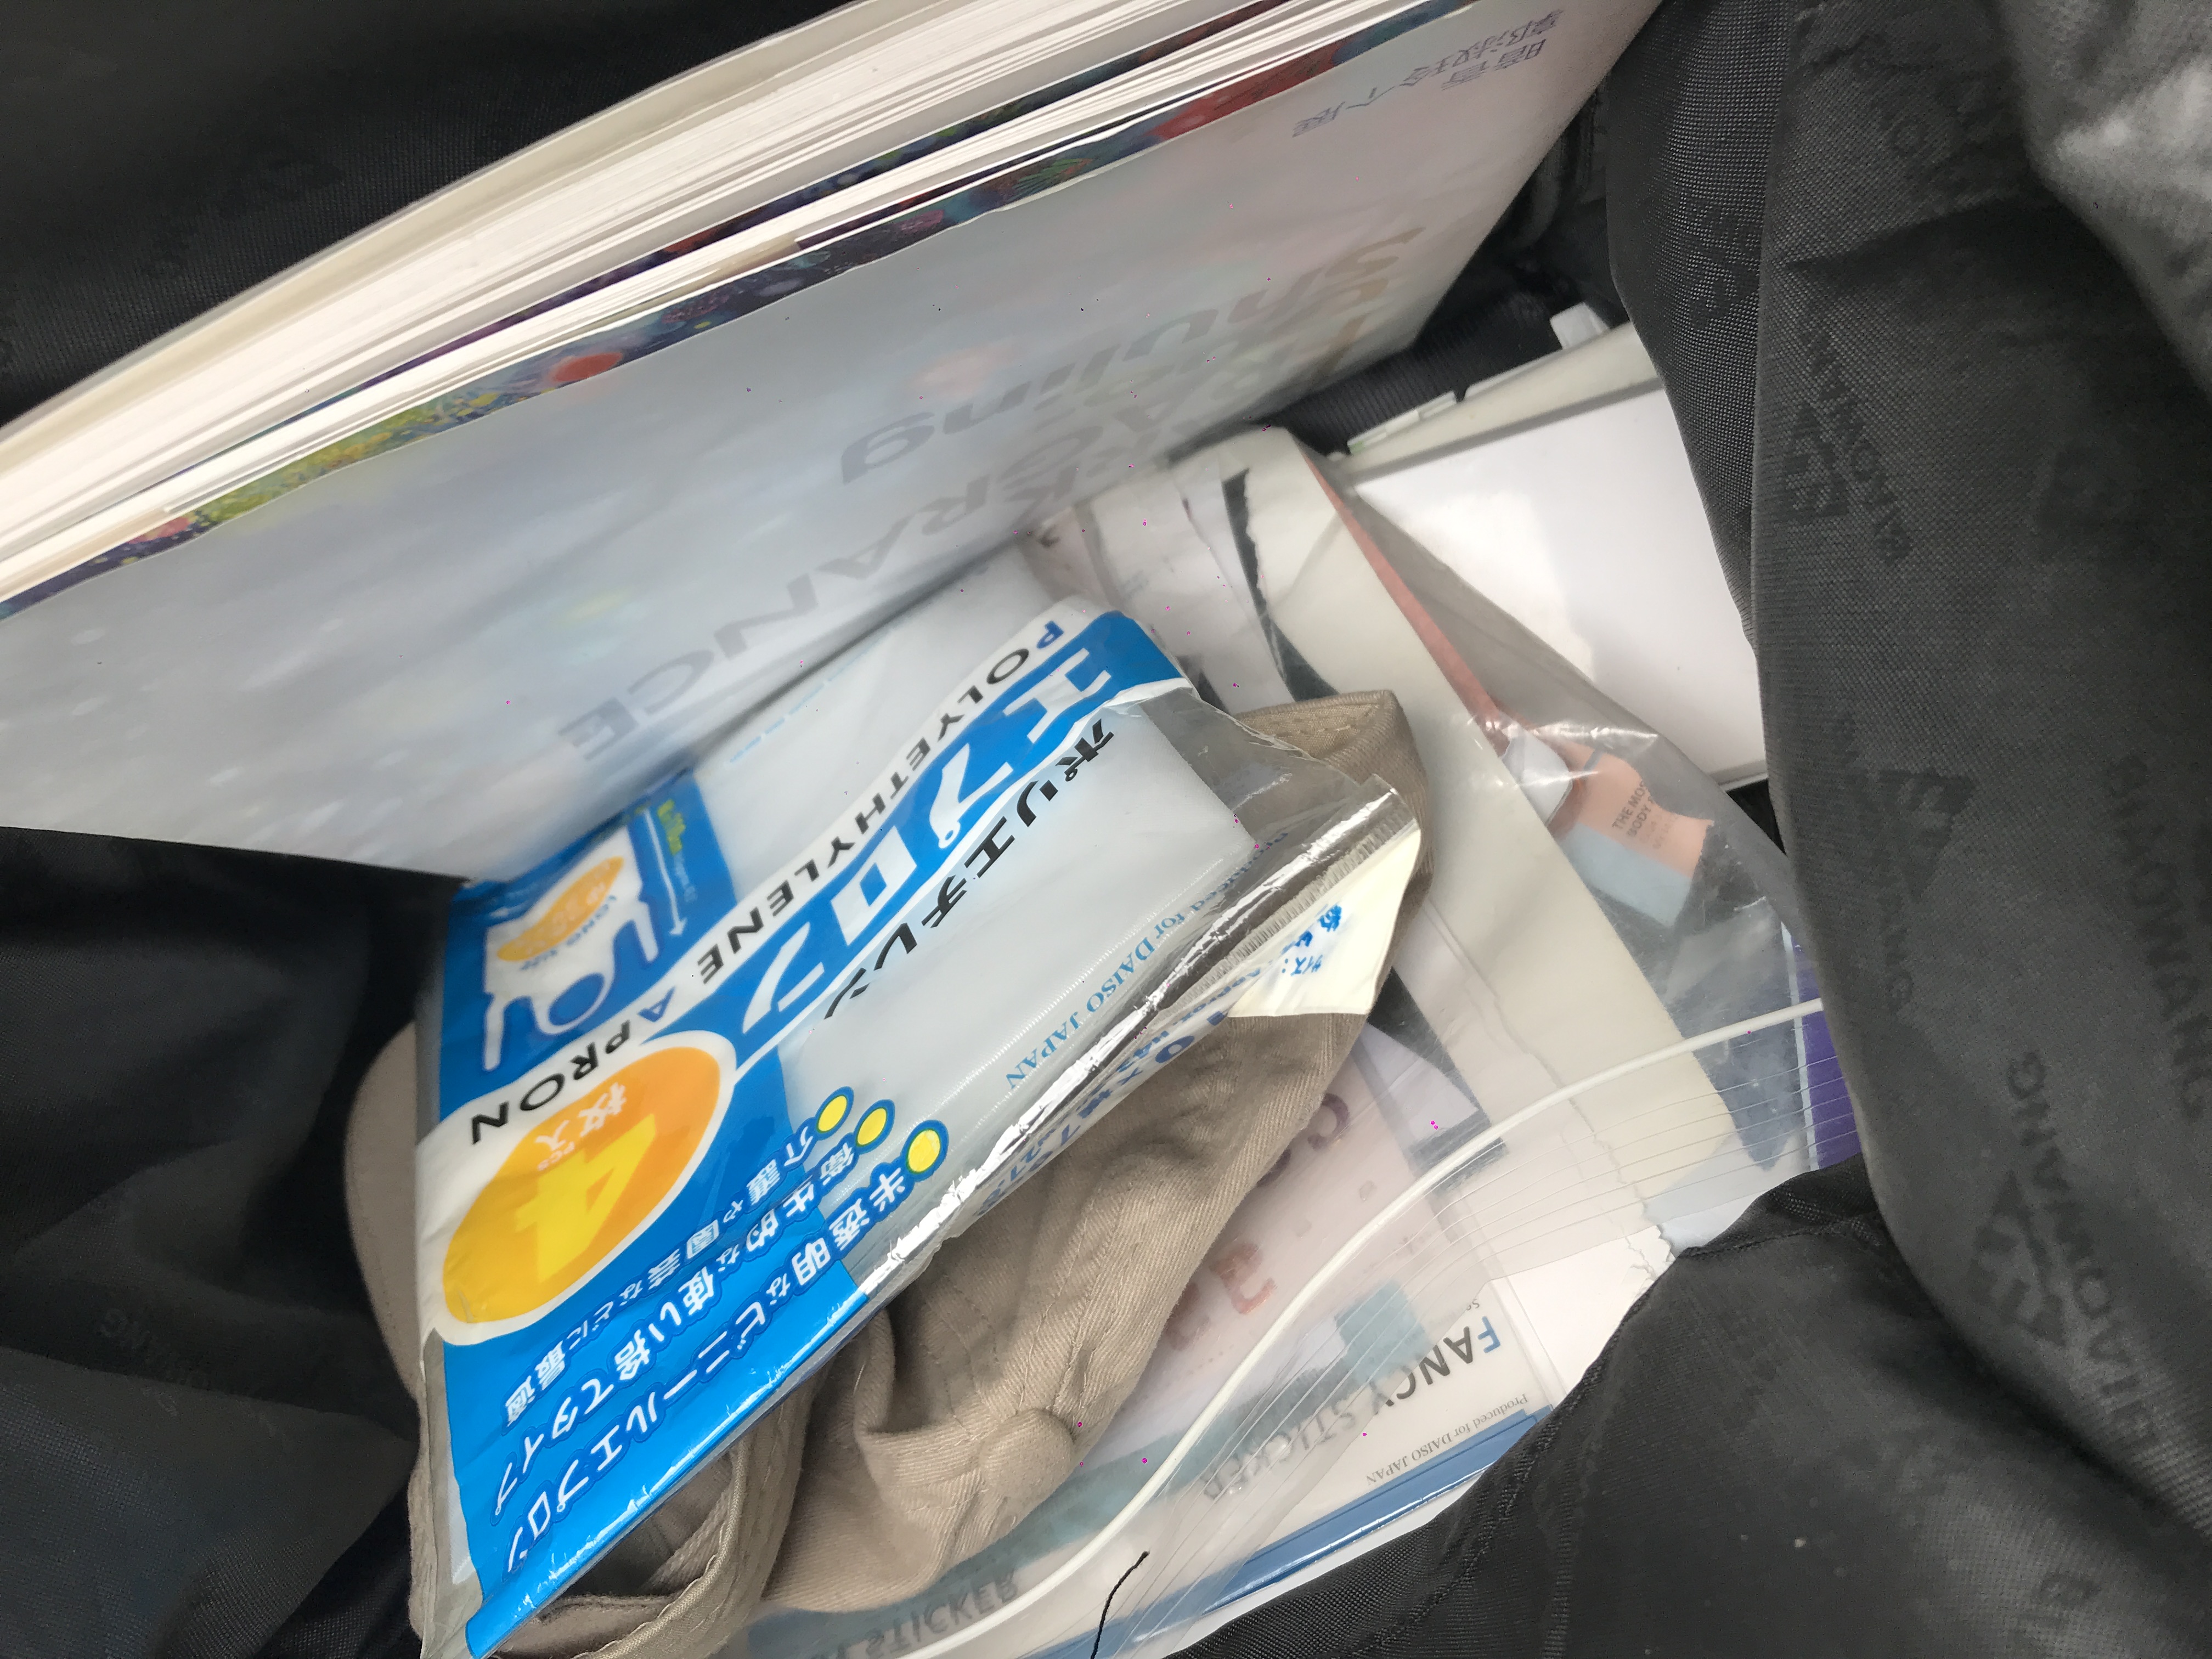
Backpack holding other materials
She also organises her tools and equipment neatly in foldable cases and in respective zip-lock bags to ensure extra portability.
Finding a quiet and serene area suitable for wheelchairs and a bench for Anna to sit is key for the hour-long sessions. While flat surfaces such as outdoor tables are useful for elderly who are generally mobile, Anna improvised a table for those who are wheelchair-bound using clip-boards.
Process
While participating in actual therapy sessions with the elderly was not possible due to confidentiality, Anna kindly conducted a short session with Jo-Ann, Johann and I at her place in her backyard. I suppose a subtle requirement when selecting the right therapy location is how calming it makes clients feel!
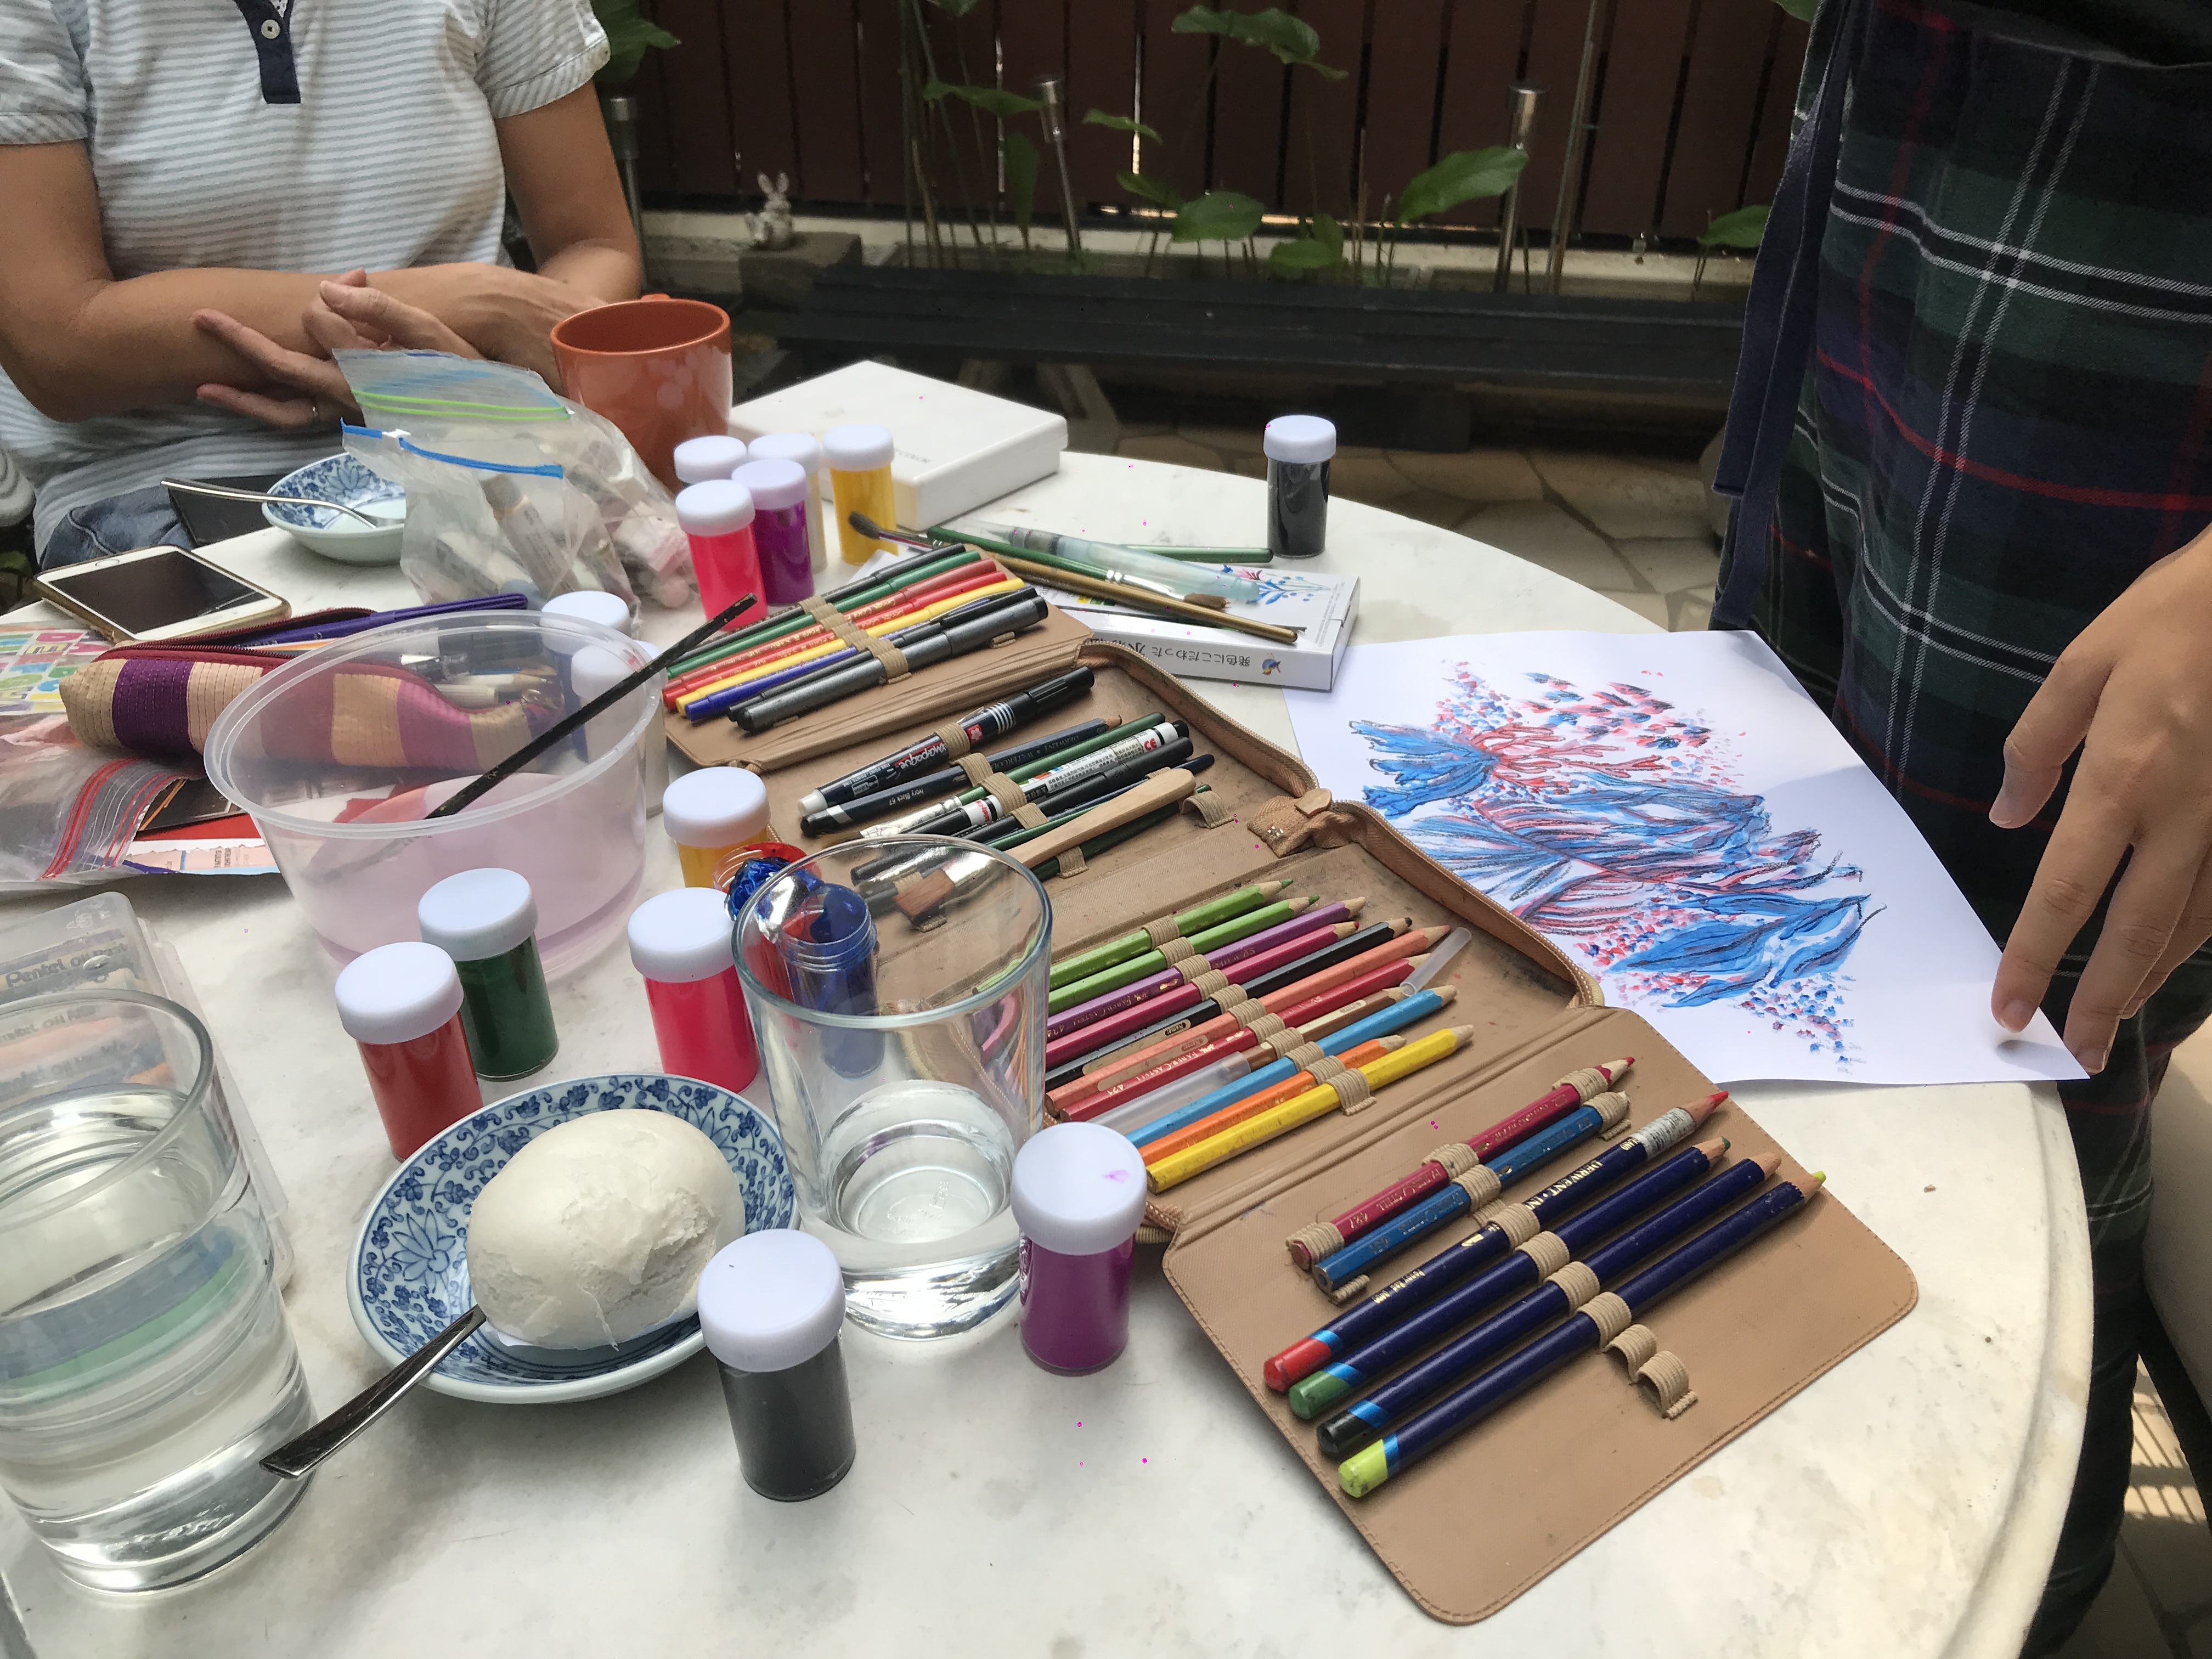
During our short half-hour session, we were given 5-minutes to work on our artwork.
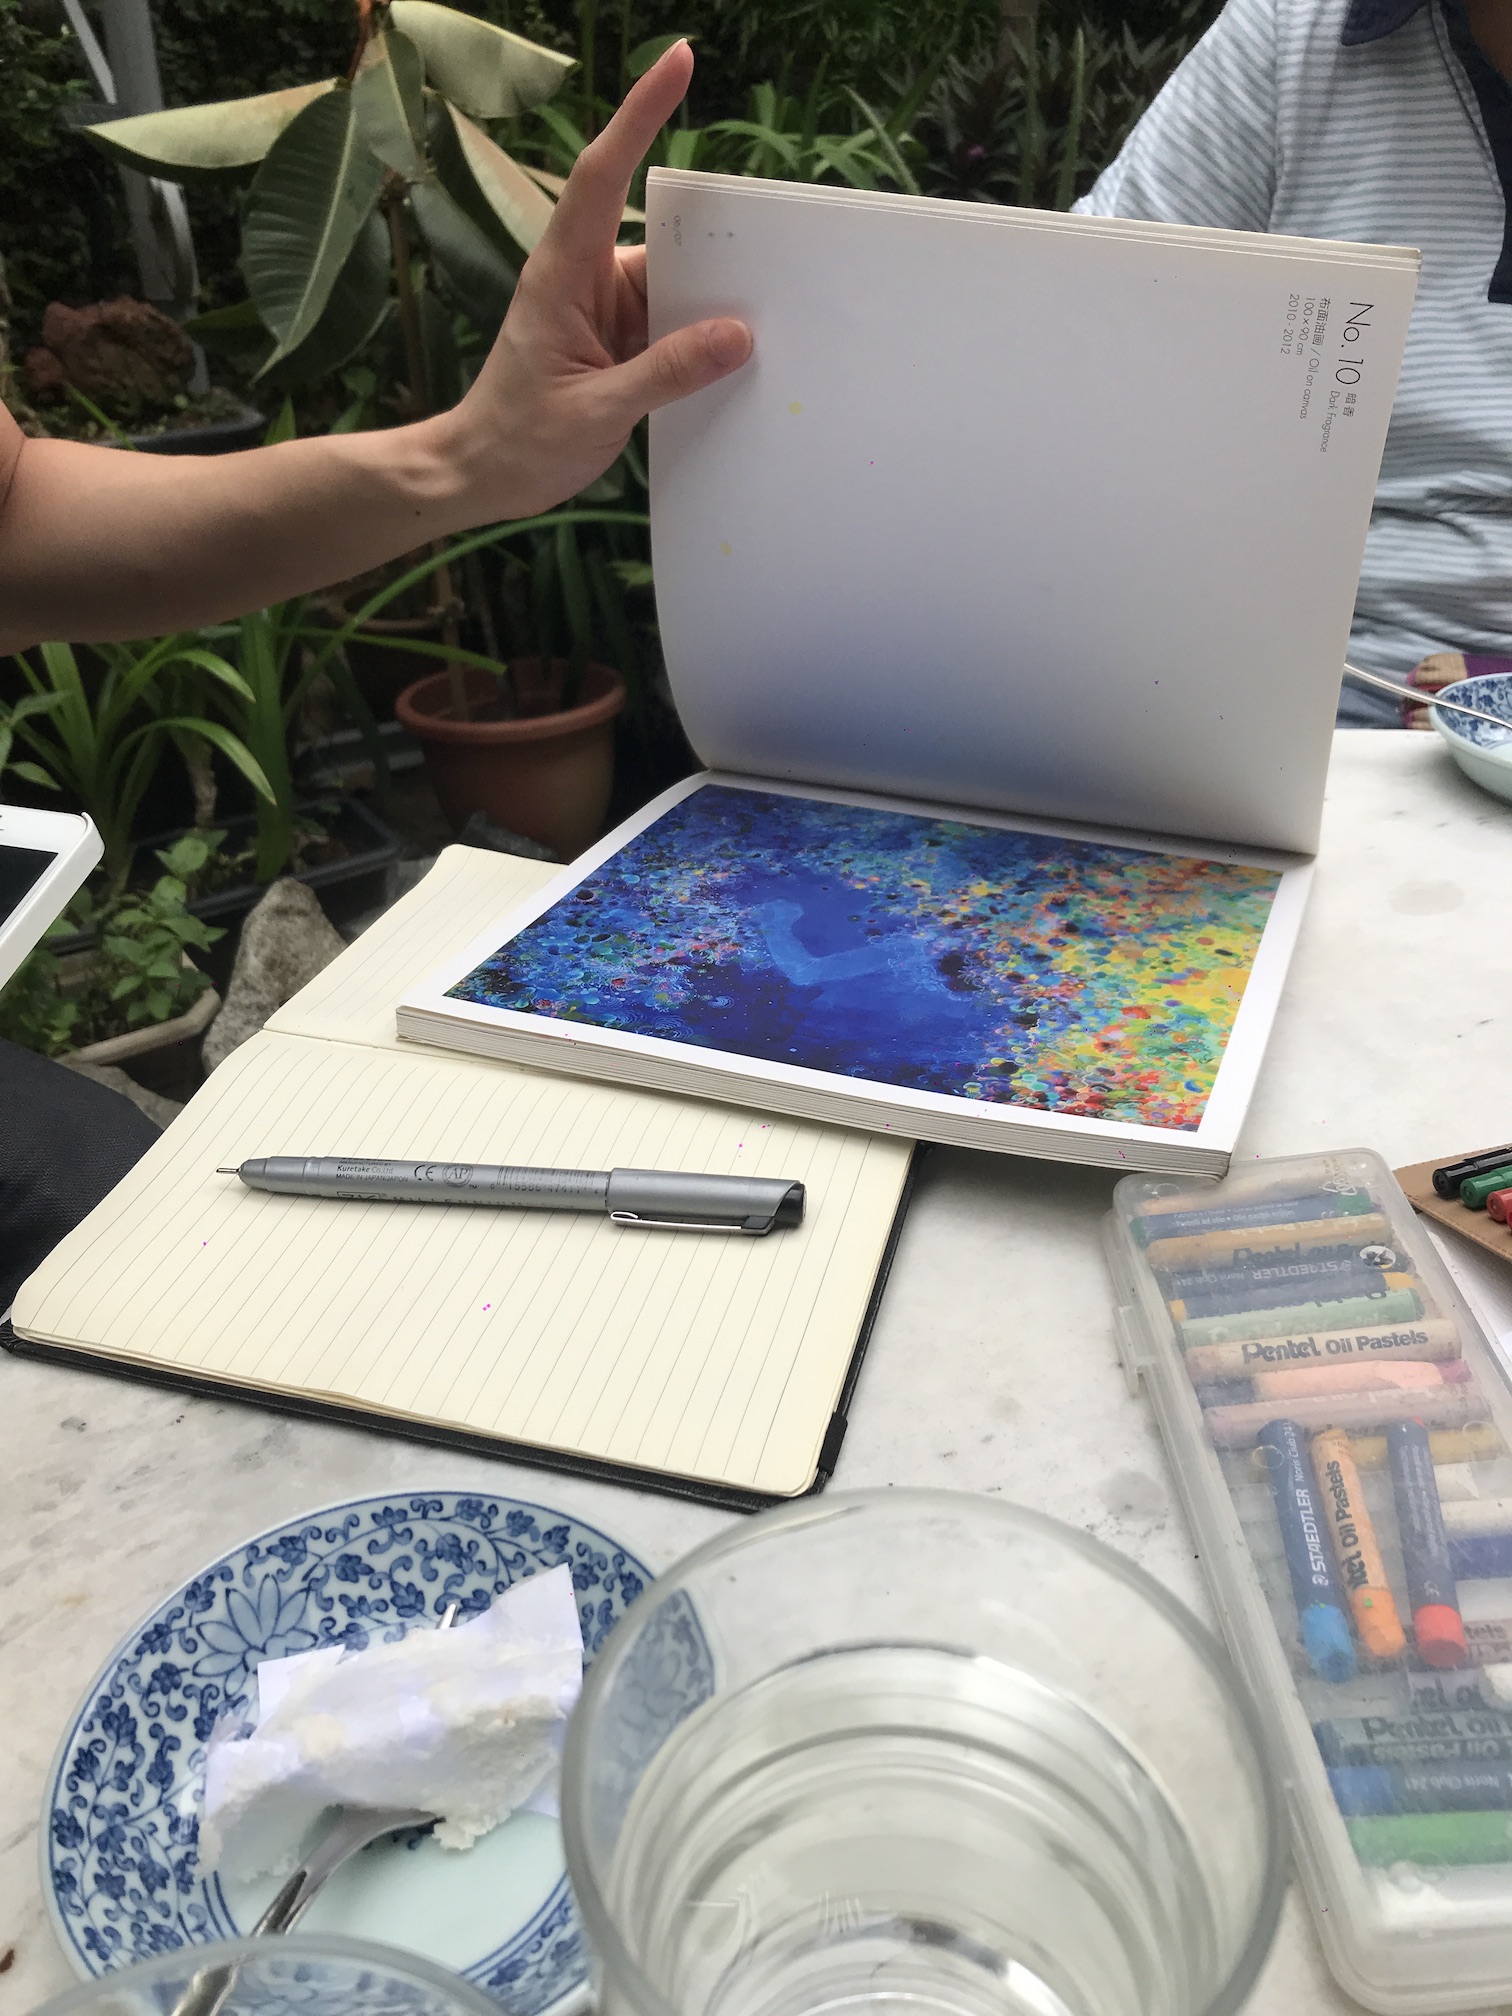
1. Visual references to give us
a head start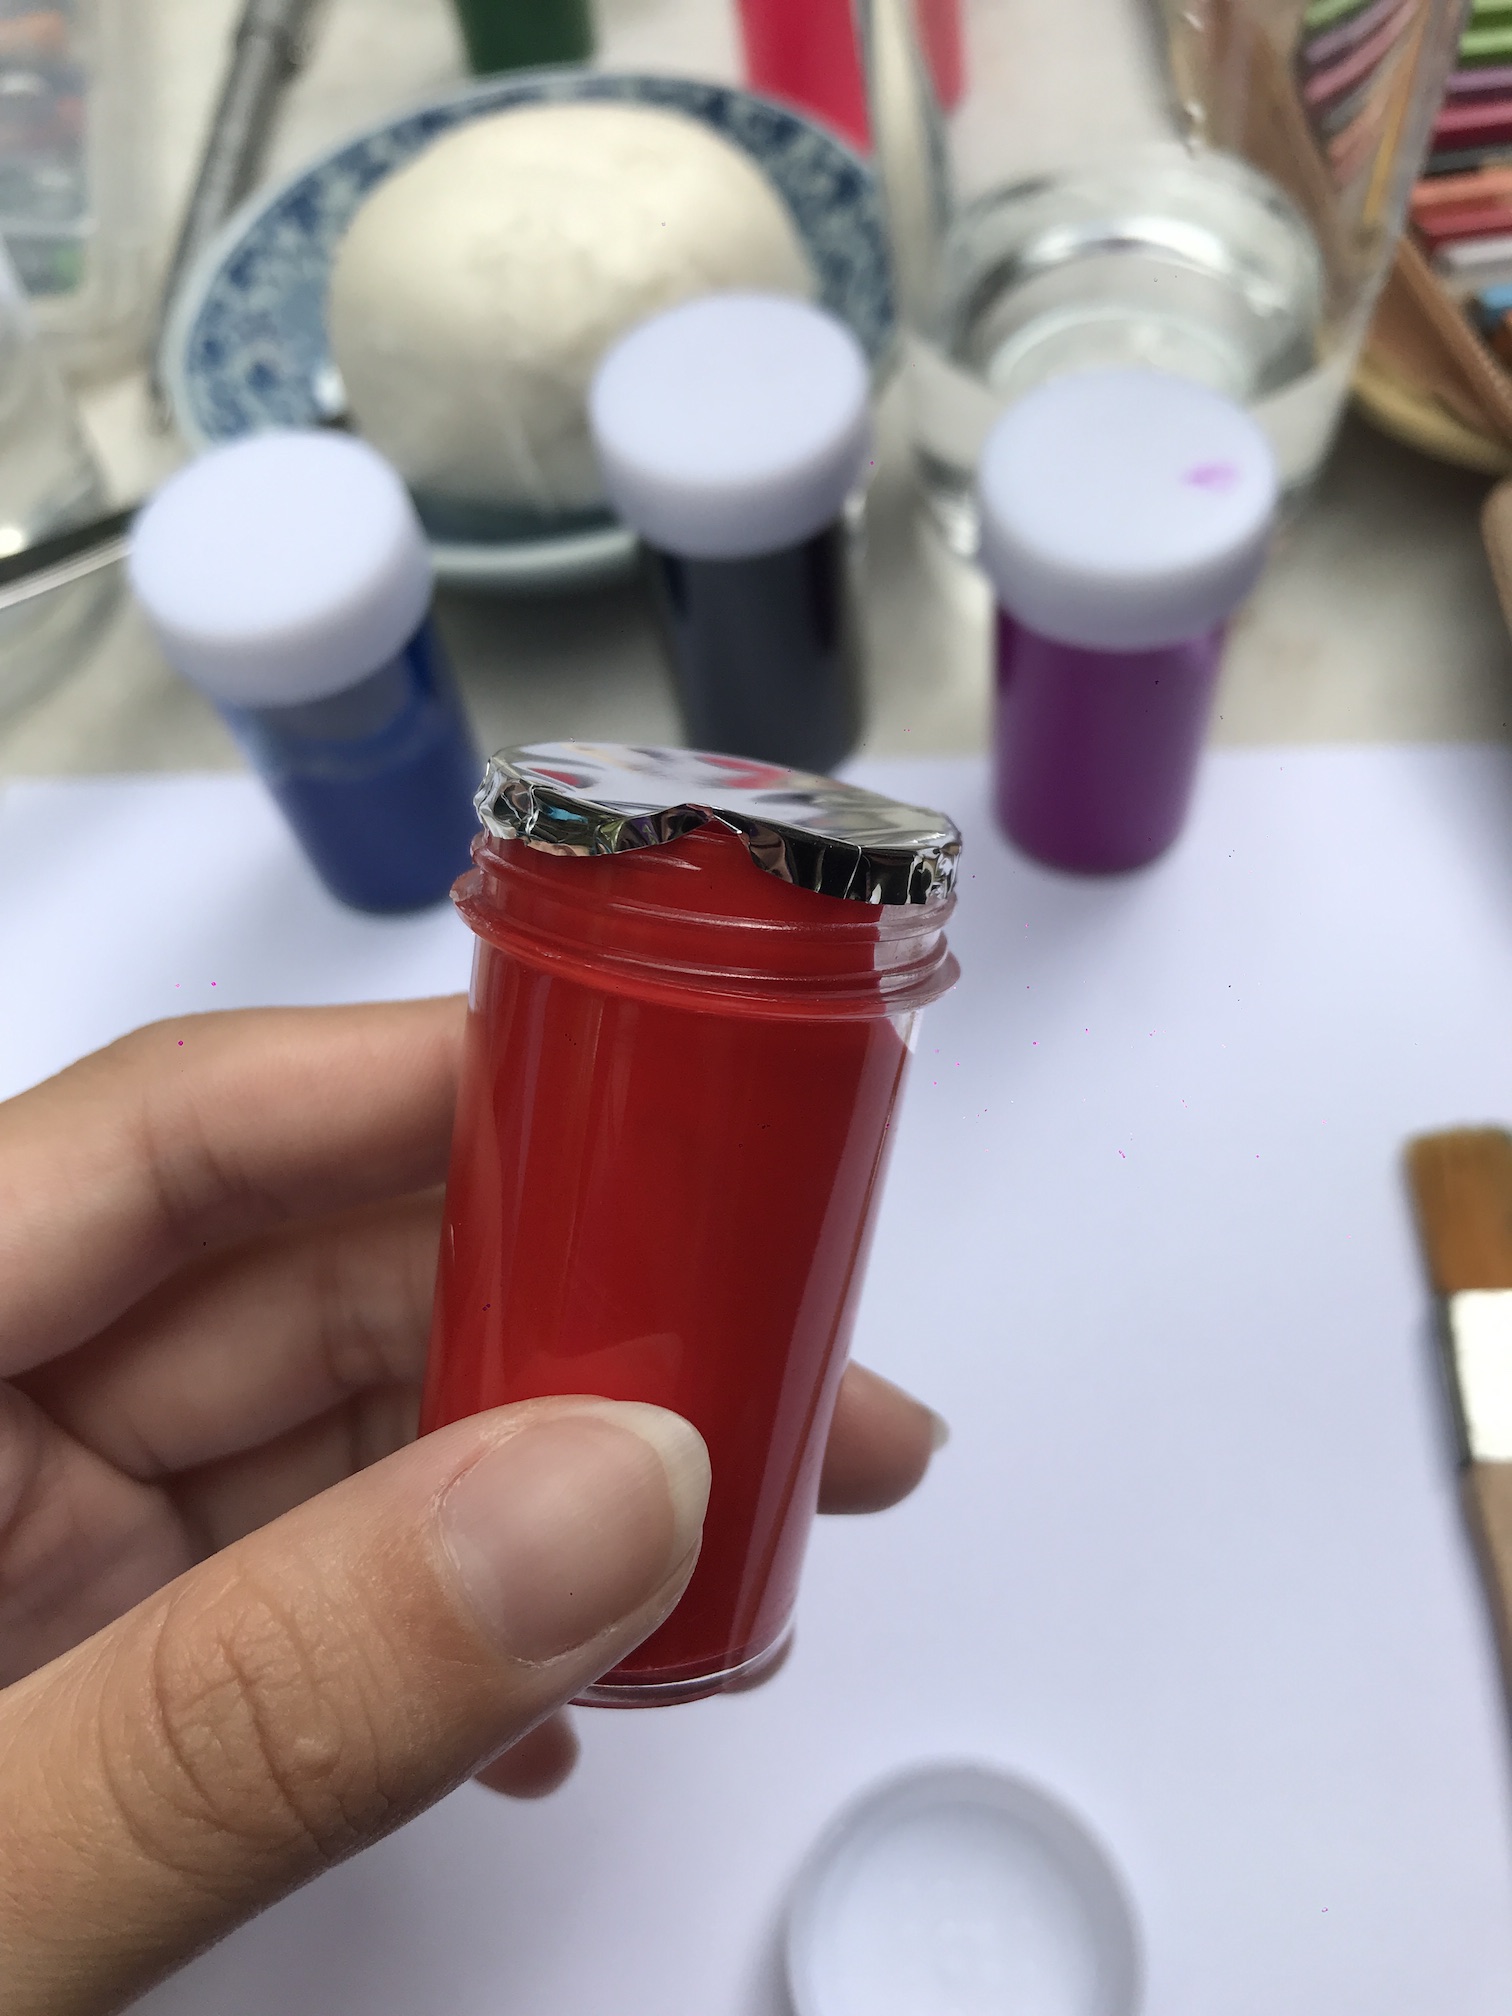
2. Choosing desired medium: watercolour 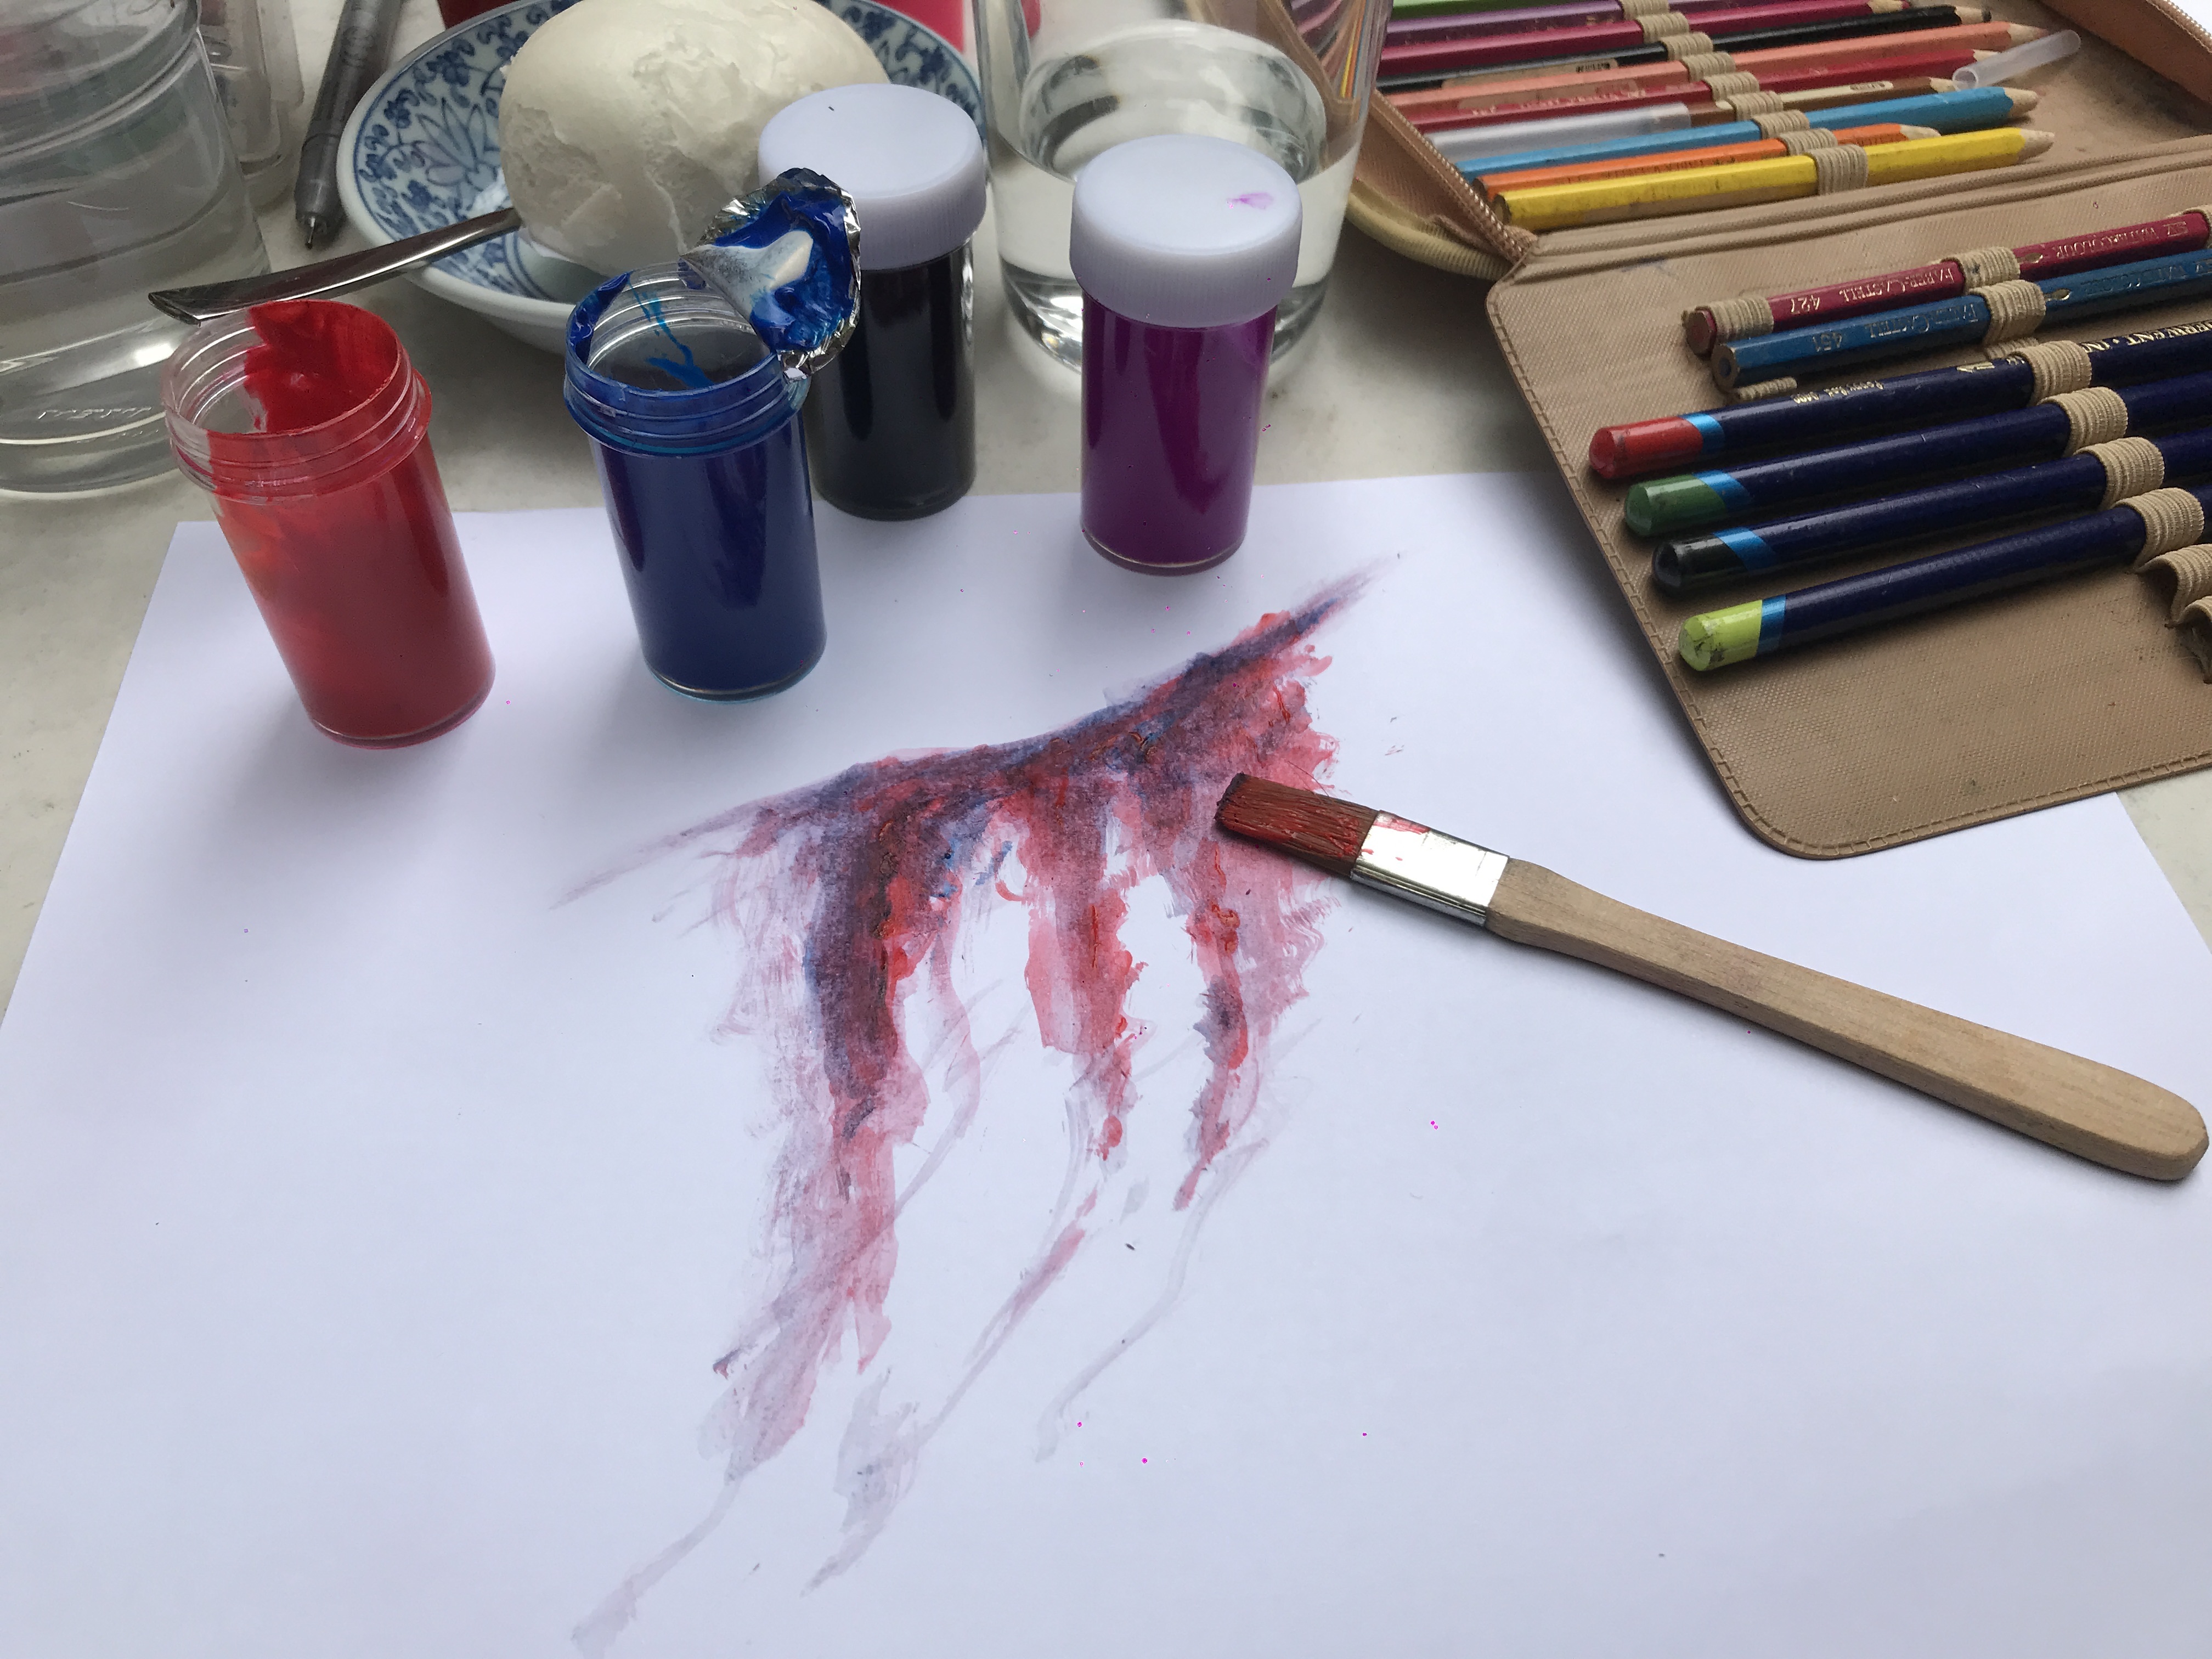
My final artwork!
As mentioned, the goal of art therapy was to promote self-awareness and stimulate the mind, which was why Anna asked us individually about our process of creating what ended up with. (For me my stomach was not feeling well that morning; inspired by that, I decided to paint what would be a bleeding wound that was imagined to be on my abdominal area.)
Pain Points
In the past, Anna had tried to use trolley bags in place of her back packs but found the former to be inconvenient when she had to push a wheelchair. Given the nature of her work which involves a lot of bulky materials and travelling, it is important that a wearable studio for her would be able to withstand weight yet be as light as possible. Other considerations would be how it ought to be easy to clean, since the medium that clients and herself would encounter includes a messy one – paint. A convenient source of water would also be needed for painting sessions.