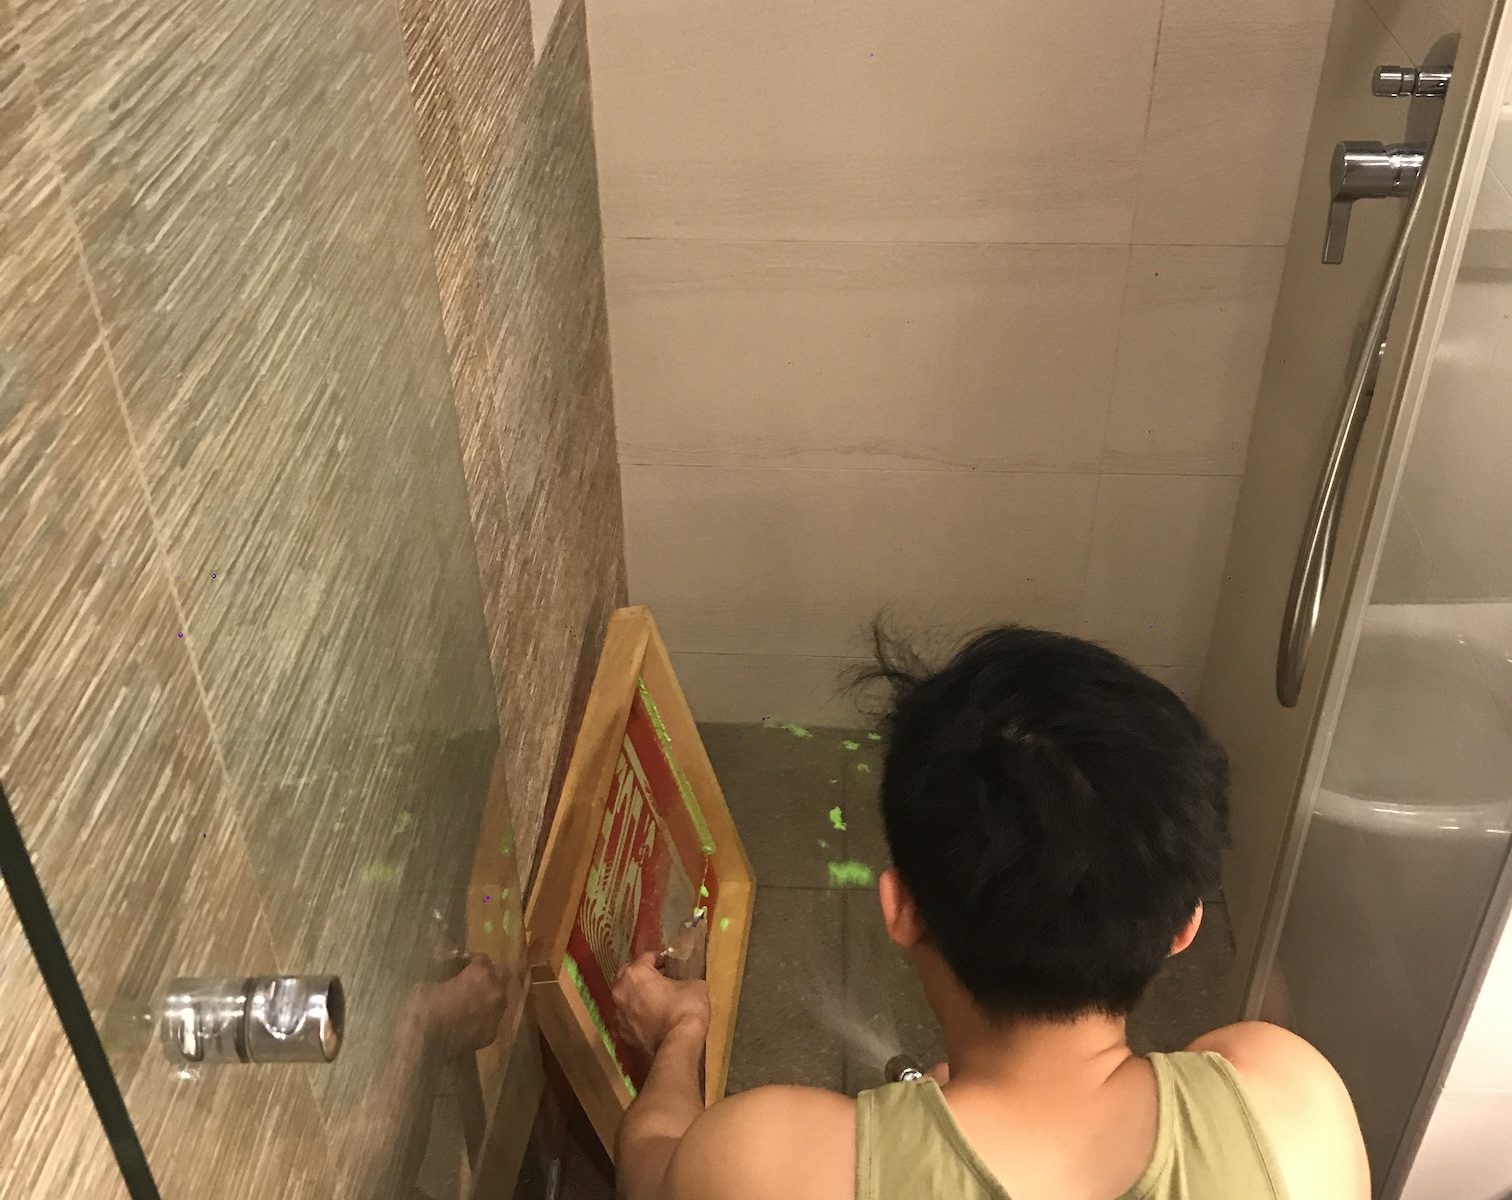
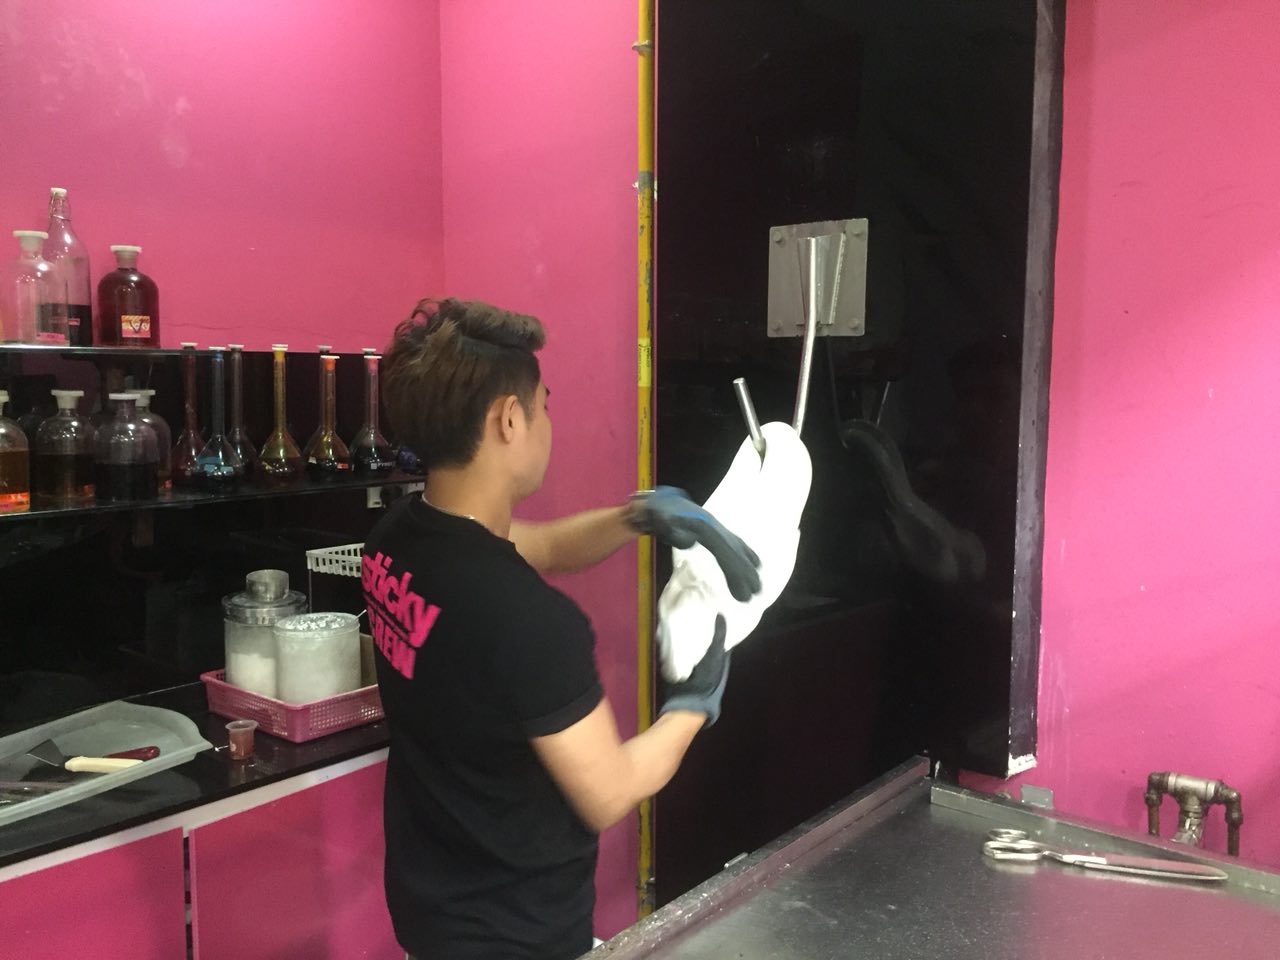
As I went to a pottery workshop for my second practitioners, I decided to look for ceramics clay workshop next. Although most people find that they are the same thing, there is actually a slight difference between them. Ceramics are not only made up of clay, it also includes other materials like glazes. On the other hand, pottery is solely made up of clay. For this documentation, I will focus on the firing process; The aim is to heat the ceramic clay to the optimal level of melting.
Process Documentation
Steps:
- Throwing the ceramic clay
- Trimming it into your desired shape
- Apply wax at foot ring of the clay.
- Bisque Firing – To convert the greenware into glasslike. As greenware is fragile, it is important to deal with it carefully when loading it into the pottery kiln. From there, increase the temperature slowly as if it is heated too quickly, it may cause the clay to burst.
- When the clay reaches approximately 499°C, the clay is completely dehydrated – the pot is now a ceramic material. However, continue firing until it reaches 944°C, the ceramic will become less fragile and will be prepared to accept the application of glazes.
- Turn off the pottery kiln and wait for the ceramic to cool before removing it.
- Apply a layer of glaze using the paint brushes to the cooled ceramics and leave it to dry.
- Load into the pottery kiln for the second round of heating: glaze firing.
- Slowly heat the pottery kiln to the proper temperature to bring the clay and glazes to maturity and then slowly cool it again. Same as step 5, wait till the ceramic is cooled before removing it.
- The ceramic should be rock-hard and water-resistant now.
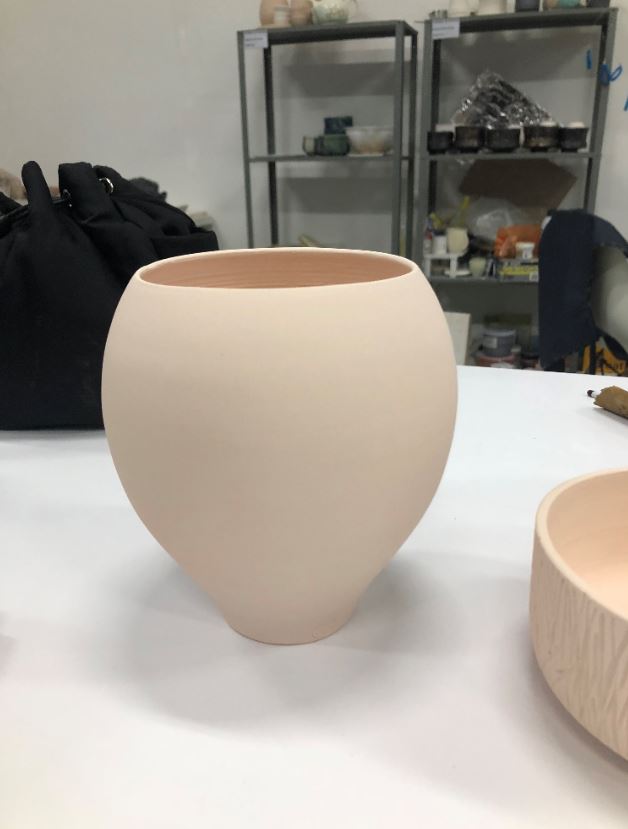
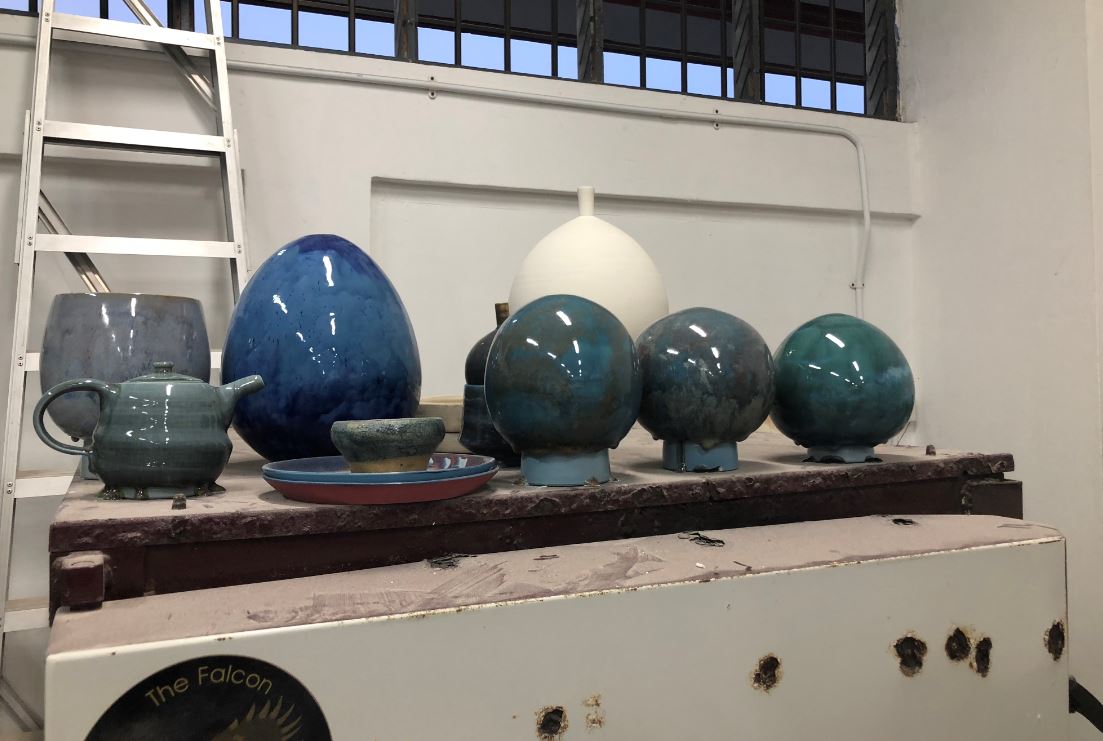
After Bisque Firing 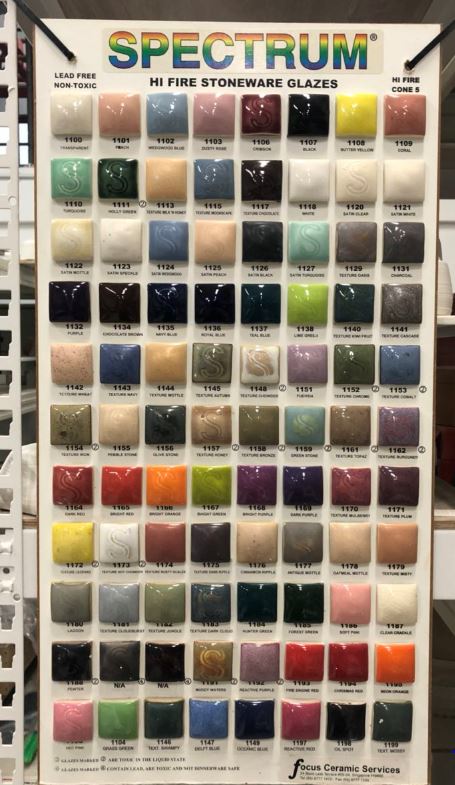
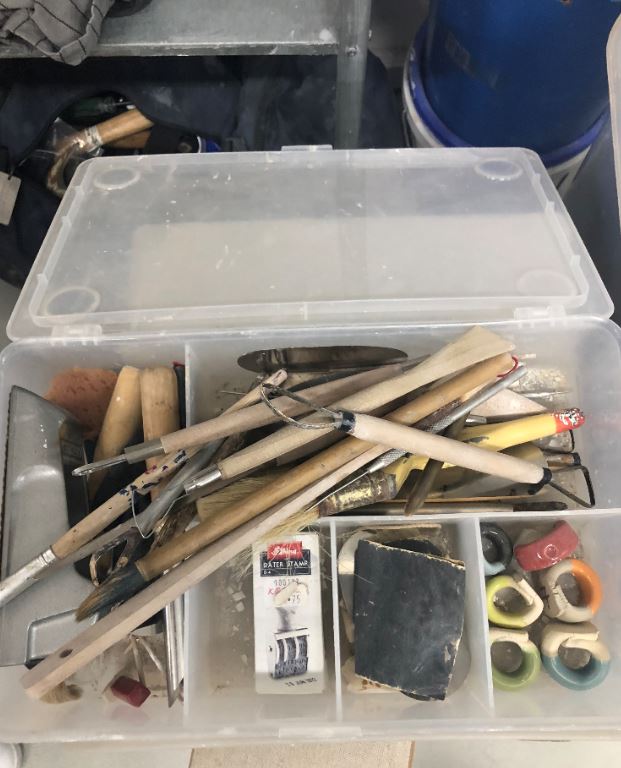
Tools used
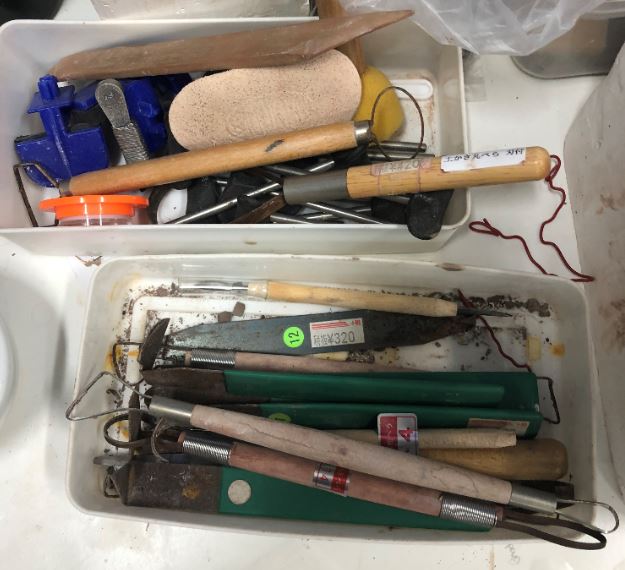
- Wooden Carving tool
- Pottery Kiln
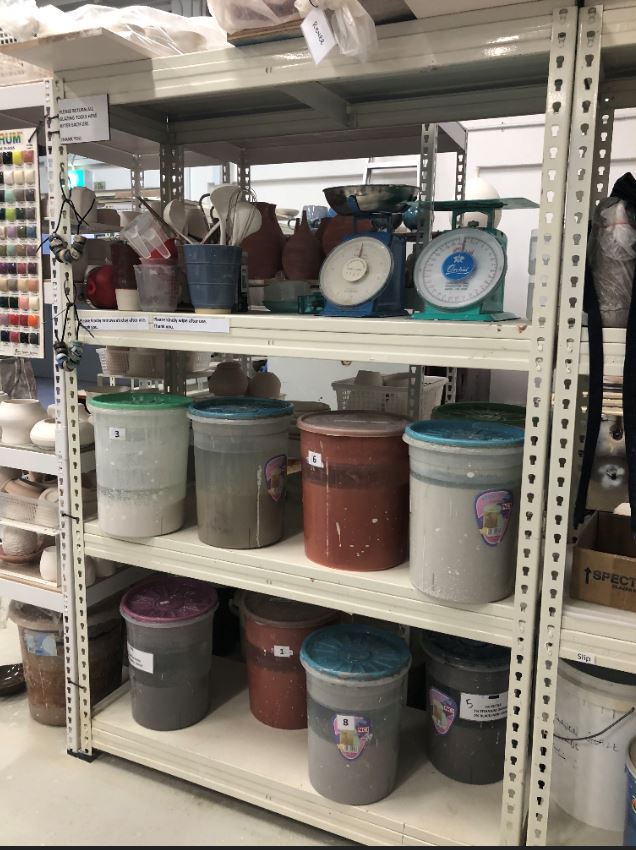
- Glaze Buckets
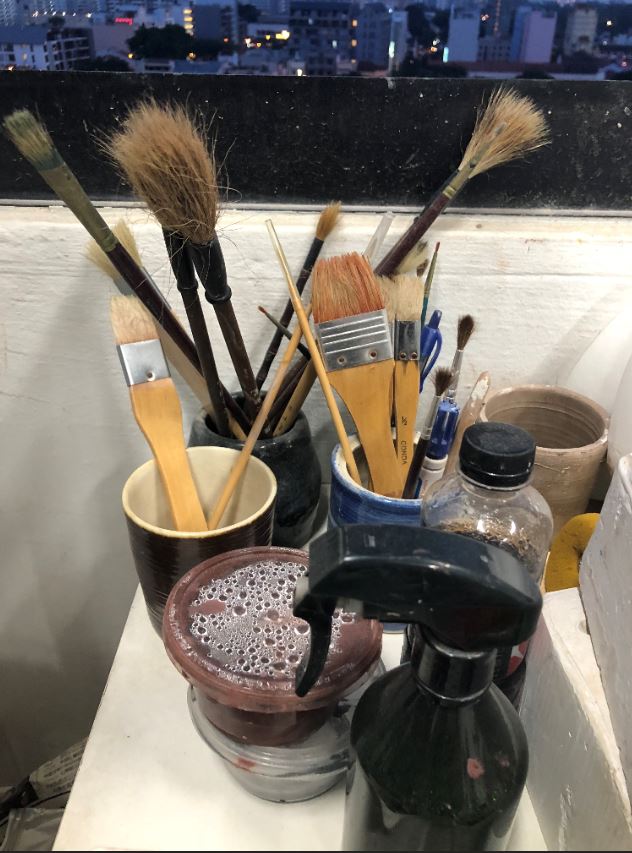
- Paint Brushes
- Sponge
- Wax
Thoughts
I find the worksite really big and spacious which is easy for us to move around. After attending this workshop, I realised ceramics clay art is something that needs lots of practice and consist of many different skills. I really respect ceramics clay artist as it takes a lot of patience to even get a hang of the different skills. I was really glad to be able to attend this workshop as I find that this workshop is an eye-opener for me and at the same time, participate slightly in the process.