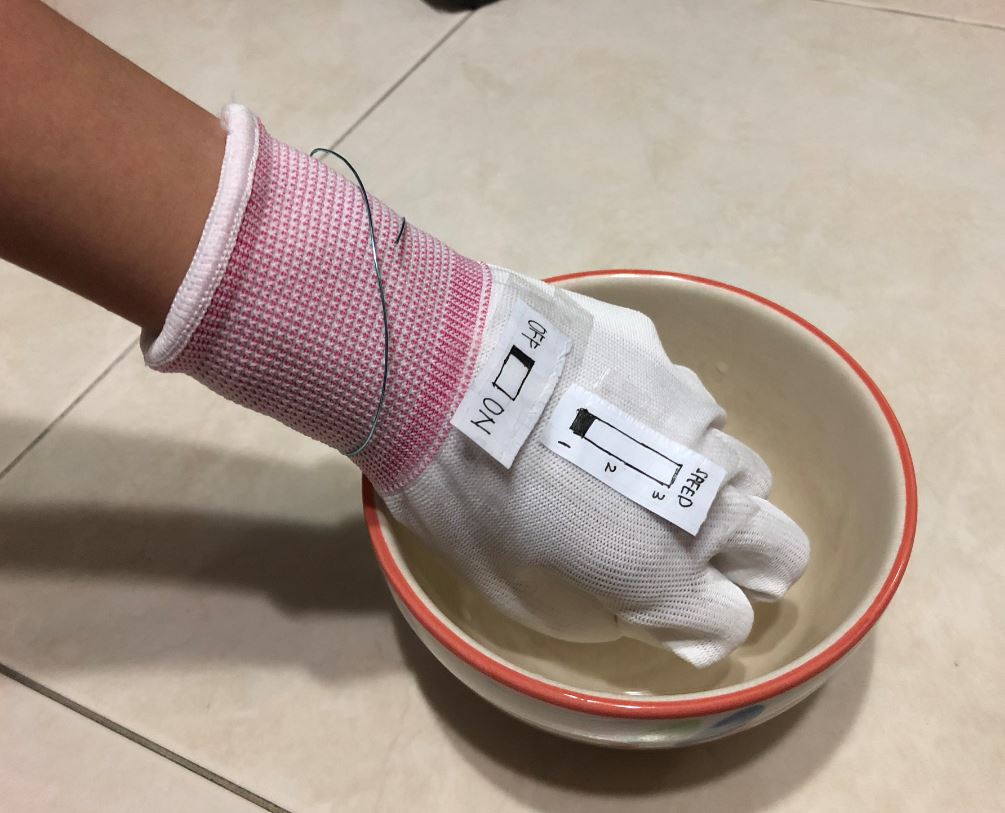
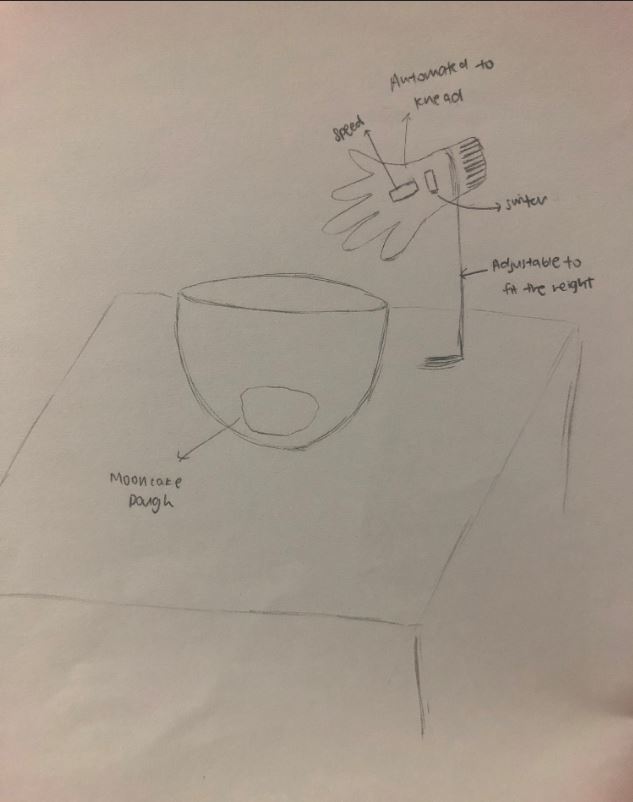
In the first documentation, I approached a practitioner that was making homemade snow skin mooncakes. To facilitate the kneading process, I came out with the design below. It is actually an automated heat-resistant machine hand that is used to mix the food colouring with the dough. This will avoid the dough to become sticky due to the heat transfer from your bare hands. Also, there is a switch that allows you to set the machine hand into automatic mode and the glove will knead the dough on its own. You can also control the speed of the kneading. Lastly, the height of the stand is adjustable. This will allow the glove to be set at a height that the practitioner is comfortable with. The whole purpose of this glove is to reduce the work of kneading and to refrain the dough from becoming too soft and sticky.
Instructions:
Based on what you see, determine how it can help in your mooncake making process.
First person:
First thoughts:
Automated hand-shaped kneading tool
Adjustable height
Different levels of kneading speed
Heat resistant to prevent dough from becoming too sticky
Pros:
Reduce the amount of work needed to knead the dough
As many newbies face the problem of the dough becoming too sticky due to body heat, the heat resistant tool helps them a lot
Cons:
May not be able to get the preferred dough consistency as compared to kneading with real hands
Don’t think that it is possible to wash it since it is an electronic appliance -> Hygiene issues
Questions:
Will be battery operated or does it require the appliance to be plugged into a power socket? Personally, I think battery operated would be better as the cables that connect to the power socket may get tangled up with the tool.
Second Person:
First thoughts:
Is a glove that requires users to put their hands inside
The glove can help control the temperature when kneading
Pros:
It helps the user a lot as there is no need for him/her to use his/her muscles when kneading the dough
Cons:
Usually when you touch the dough, you should know when it is ready. However, this is automated, so you will not be able to feel the dough. Therefore, you do not know when will the dough be ready.
Suggestions:
The automated hand should be bigger so that it can knead even faster.
Third Person (Original Practitioner):
First thoughts:
At first glance, she does not know how to use it in her practice.
User fiddled with it for a while before asking what the purpose of it is.
Pros:
If it works well as what it assumes to be, it will save a lot of time and energy in the preparation process.
Cons:
Kneading is not just one fixed motion; The dough may not mix well if it is automated.
The machine can’t tell you whether it is sticky enough or not, it still requires manual work in testing it.
Questions:
Is there other way to set more motions? Kneading also includes squeezing and massaging the dough, is there a way to set the automated hand to do them as well?
Do you pre-set the time for the automated hand to work? Is there like a timer?
After having a conversation with my film photographer friend, I realised that much of her work requires precision and luck since you don’t get to see the end product until you are done with the film roll. As such, I thought about designing a cultural probe for digital photographers to have a hand in “film photography”.
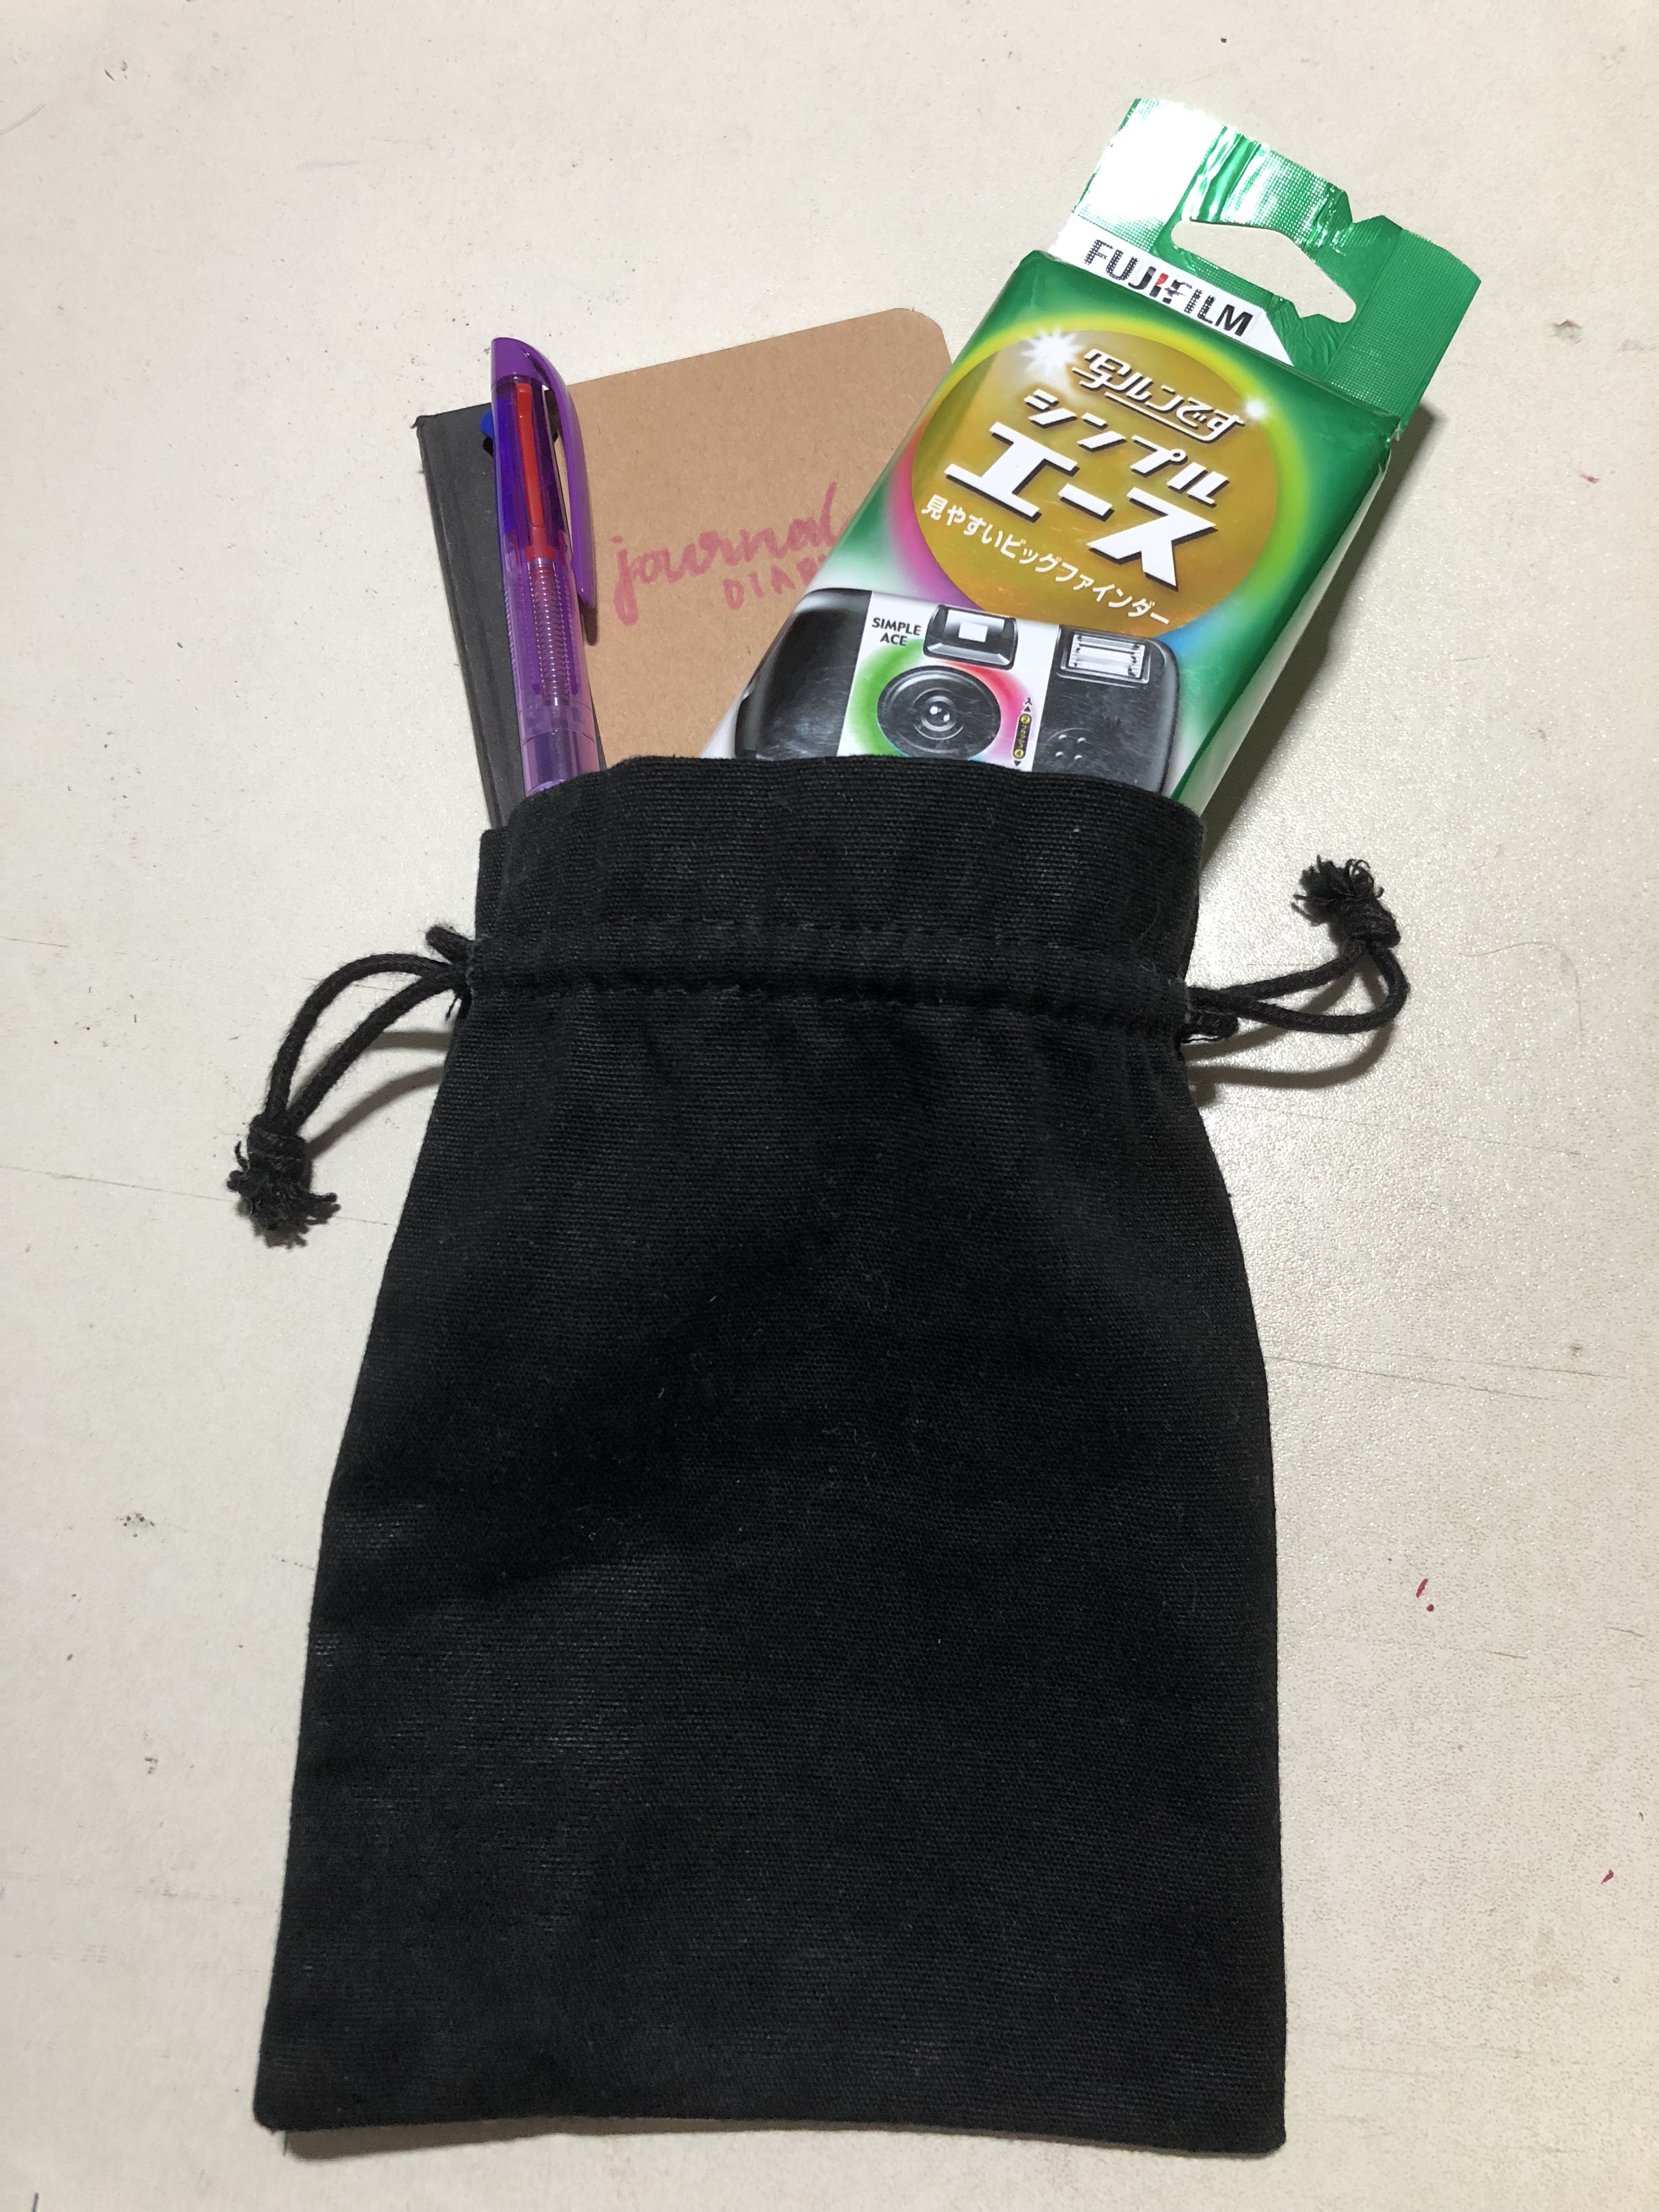
For my cultural probe, I placed into a pouch:
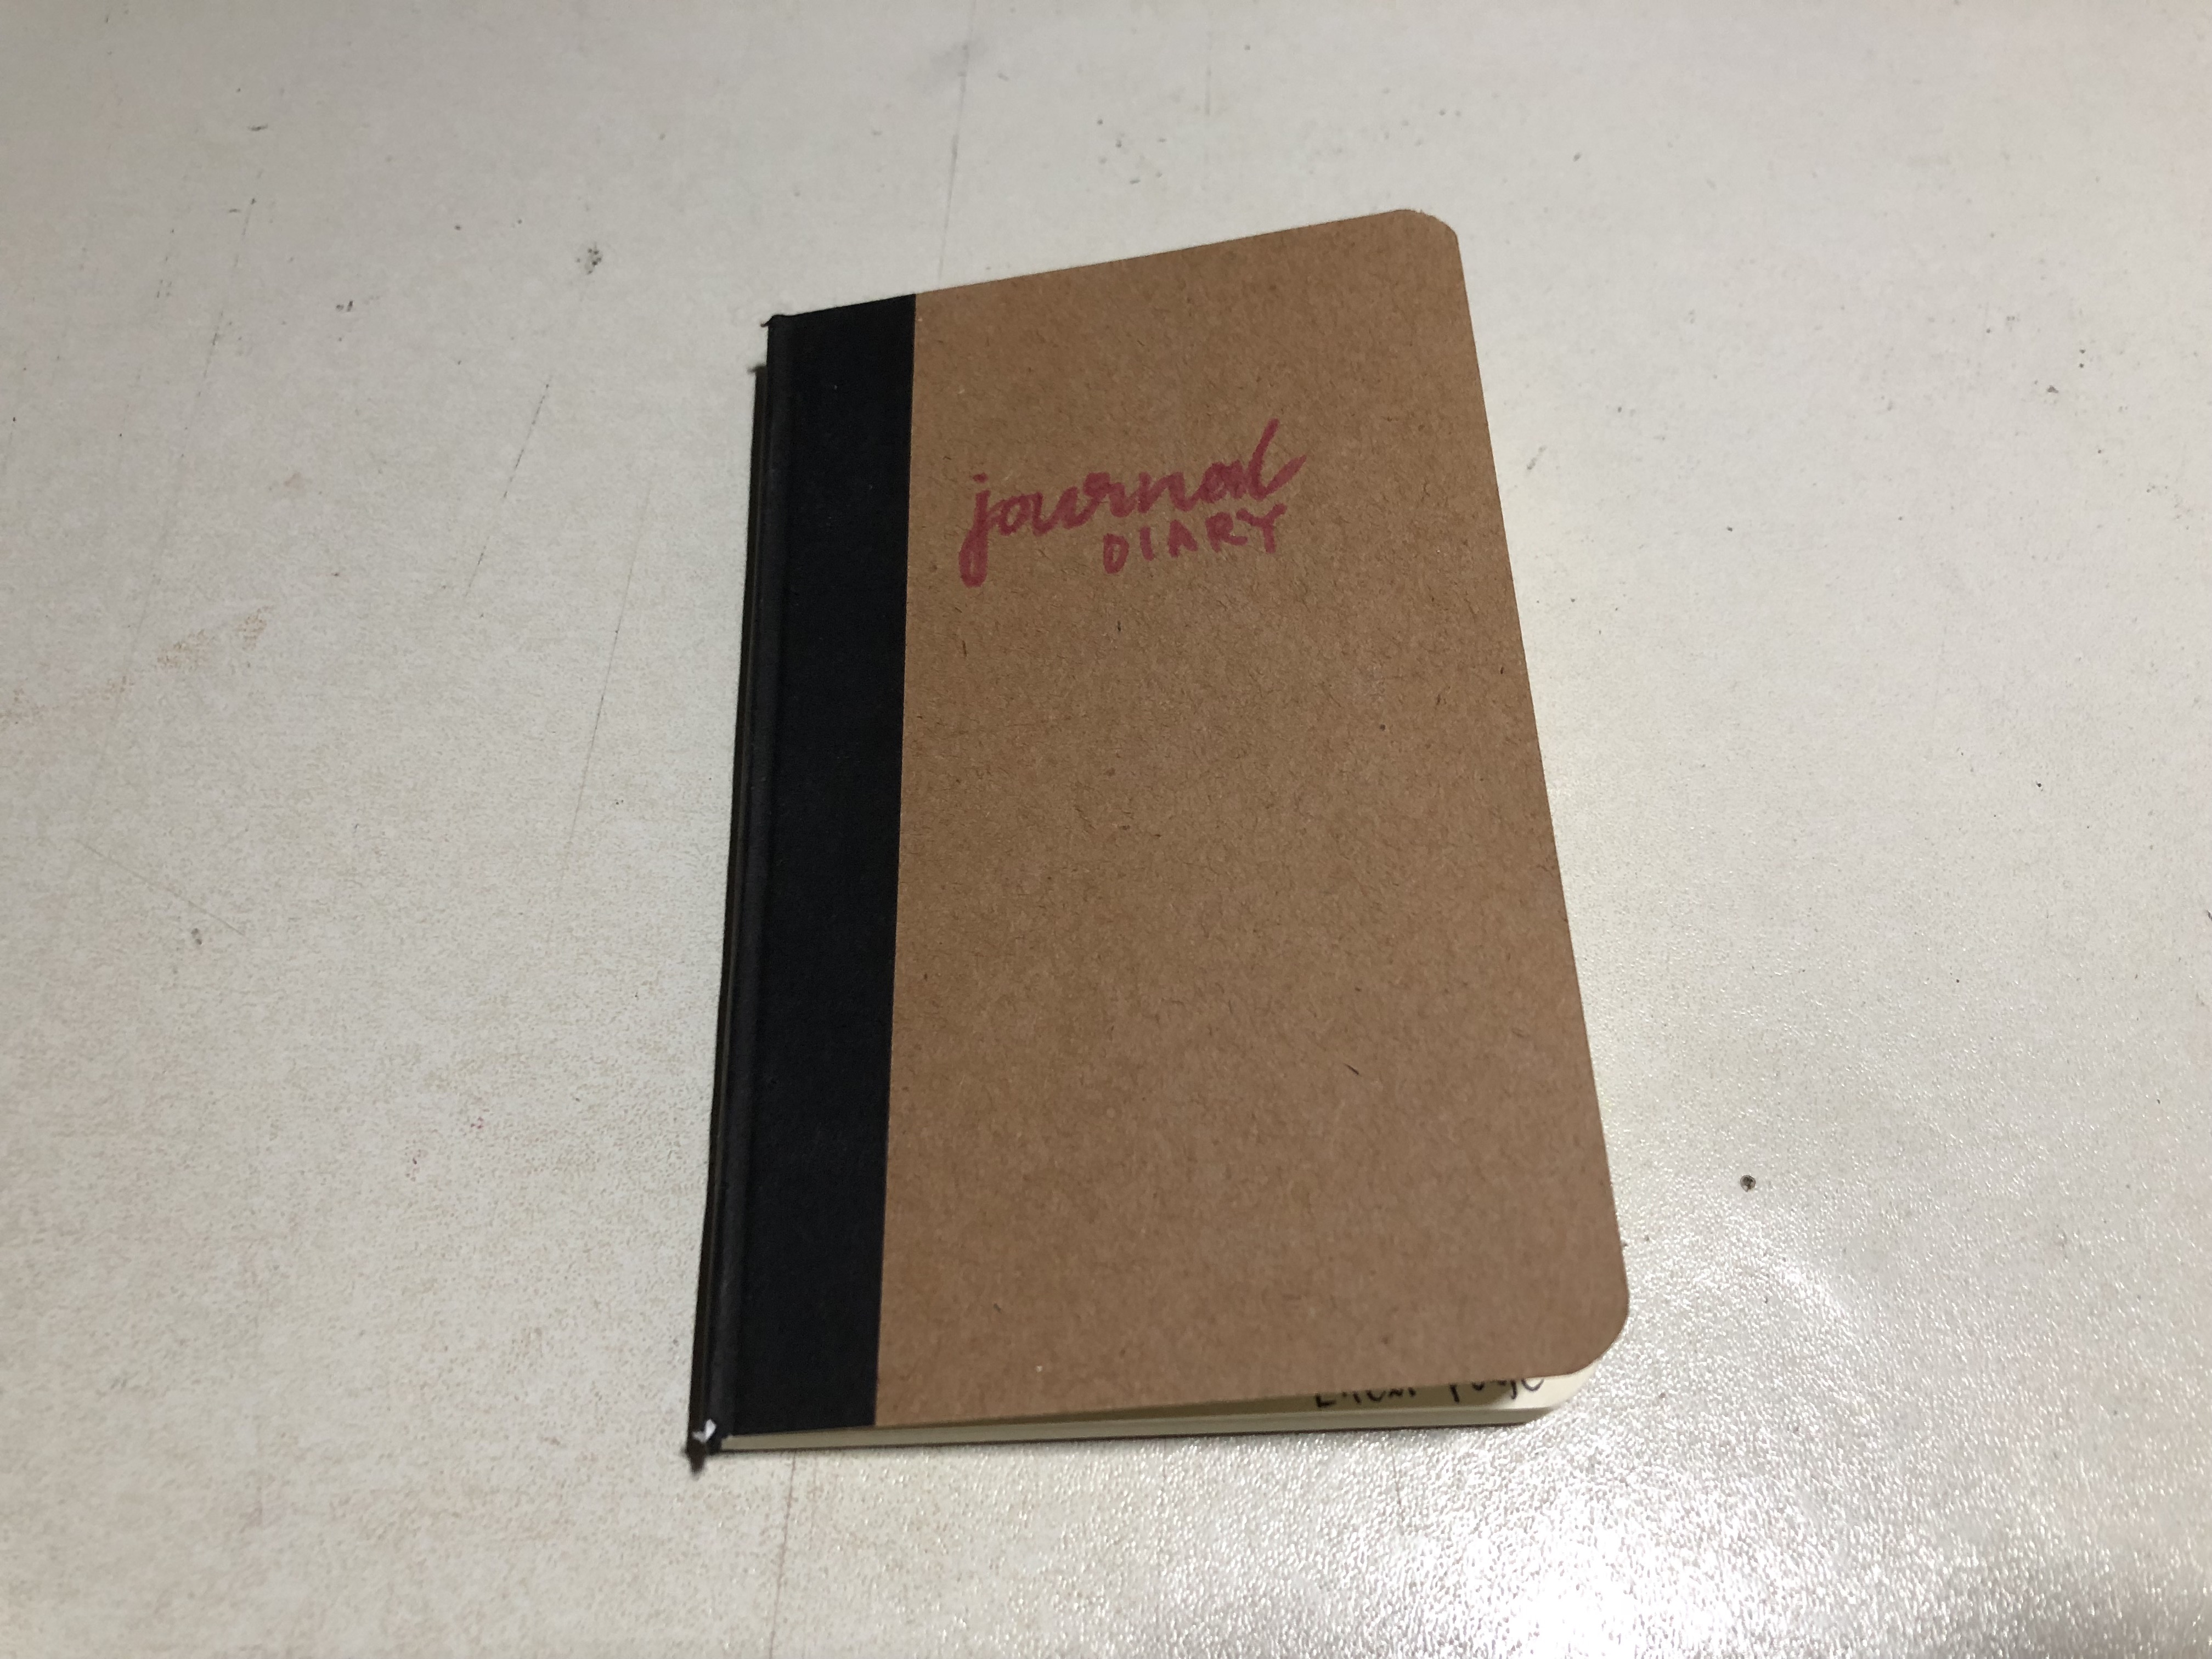
A diary
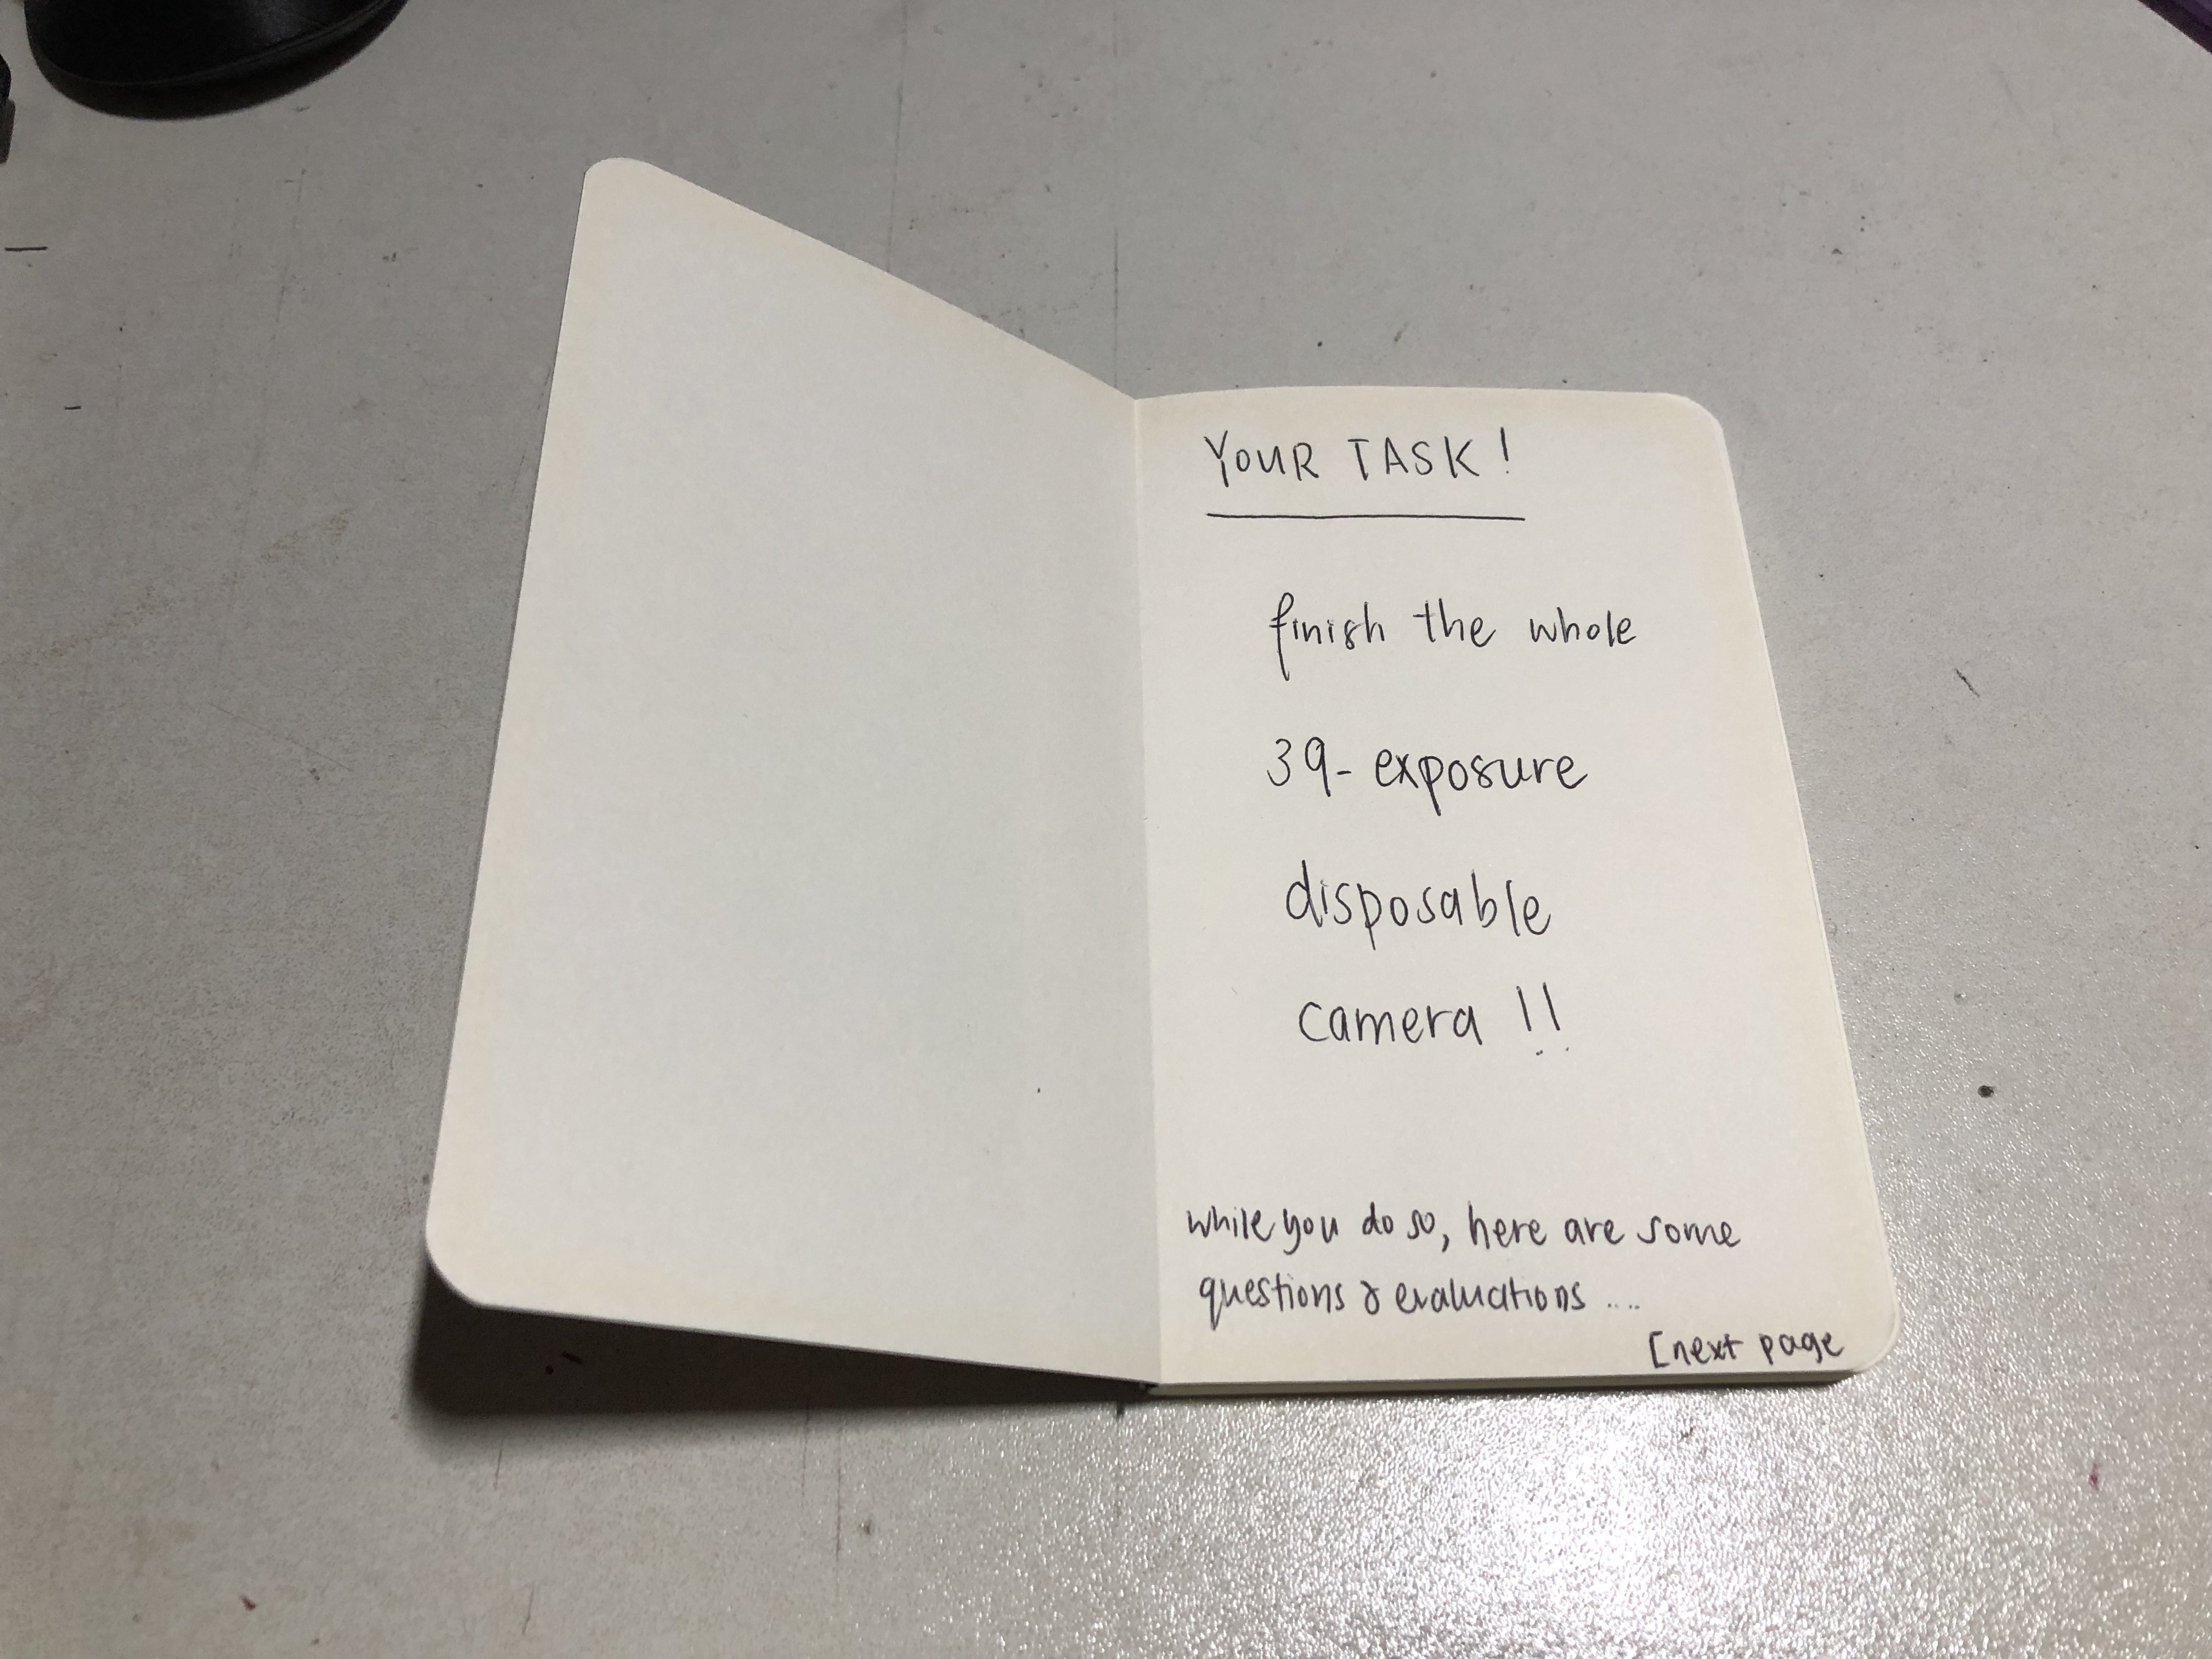
A disposable camera
A pen
I had friend who is a hobbyist digital photographer and was going overseas during the recess week. Thus, I had him do the cultural probe throughout his 5D4N trip to Bali.
The tasks were all written in the diary as such:
Before beginning the task
After finishing the task (and trip)
After developing the film
Findings
The below texts are all written by the participant
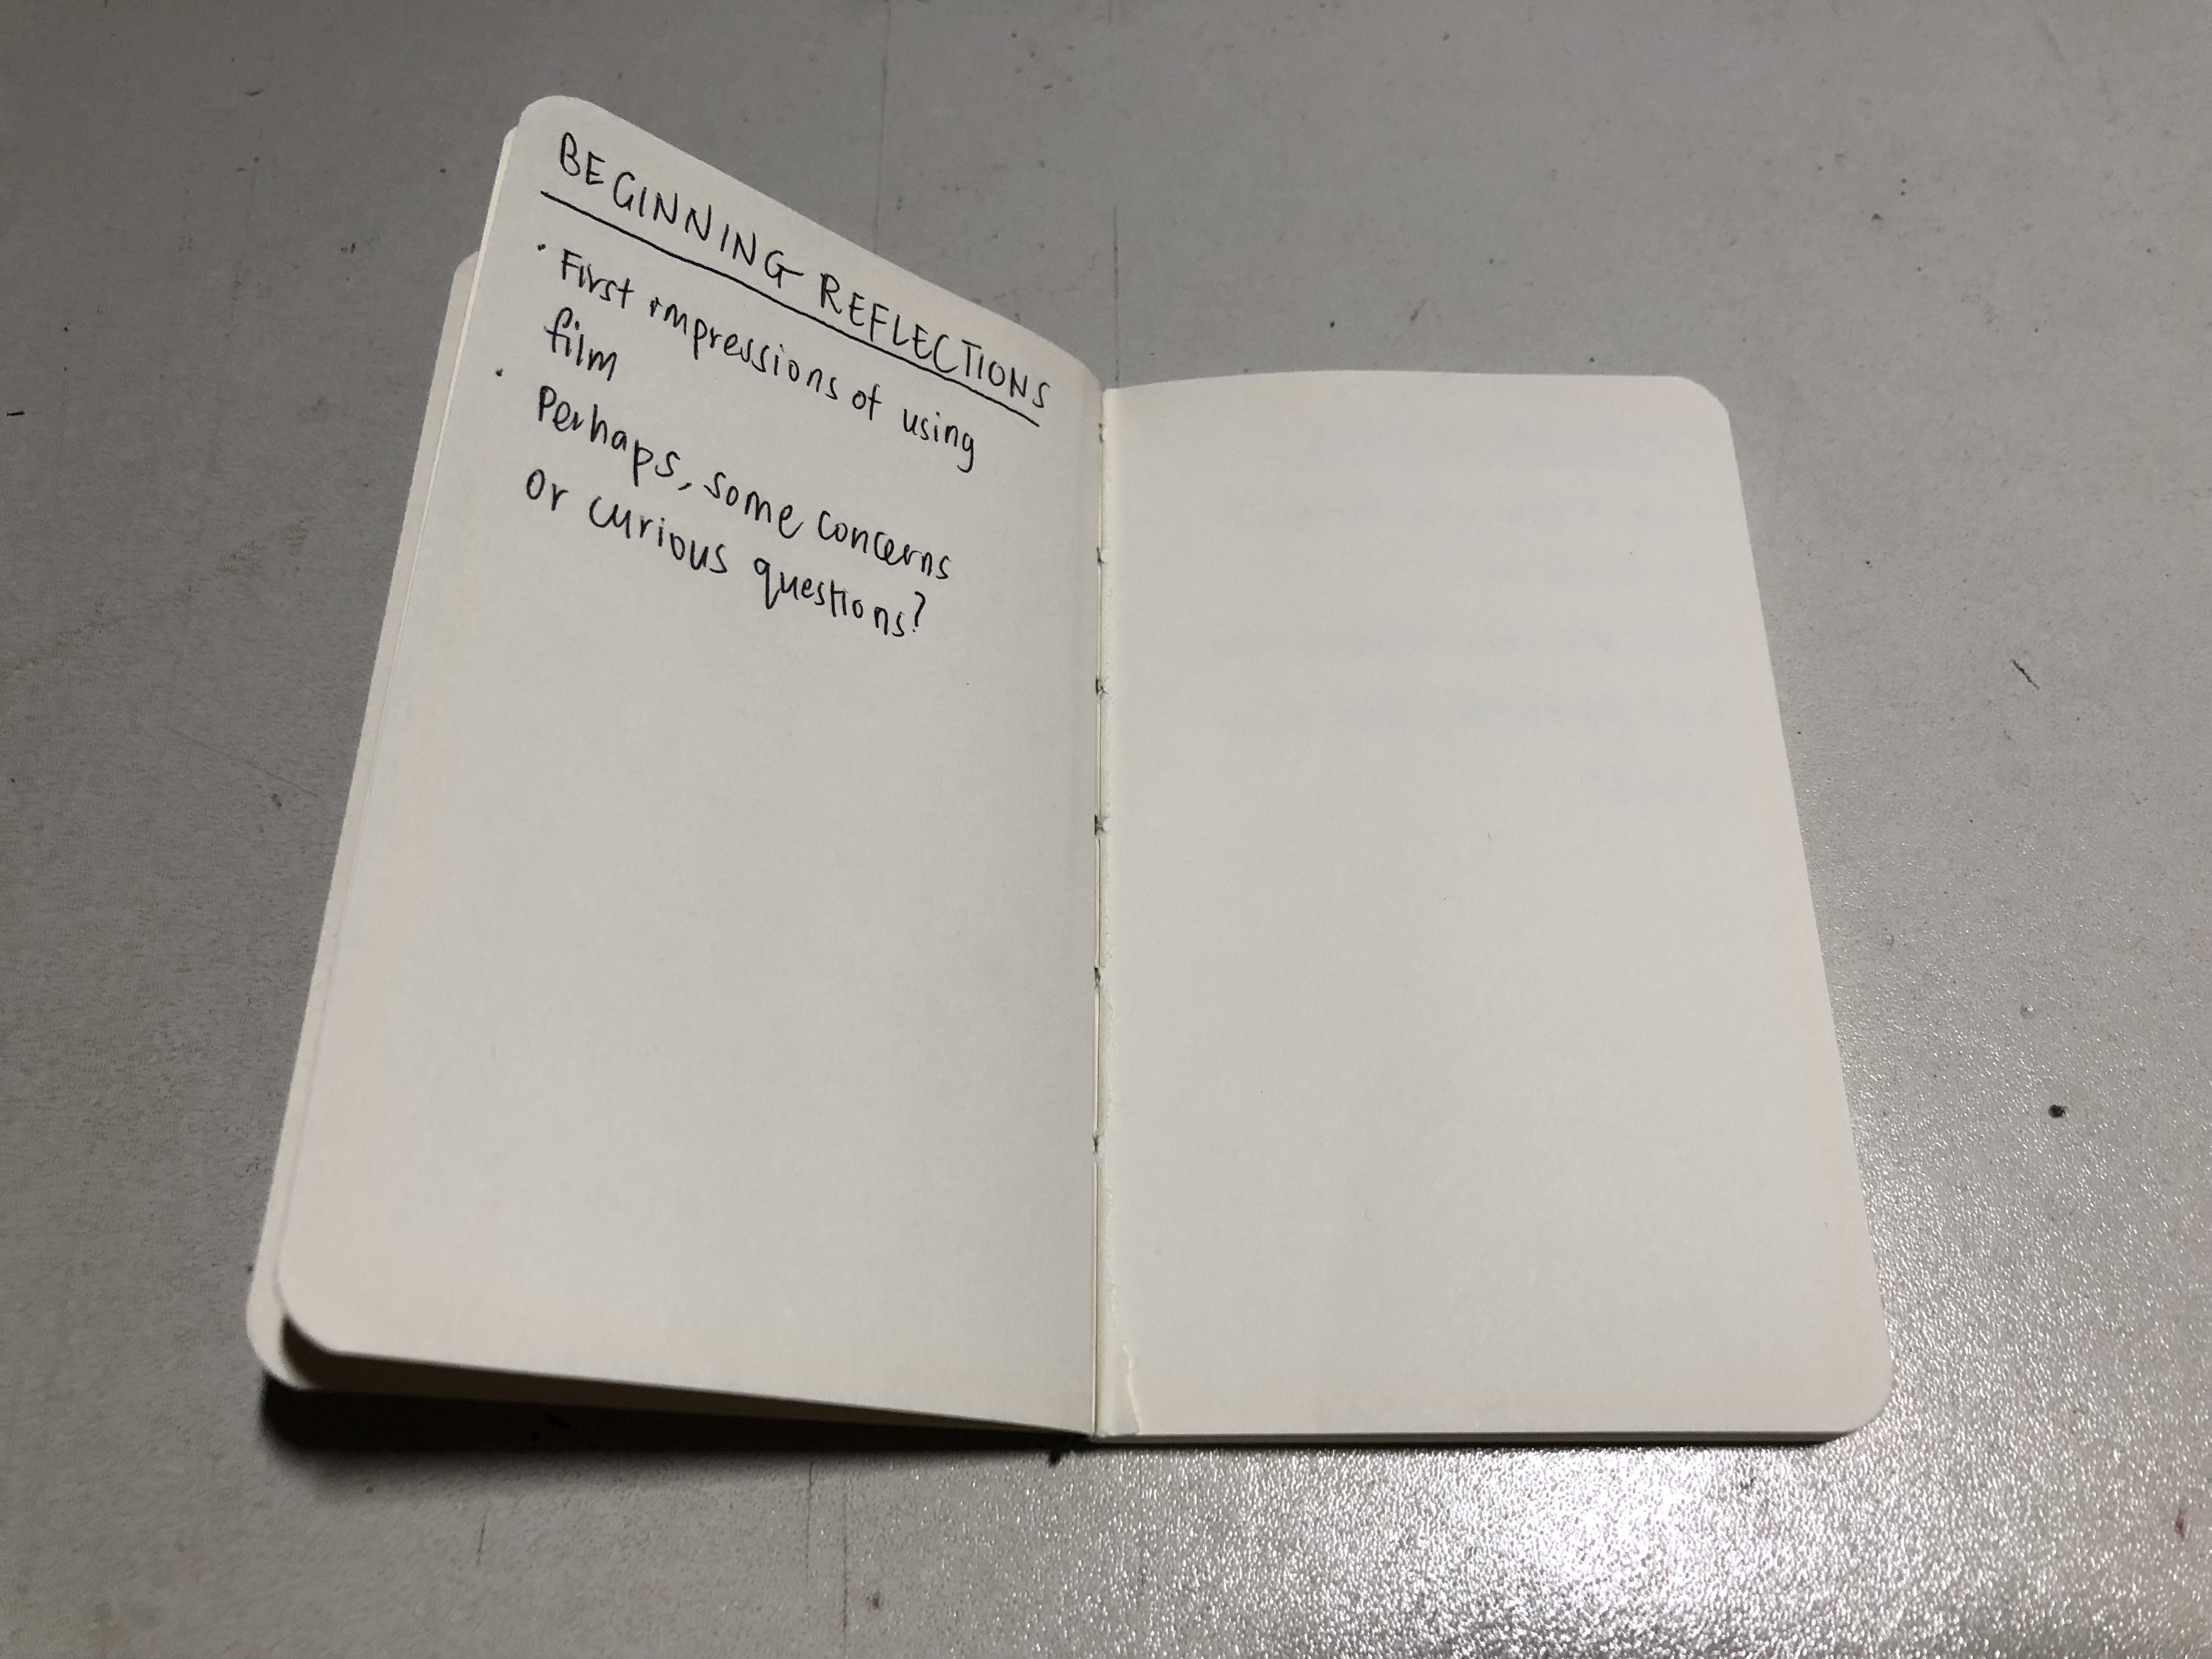
Beginning reflections
As someone who relies a lot on looking at the digital end-product first before deciding whether another photo should be taken, I’ve always had a fear of using film cameras because of the insecurity of being unable to check my photos. Also, film feels more insecure because I wouldn’t know if the picture is taken; I can’t re-create a certain scene and go back to take it after finding out that the photo wasn’t taken, especially since this is an overseas trip. Hopefully, through this experience I hope to change my perspective of insecurity towards film.
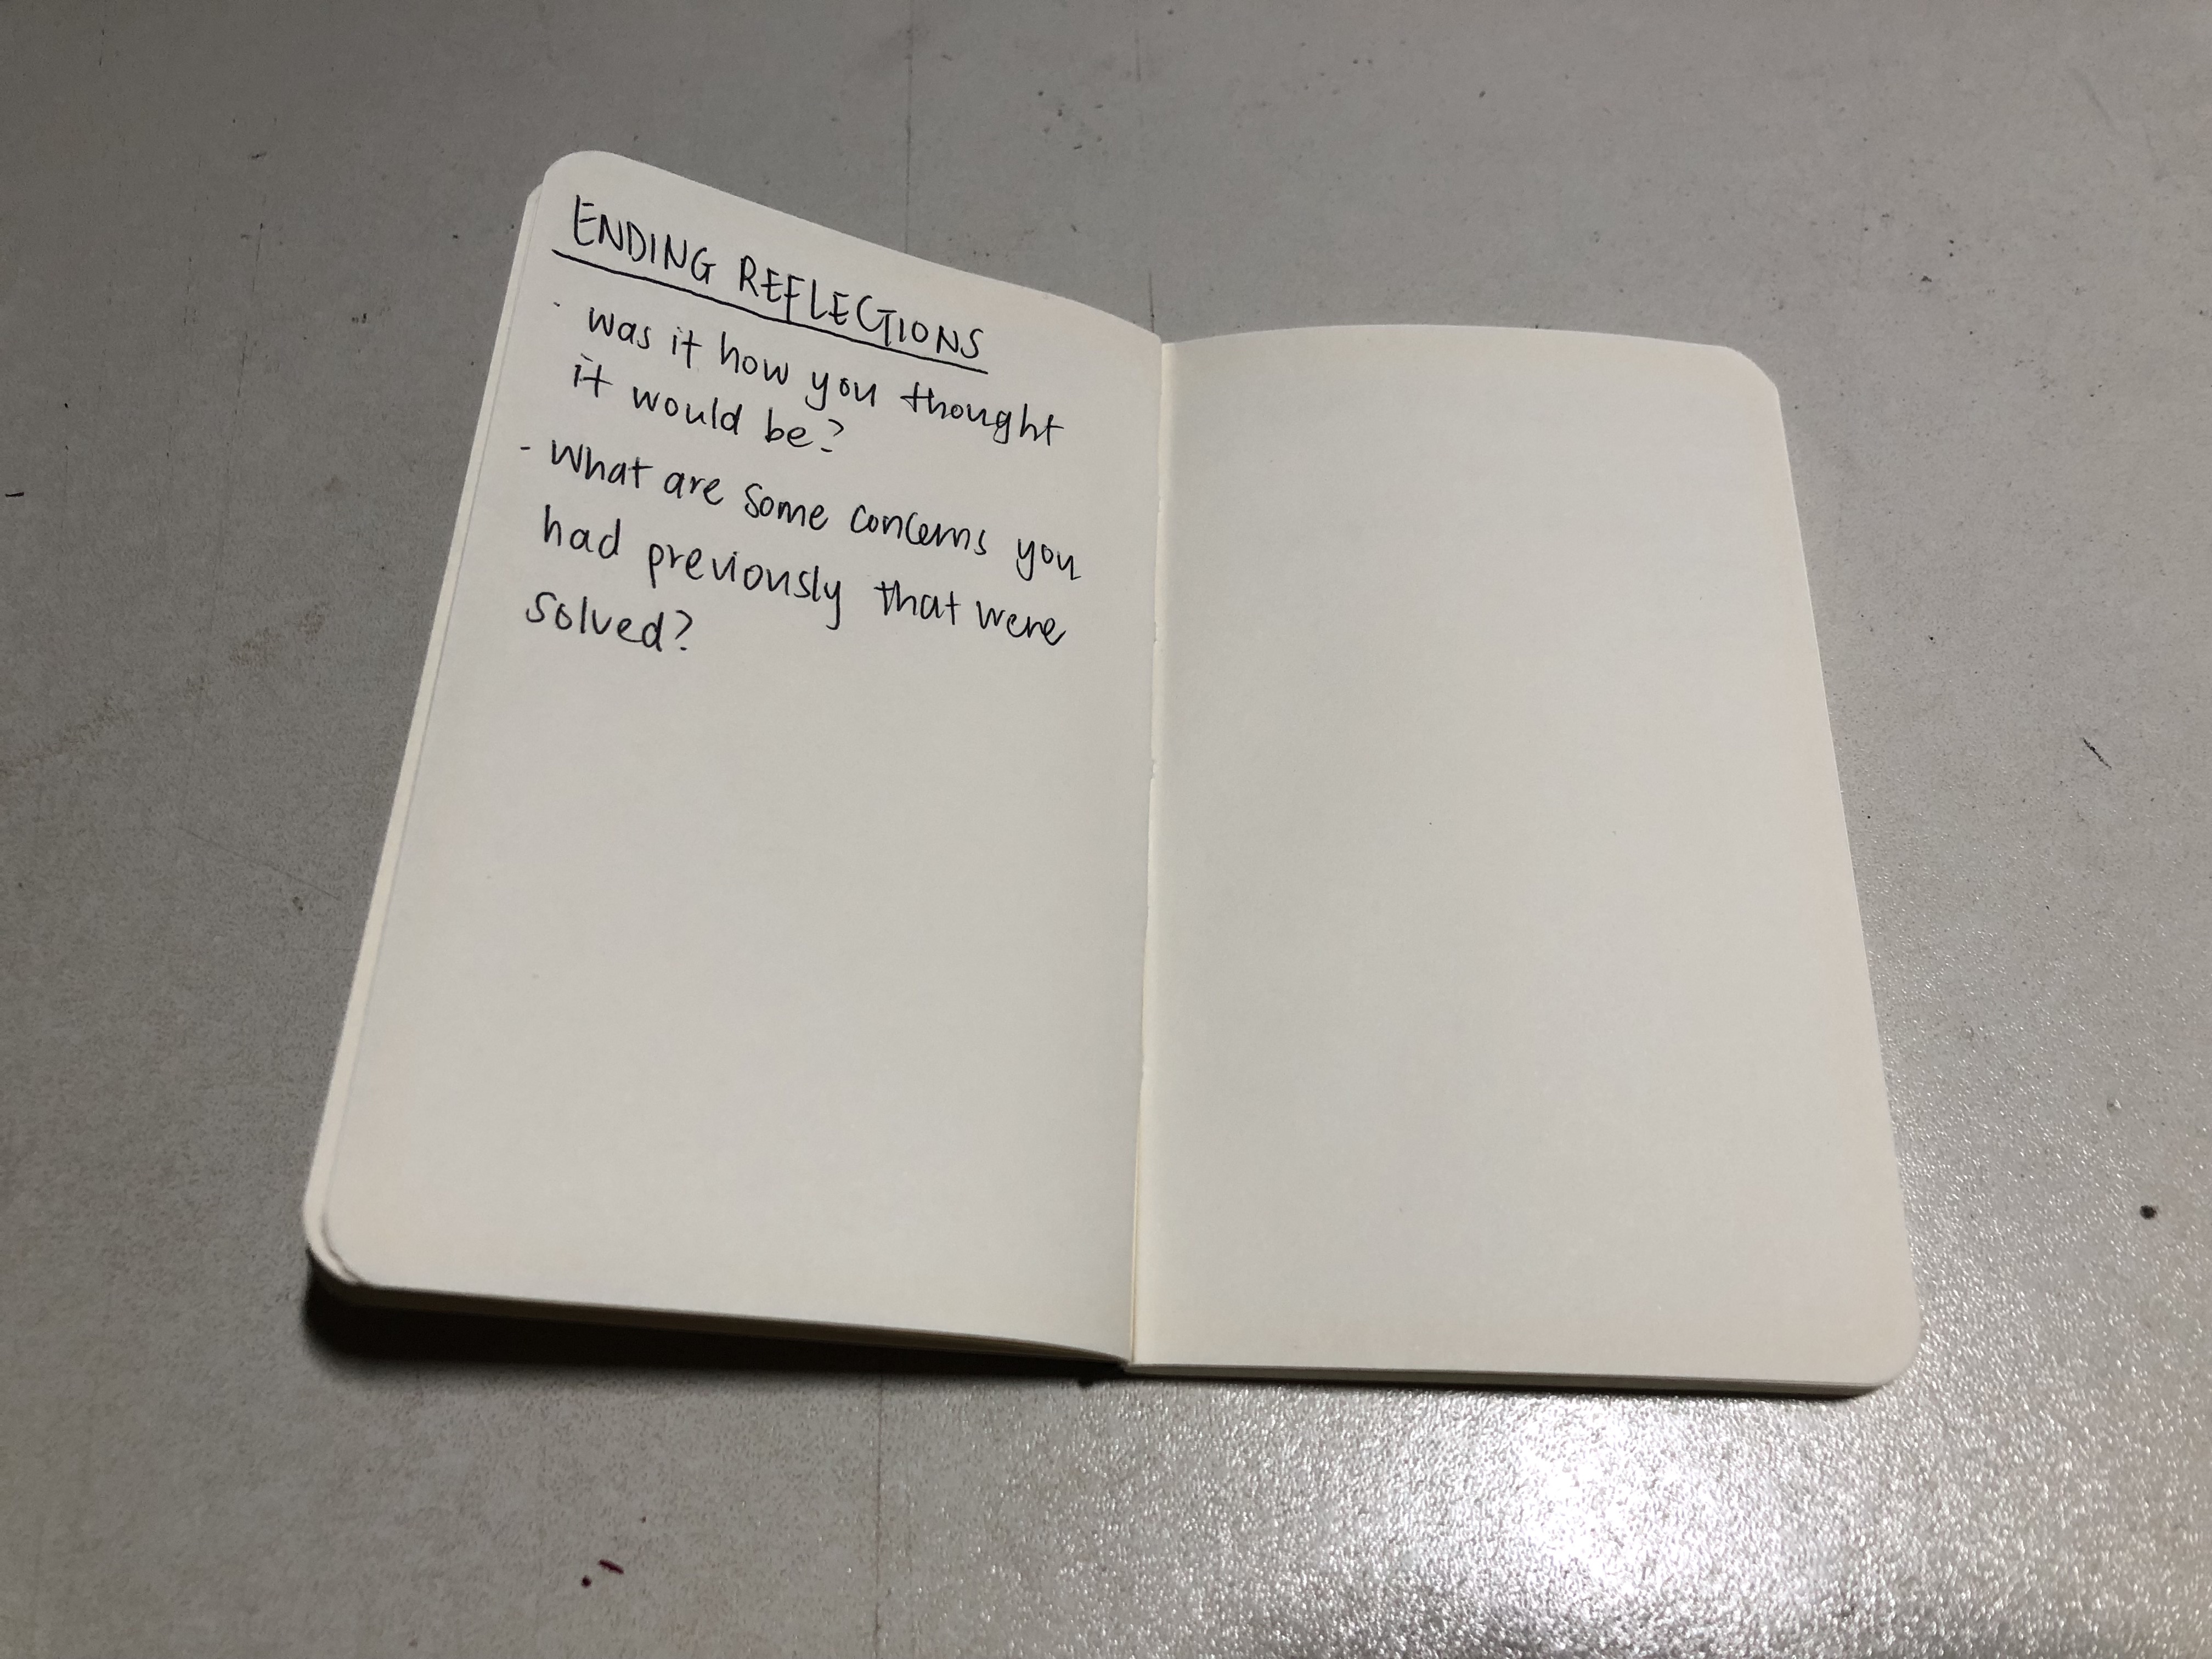
Ending reflections
I would think that since it was a disposable camera instead of a manual film one, my initial worry of photos not being taken were not applicable since disposable cameras are foolproof to use.
Something that I found myself doing is that I choose what I want to shoot with film more wisely as compared to using a digital camera. Moreover, I think that I used the camera more sparingly at the start of the trip since I was scared of “what if there are better scenes the following days?”, so I was more liberal towards the end of the trip. I’m excited to see how my photos turn out because I took them with more care.
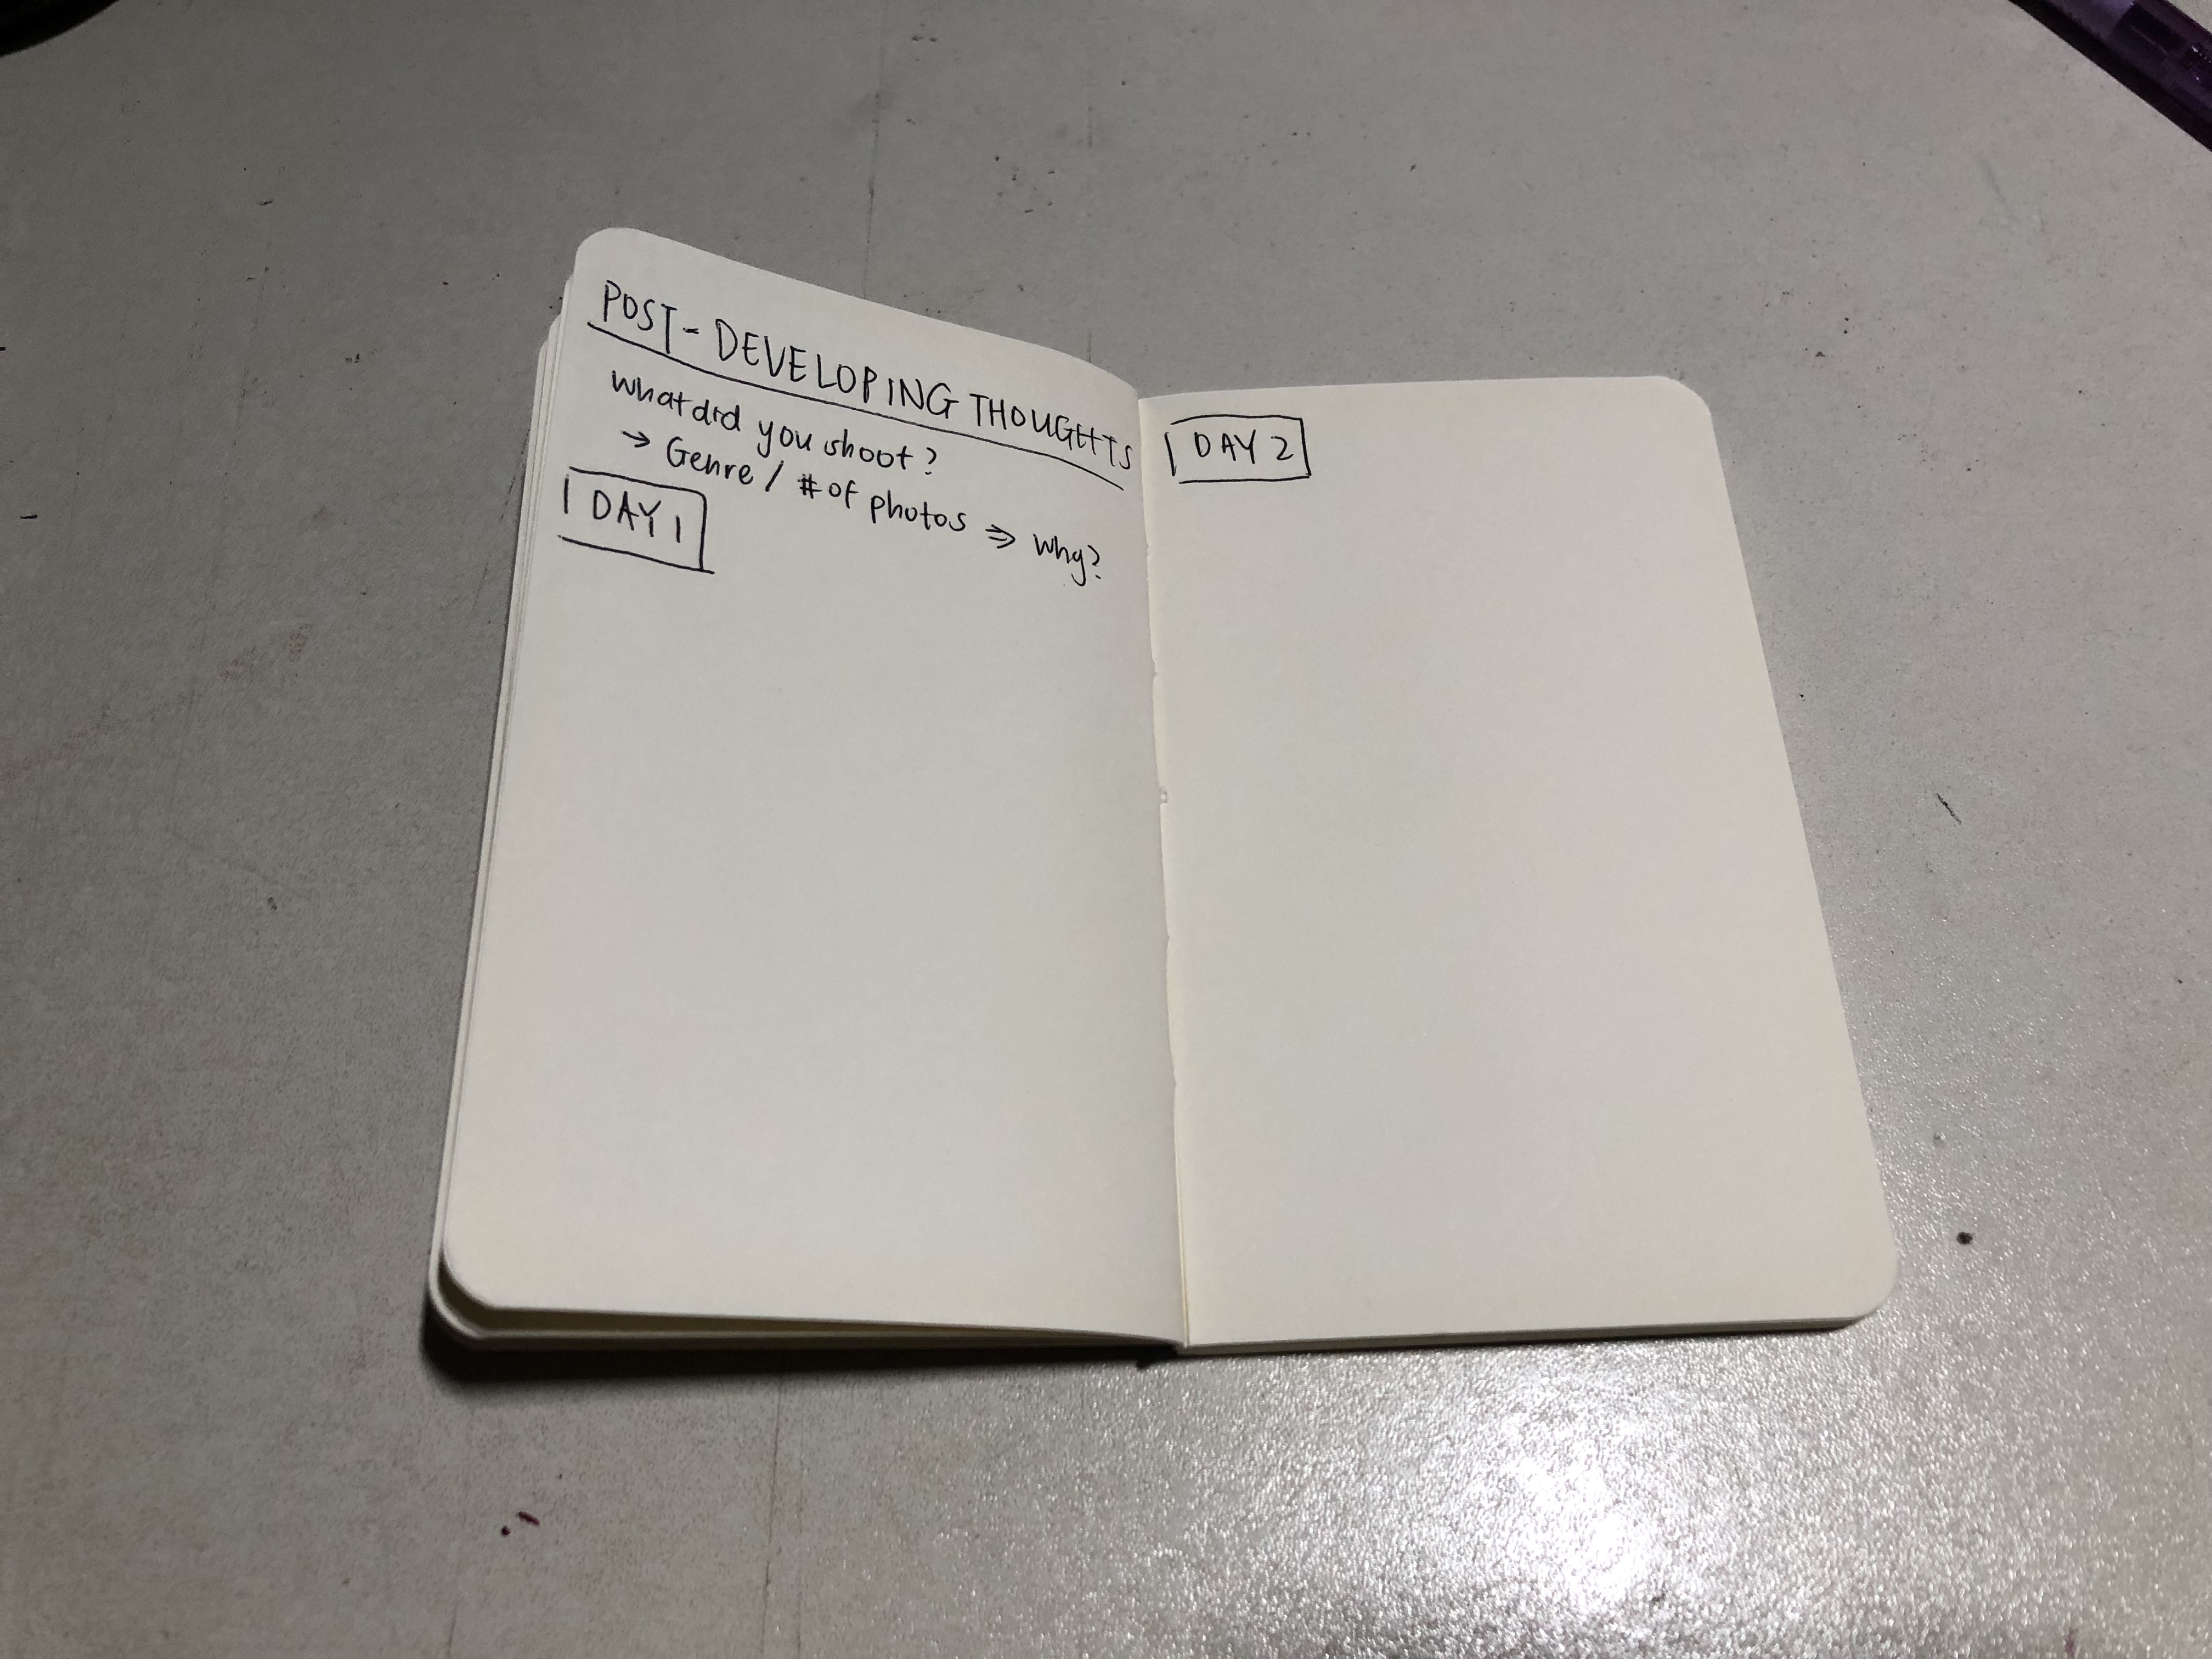
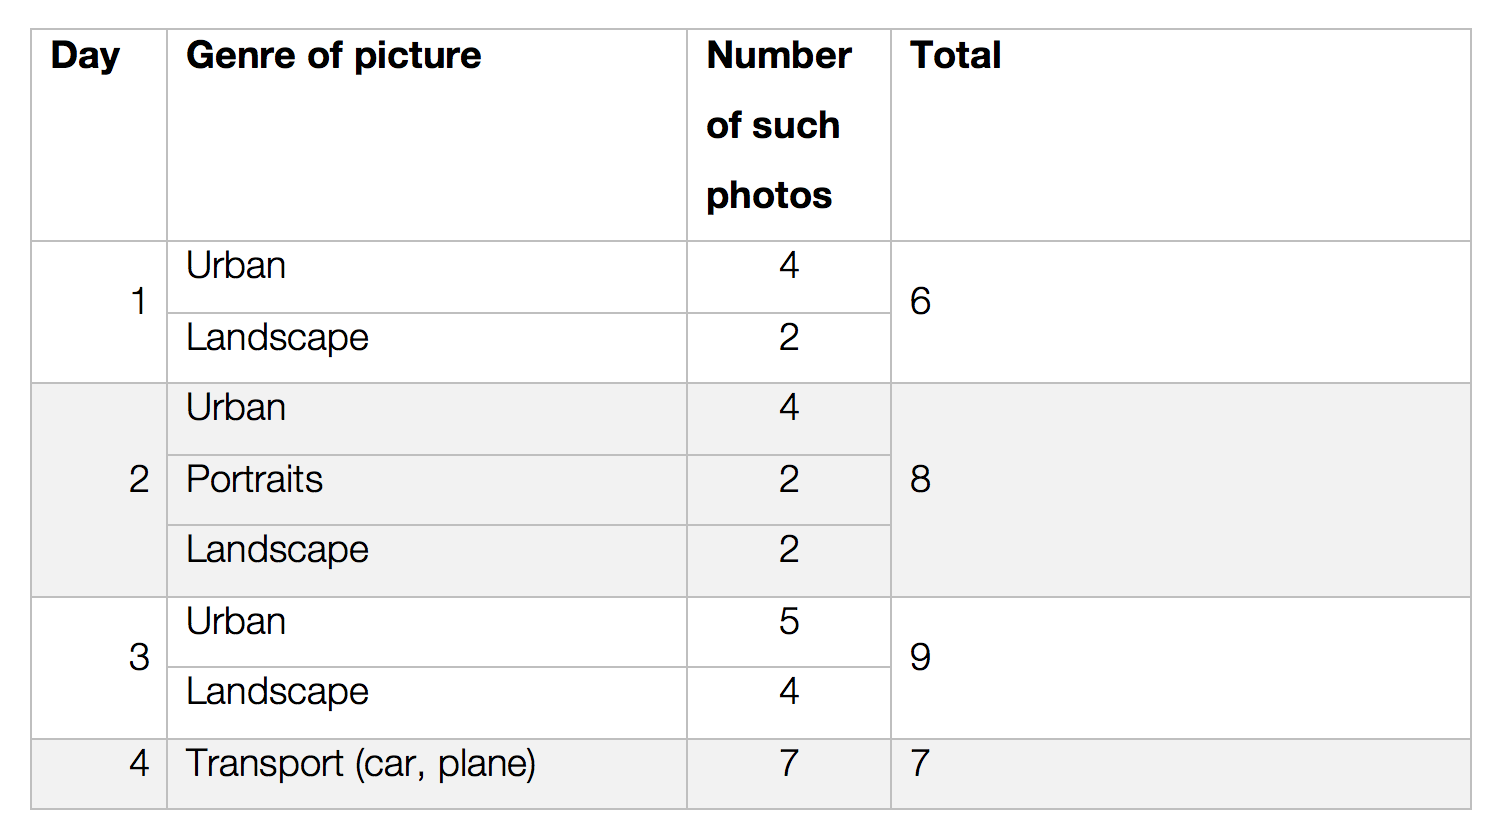
Table of number and type of photos taken
From the results, I was quite surprised that I hardly took any portraits but I think it can be attributed to the fact that portraits are hard to come out nice so my fear of ‘wasting’ a shot is still quite apparent.
This exercise was an eye-opener to me since I have yet to experience film photography. It has also gotten rid of a few of my fears regarding film photography.
For this assignment, I wanted to design a convenient and portable tool for pre-school teachers to store their teaching materials. Thus, I used a toolbox my cultural probe kit as it can also double as a toolbox for them to use and carry around in between lessons. The subsequent segments of this post will explain the contents of the cultural probe, tasks for the teachers, as well as my findings and personal evaluation.
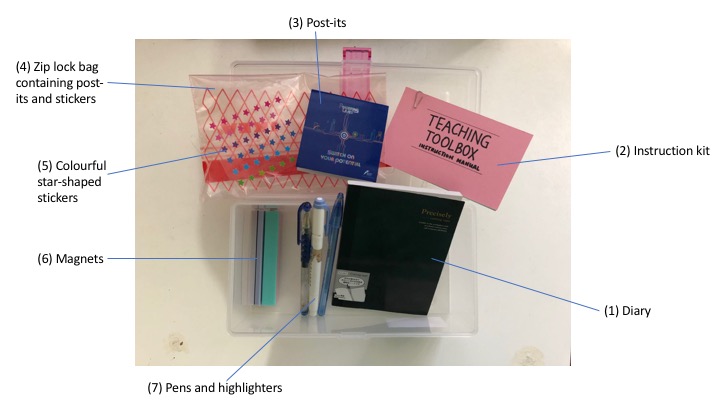
Top view of cultural probe kit
Contents
I used a transparent toolbox to hold the contents of the kit so that the teachers can easily locate the materials they need during lessons. Also, during my trip to the pre-school centre previously, I learnt that the teachers used baskets to store their writing materials. It was quite inconvenient for them as there were no handles for them to grip on to when they carried it around. Thus, I decided to use a toolbox with a handle for my cultural probe. My cultural probe kit includes the following items:
Fig 1: Contents of cultural probe kit (with labels)
Unfortunately, I could not include any cameras or electronic devices in the kit because I was told that the use of electronic devices is strictly prohibited in classrooms because electronic devices can distract the children and divert their attention away from the lesson.
Explanation of contents and tasks
My cultural probe kit included an instruction manual as follows:
Cover pagePage 1: Introduction
Instructions
Page 2: Brief instructions
Page 2 of the instruction manual includes some brief instructions that they should follow:
1. They should use the toolbox for one full day at the pre-school and use it to store their teaching materials. 2. Prompts them to refer to pages 3 and 4 for more instructions on the tasks they need to complete. 3. They can drop me a text message or call should they have any questions.
Task 1
Page 3: Instructions for task 1
The teachers will find the instructions for task 1 on page 3 of the instruction manual. On the left, there is a box indicating the materials they need from the kit to complete the task. For task 1, the teachers are required to record the following in the (1) diary using the (7) pens and highlighters provided after every lesson (refer to fig 1):
1. Describe your new experience with the toolbox. 2. Pen down and pros and cons of the toolbox, if any. 3. Pen down your thoughts and emotions during the lesson. 4. Include the date and lesson at the top of each journal entry.
Rationale for task 1: To understand their day-to-day schedules better, and how the toolbox improved/ hindered their teaching experience.
Task 2
Page 4: Instructions for task 2
The teachers will then find the instructions for task 2 on page 4 of the instruction manual. There is a box indicating the materials they need from the kit to complete the task. For task 2, the teachers are required to complete the following at the end of the day:
1. Rate your day out of 5 with the (5) colourful star-shaped stickers provided. Paste the stickers on the (3) post-its provided. 2. Explain briefly on the same (3) post-it why you rated your day as such. 3. Stick the (3) post-it on the back of the diary entries for that day.
Rationale for task 1: To understand their day-to-day experiences better, and the difficulties they face at school, so that I can improve on the tool design.
Practitioner’s experience with the cultural probe
I only managed to get one teacher to use my probe for two full days. However, also managed to let two other teachers mingle with the cultural probe kit for a few minutes and collated their comments afterwards. Below are my findings.
Diary entry 1Diary entry 2
Although the instructions stated that the teacher had to write diary entries after every lesson, she could not do so due to time constraint. She explained that she needed to bring the children from one classroom to another in between lessons, and she only had time to write the diary entries during the children’s nap time from 2:00pm-3:00pm.
Post-it with ratings
As for the post-its, the teacher forgot to do it on the first day. Therefore, there was only one post-it, which was done on the second day.
Findings
Below are the overall pros and cons of the toolbox that I collated based on the findings from the participant as well as the two other teachers:
The teachers are listed down some suggestions for improvements as follows:
1. Can consider adding a longer strap to the toolbox so that the teacher can carry it around instead of holding the handle. 2. Can divide the toolbox into different sections i.e. top and bottom tiers so that the things will be more organised. 3. The toolbox’s buckle can be more secure. 4. Can perhaps use a translucent toolbox instead of a fully transparent one so that it will be less distracting for the children.
Personal evaluation
I should have paid more attention to the teacher’s busy schedules while designing their probes. For example, one diary entry per day would have been more ideal given their erratic schedules.
Initially, I wanted to use a toolbox with dividers i.e. top and bottom tiers. However, I could not find a toolbox with that design and thus settled with one without dividers, and it turned out to be a big problem pointed out by the teachers as well.
This cultural probe really allowed me to understand the day-to-day experiences of the teachers, and their responses gave me great insights on how I can improve on the tool as well.
Goal: To investigate attitudes towards art therapy for the elderly as a creative practice and ageing from the perspectives of an art therapist and general populace
For this cultural probe, I had two participants for the activity workbook. One, the art therapist we had sat down with to explore her practice – Anna; Two, a university nursing student – Sara.
Visualisation of practice
Through the abstraction of your emotions, experiences, influences, and relationships to wider contexts, represent your practice through colour, line, shape, pattern, or any combination of visual elements – as long as you do not use written words. You may use any number of pages you wish.
On a separate page from your visualisation, write out and document the thought processes behind your visualisation.
1A – Sara
1A – Anna
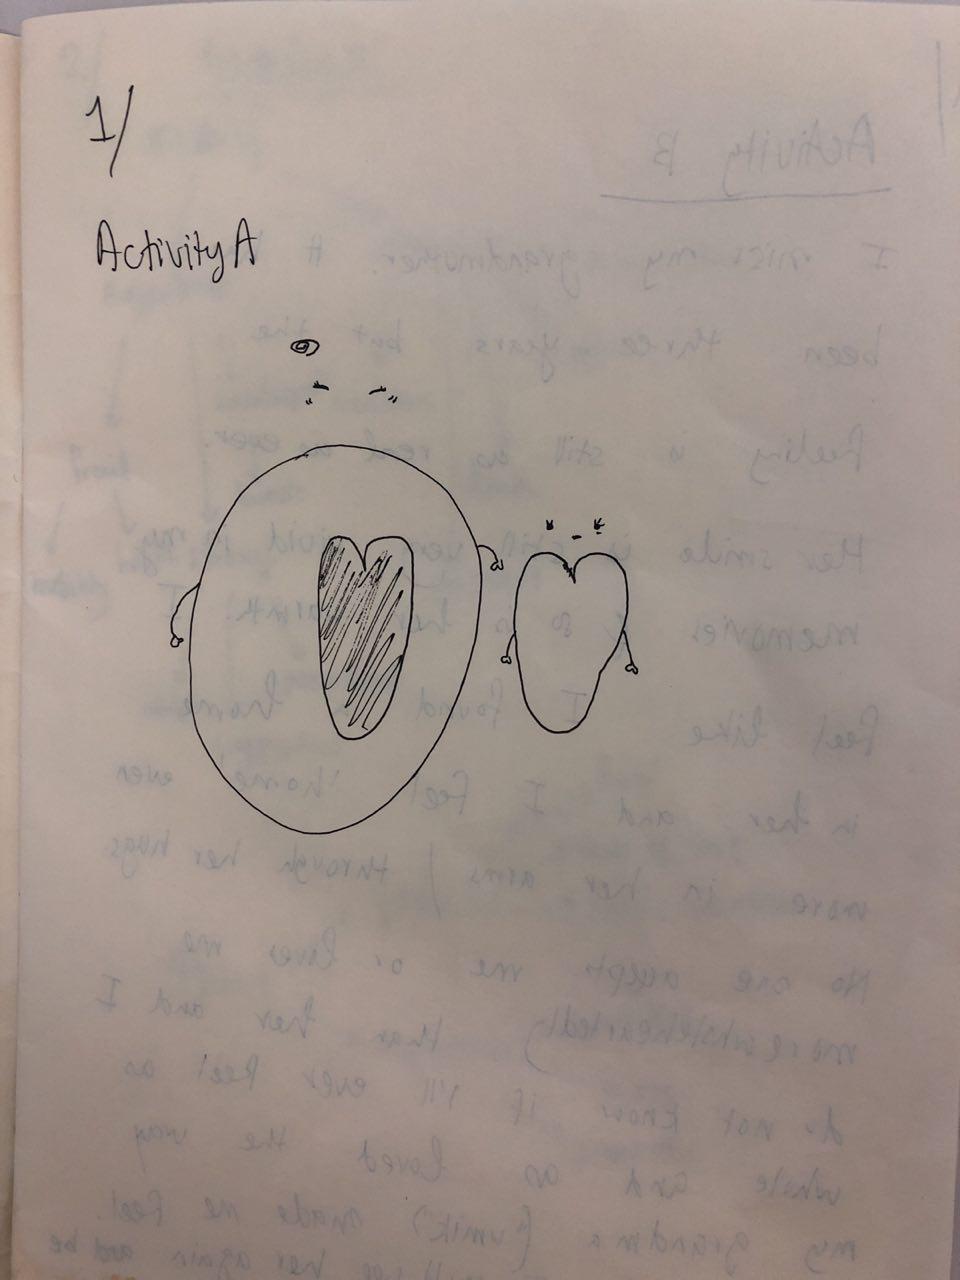
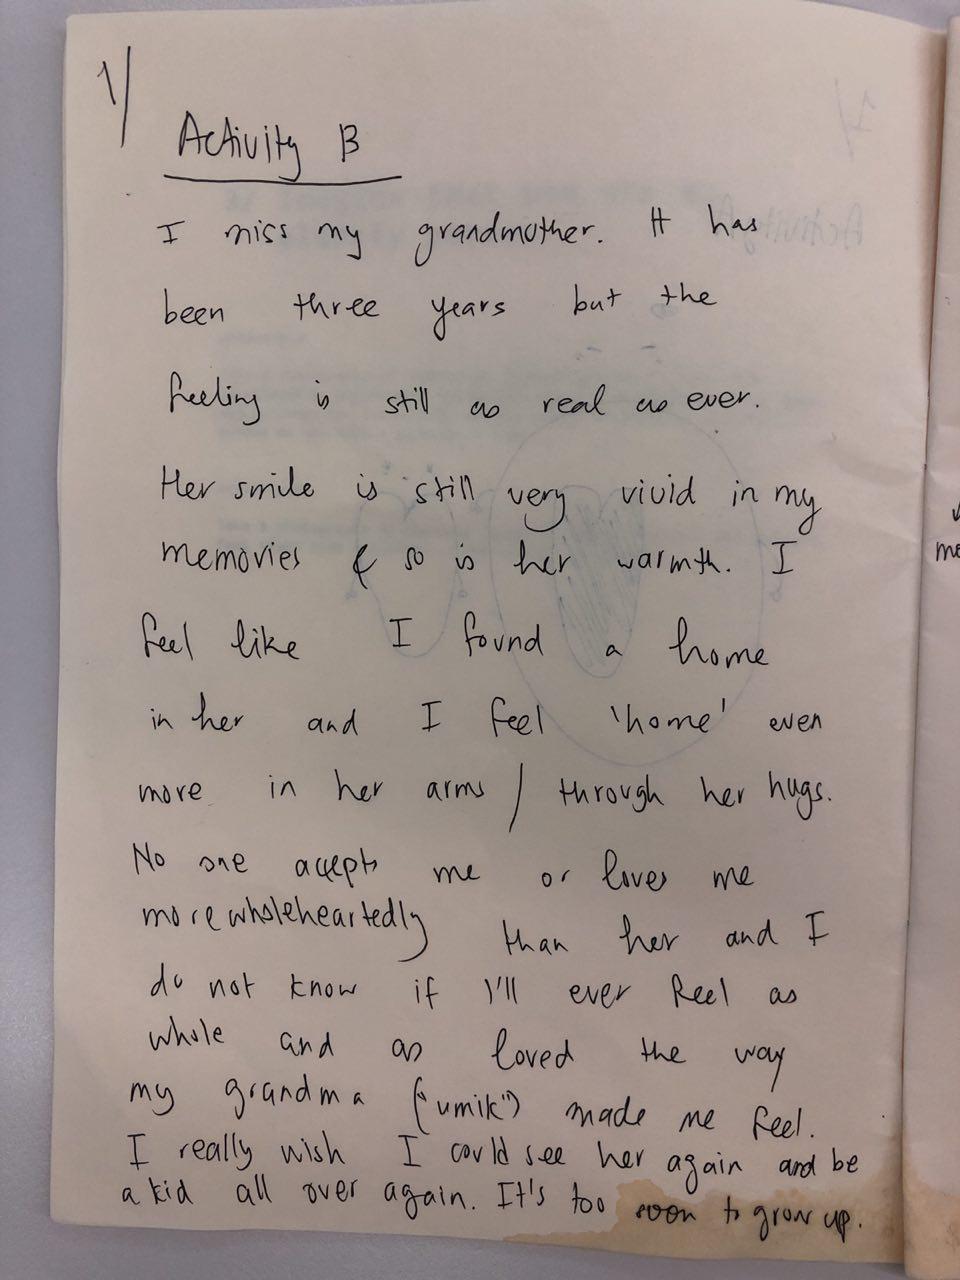
1B – Sara
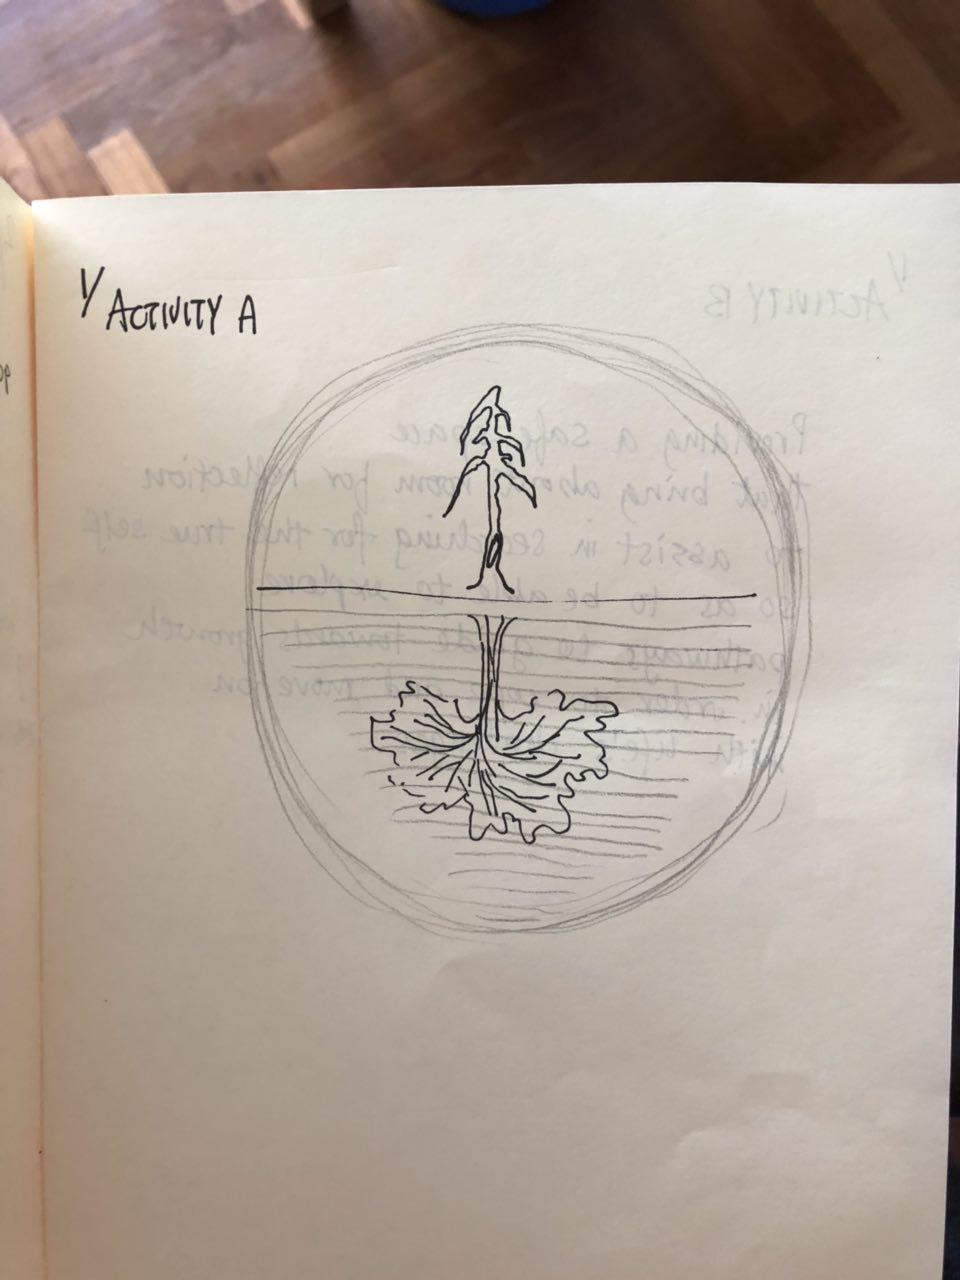
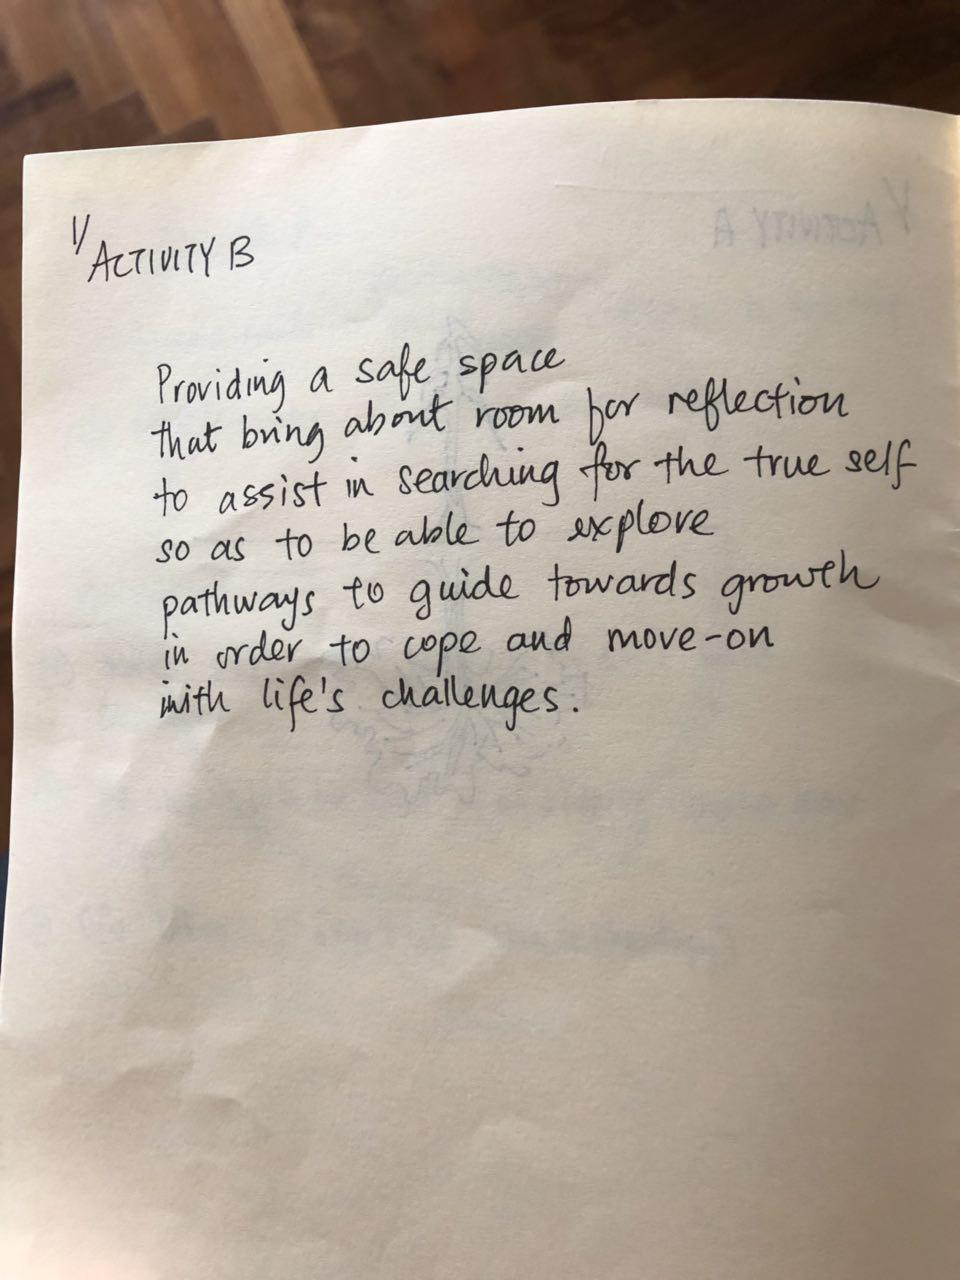
1B – Anna
Interestingly, for this prompt, Sara put herself in the shoes of what it was like to be a client receiving art therapy. She wrote out a story of her grandmother and her feelings towards the matter – in doing so, she is expressing that she thinks art therapy is meant to heal the heart through drawing and talking one’s problems through and to the therapist. Anna drew a sapling that had a reflection of a tree, indicating the nourishment that art therapy provides as well as how how the art her clients make provide a reflection she writes about under 1B.
2. Mental model of ageing and the elderly
You are given a list of 7 words below. Based on your own interpretation and understanding of their meanings, implications and/or relationship(s), create one or more word trees using the words as prompts. You should come up with at least 10 other words to create your word tree(s), excluding the given prompts. You may use any number of pages you wish.
Elderly
Death
Ageing
Health
Mobility
Values
Stereotypes
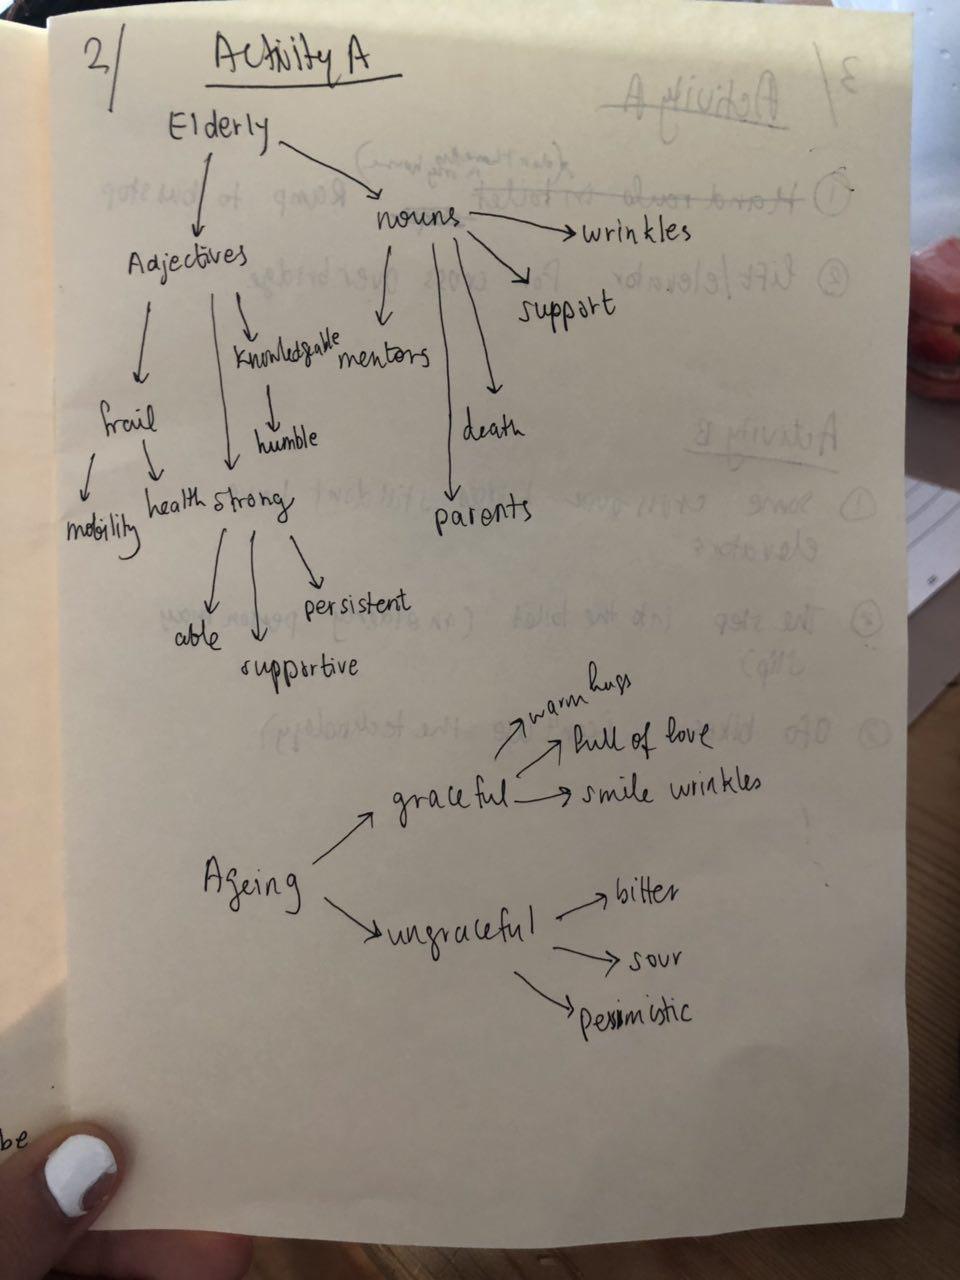
2A – Sara
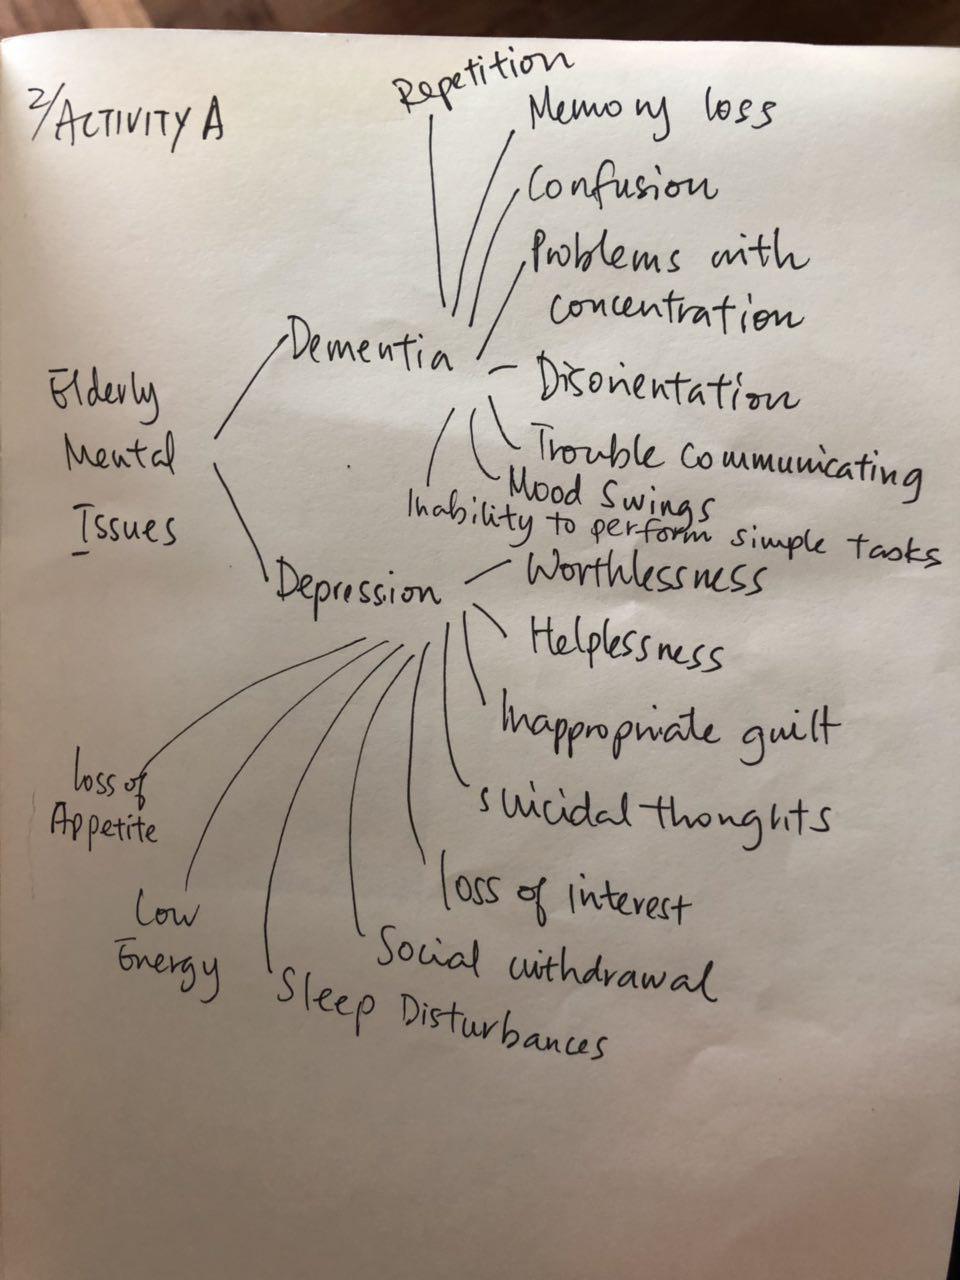
2A – Anna
Sara, as a nursing student, approached this question from a relatively objective/external/medical point of view. As compared to Anna who went more in depth with regards to the mental health of elderly.
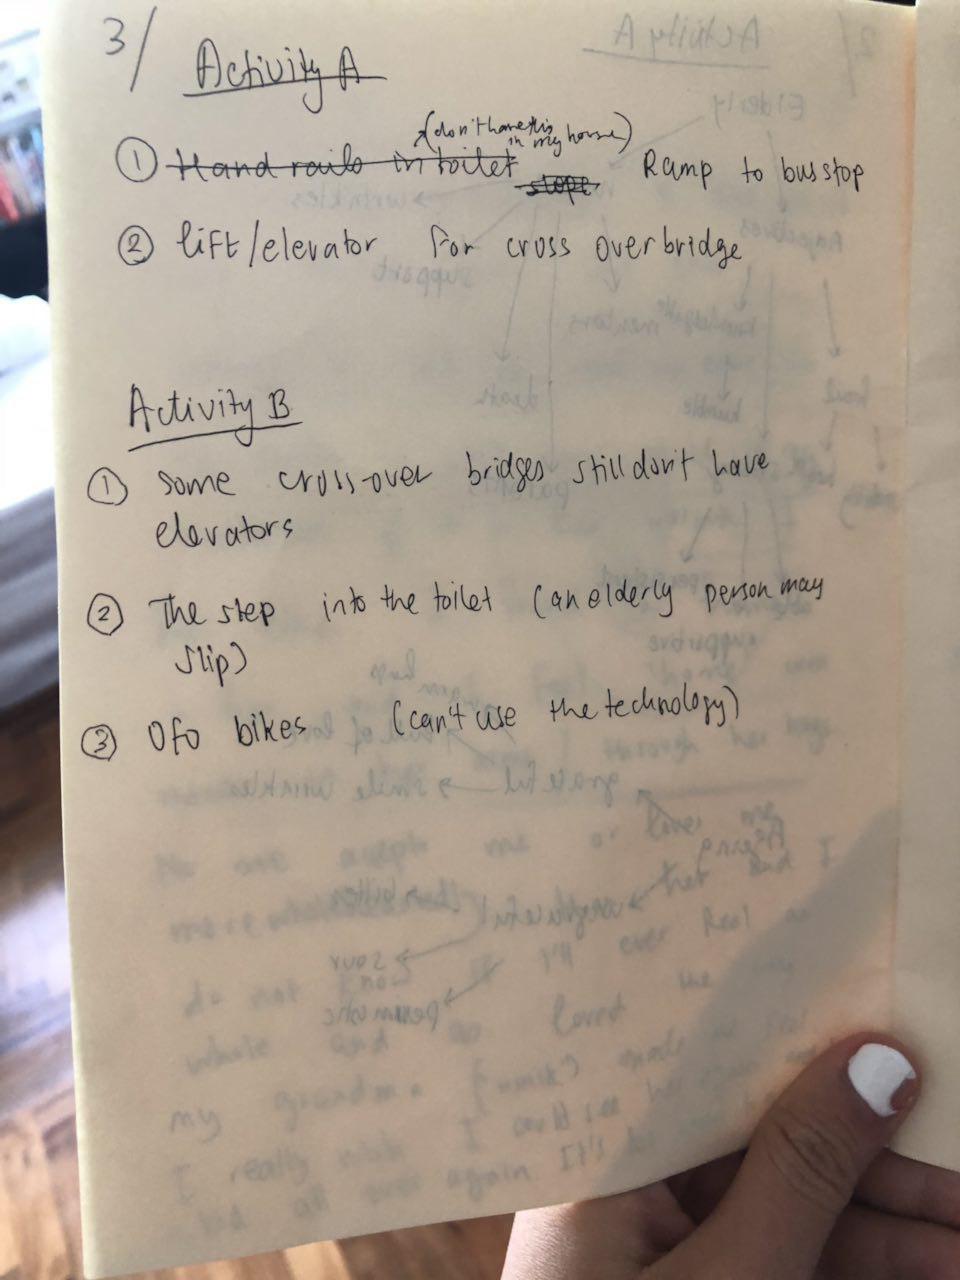
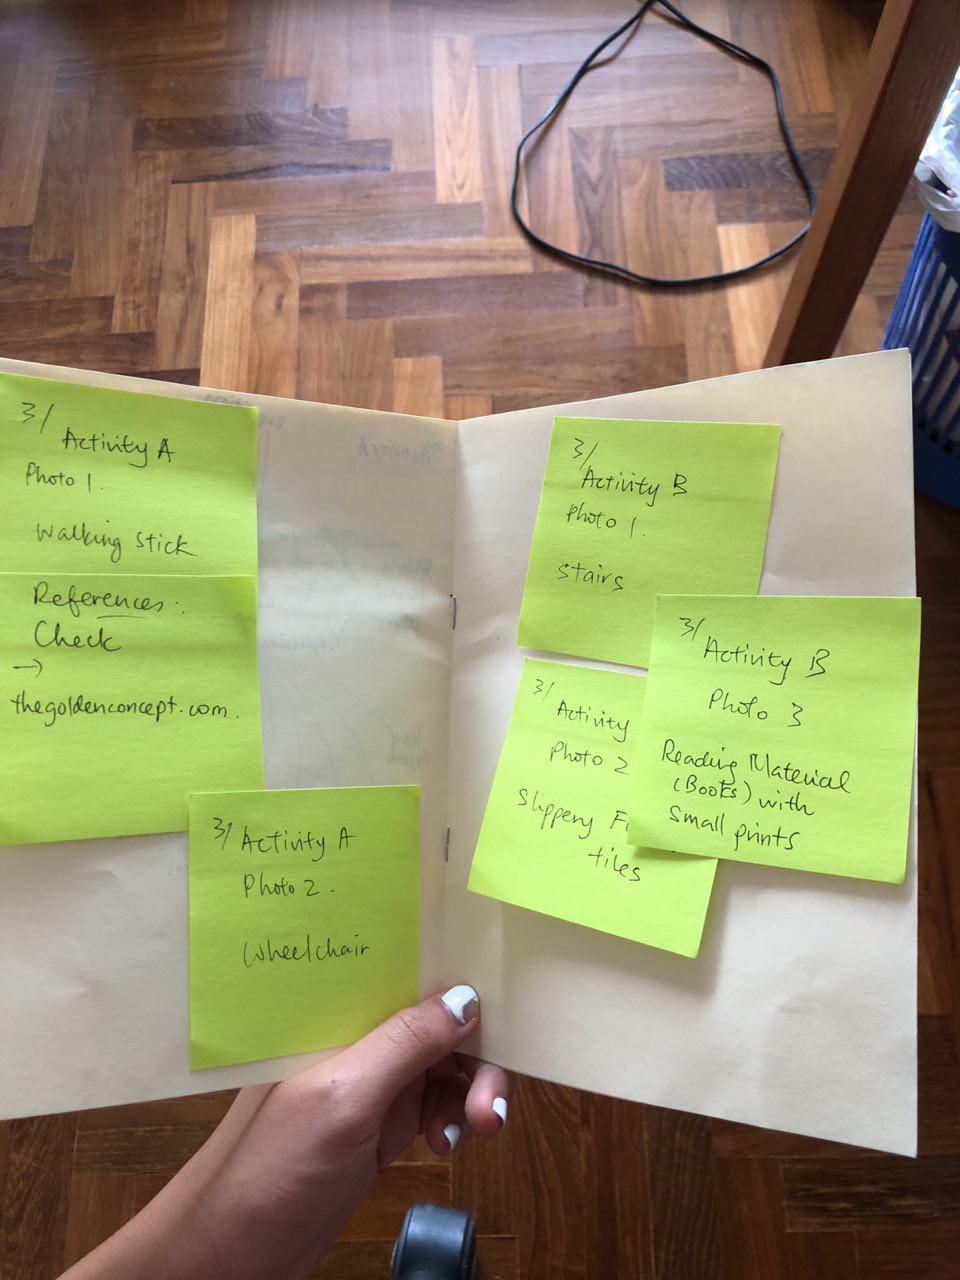
3. Imagine that you are an elderly person.
Take 2 photographs of objects or elements around you that were integrated to accommodate the various needs of the elderly. (e.g. ramps and railings for the elderly who are unable to navigate up the stairs)
Take 3 photographs of everyday things or features around you that you feel might pose a problem to the elderly in any way.
3A+B – Sara
3A+B – Anna
The images were provided separately but these were a representation of what the two participants thought about for prompt 3.
Inspired by Kevin Chiam, who designed and invented kitchenware to allow the blind and visually impaired to cook safely (read more here: https://www.channelnewsasia.com/news/cnainsider/designer-folks-kevin-chiam-invents-kitchen-products-blind-10762318), I decided to come up with a scrapbooking template that allows the blind to write and make their own gift cards. This will be based on my experience when I partook in the scrapbooking practice with my friend Elena.
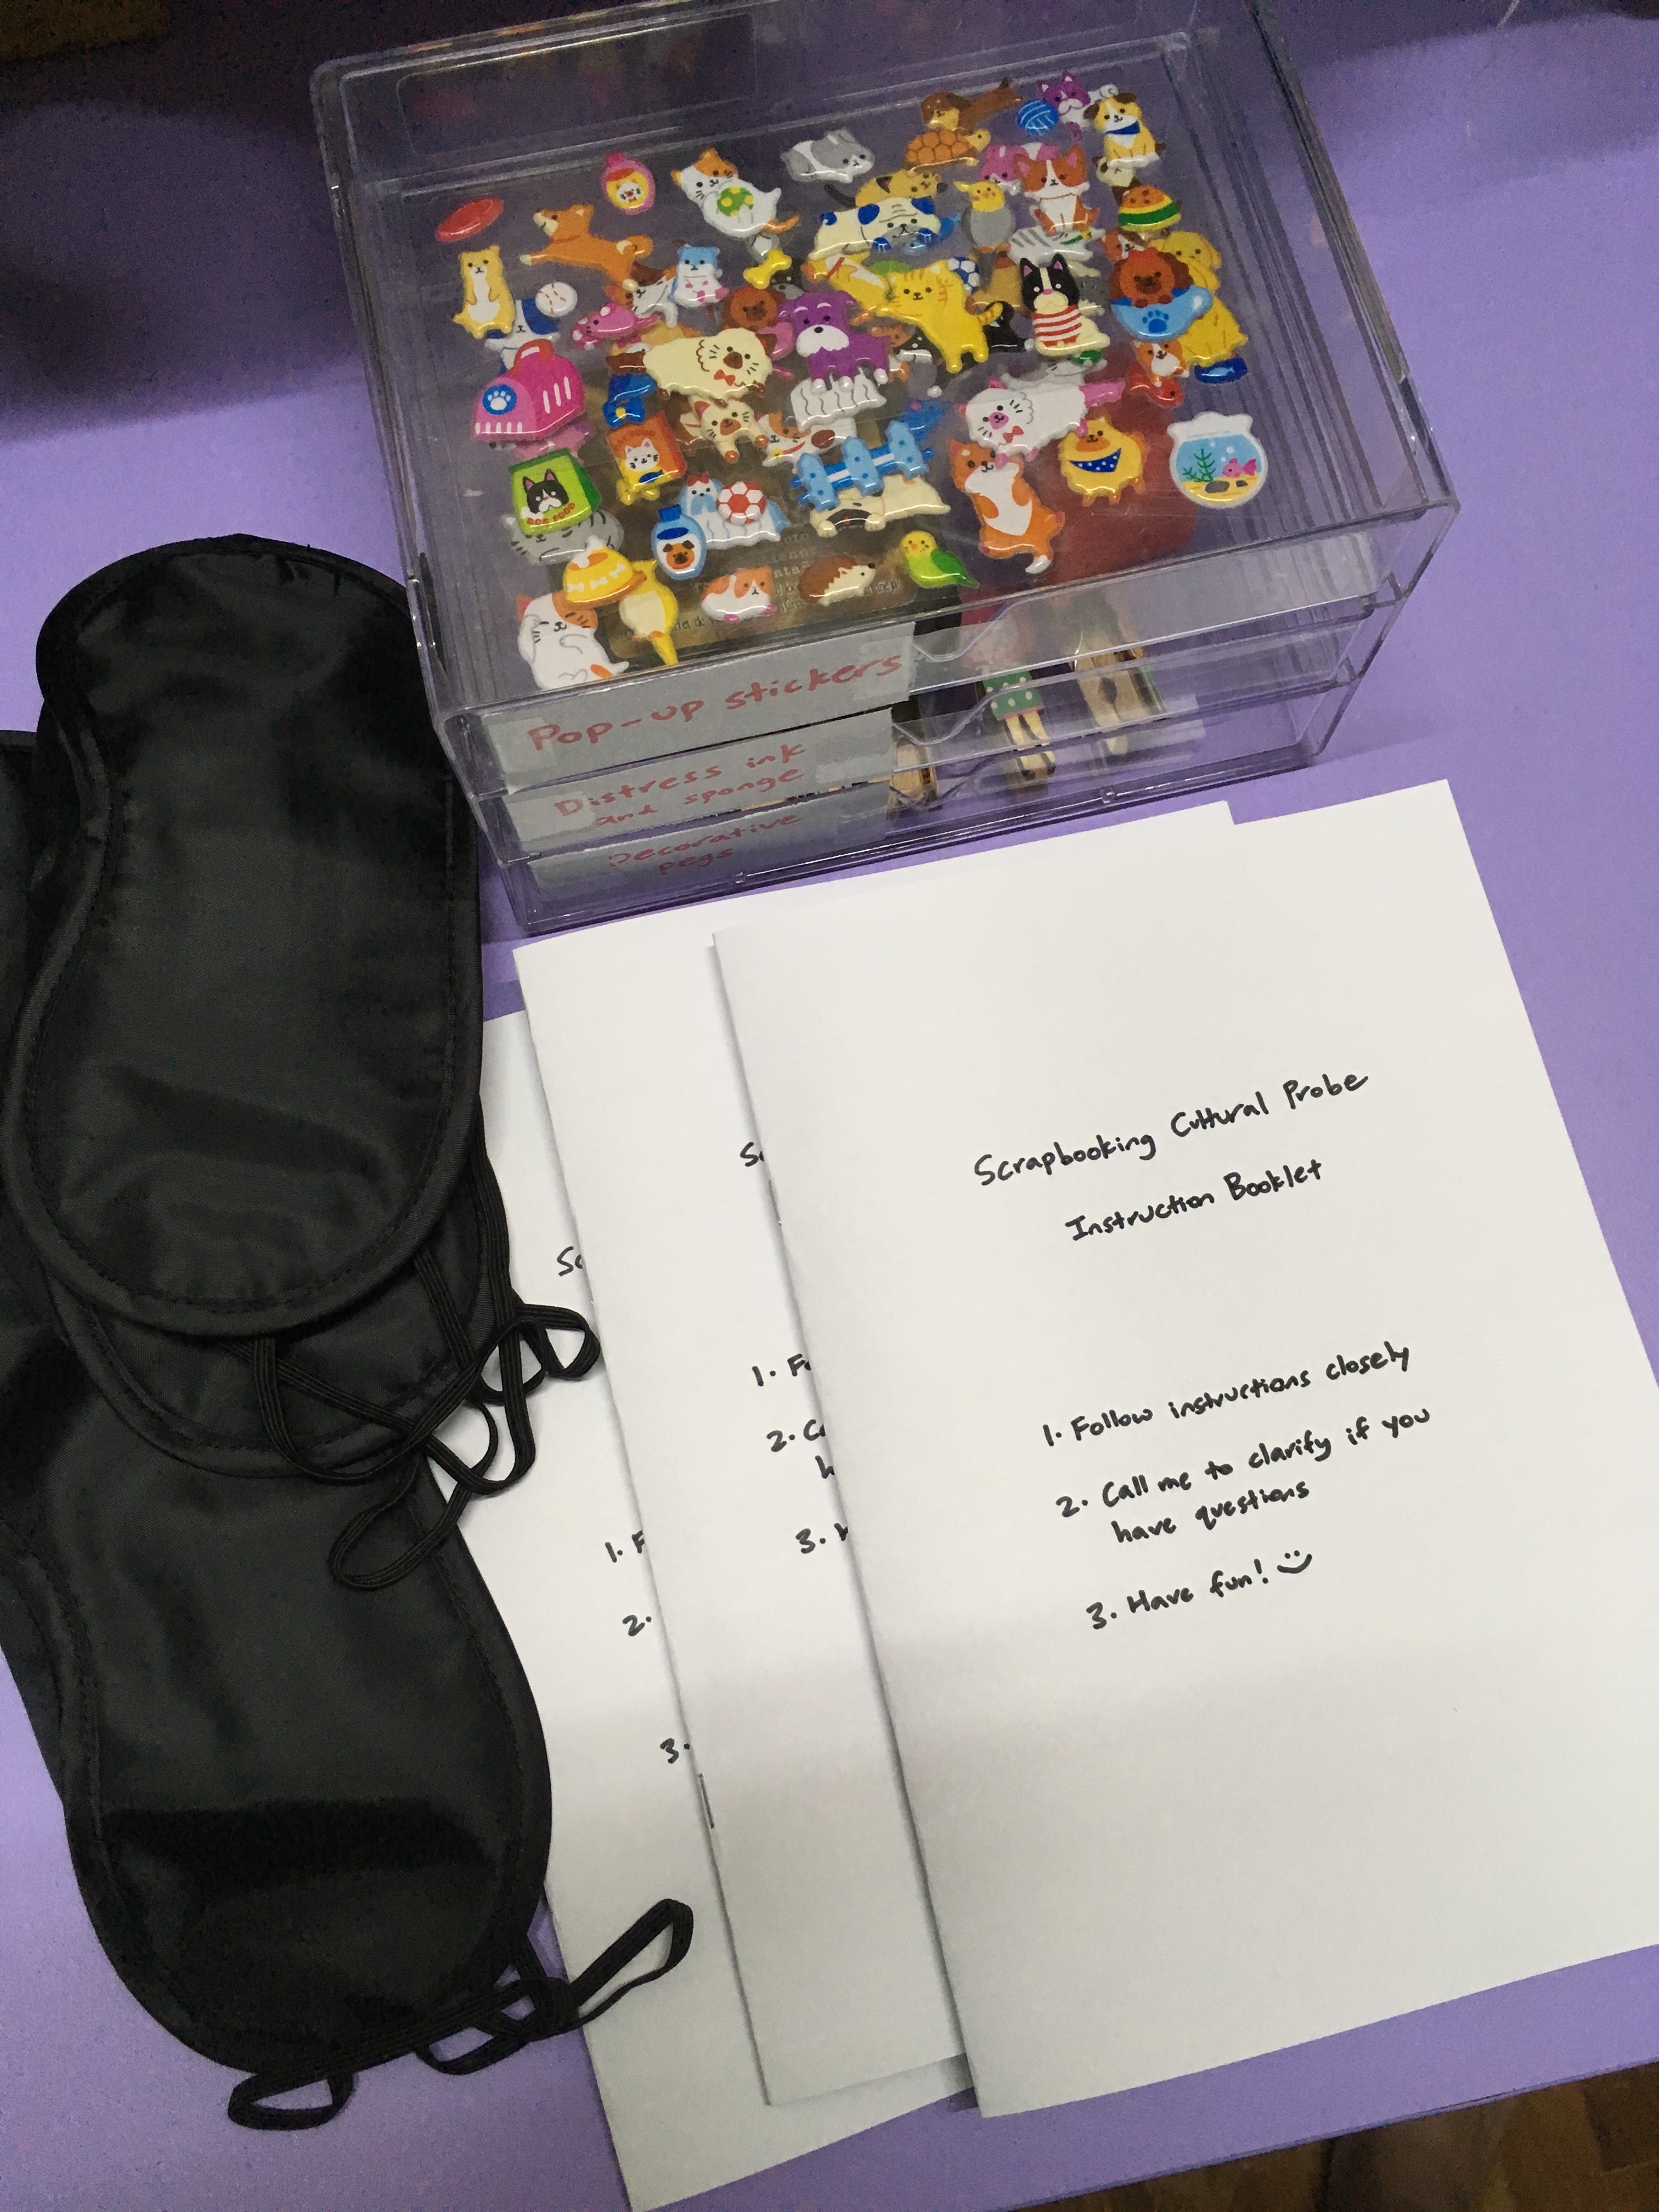
Design probes (kit)
My probe kit includes the following items:
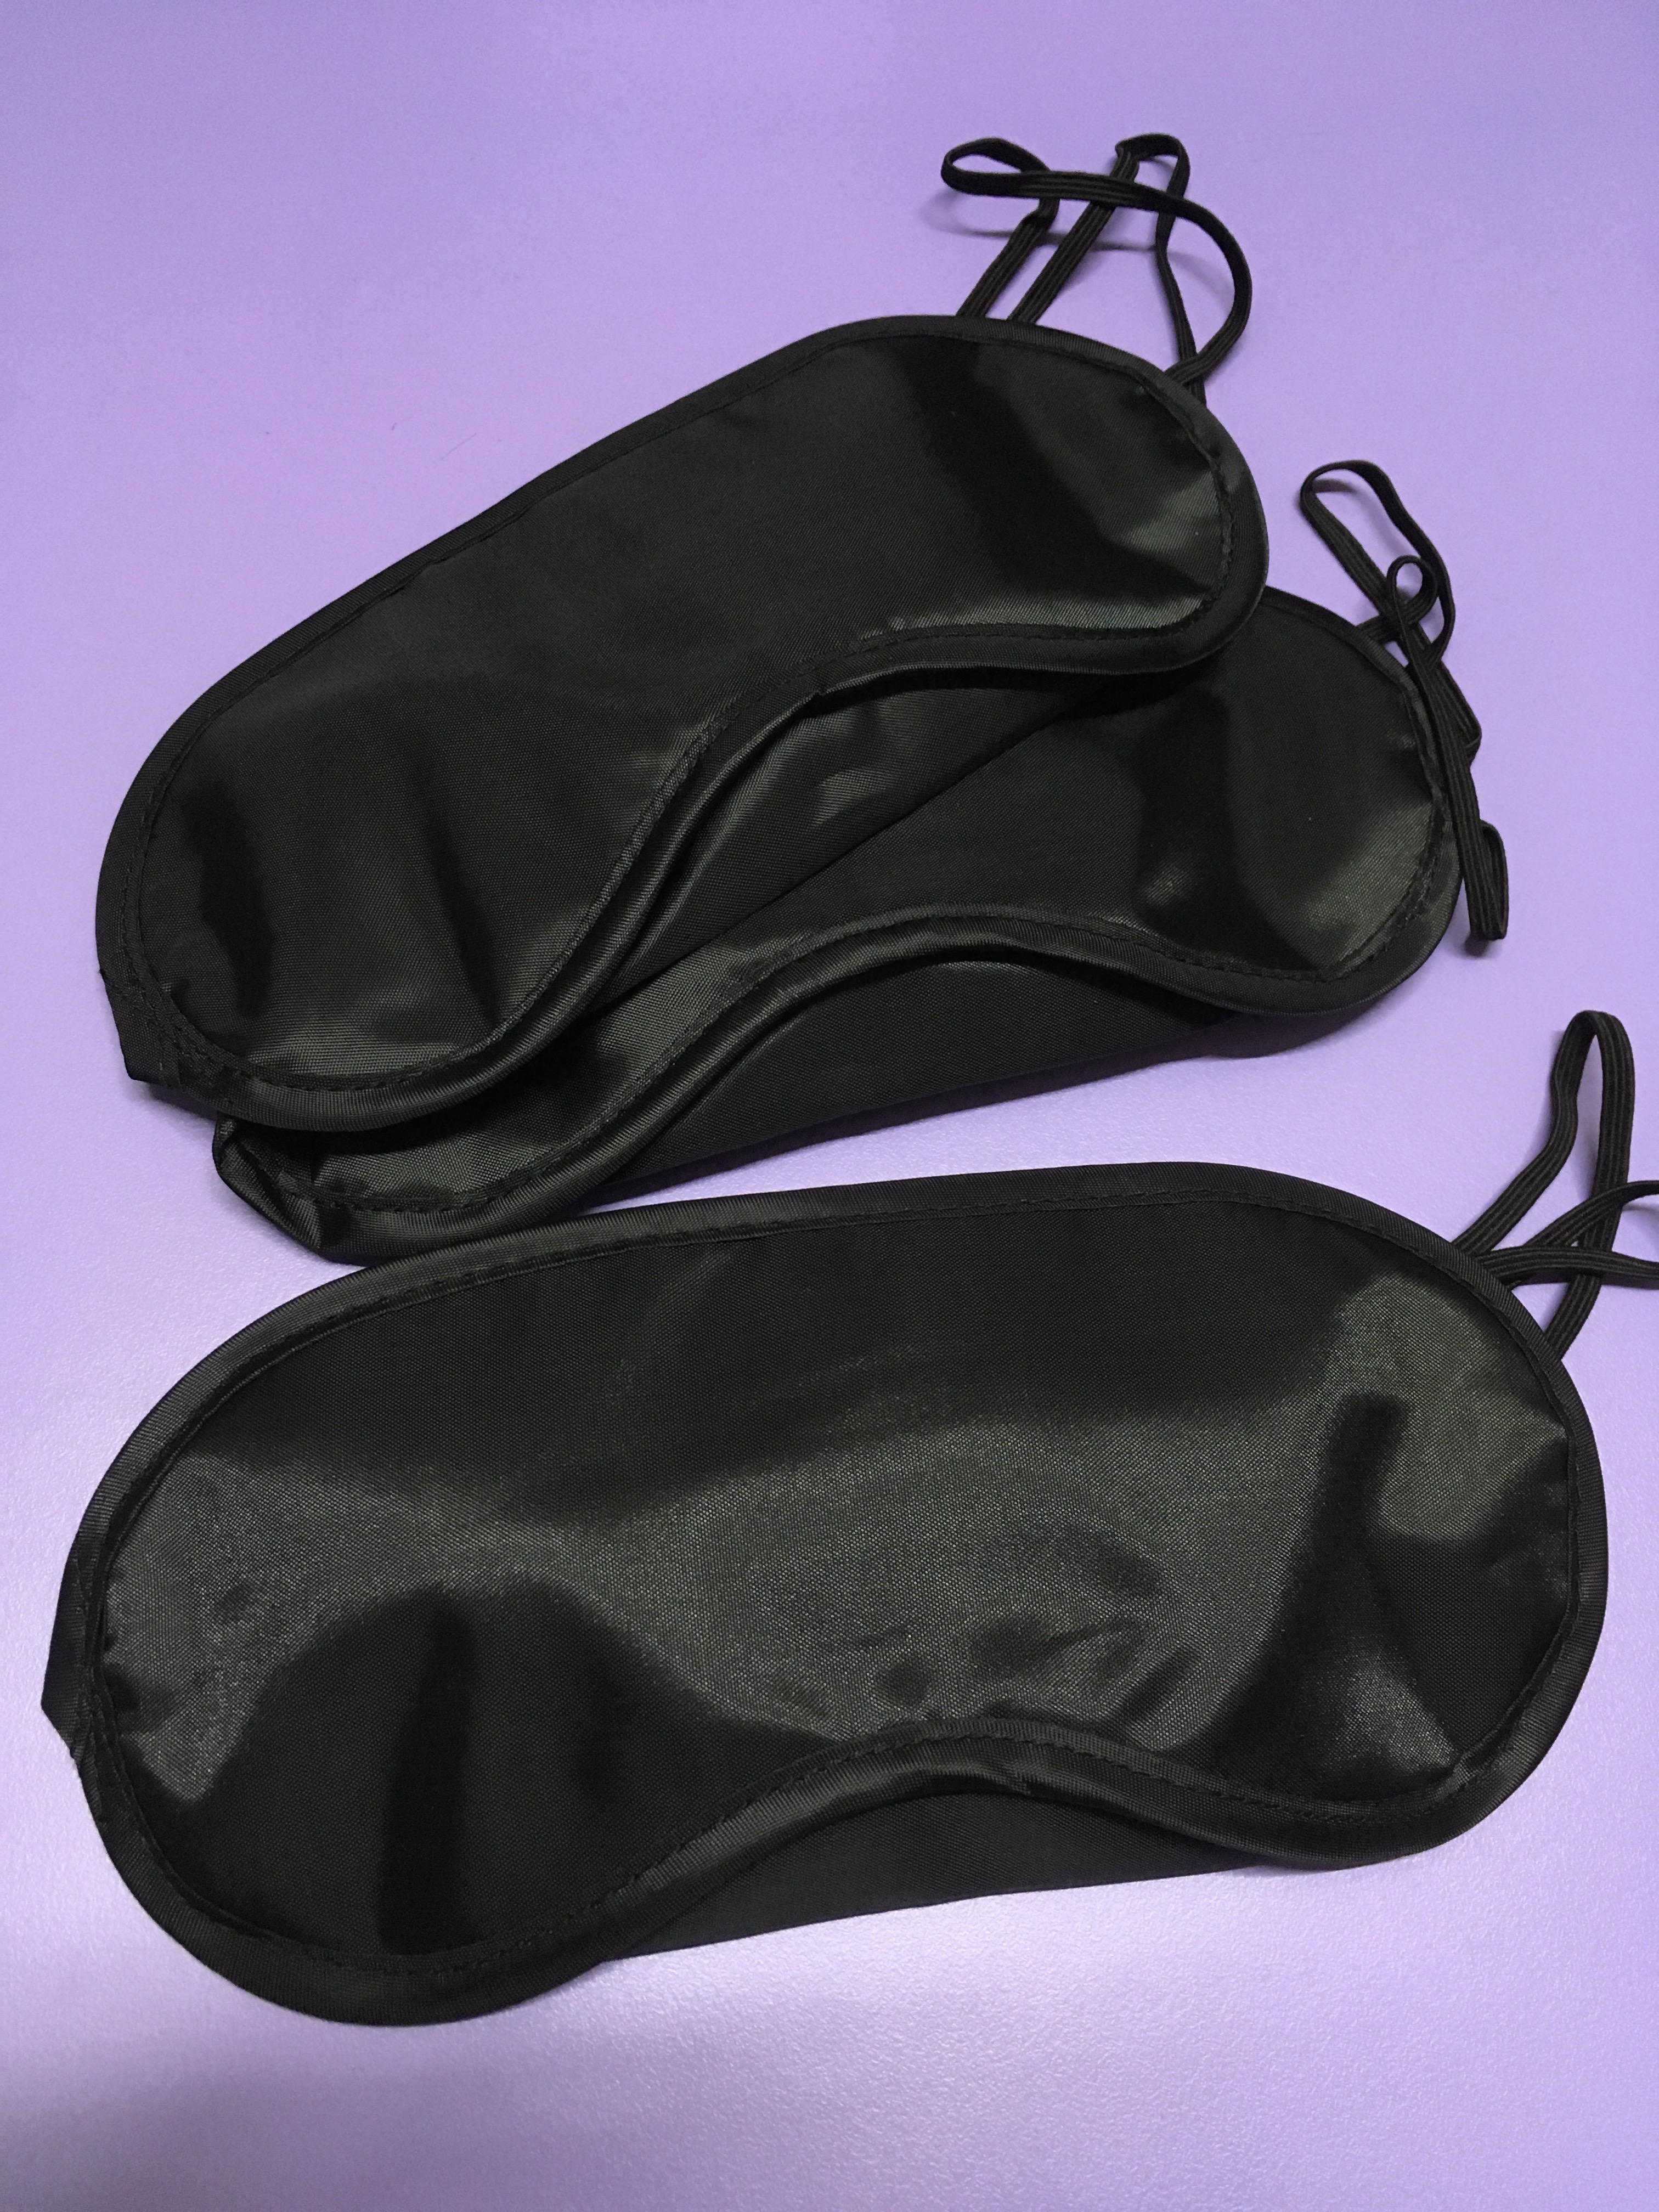
Blindfold (to simulate blindness)
2. Instruction booklet with various tasks
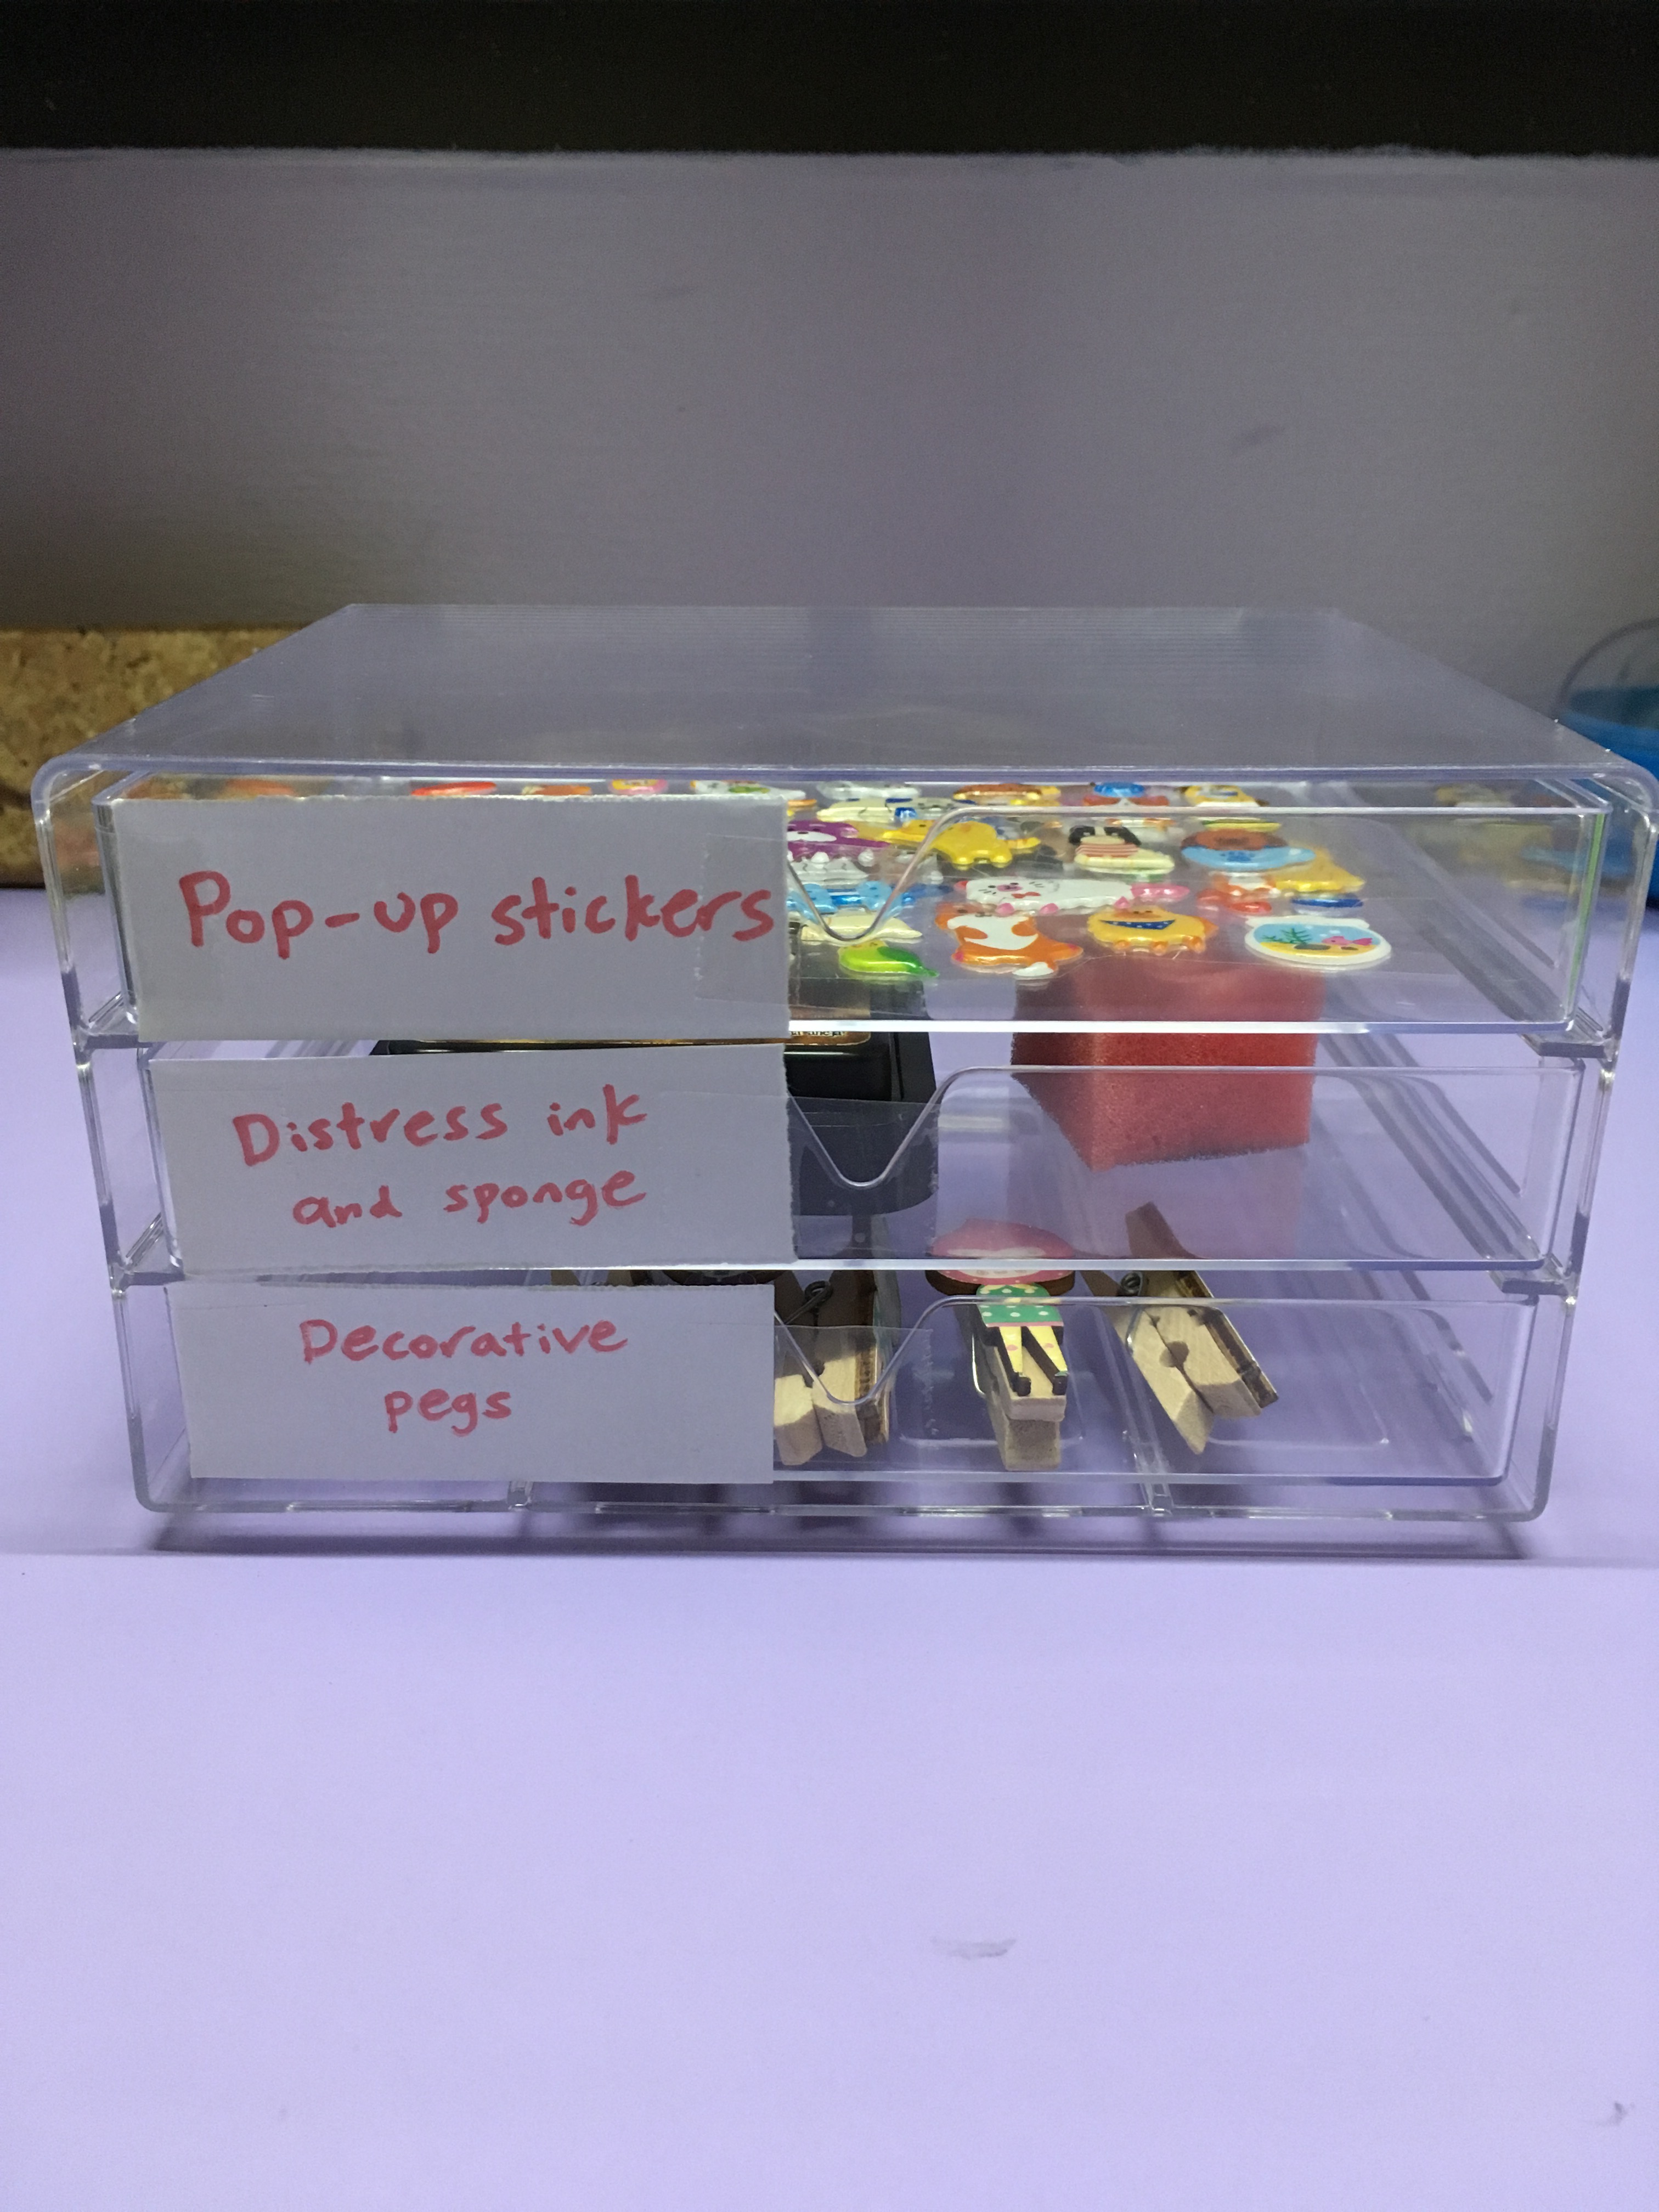
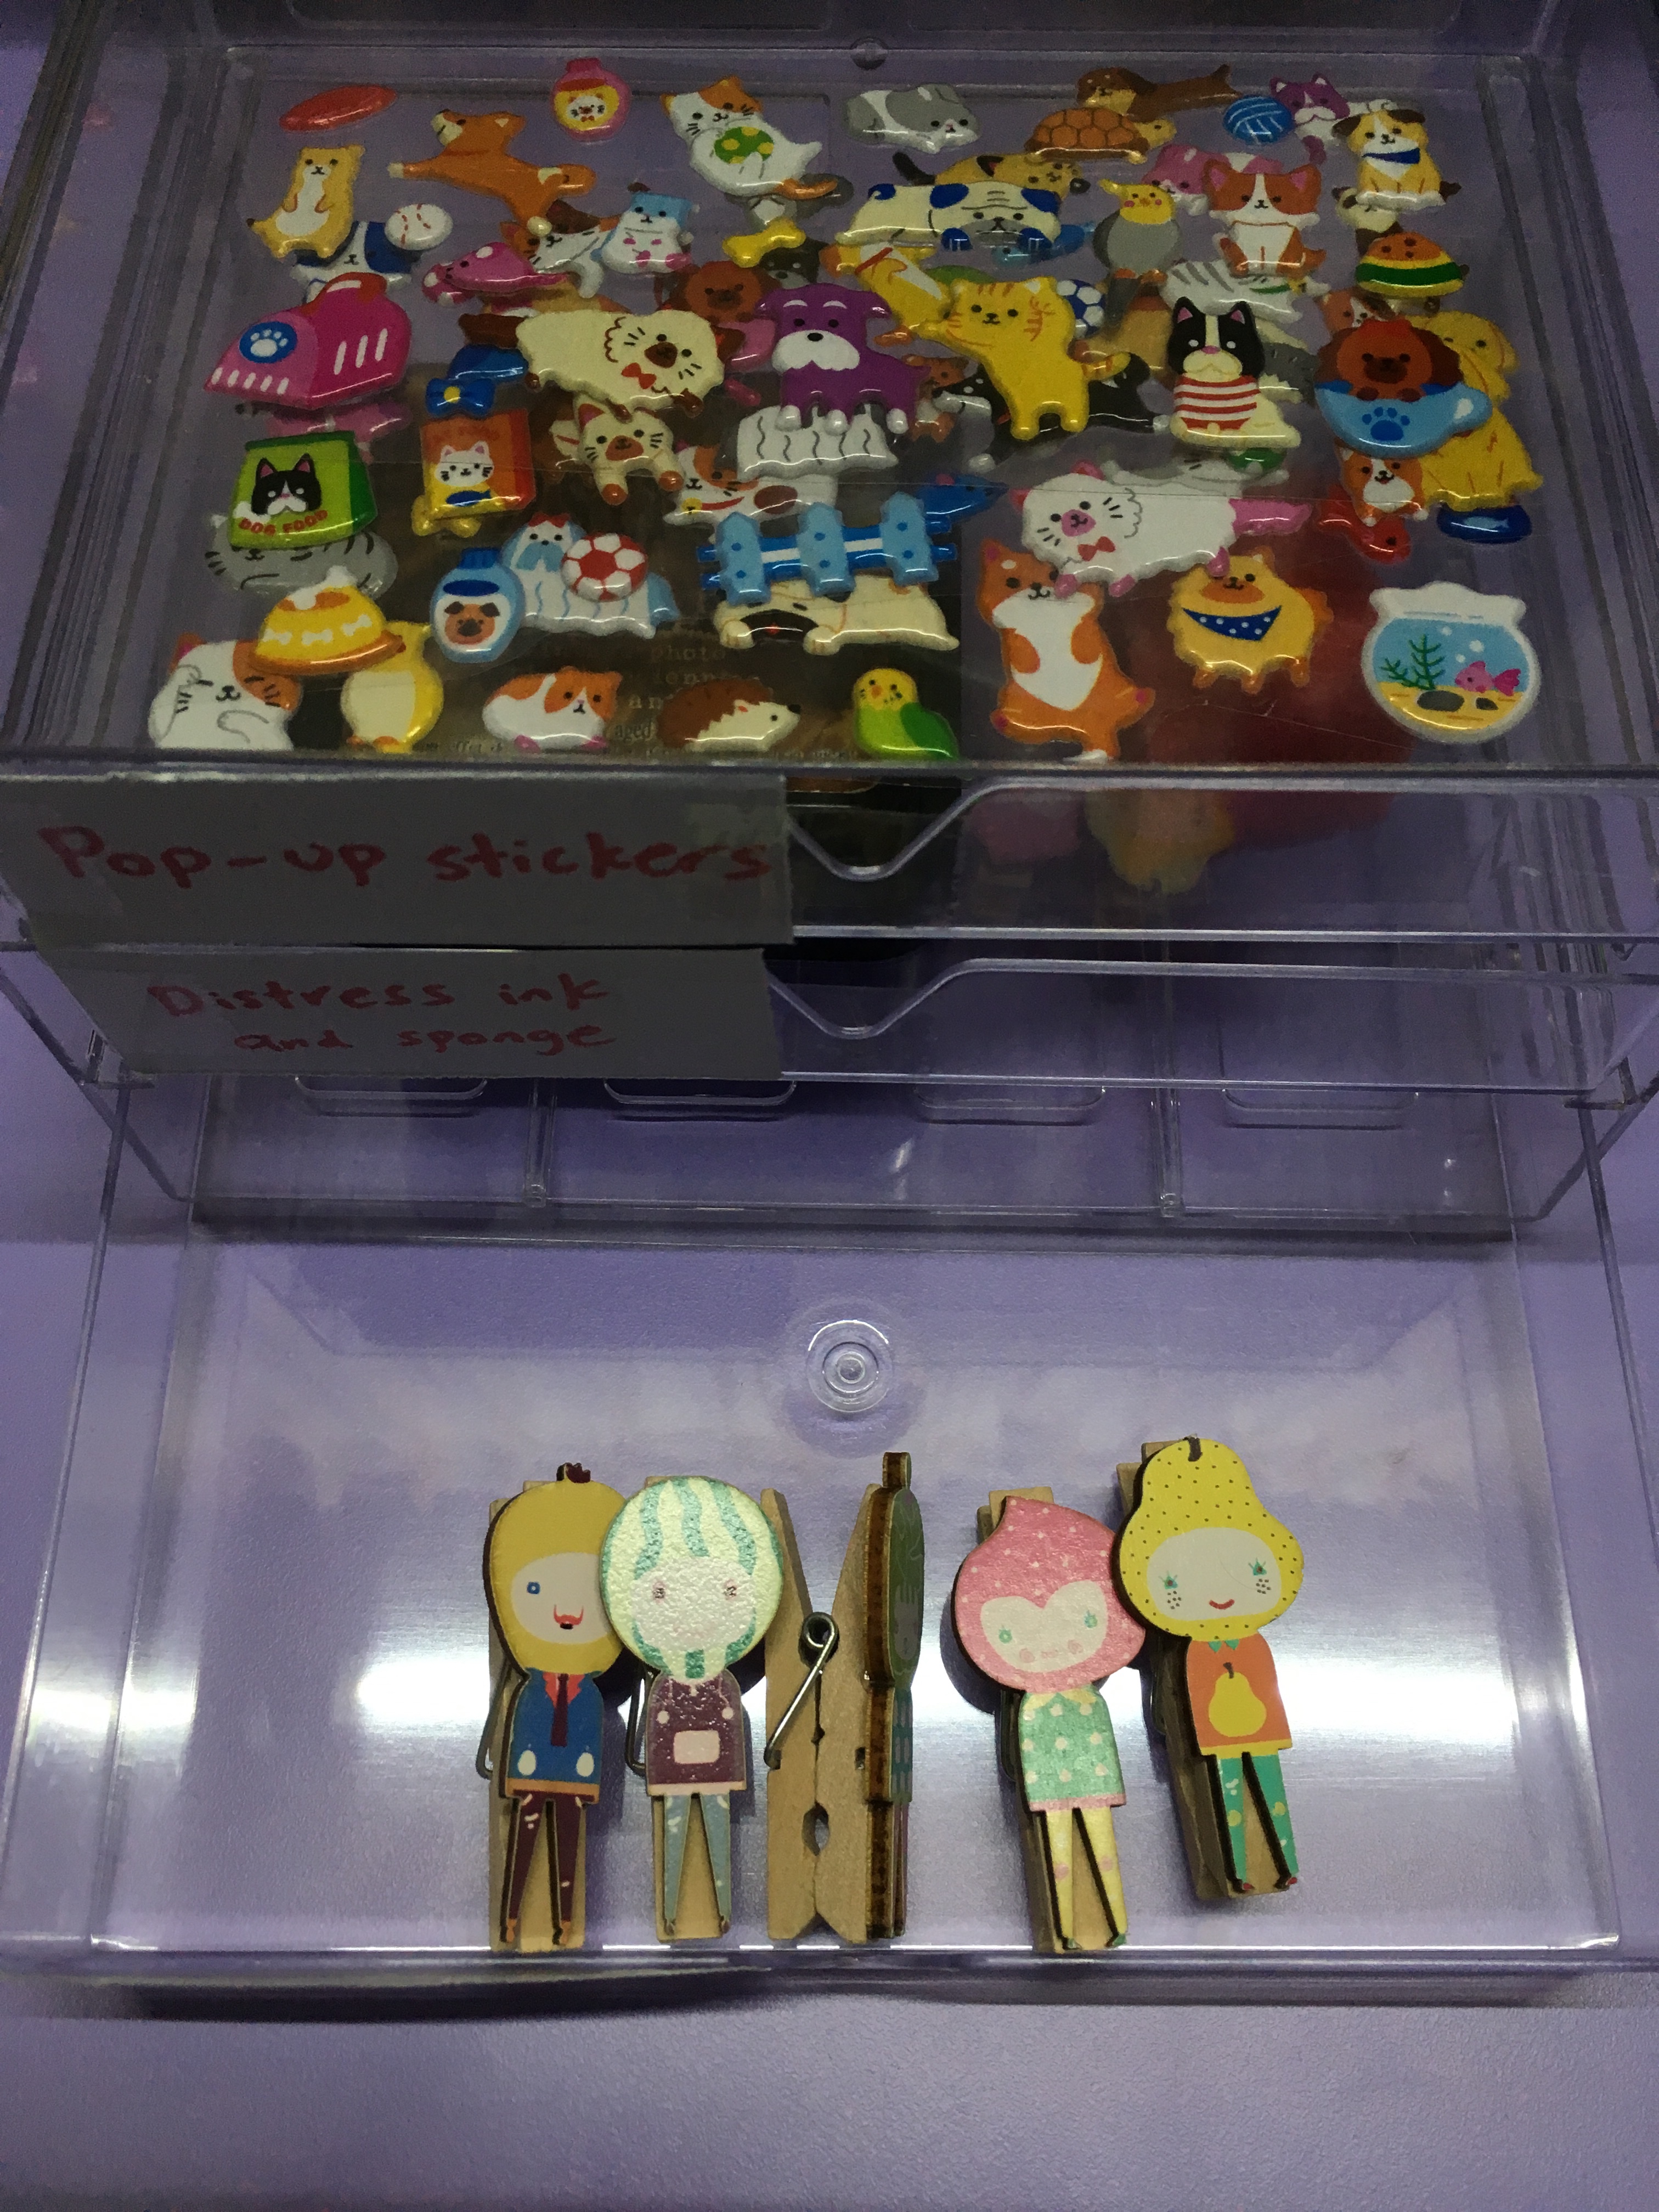
3. 3-drawer case (to act as an organisation system for scrapbooking, as one of my pain points when participating in the practice included the organisation of the many tools/decorative stuffs used in scrapbooking, which can potentially be a huge problem for those who are blind. Without an organisation system, the blind may take very long to find the item he/she wants to use for a card, especially without their sense of sight. However, a mini drawer case labelled with braille will help them find the item they want to use easily, such as stickers or distress ink. For this probe, I labelled the drawer with normal paper labels as my participants cannot read braille)
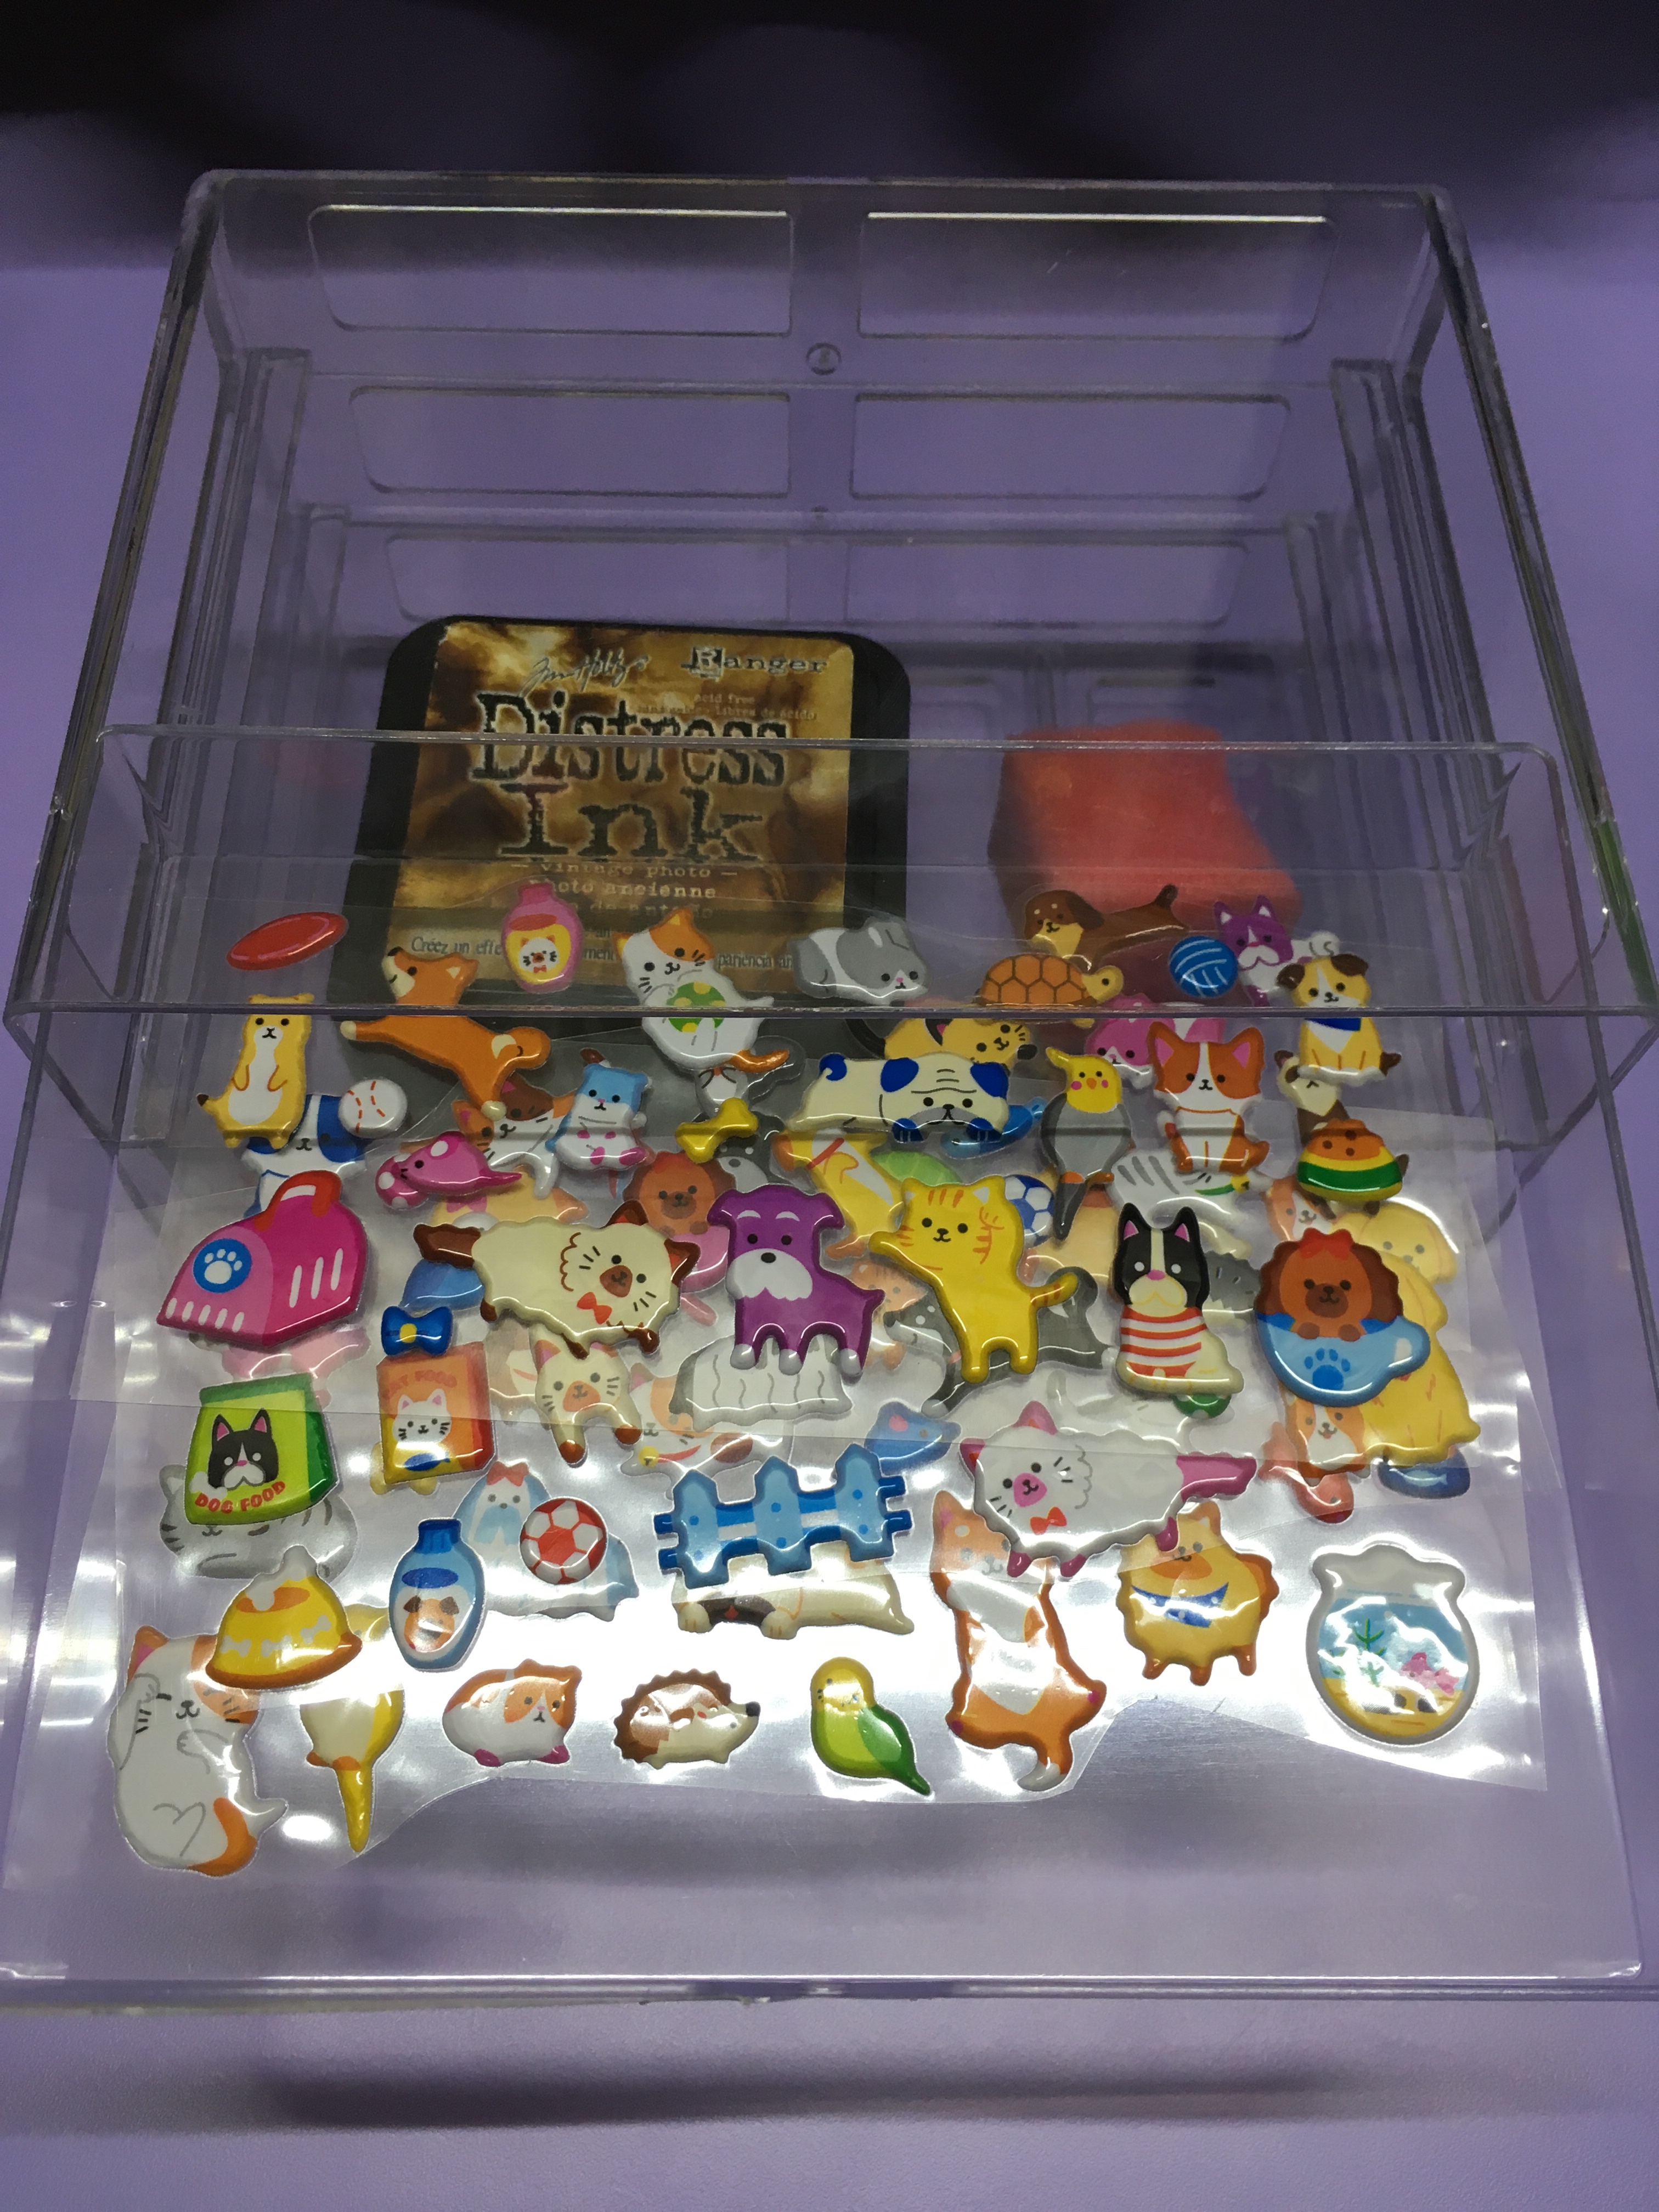
4. Pop-up stickers in drawer 1 (it is important to use pop-up stickers so that the blind can figure out what the sticker is and its orientation more easily. If flat stickers were used, it can be quite challenging to do so)
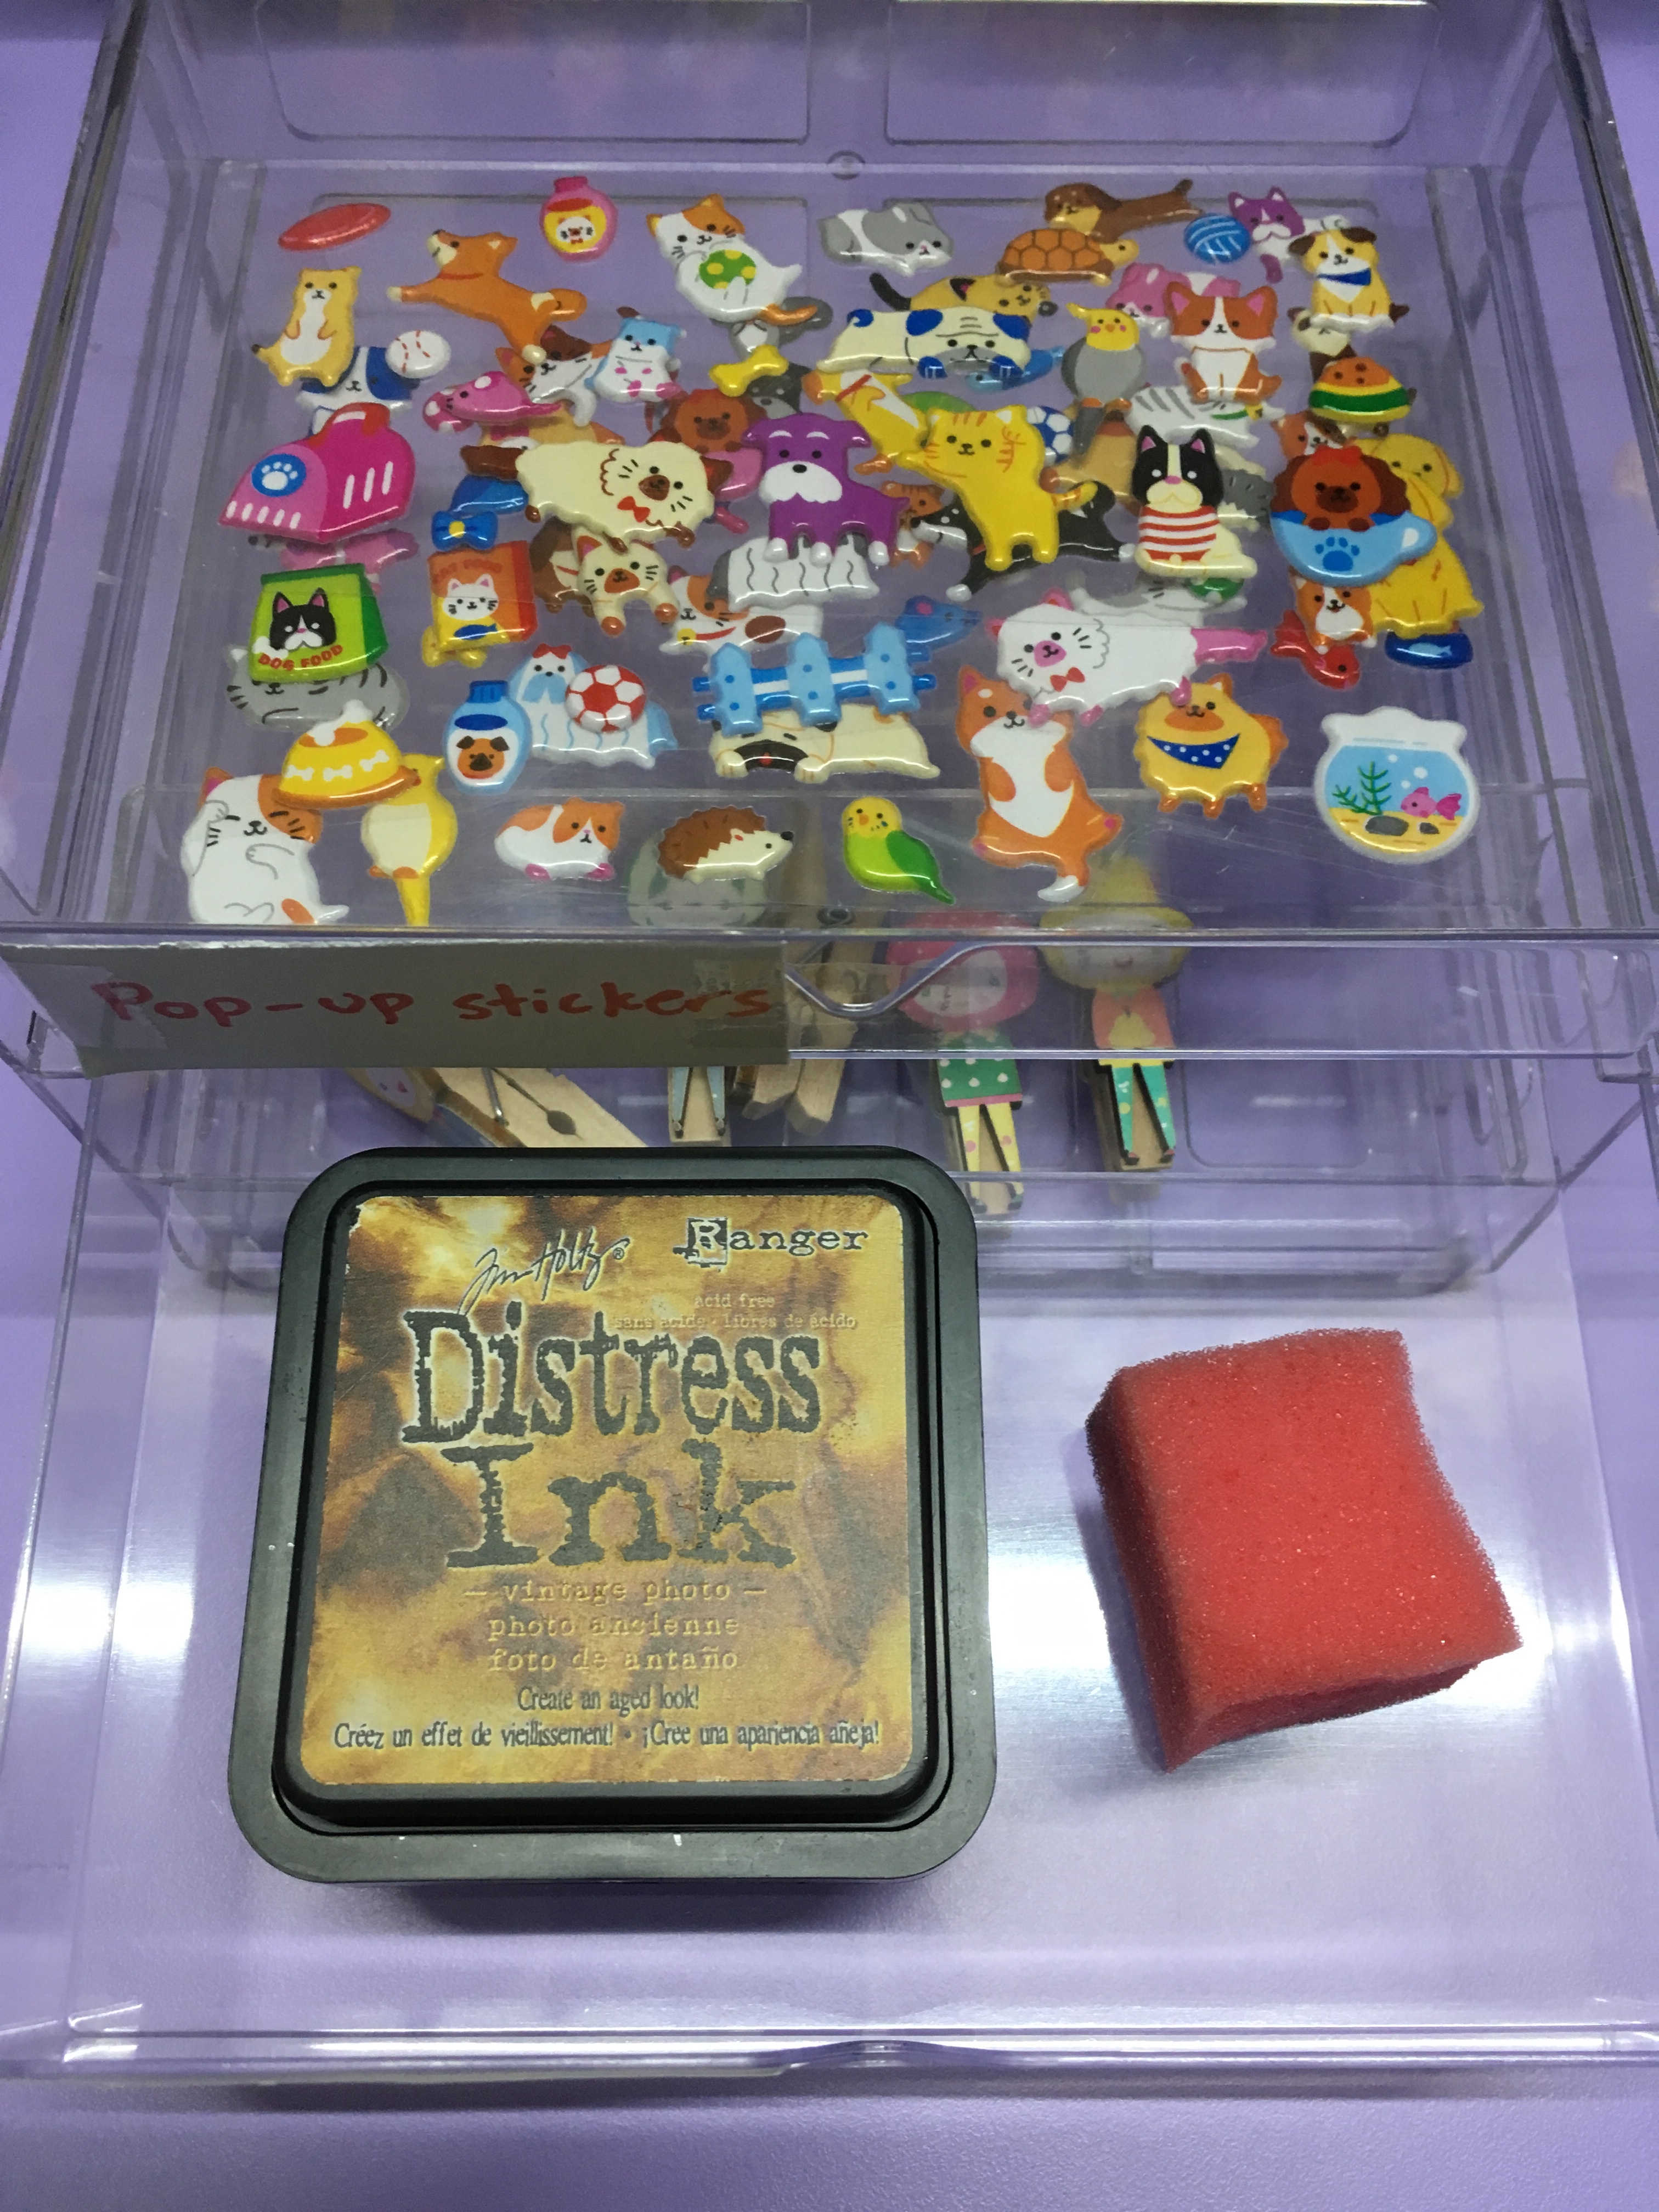
5. Distress ink and sponge in drawer 2
6. Decorative pegs in drawer 3
As the blind rely on other senses, such as sense of touch, hearing, smelling, to go about completing tasks, I decided to capitalise on the individual’s sense of touch in my probes. Below are the tasks that I included in the instruction booklet, which have to be completed blindfolded.
Design probes (tasks)
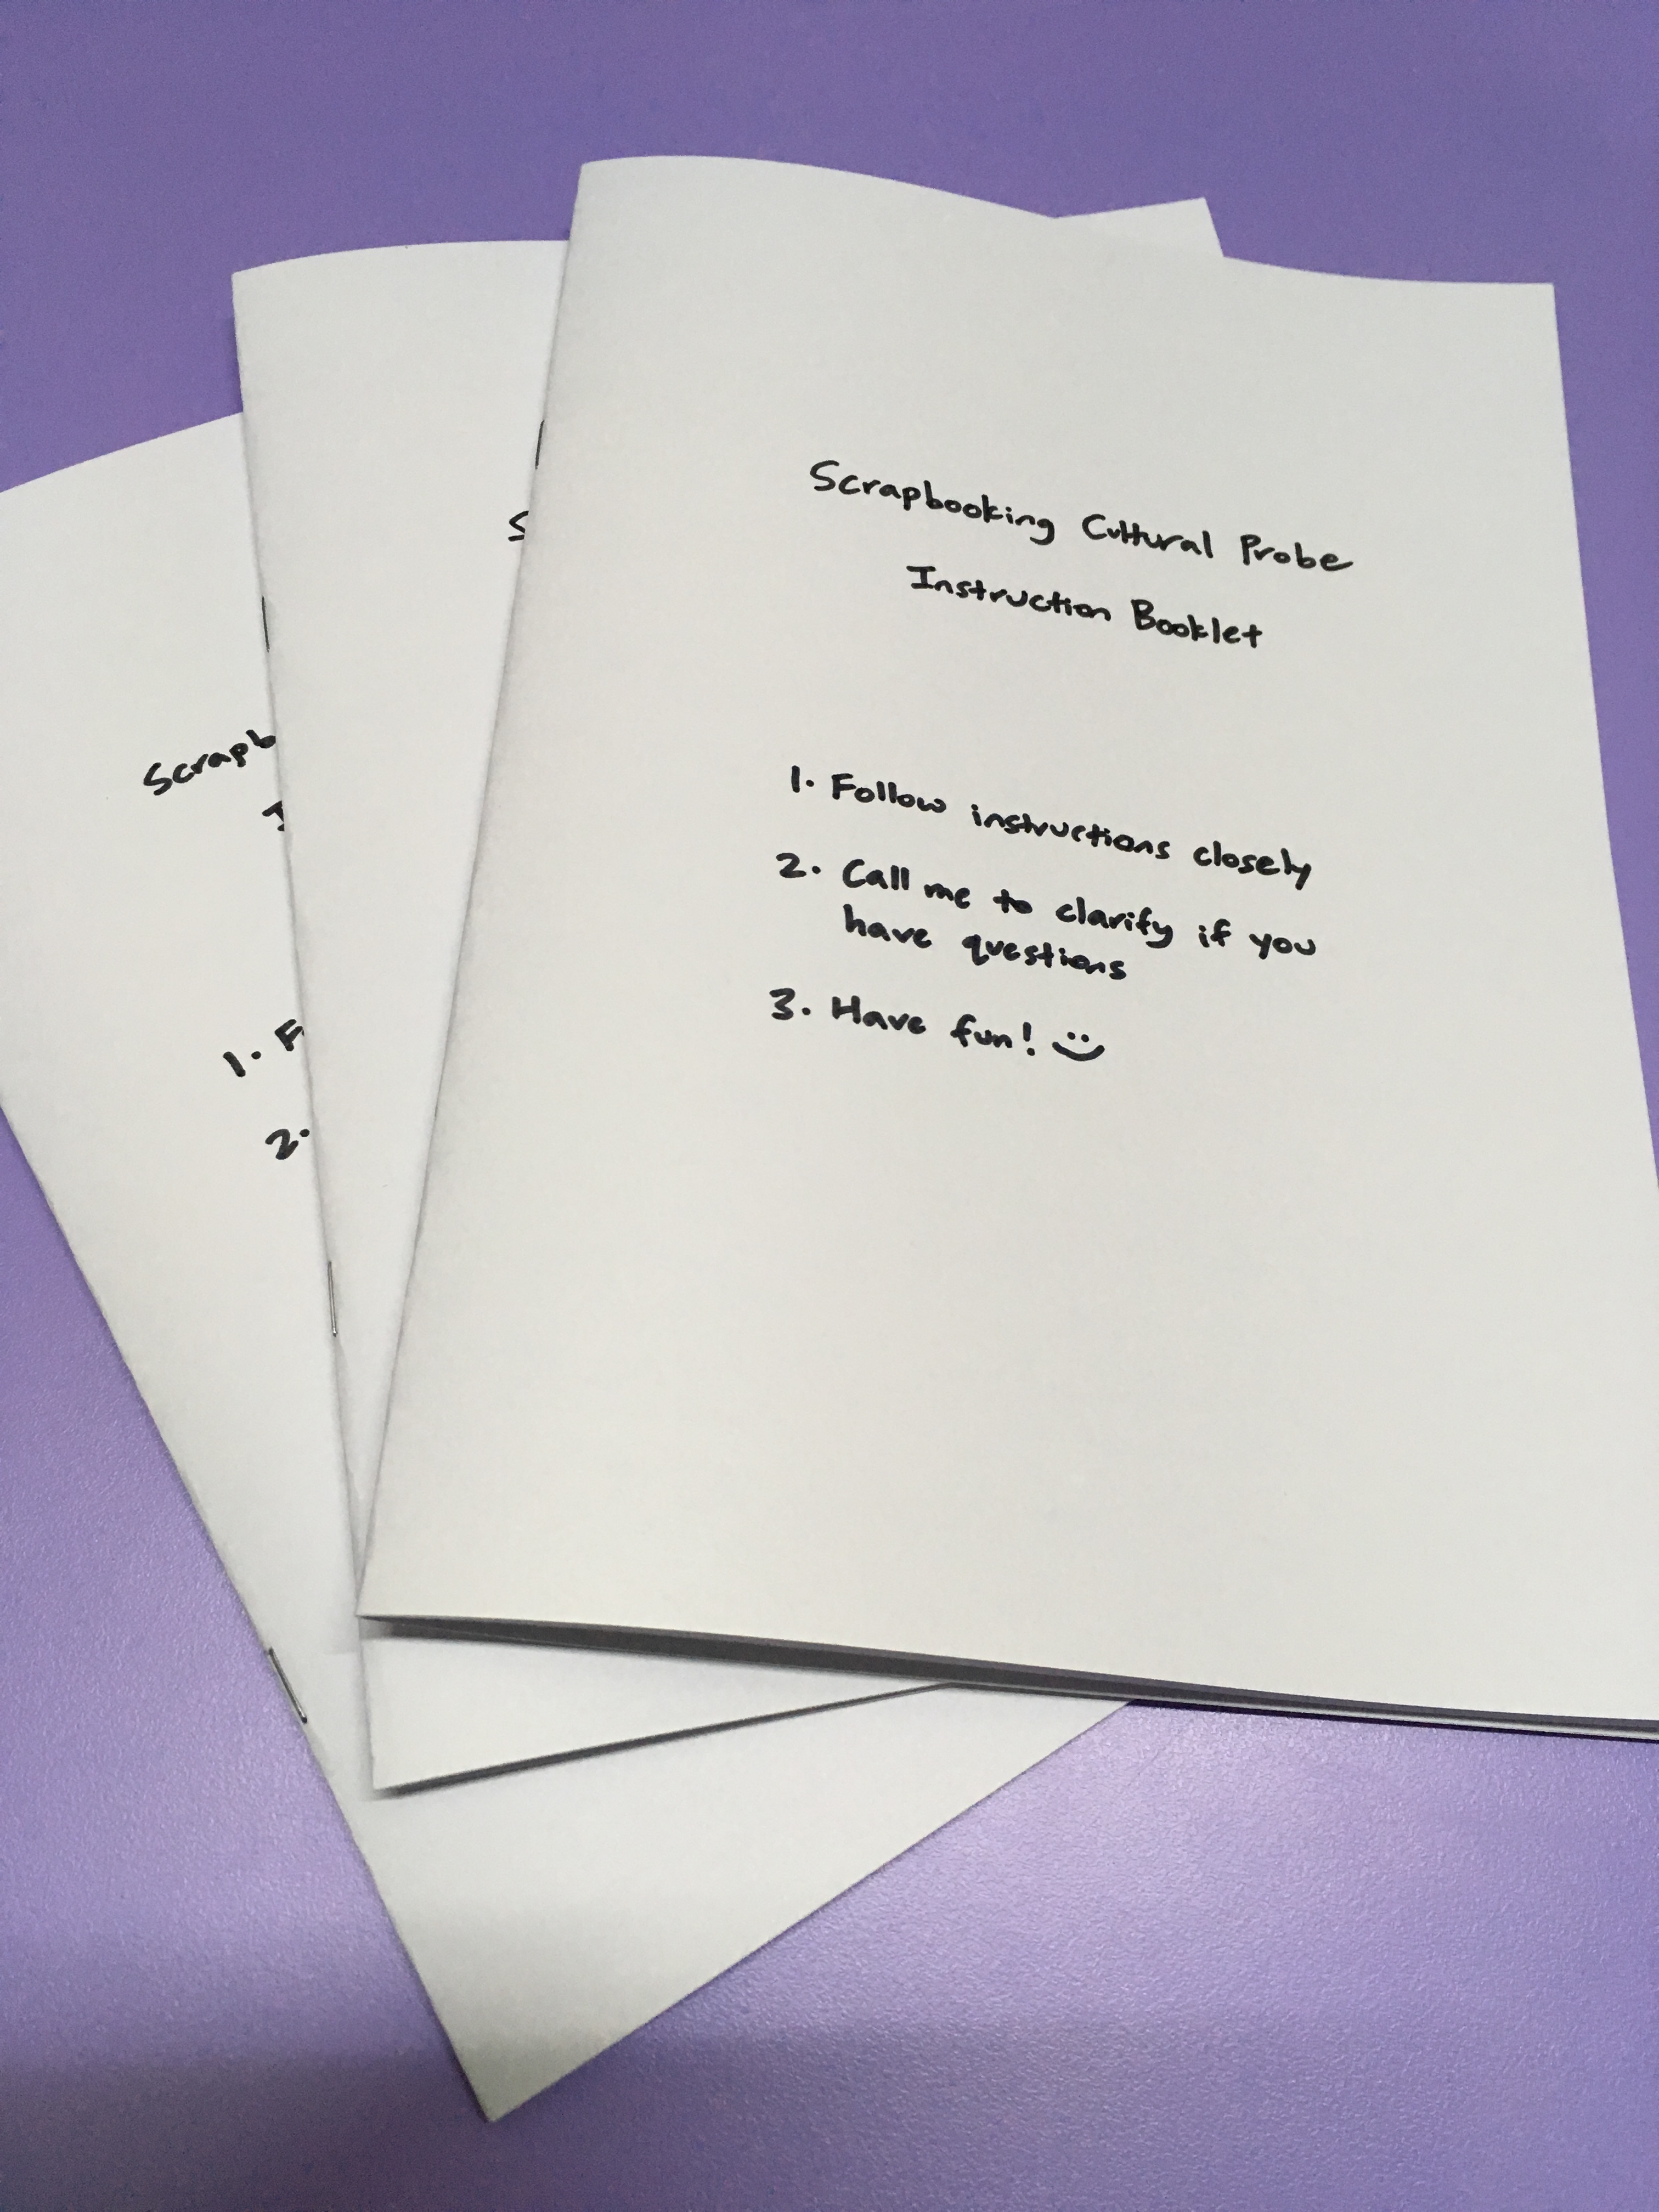
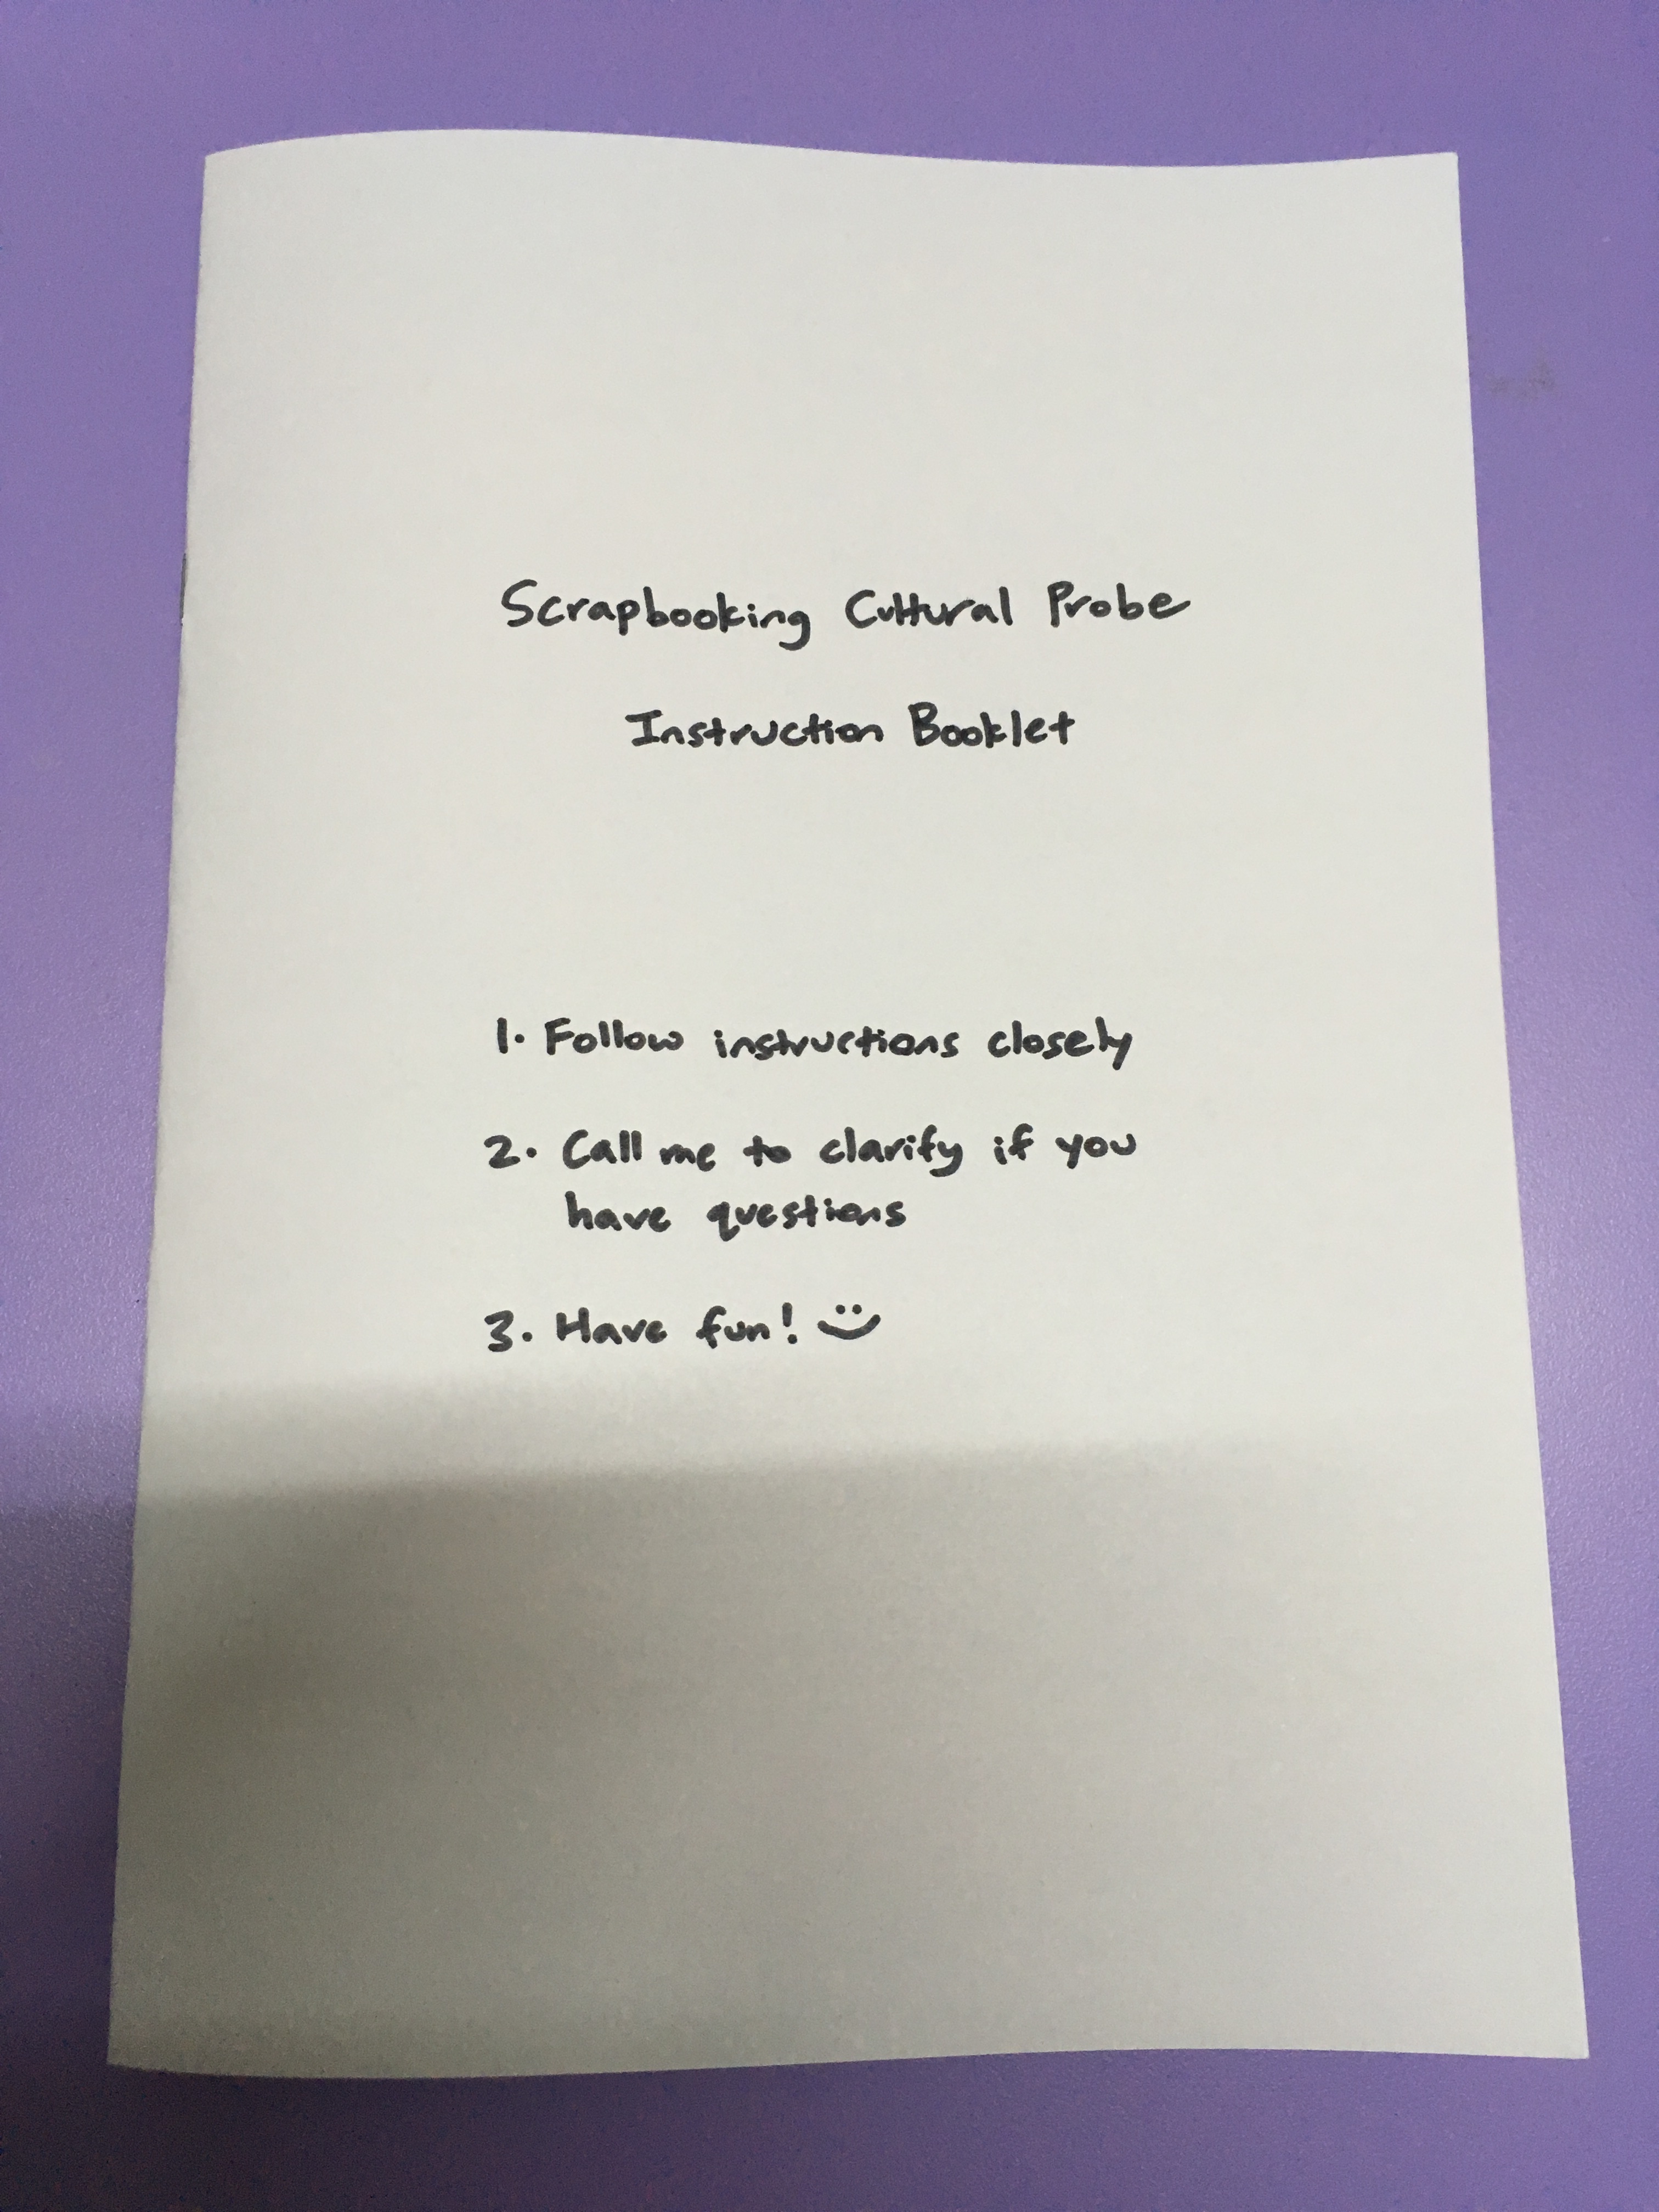
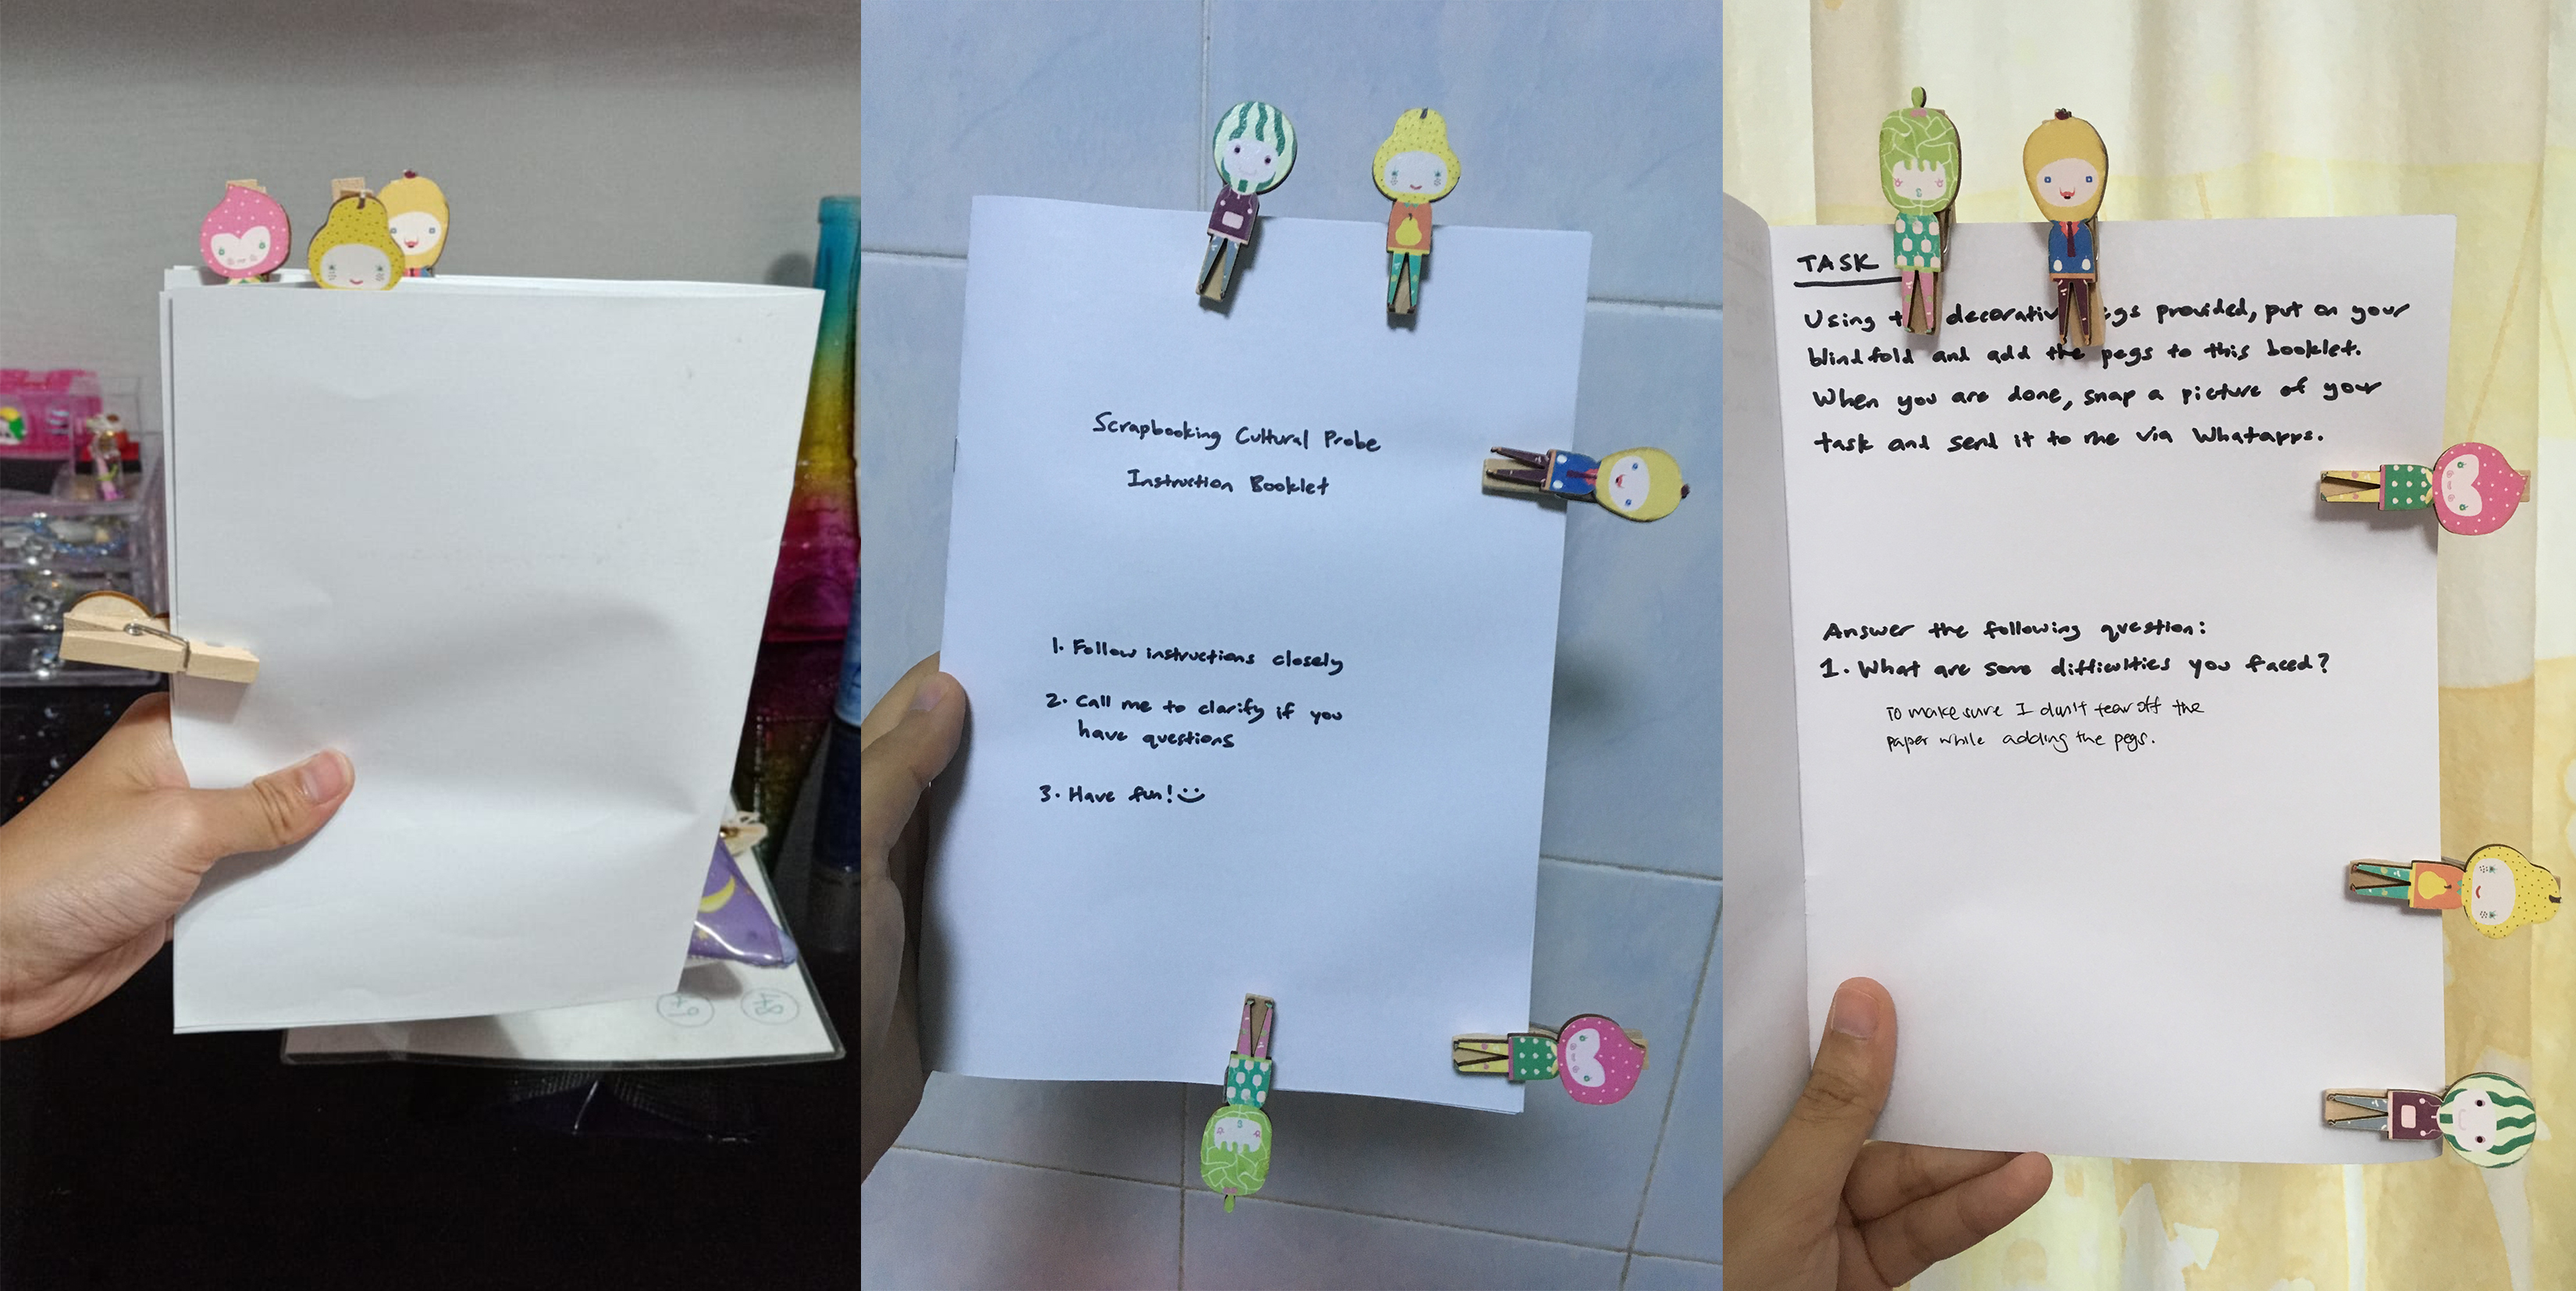
Front page
Basic instructions: 1. Follow instructions closely. 2. Call me to clarify if you have questions. 3. Have fun! 🙂
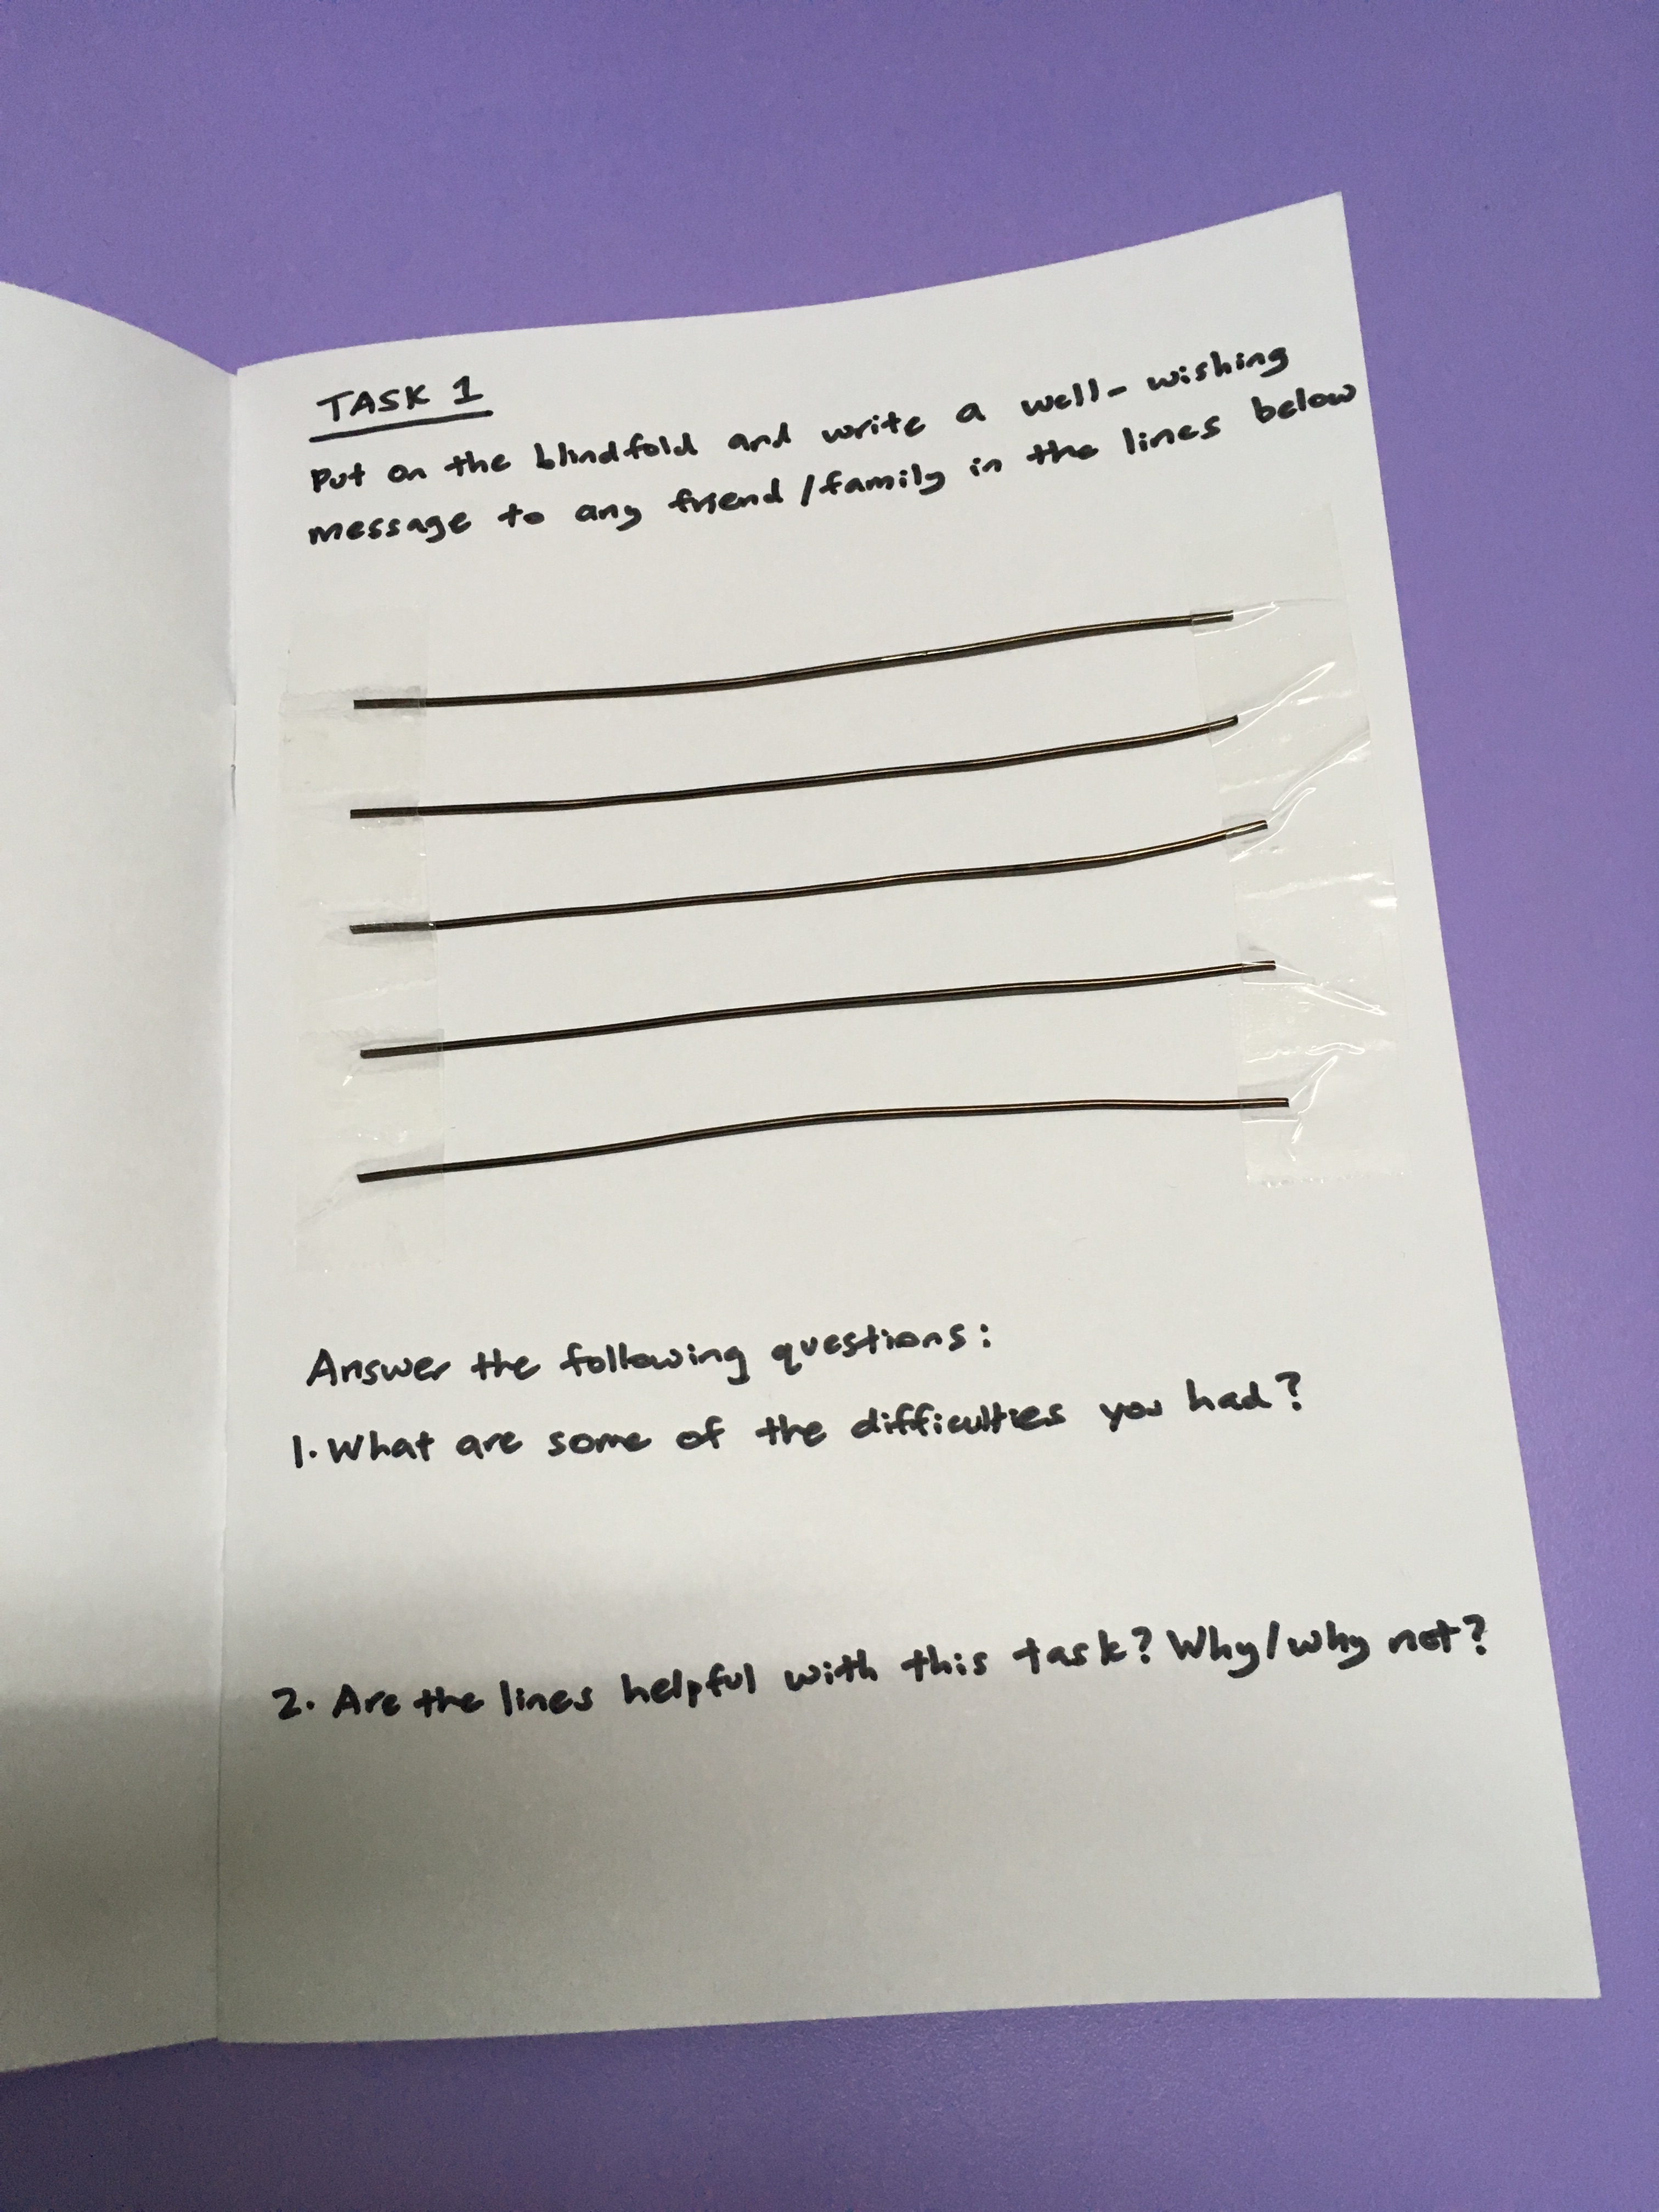
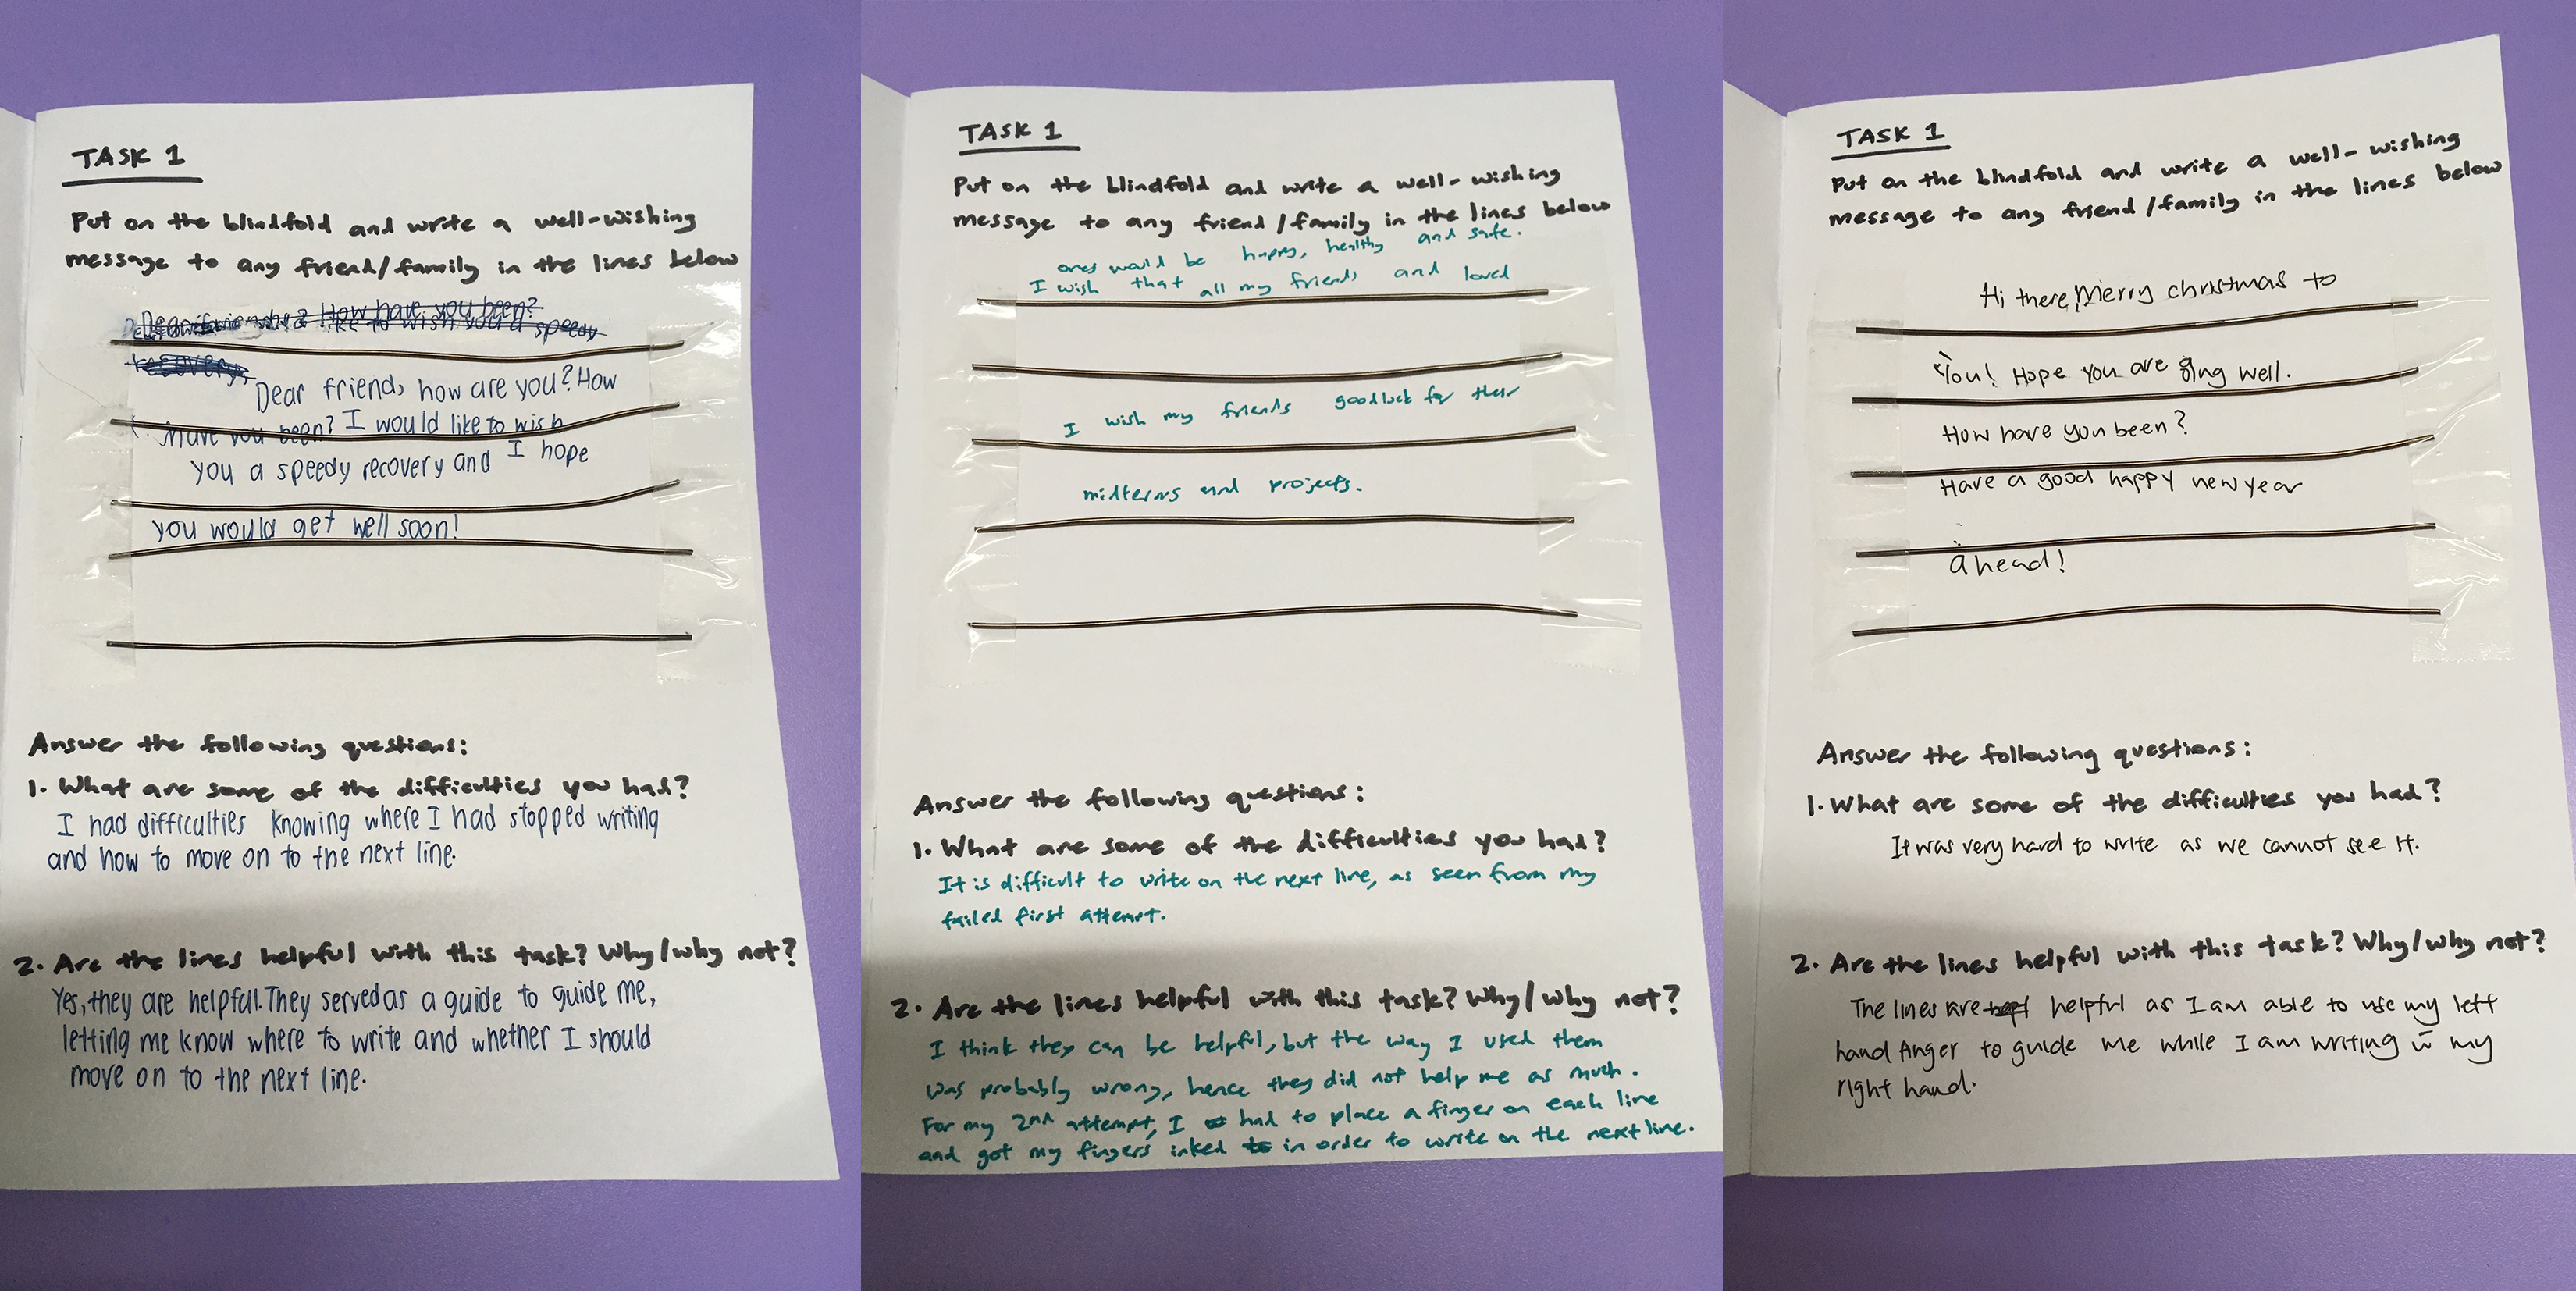
Task 1
Instructions: Put on the blindfold and write a well-wishing message to any friend/family in the lines below. Answer the following questions: 1. What are some of the difficulties you had? 2. Are the lines helpful with this task? Why/why not?
Rationale for this task: To find out whether lines constructed with aluminimum wire helps the blind write a message more neatly, as they can use their sense of touch to guage the writing area and write in straighter lines.
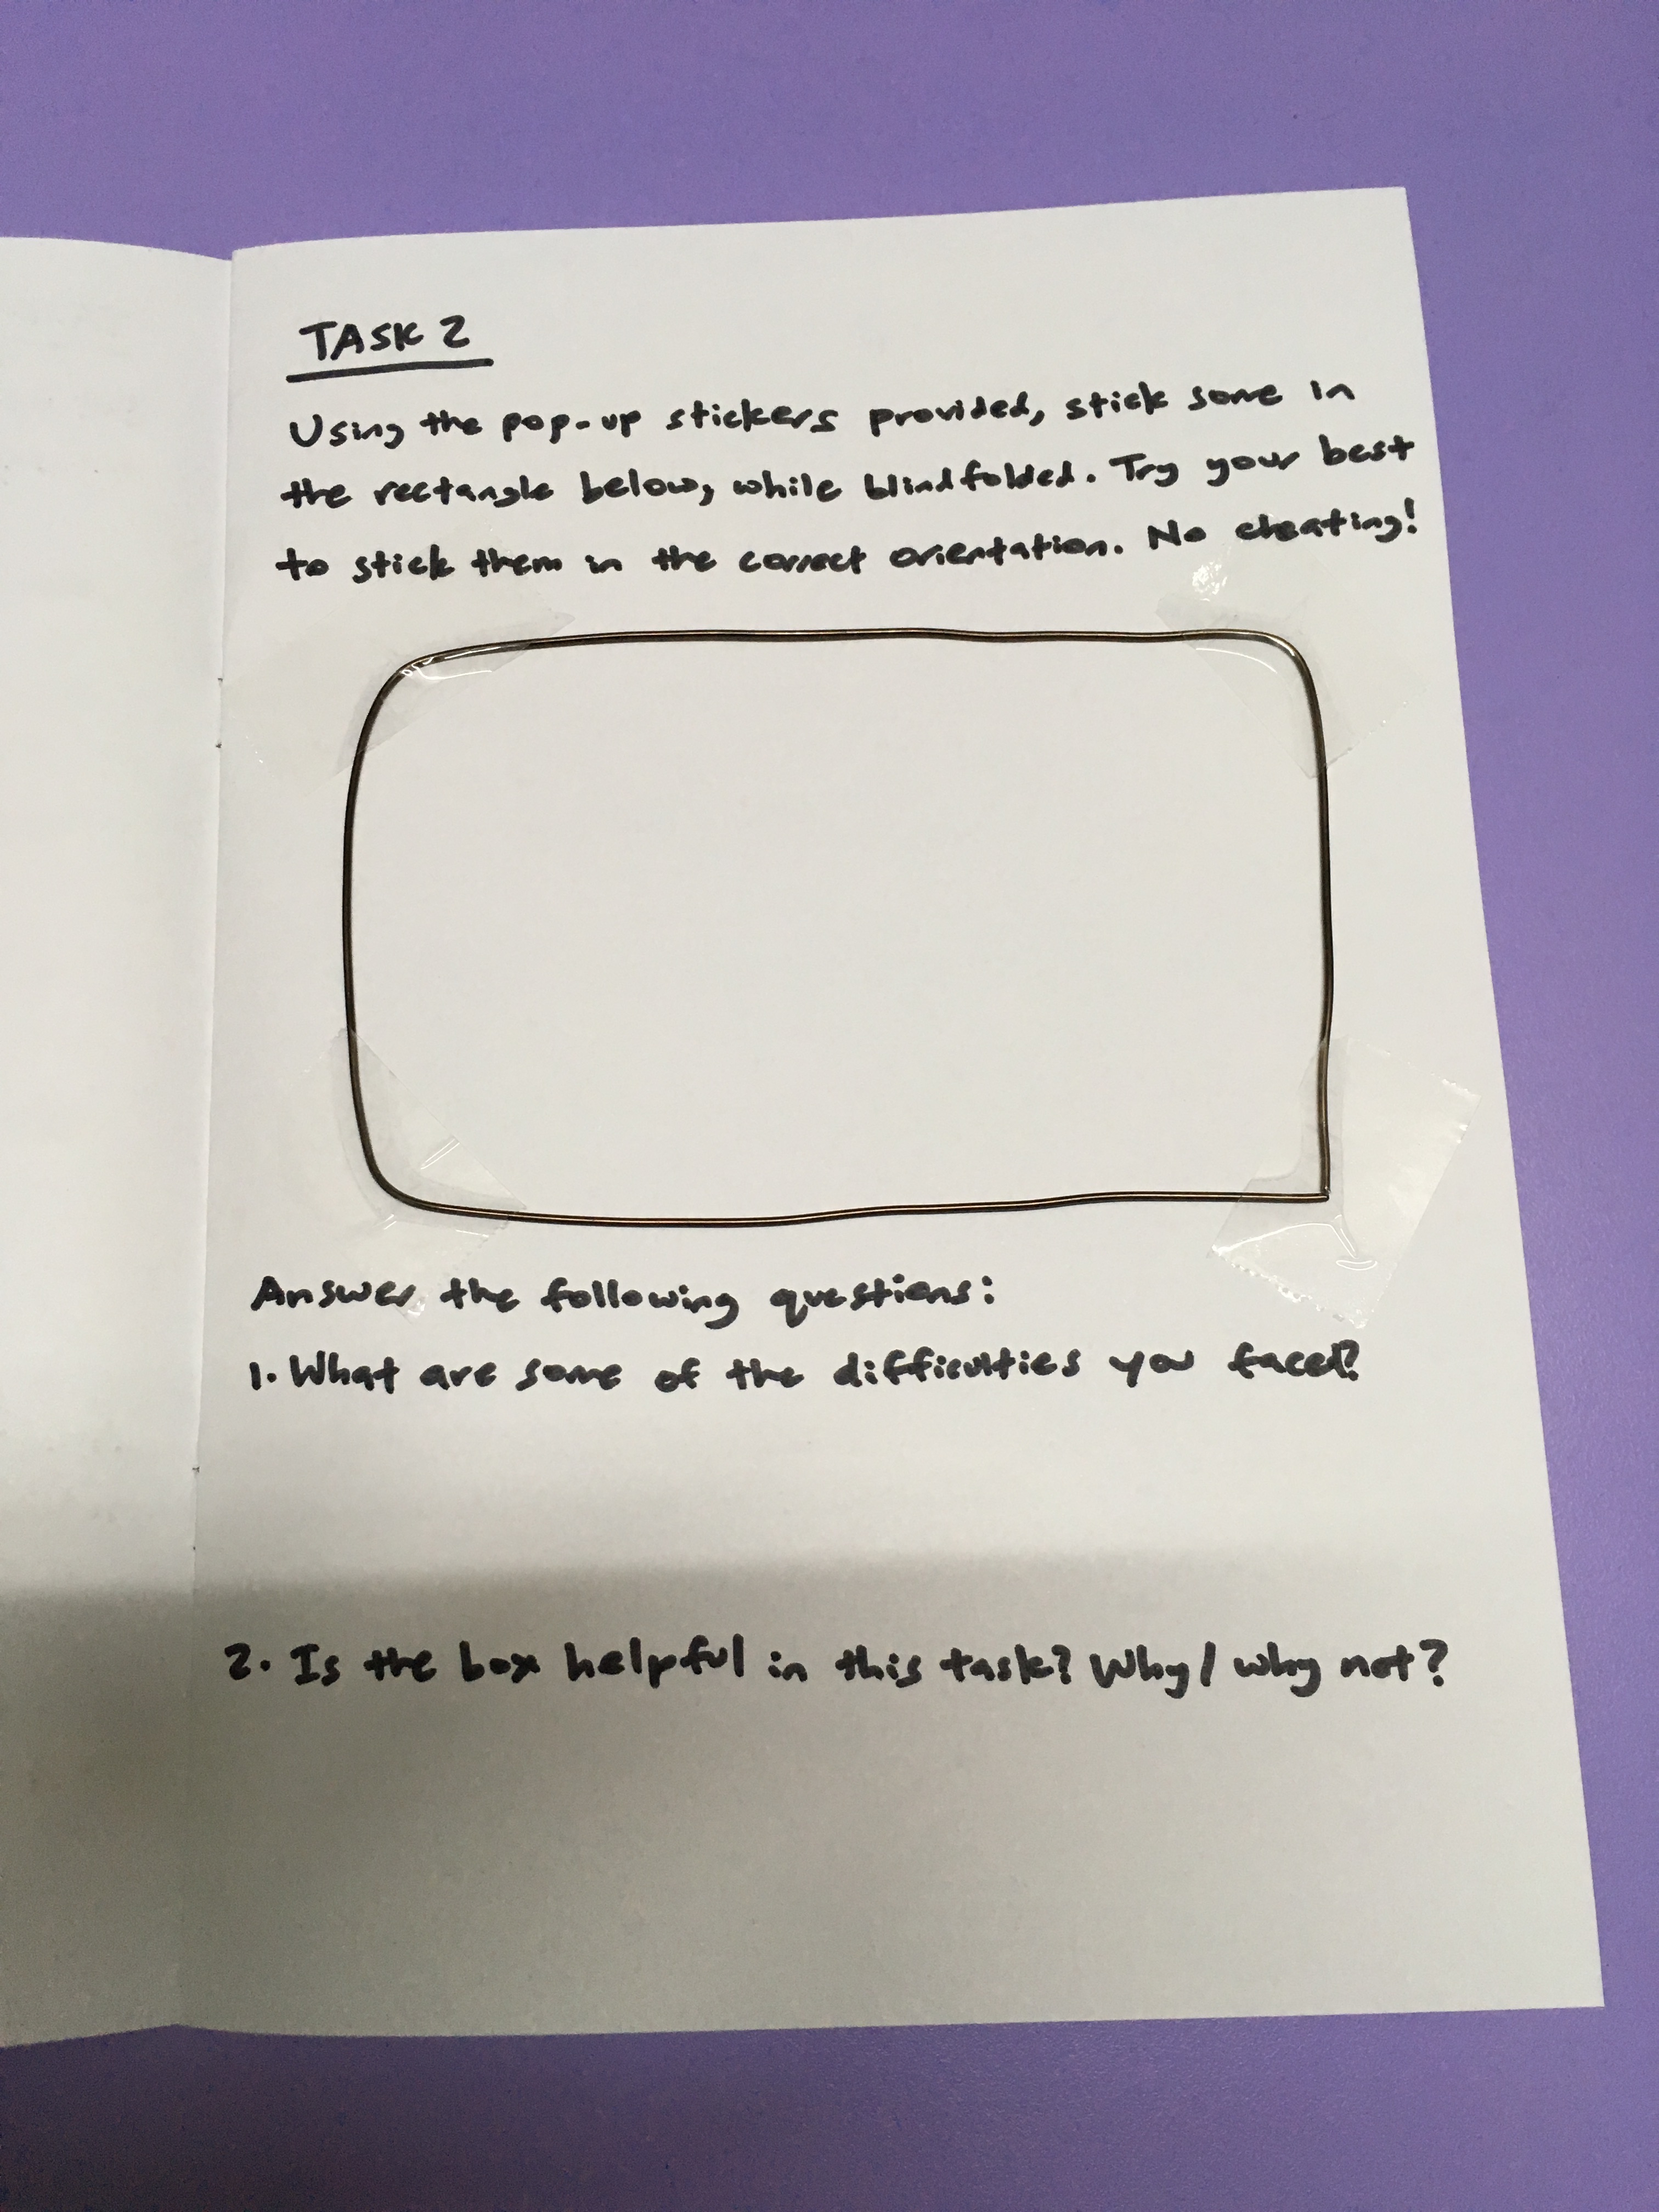
Task 2
Instructions: Using the pop-up stickers provided, stick some in the rectangle below, while blindfolded. Try your best to stick them in the correct orientation. No cheating! Answer the following questions: 1. What are some of the difficulties you had? 2. Is the box helpful in this task? Why/why not
Rationale for this task: To find out whether a box constructed with aluminimum wire helps the blind paste stickers more easily, as they can use their sense of touch to guage the pasting area.
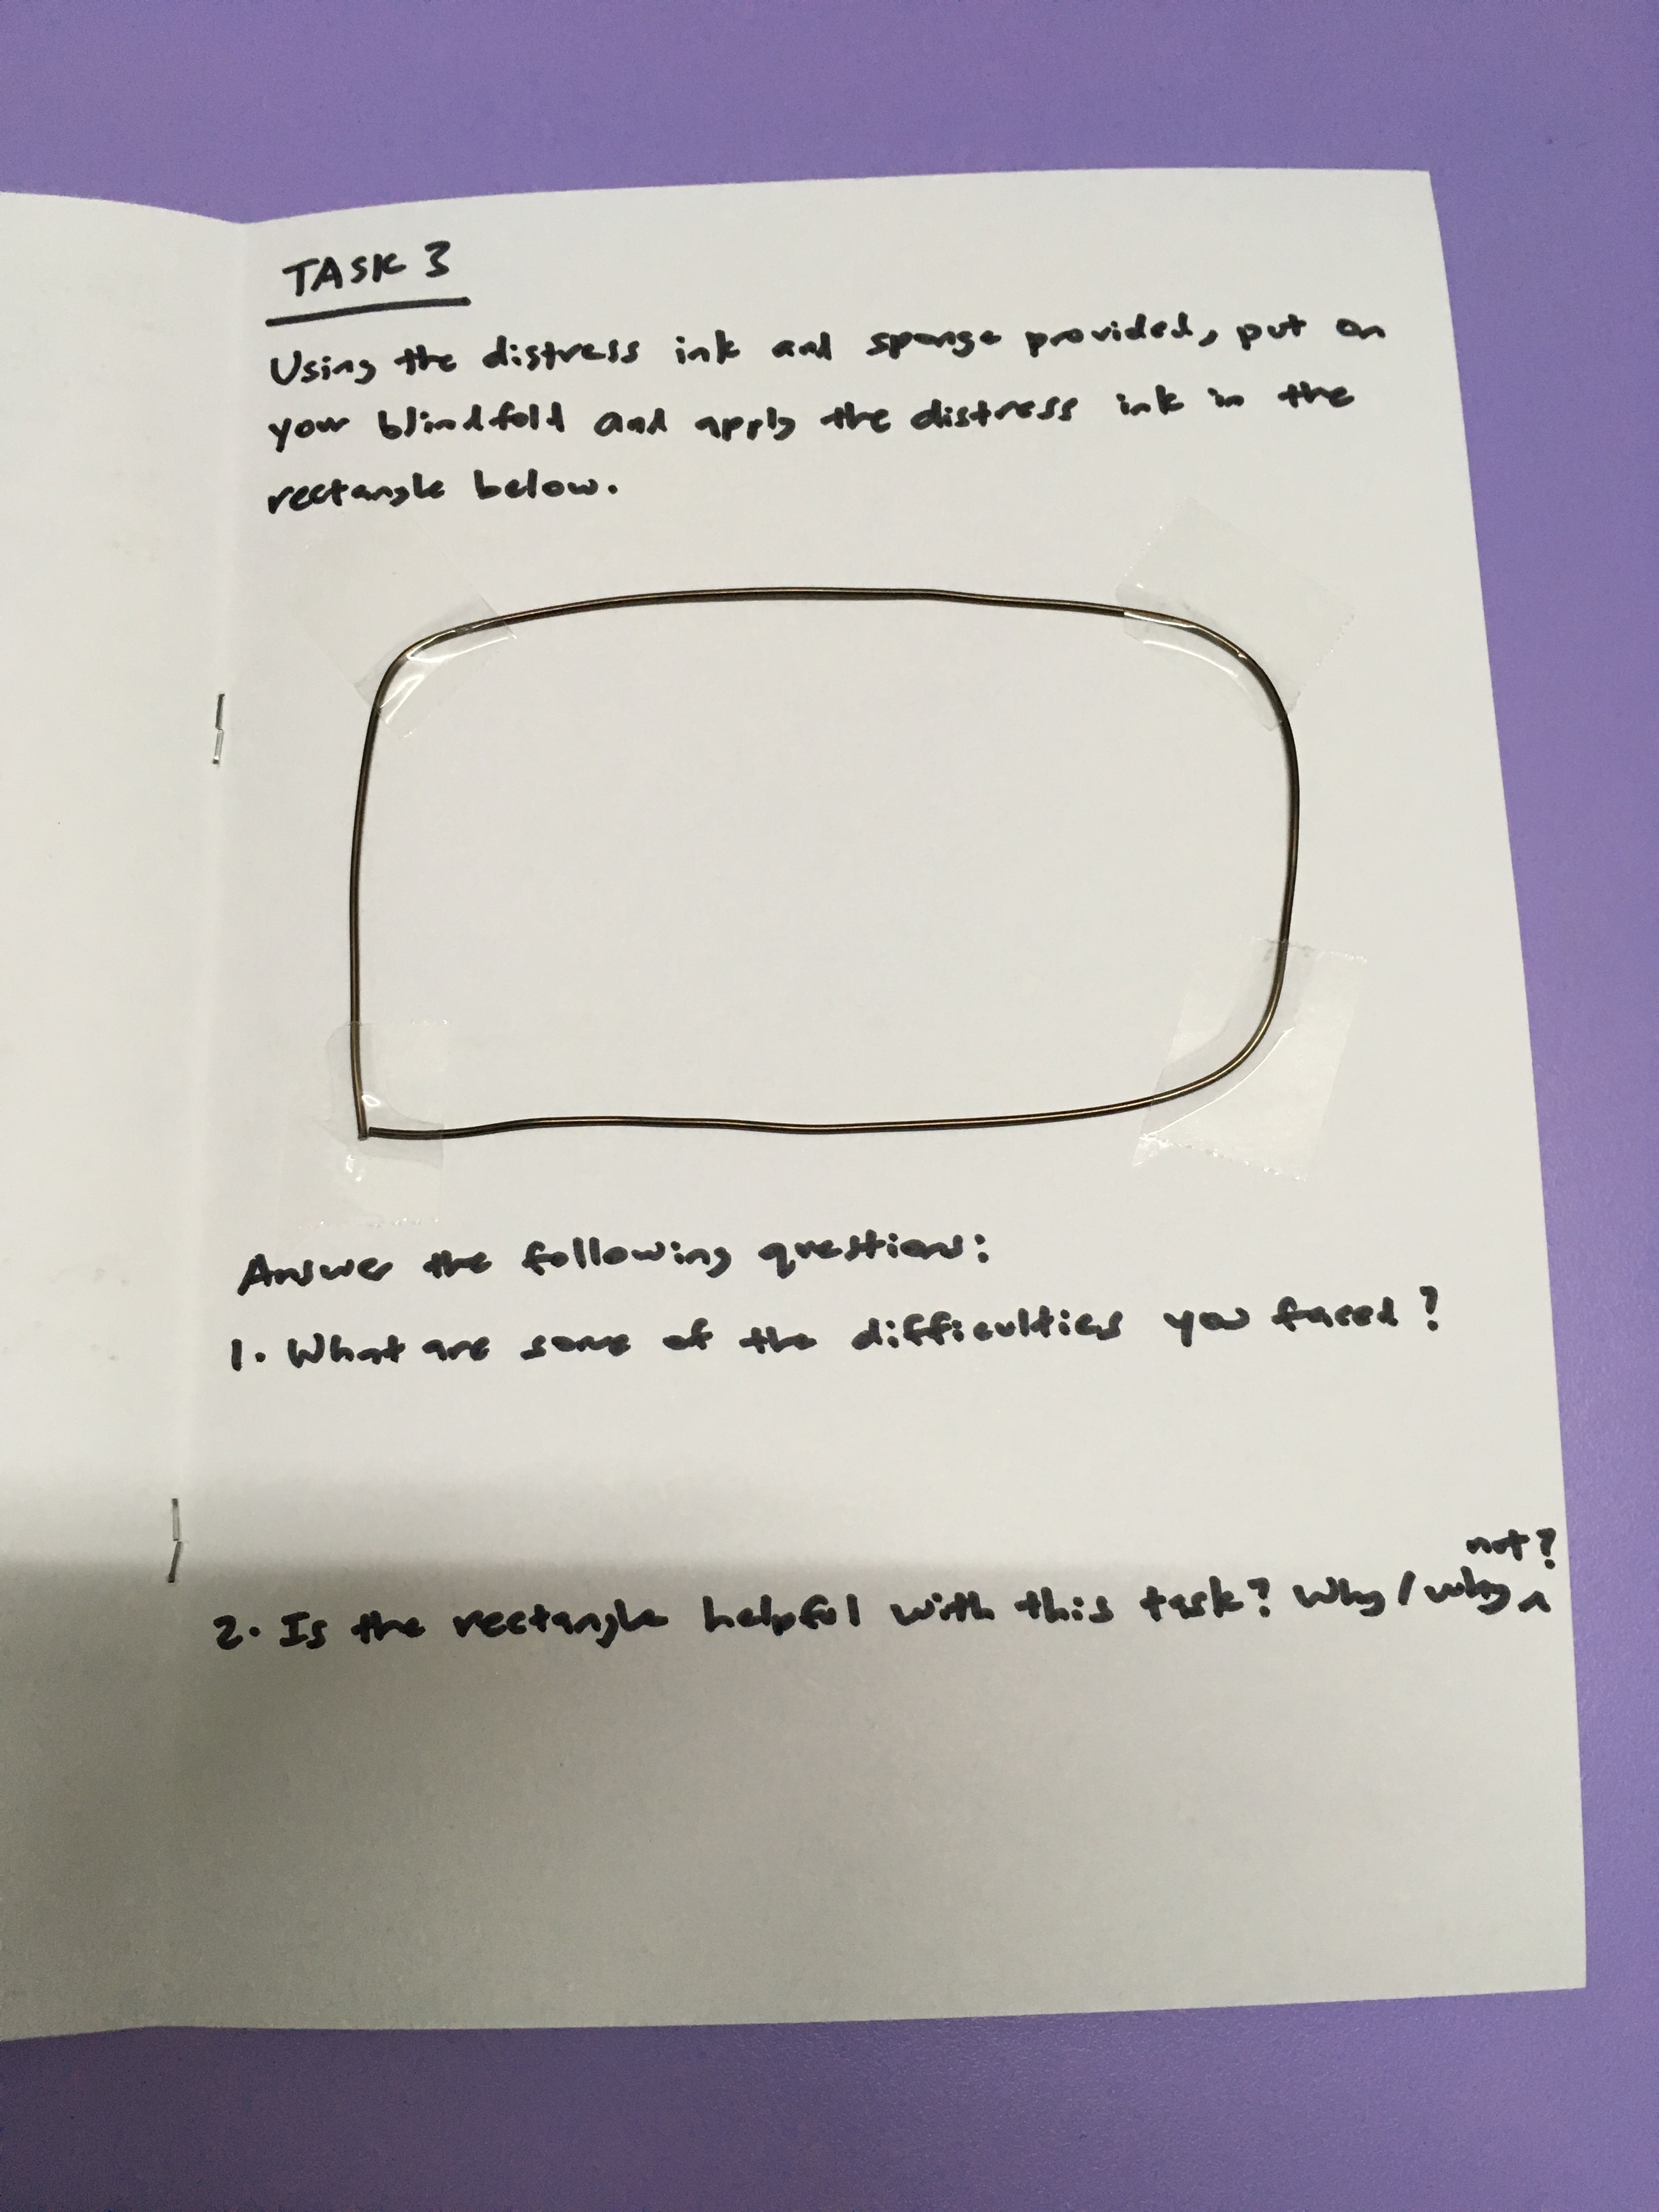
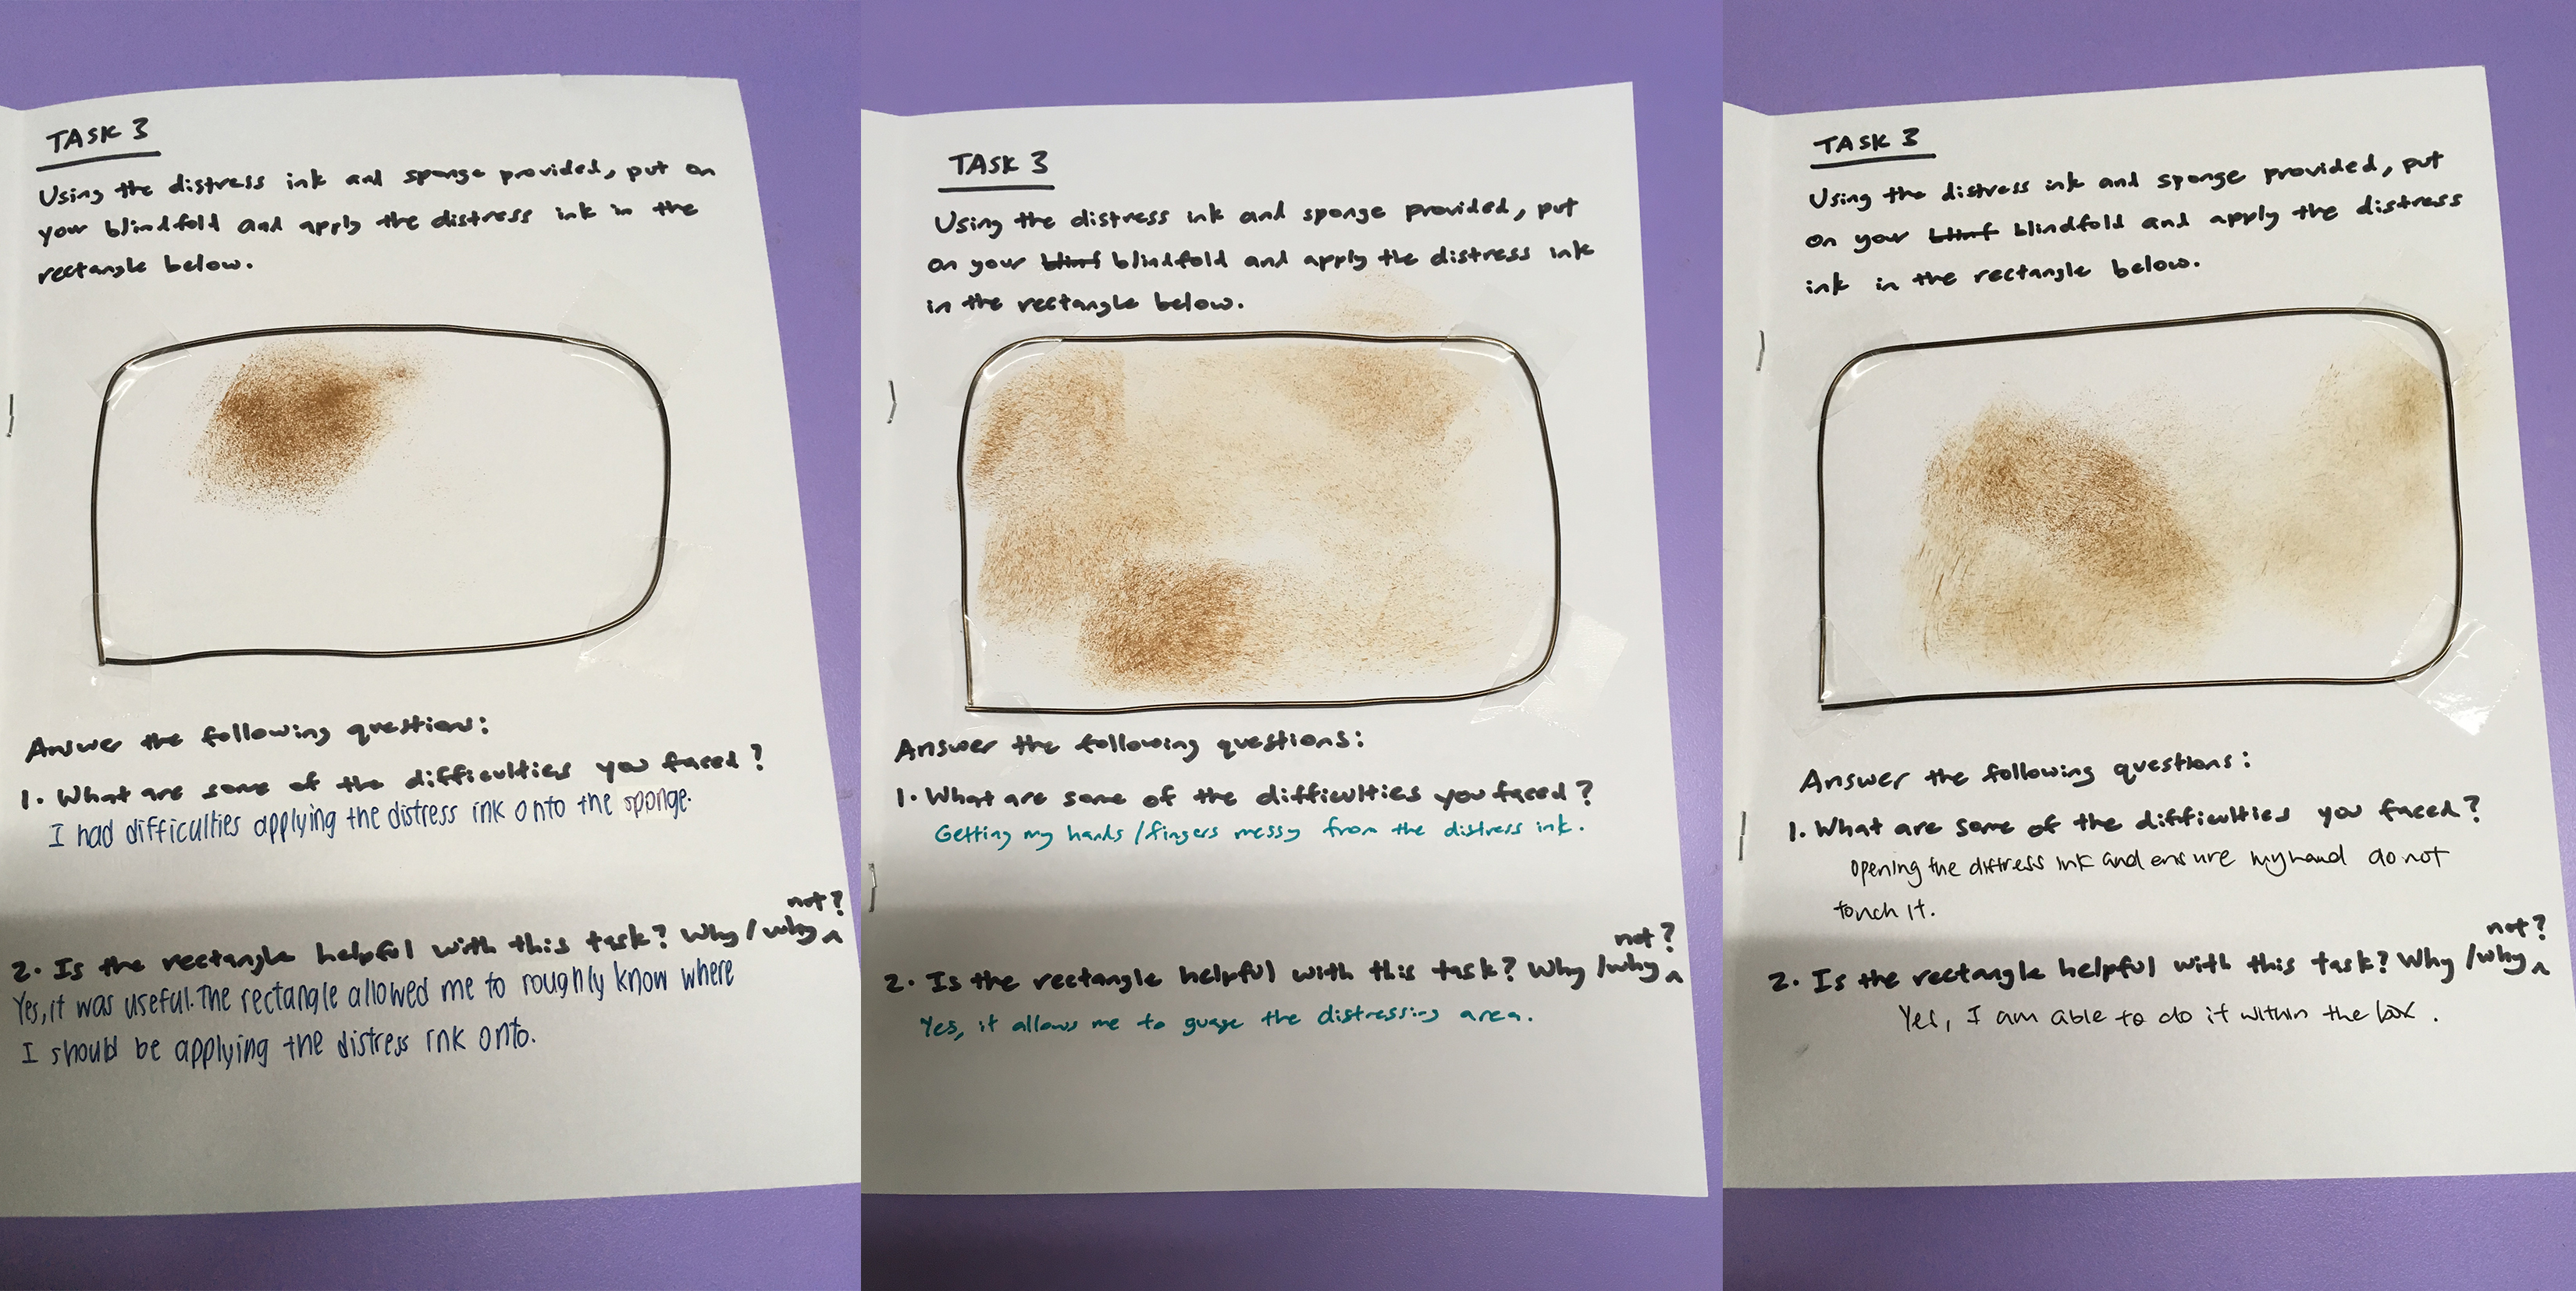
Task 3
Instructions: Using the distress ink and sponge provided, put on your blindfold and apply the distress ink in the rectangle below. Answer the following questions: 1. What are some of the difficulties you had? 2. Is the rectangle helpful with this task? Why/why not?
Rationale for this task: To find out whether a rectangle constructed with aluminimum wire helps the blind distress paper more easily, as they can use their sense of touch to guage the distressing area.
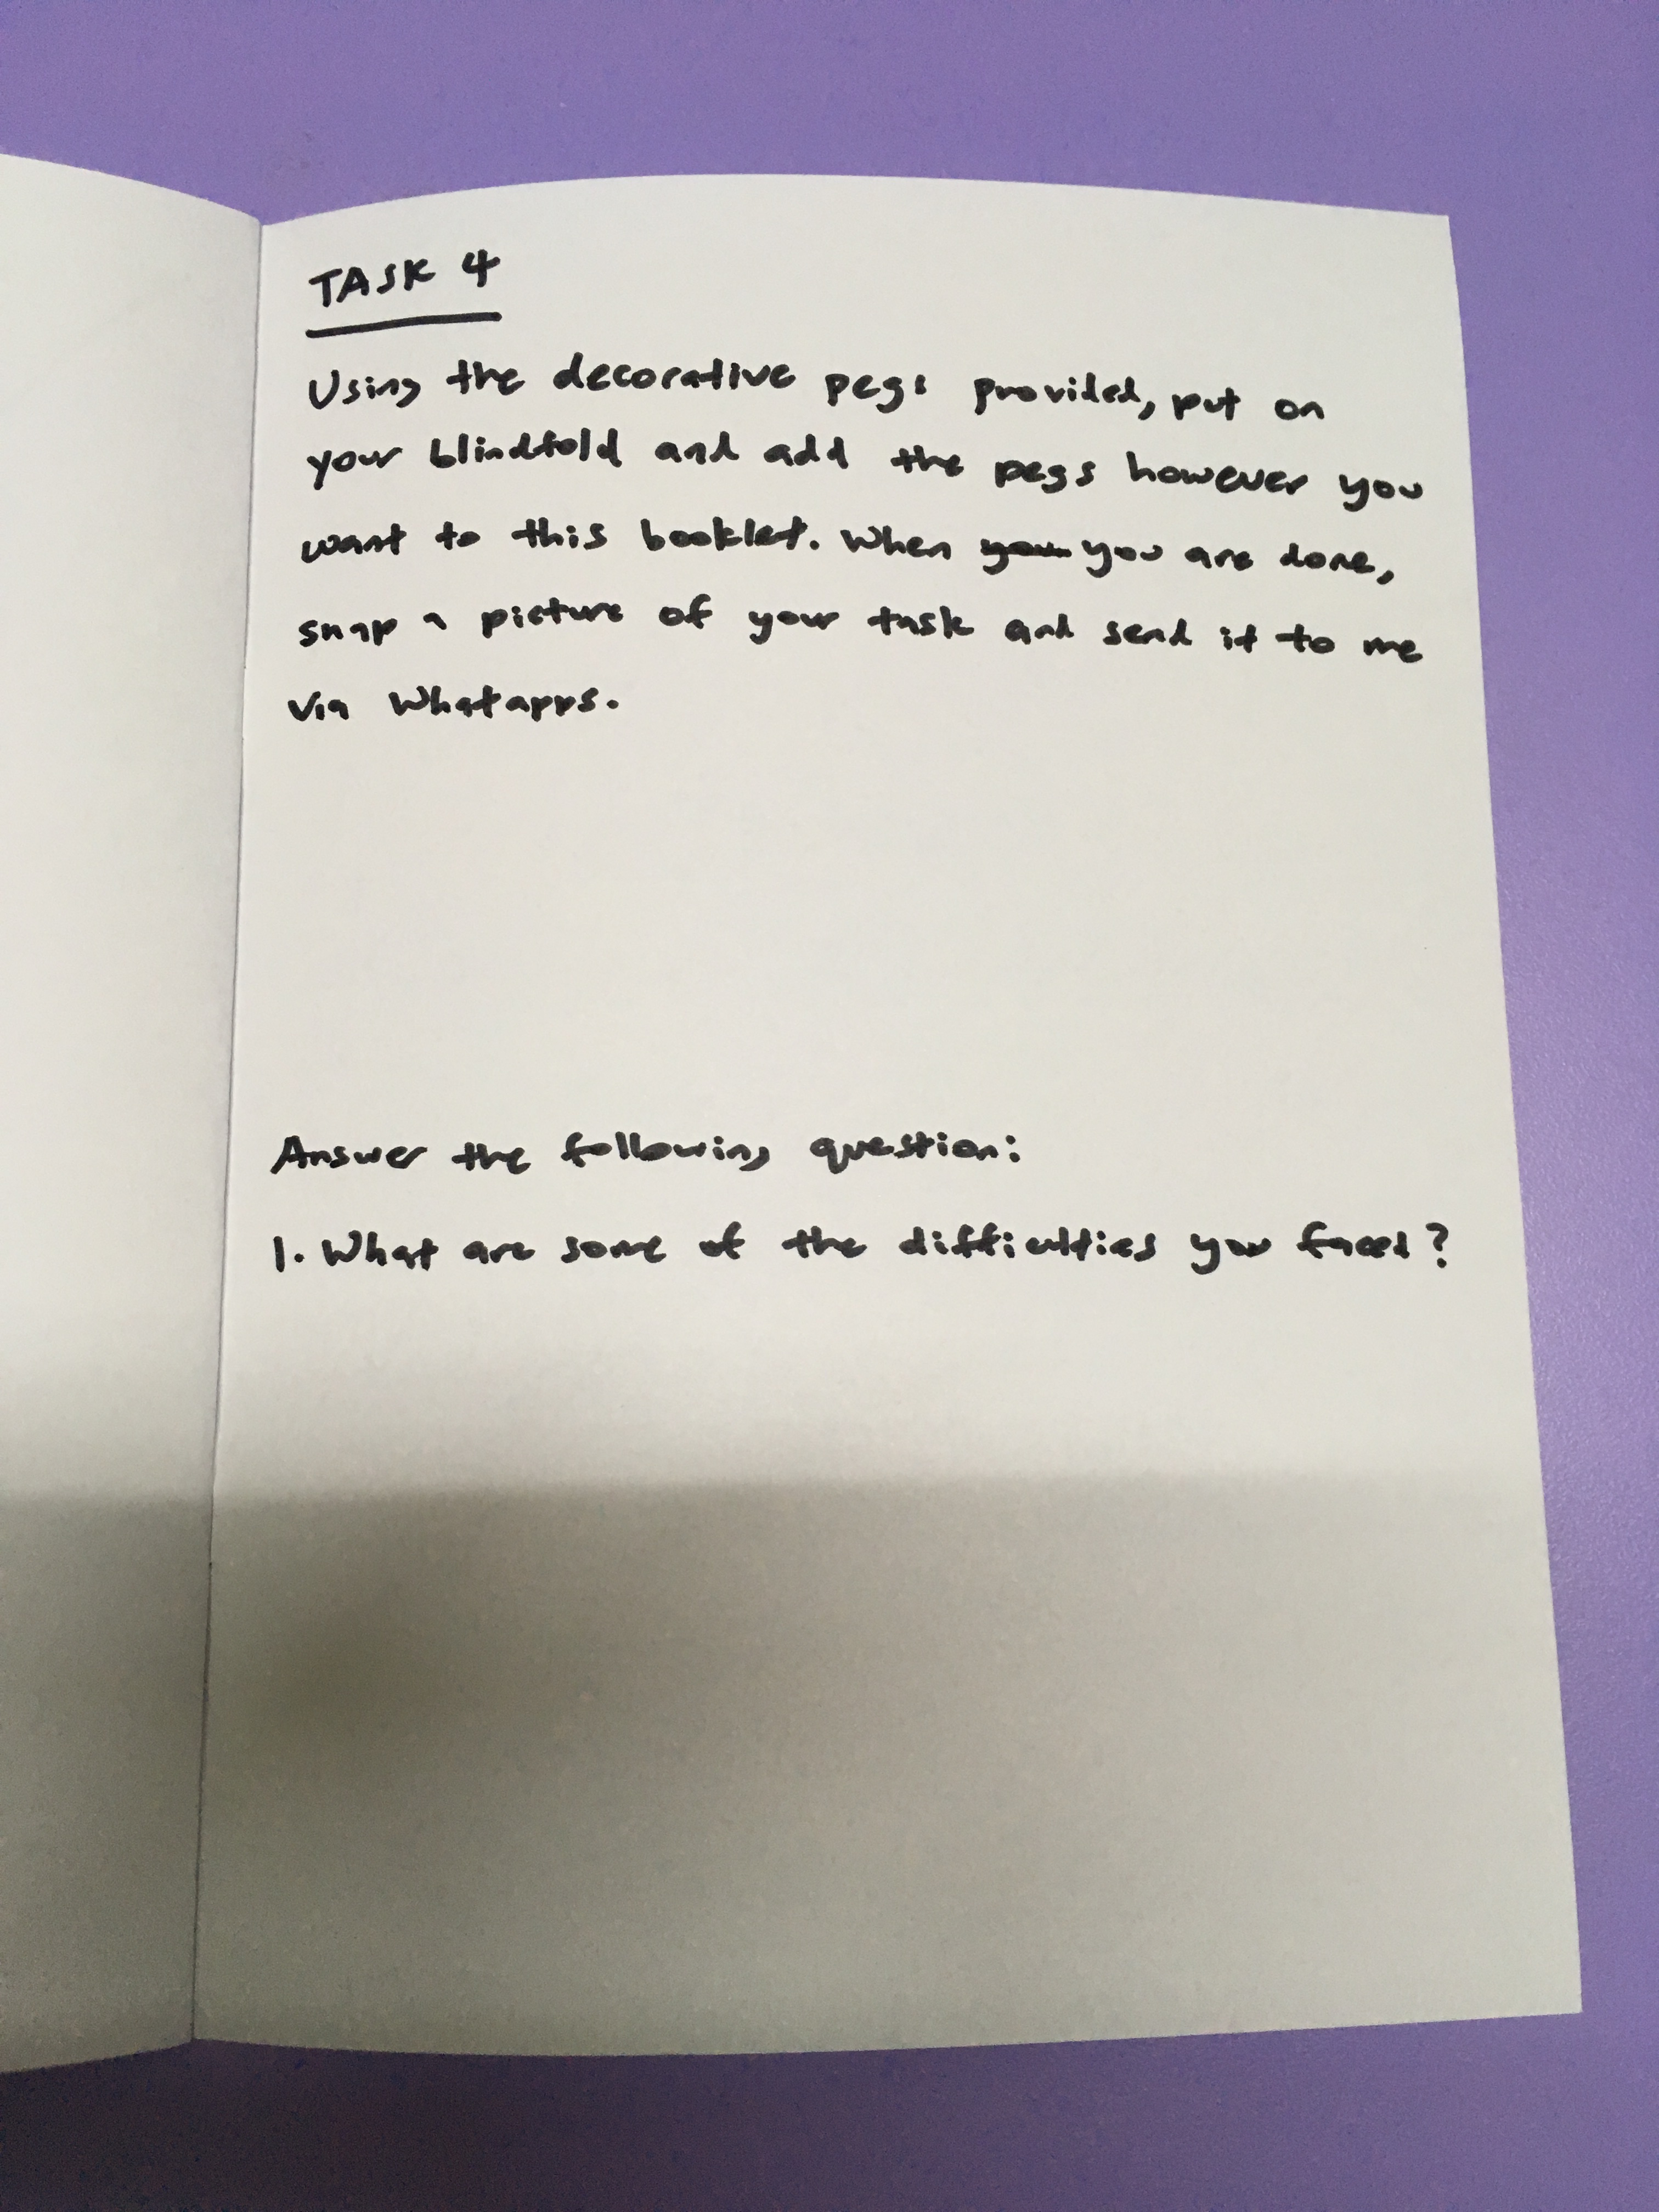
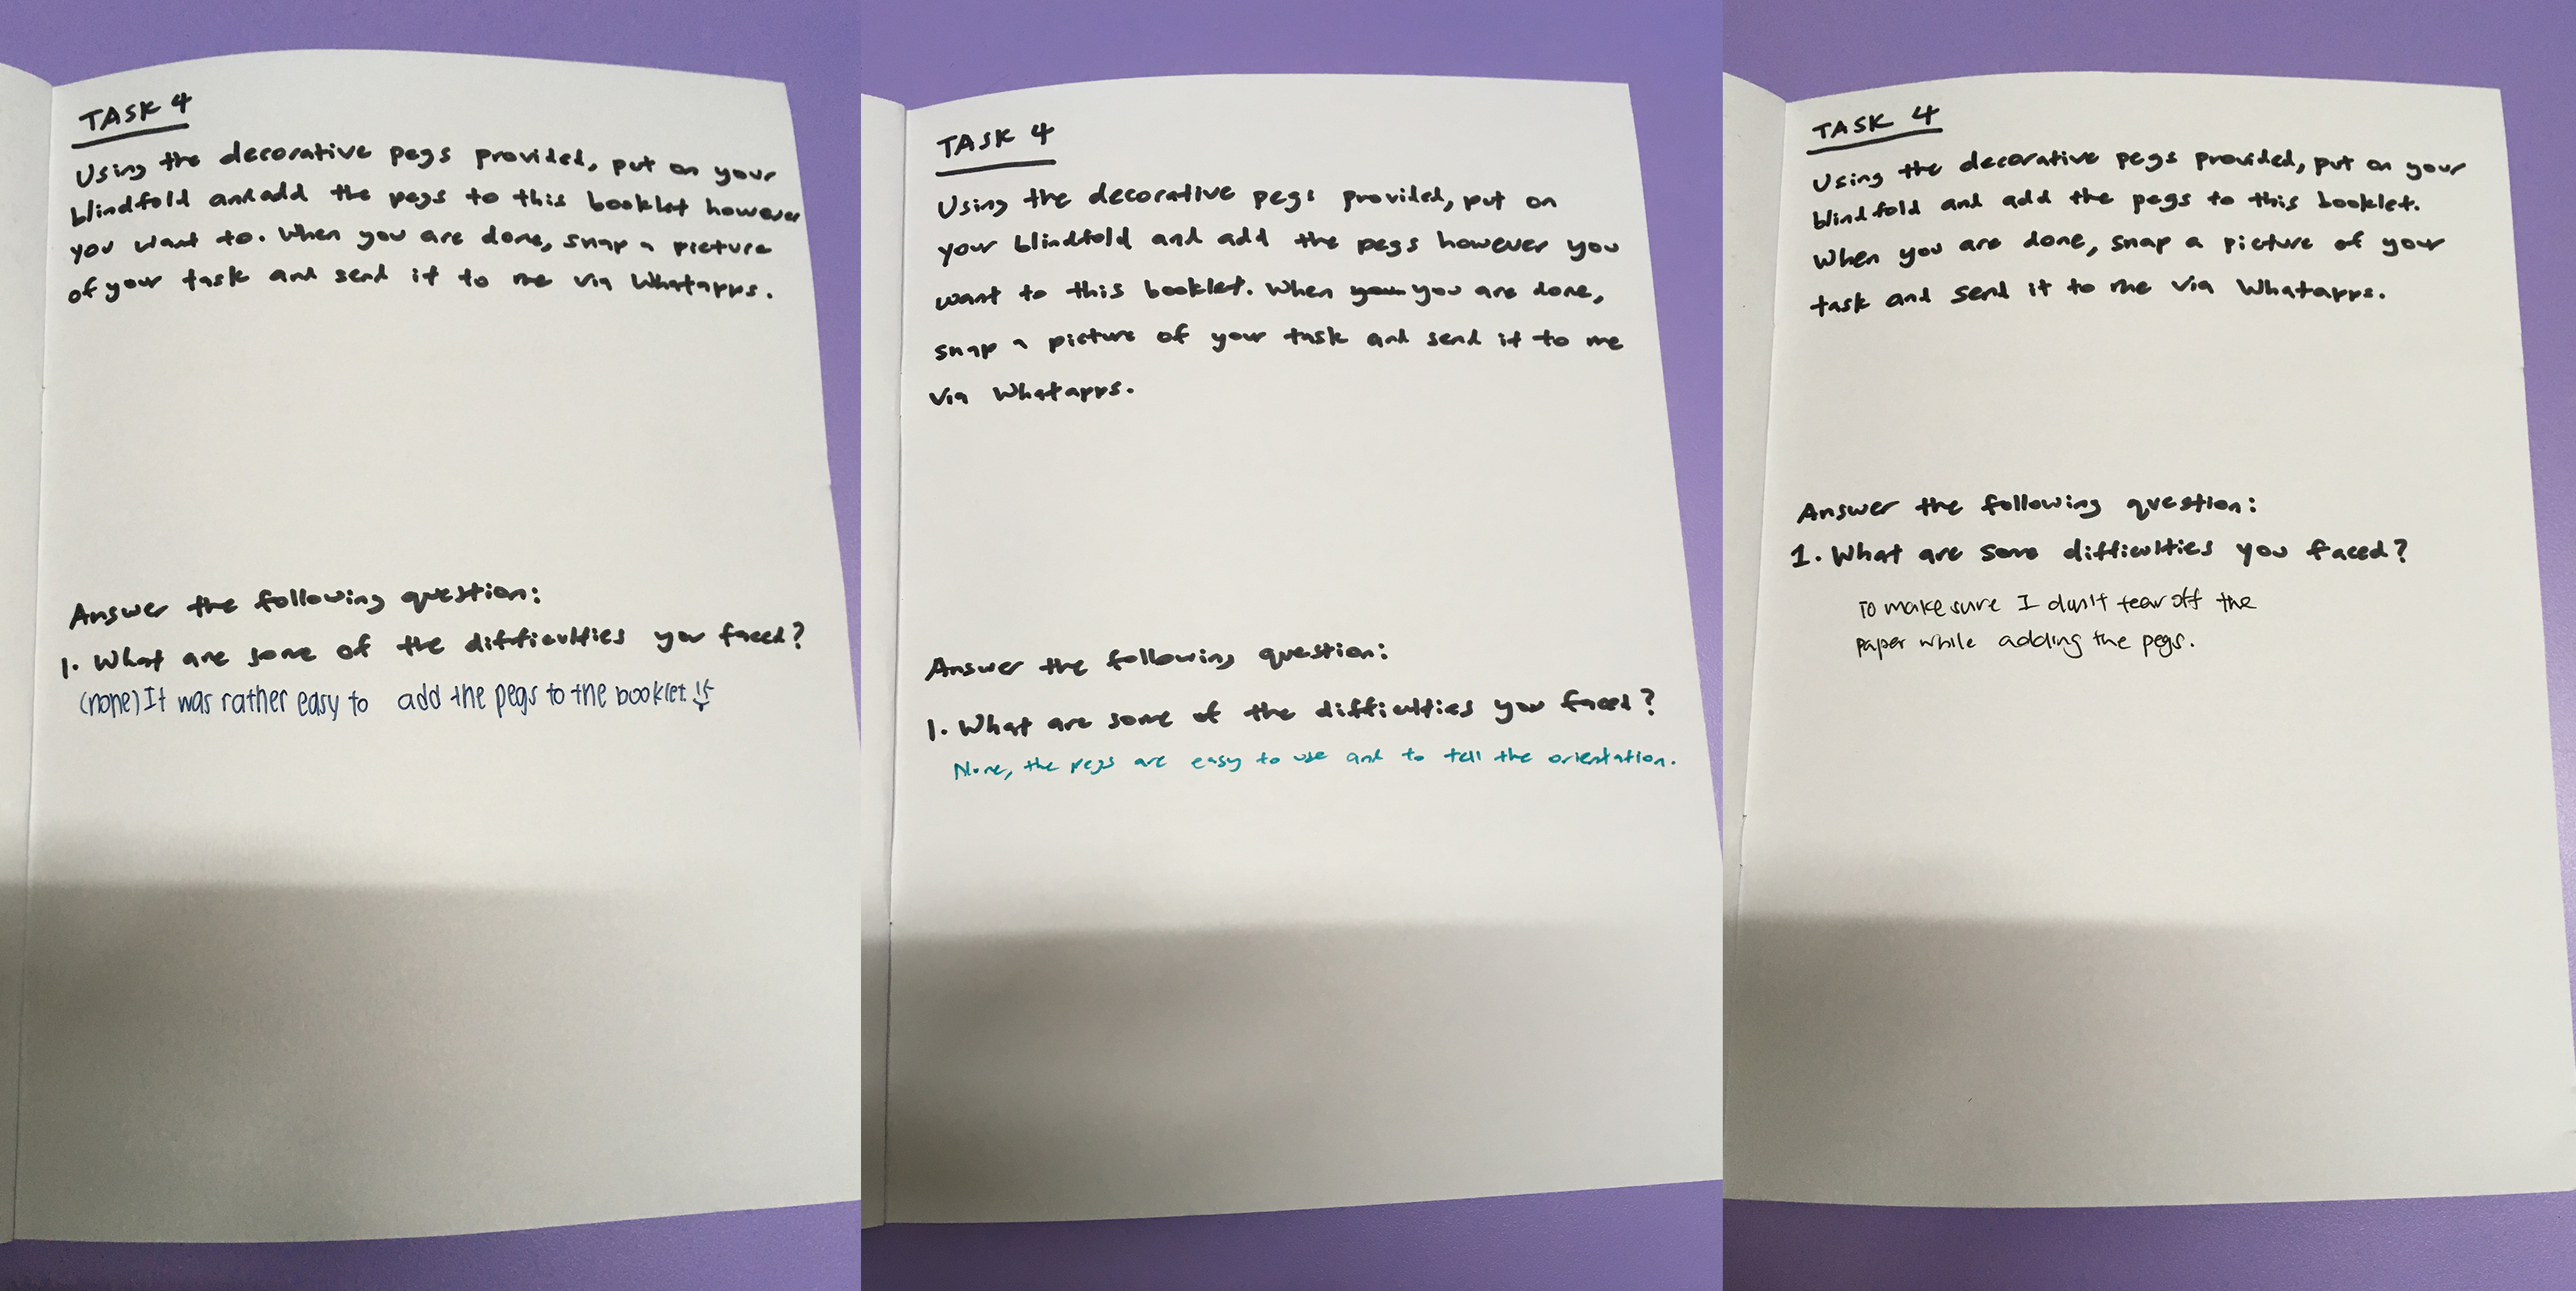
Task 4
Instructions: Using the decorative pegs provided, put on your blindfold and add the pegs however you want to this booklet. When you are done, snap a picture of your task and send it to me via Whatapps. Answering the following question: 1. What are some of the difficulties you faced?
Rationale for this task: To find out how a blind person utilises decorative pegs when scrapbooking, and to see if it is feasible to include decorative items in the final scrapbooking template.
Findings
I coducted my probes with 3 person, including my friend Elena who is the original practitioner of scrapbooking. The other 2 persons are my younger sister who is 12 years old, and another friend who is 25 years old. I conducted the probe with my younger sister as I wanted to see whether the tasks are too difficult for a younger person. This is because I hope that the final scrapbooking template can be used by the blind of all ages so that they too can make cards for their loved ones.
Task 1 (findings)
2 out of 3 persons said that it is difficult to move to and write on the next line, although the lines were somewhat useful as a guide. Based on the comments, I think I underestimated the difficulty of this task. I have to come up with a better guide in order to improve the performance of this task.
Task 2 (findings)
All 3 said that the box was useful in allowing them to guage the pasting area, but the box was not helpful in allowing them to figure out the orientation of the pop-up stickers (i.e. they do not know whether the cat is sitting upright or upside down). One notable comment is to make the guide (wire) the shape of the sticker, so the user just have to paste the right sticker into the right shape without having to worry about orientation.
Task 3 (findings)
All 3 said that the rectangle was helpful in allowing them to guage the distressing area, but it does not solve the issue of their hands getting messy from the distress ink. This issue is hard to solve, unless the distress ink is sprayed onto the paper instead of using a sponge manually.
Task 4 (findings)
Based on the comments, it is safe to conclude that decorative items such as pegs are very easy to use even when blind. Hence, I should include them in my template.
Conclusion
From the cultural probes conducted, I managed to understand how people do tasks related to scrapbooking while blind, and found out the flaws of my concept designs. Moving on, I know what to improve on and what to keep.
Things to improve: 1. Wire guide for task 1 have to better guide users to write on the next sentence. 2. Wire guide for task 2 should match the shape of the stickers in the right orientation so that it is easier for users to stick them accurately. 3. Figure a way for users to use the distress ink without getting their fingers dirty (maybe spraying instead of sponging).
Things to keep: 1. Include decorative items such as pegs/stickers. 2. Wire guides are useful in guiding users to a certain extent, although they need improvement in design for some tasks.