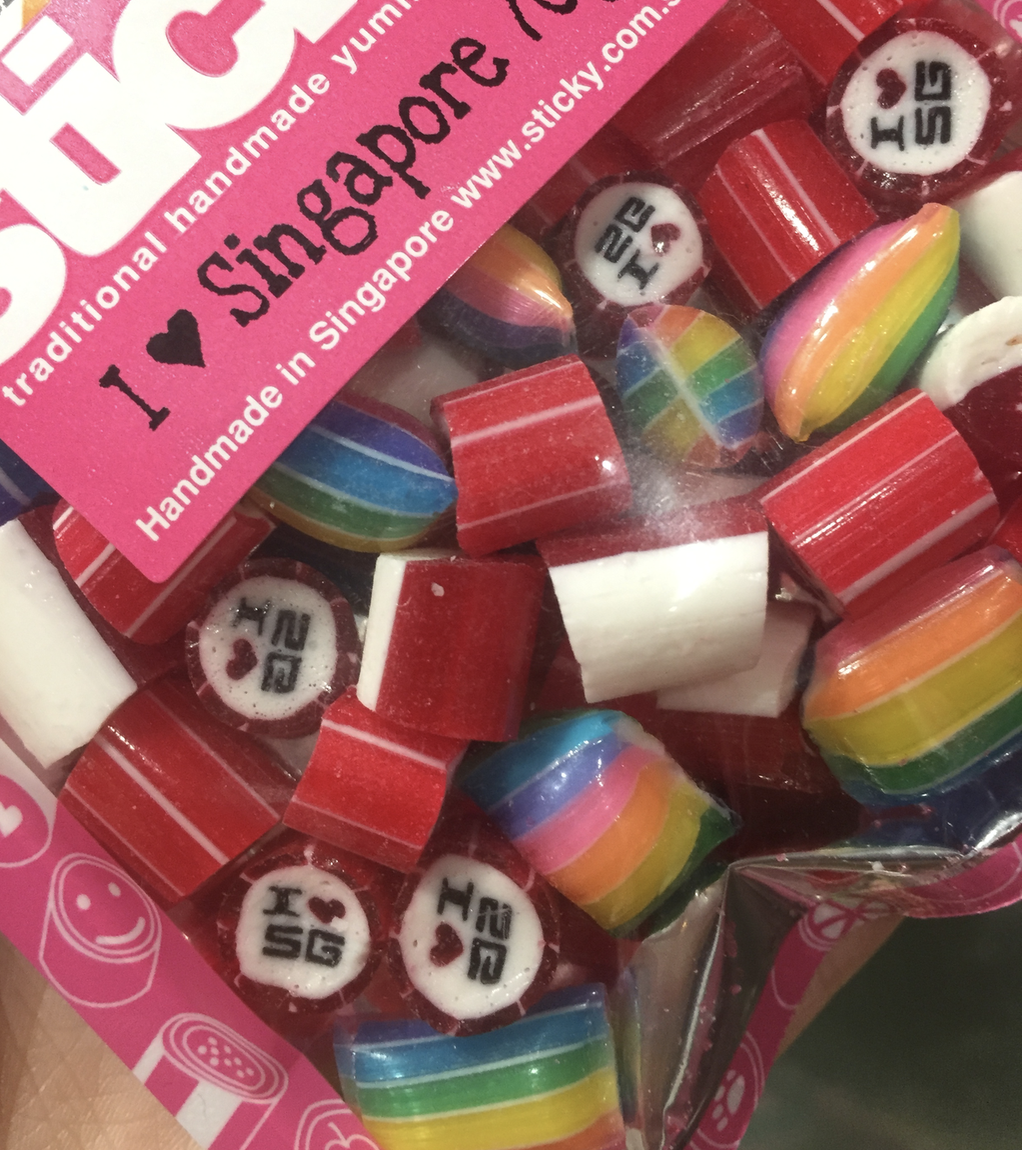
If you were here in Singapore long enough, you’ll remember how popular the Sticky Sweets were. They had branches with open concept counters showing customers how they made their sweets. I never did stop to look at how their sweets were made and thus it led me to hunt down their last outlet in Clarke Quay to observe the candy making process.
Process Documentation
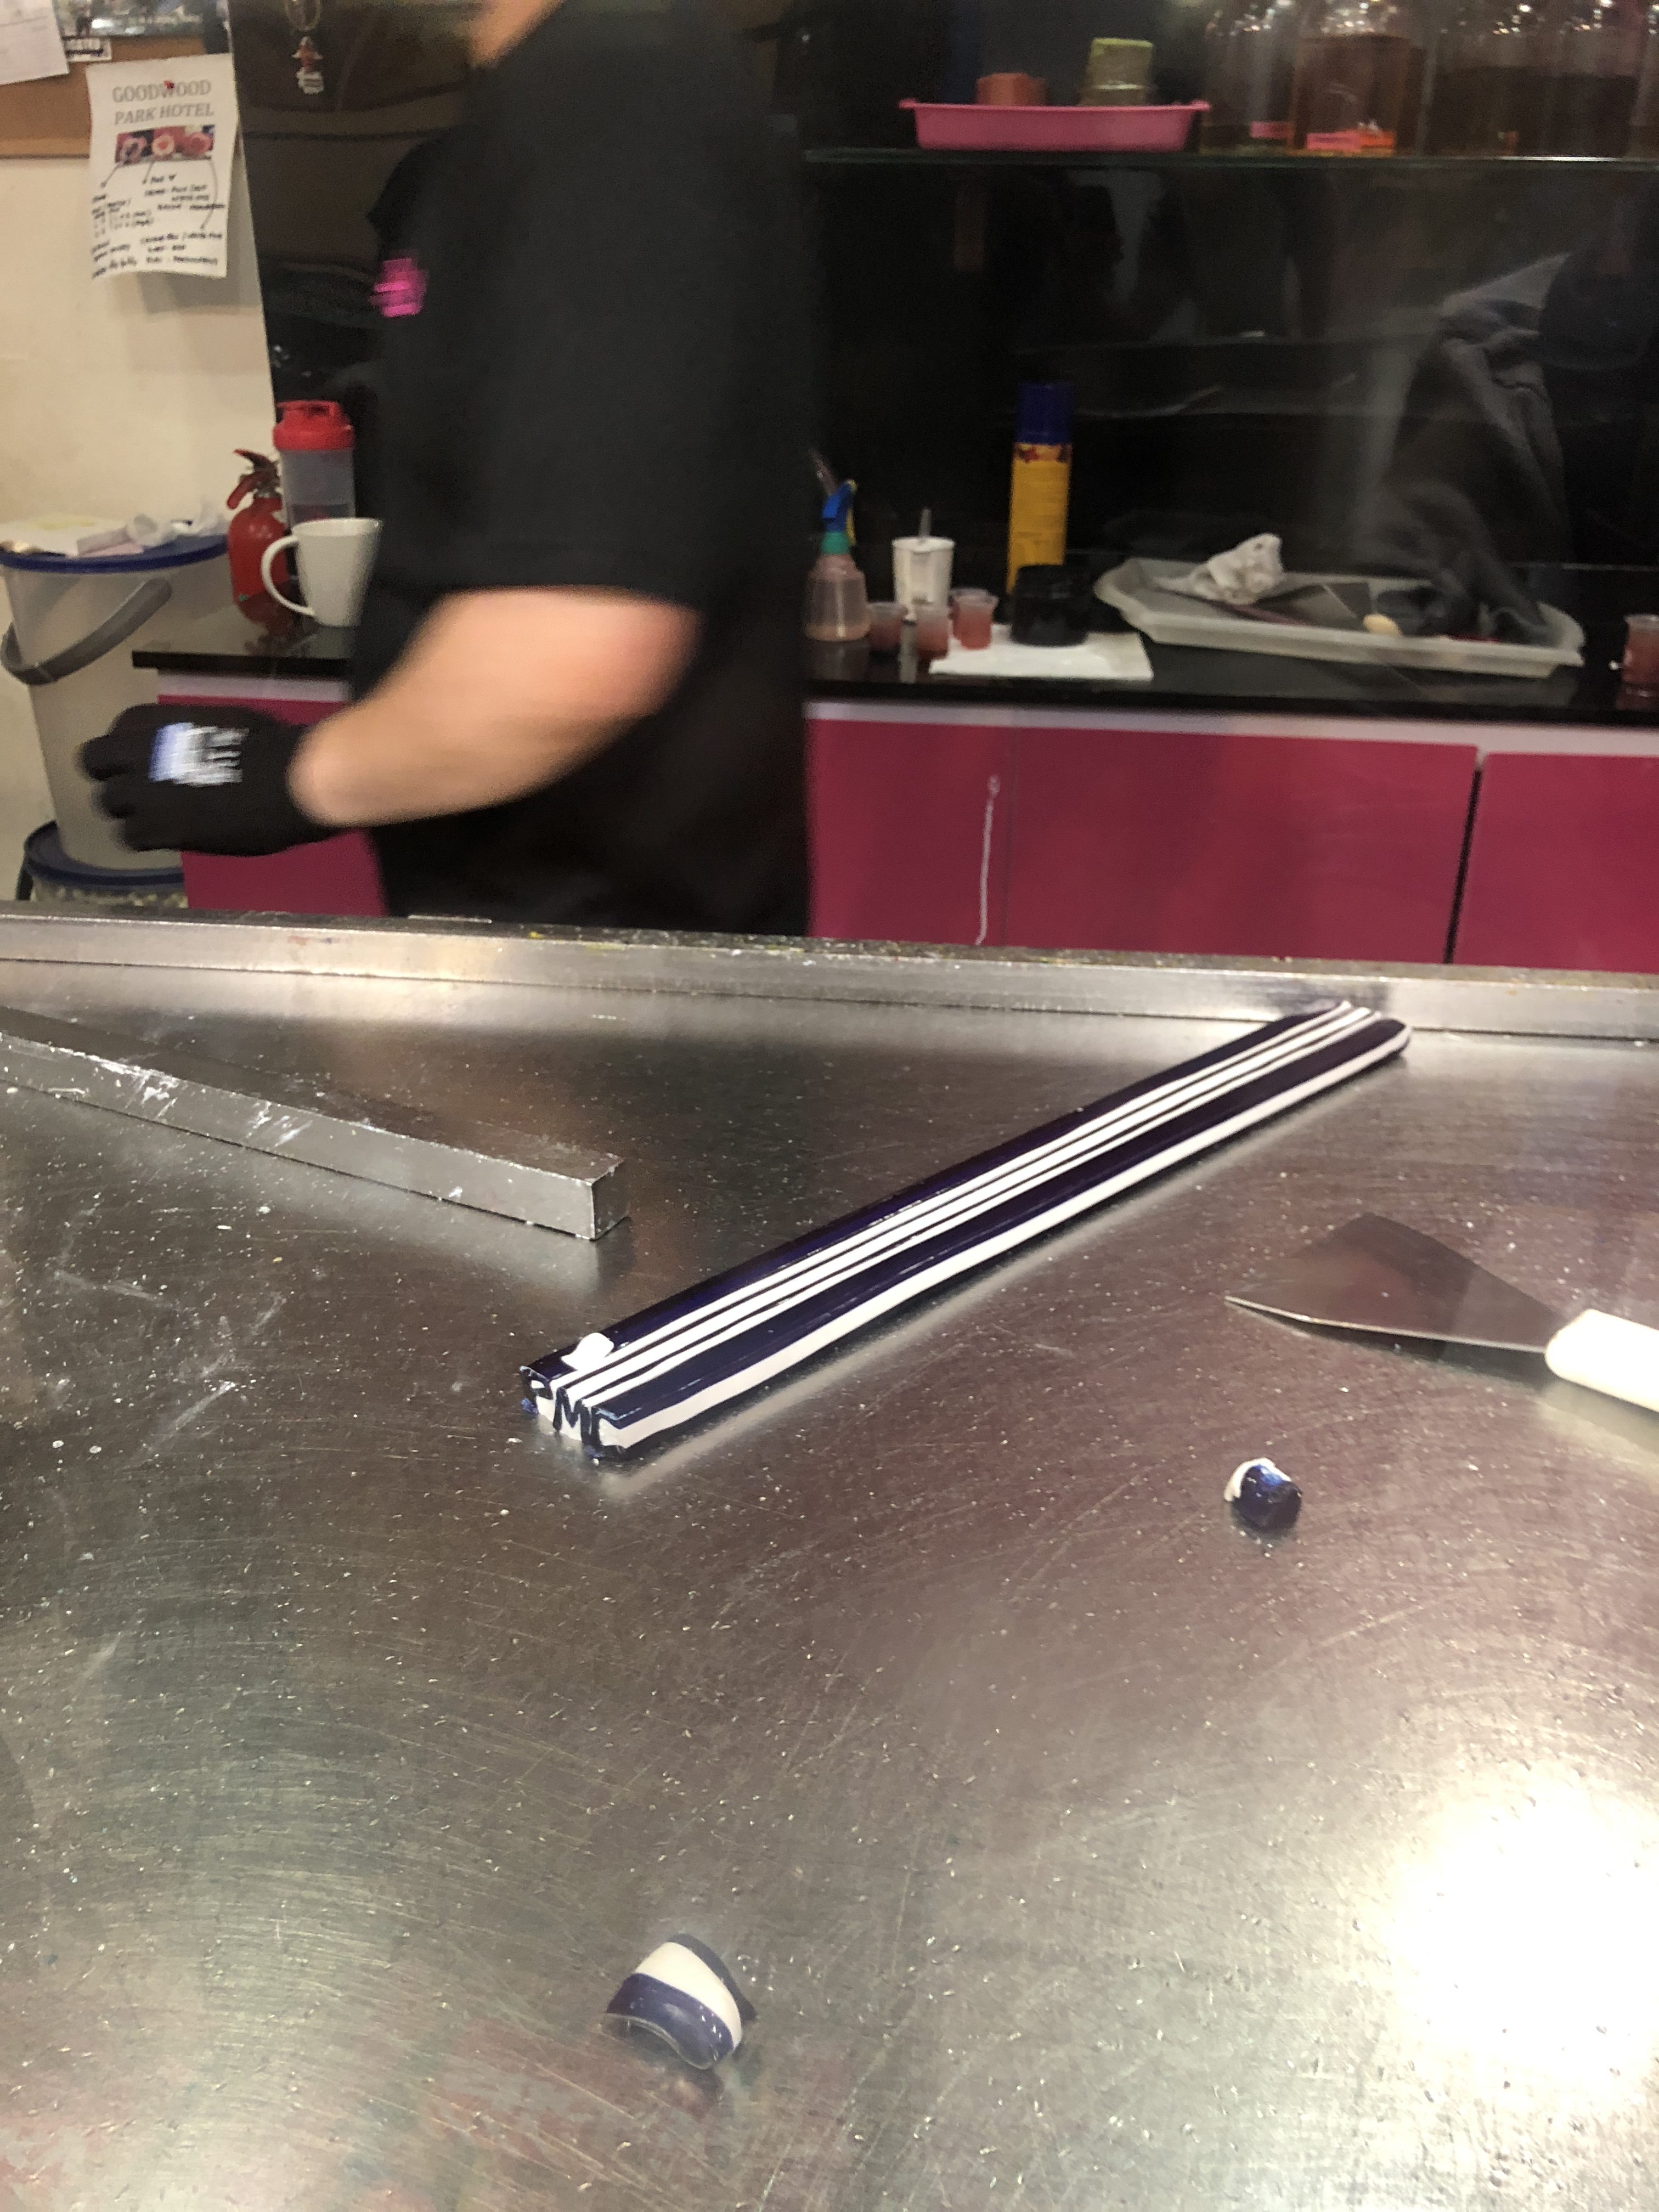
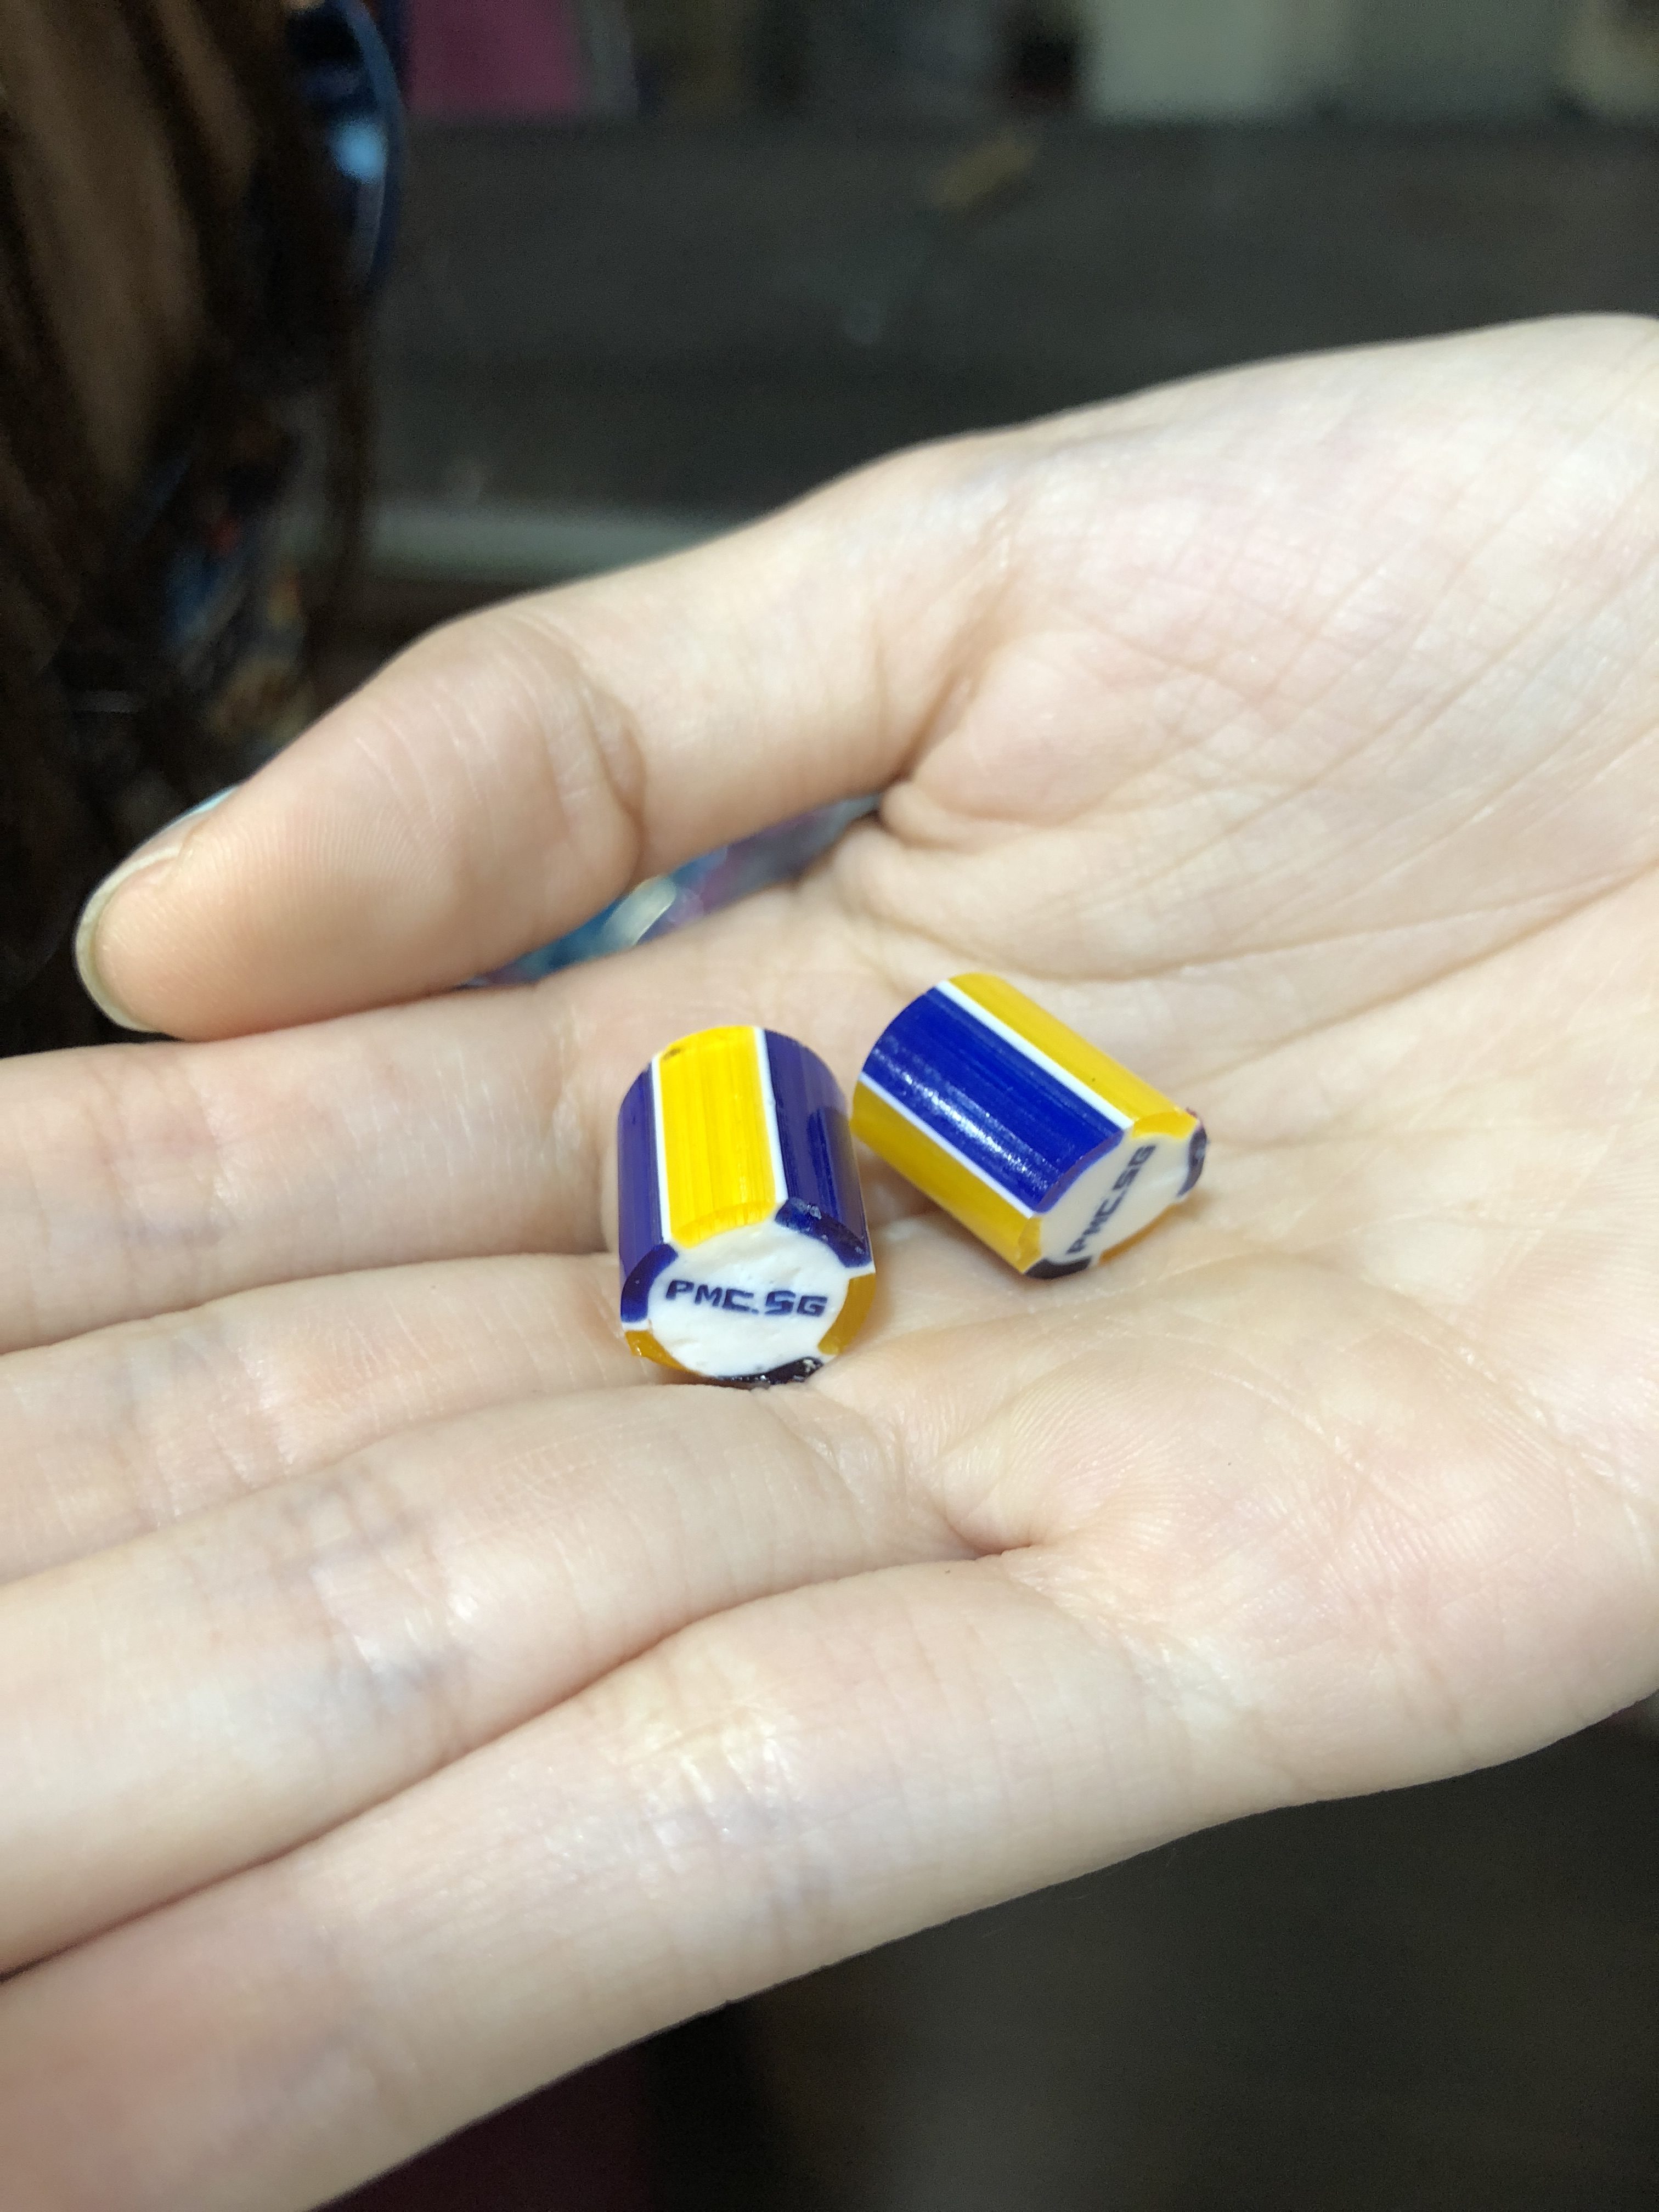
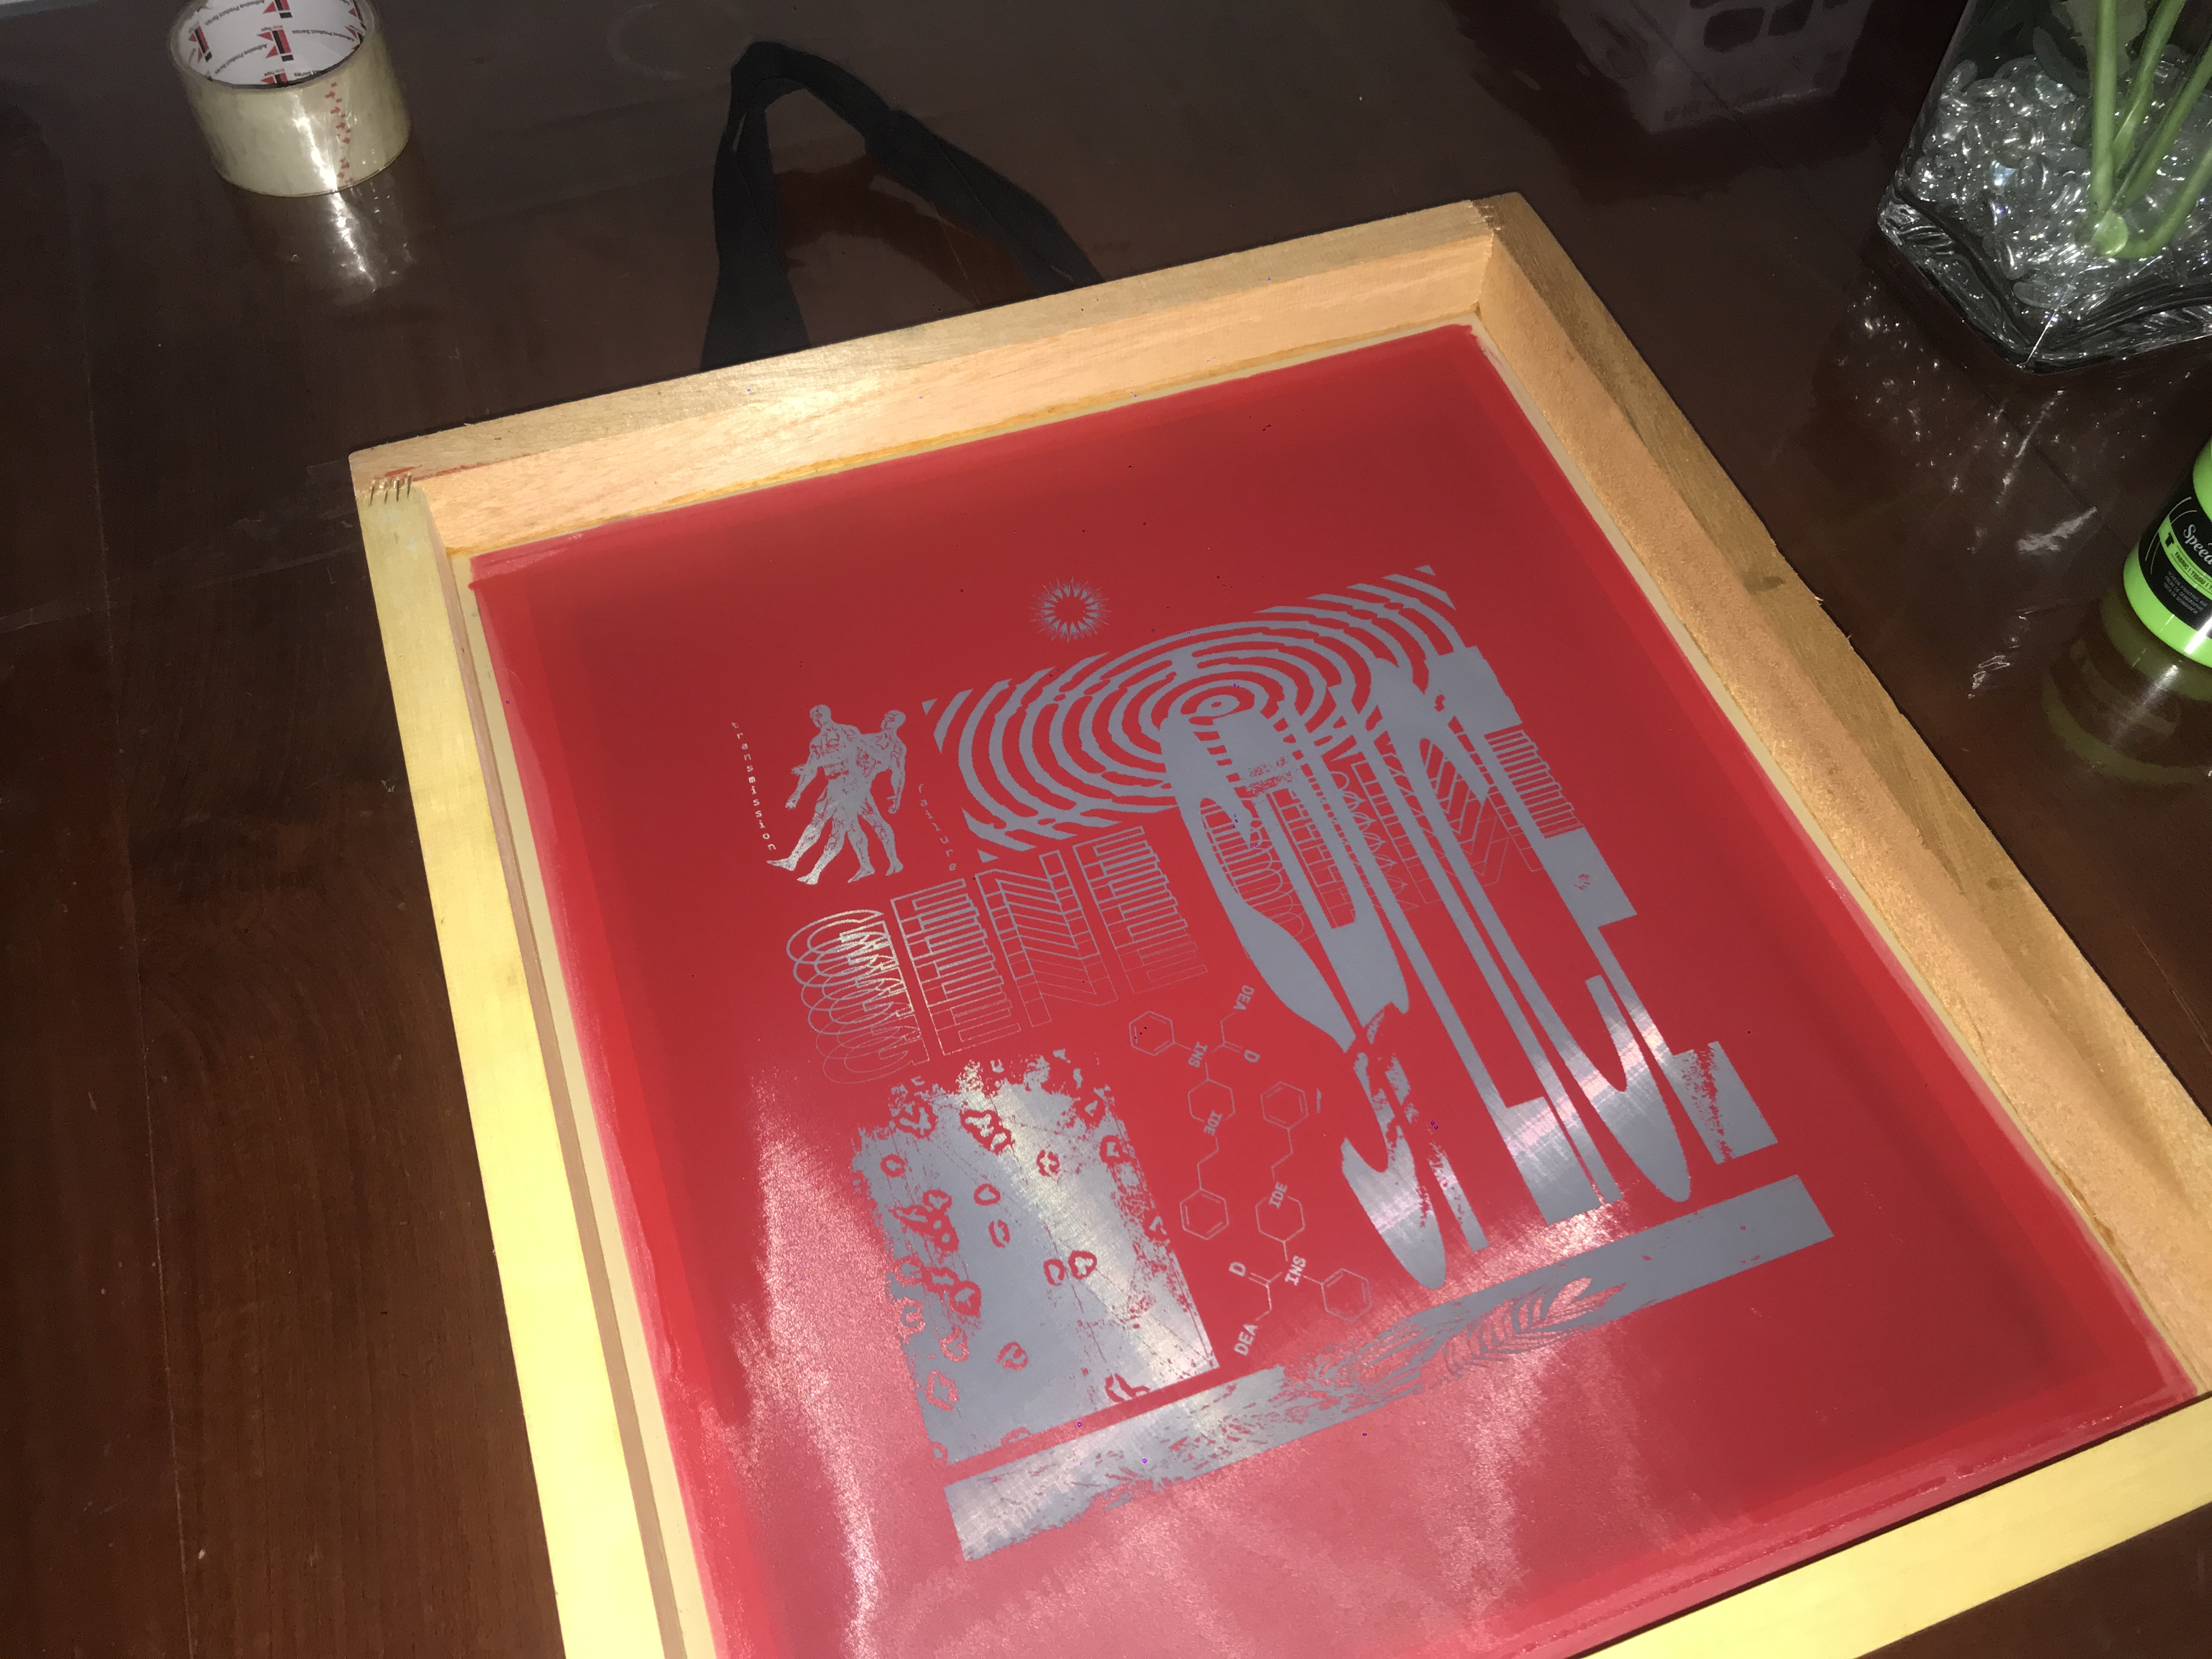
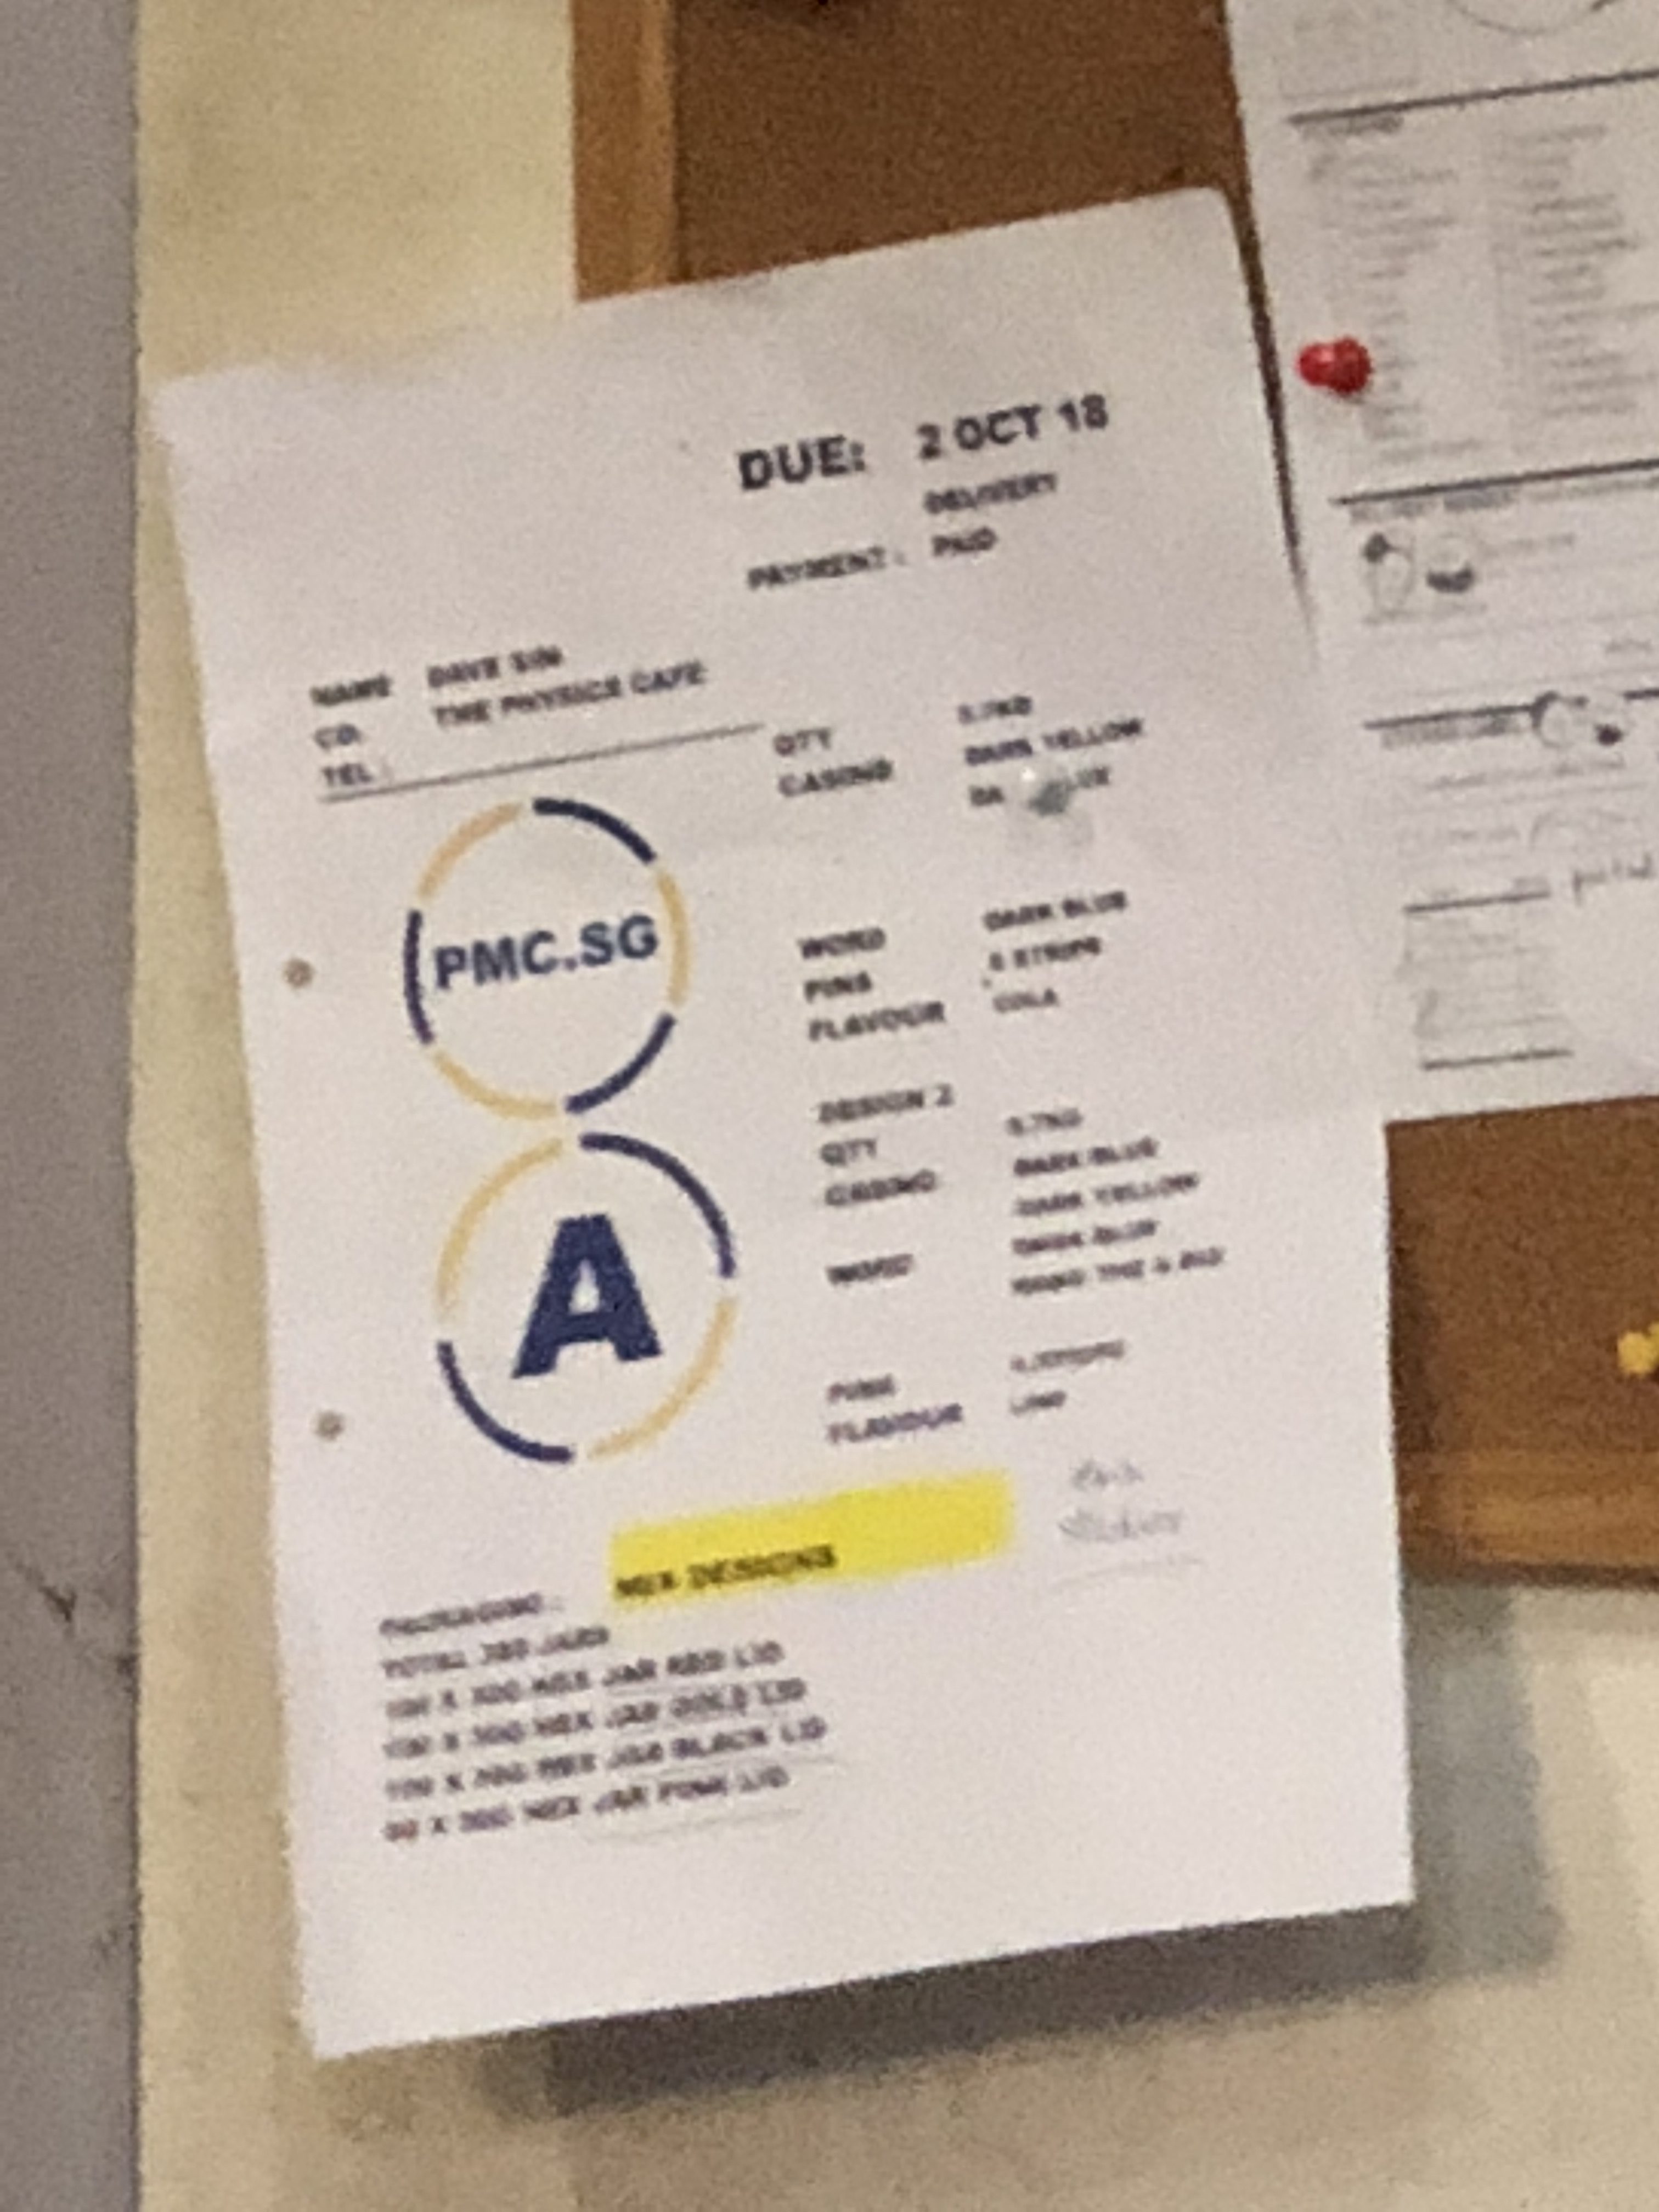
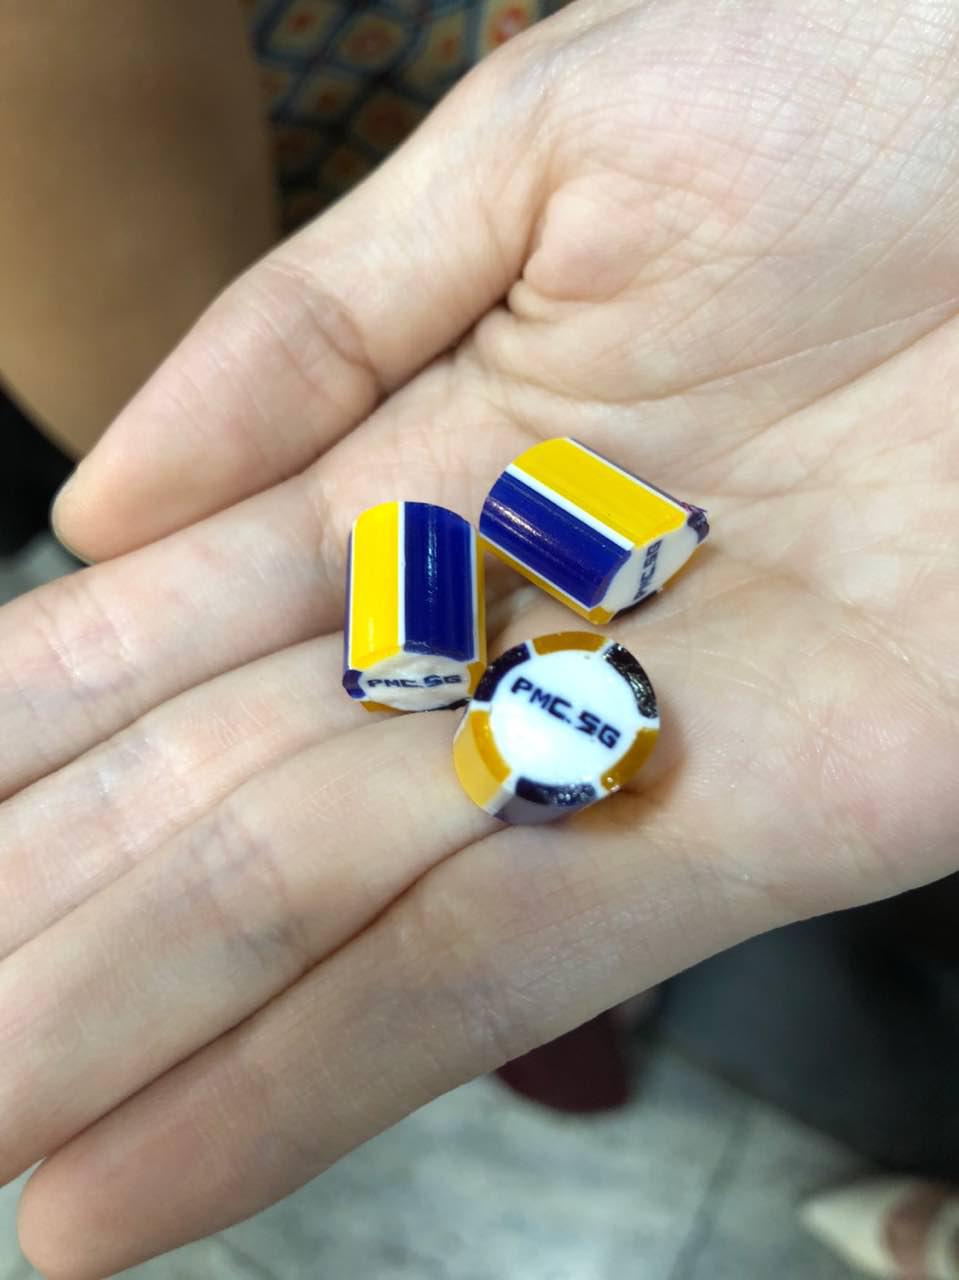
These days, the shop usually caters to private orders who ask for customised designs. When I was at the shop, they happen to be making a customised order for PMC.SG which was required to look like this:
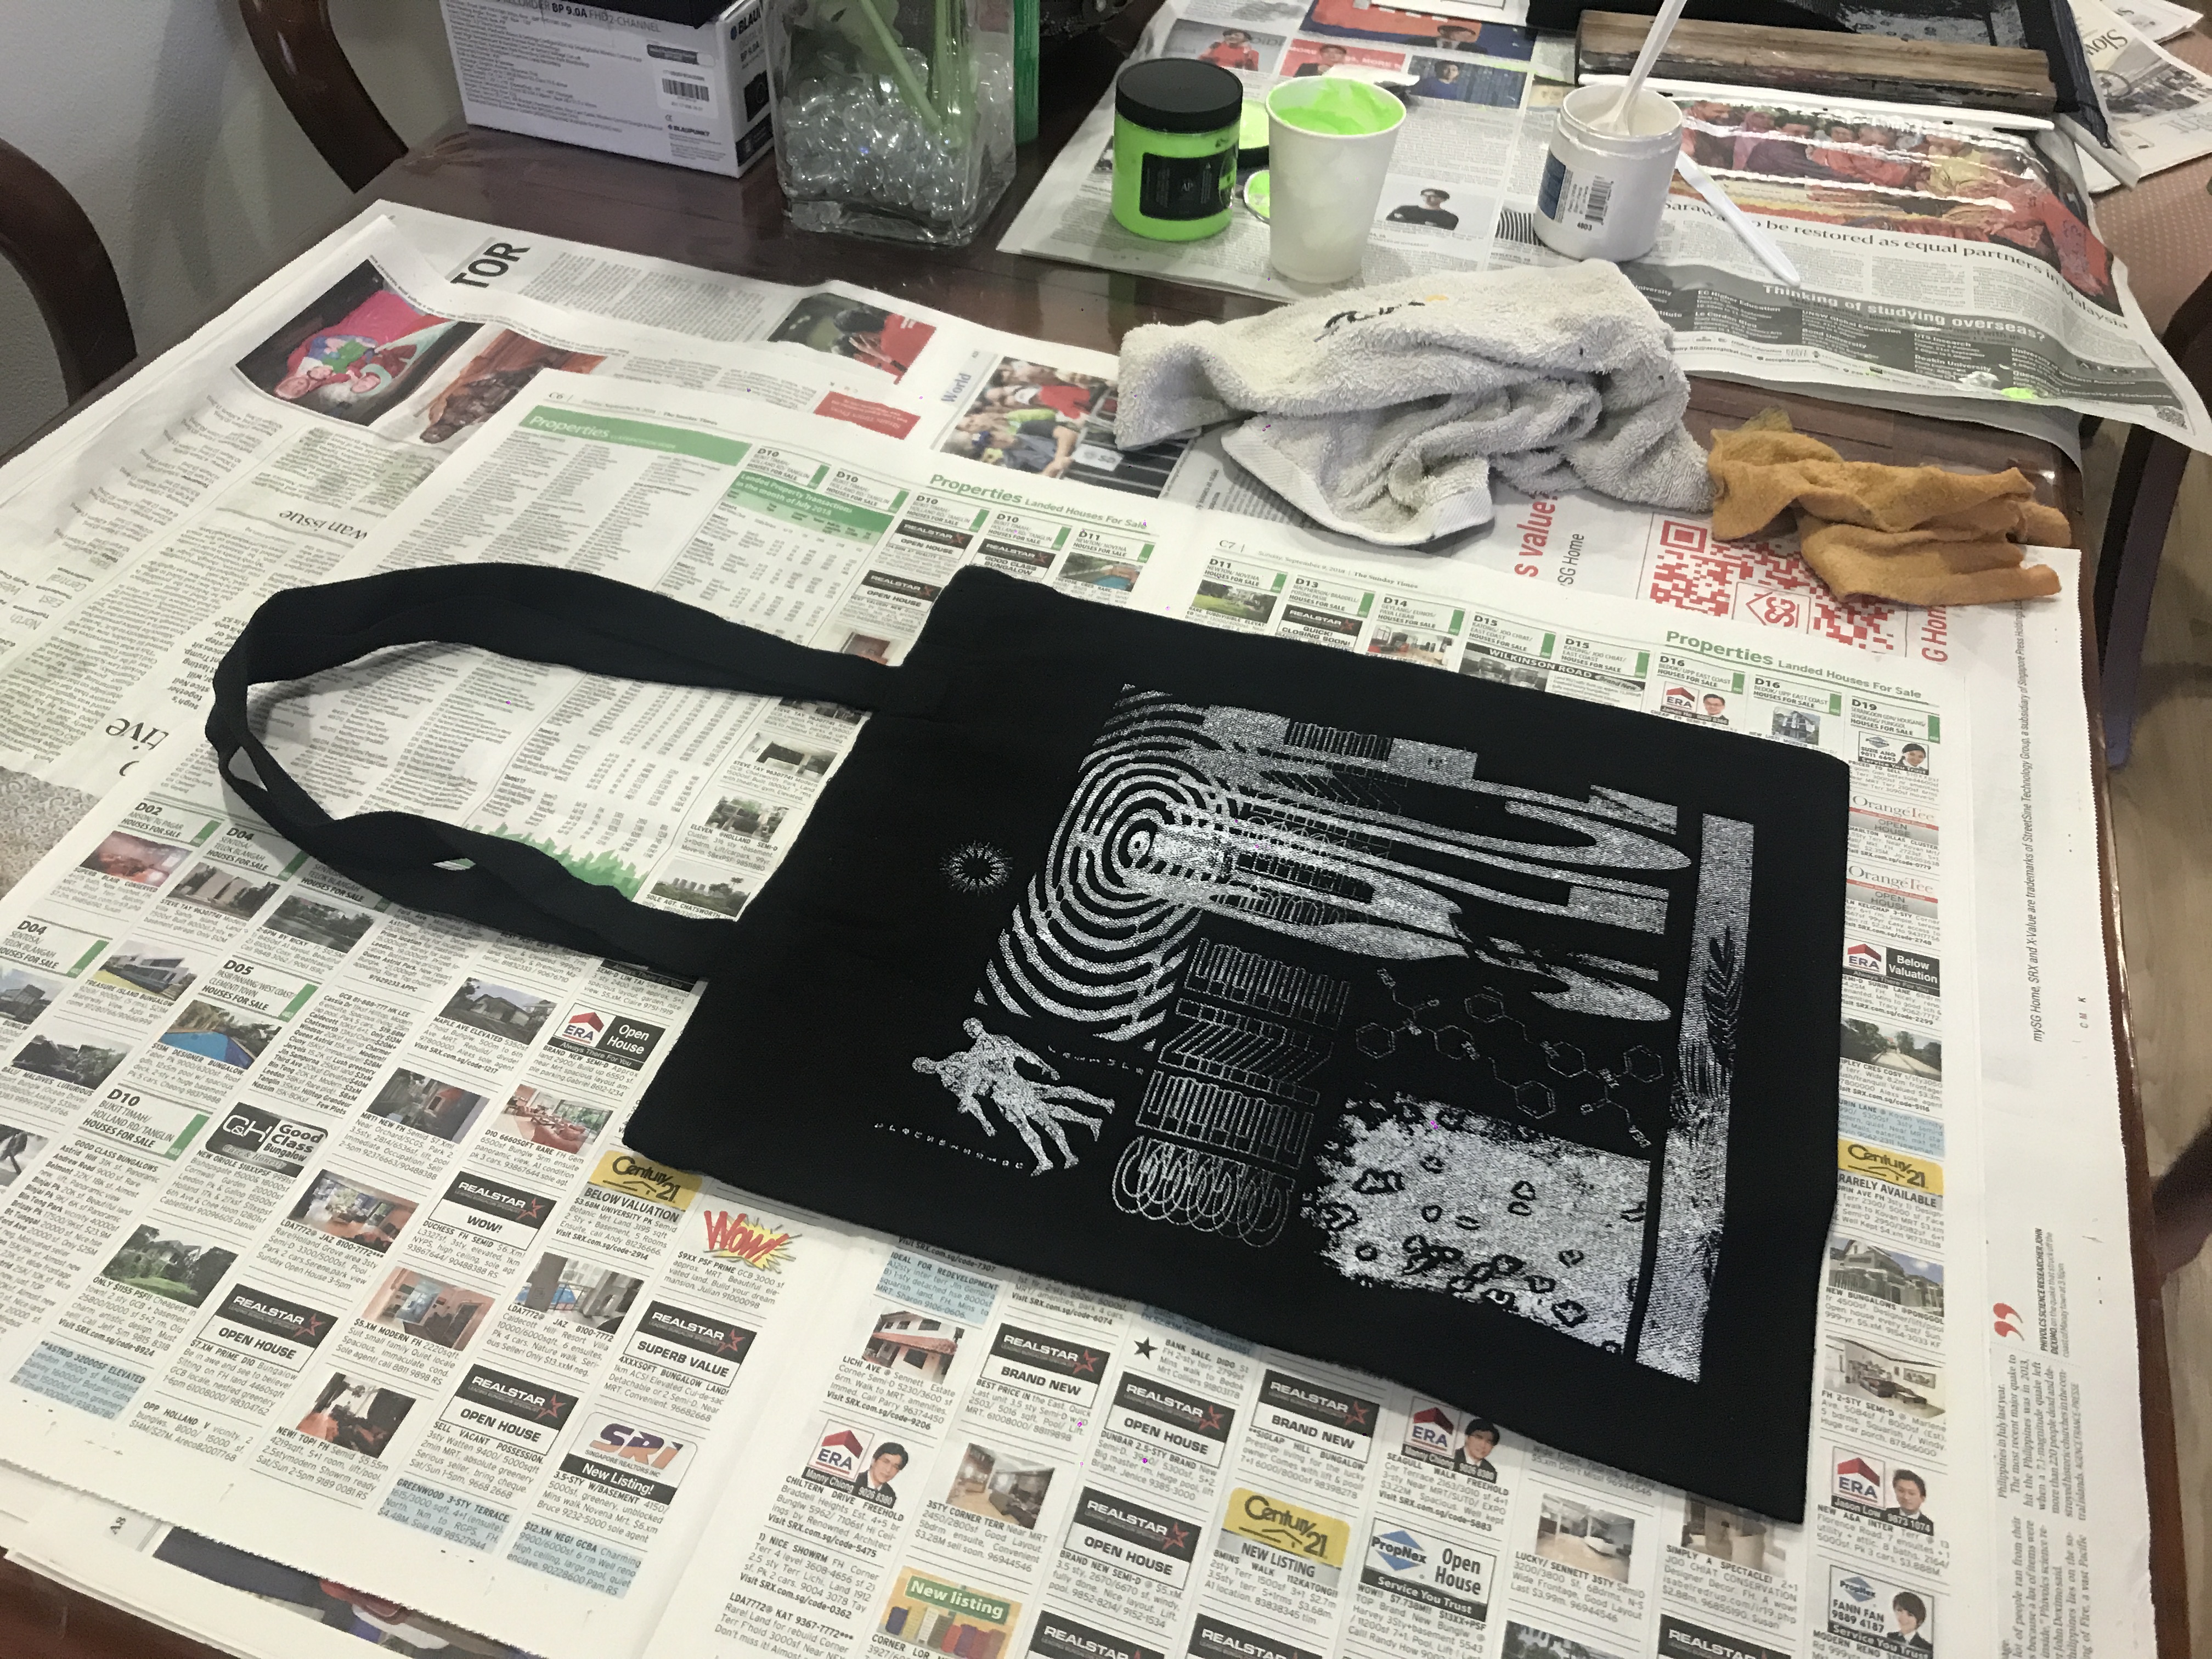
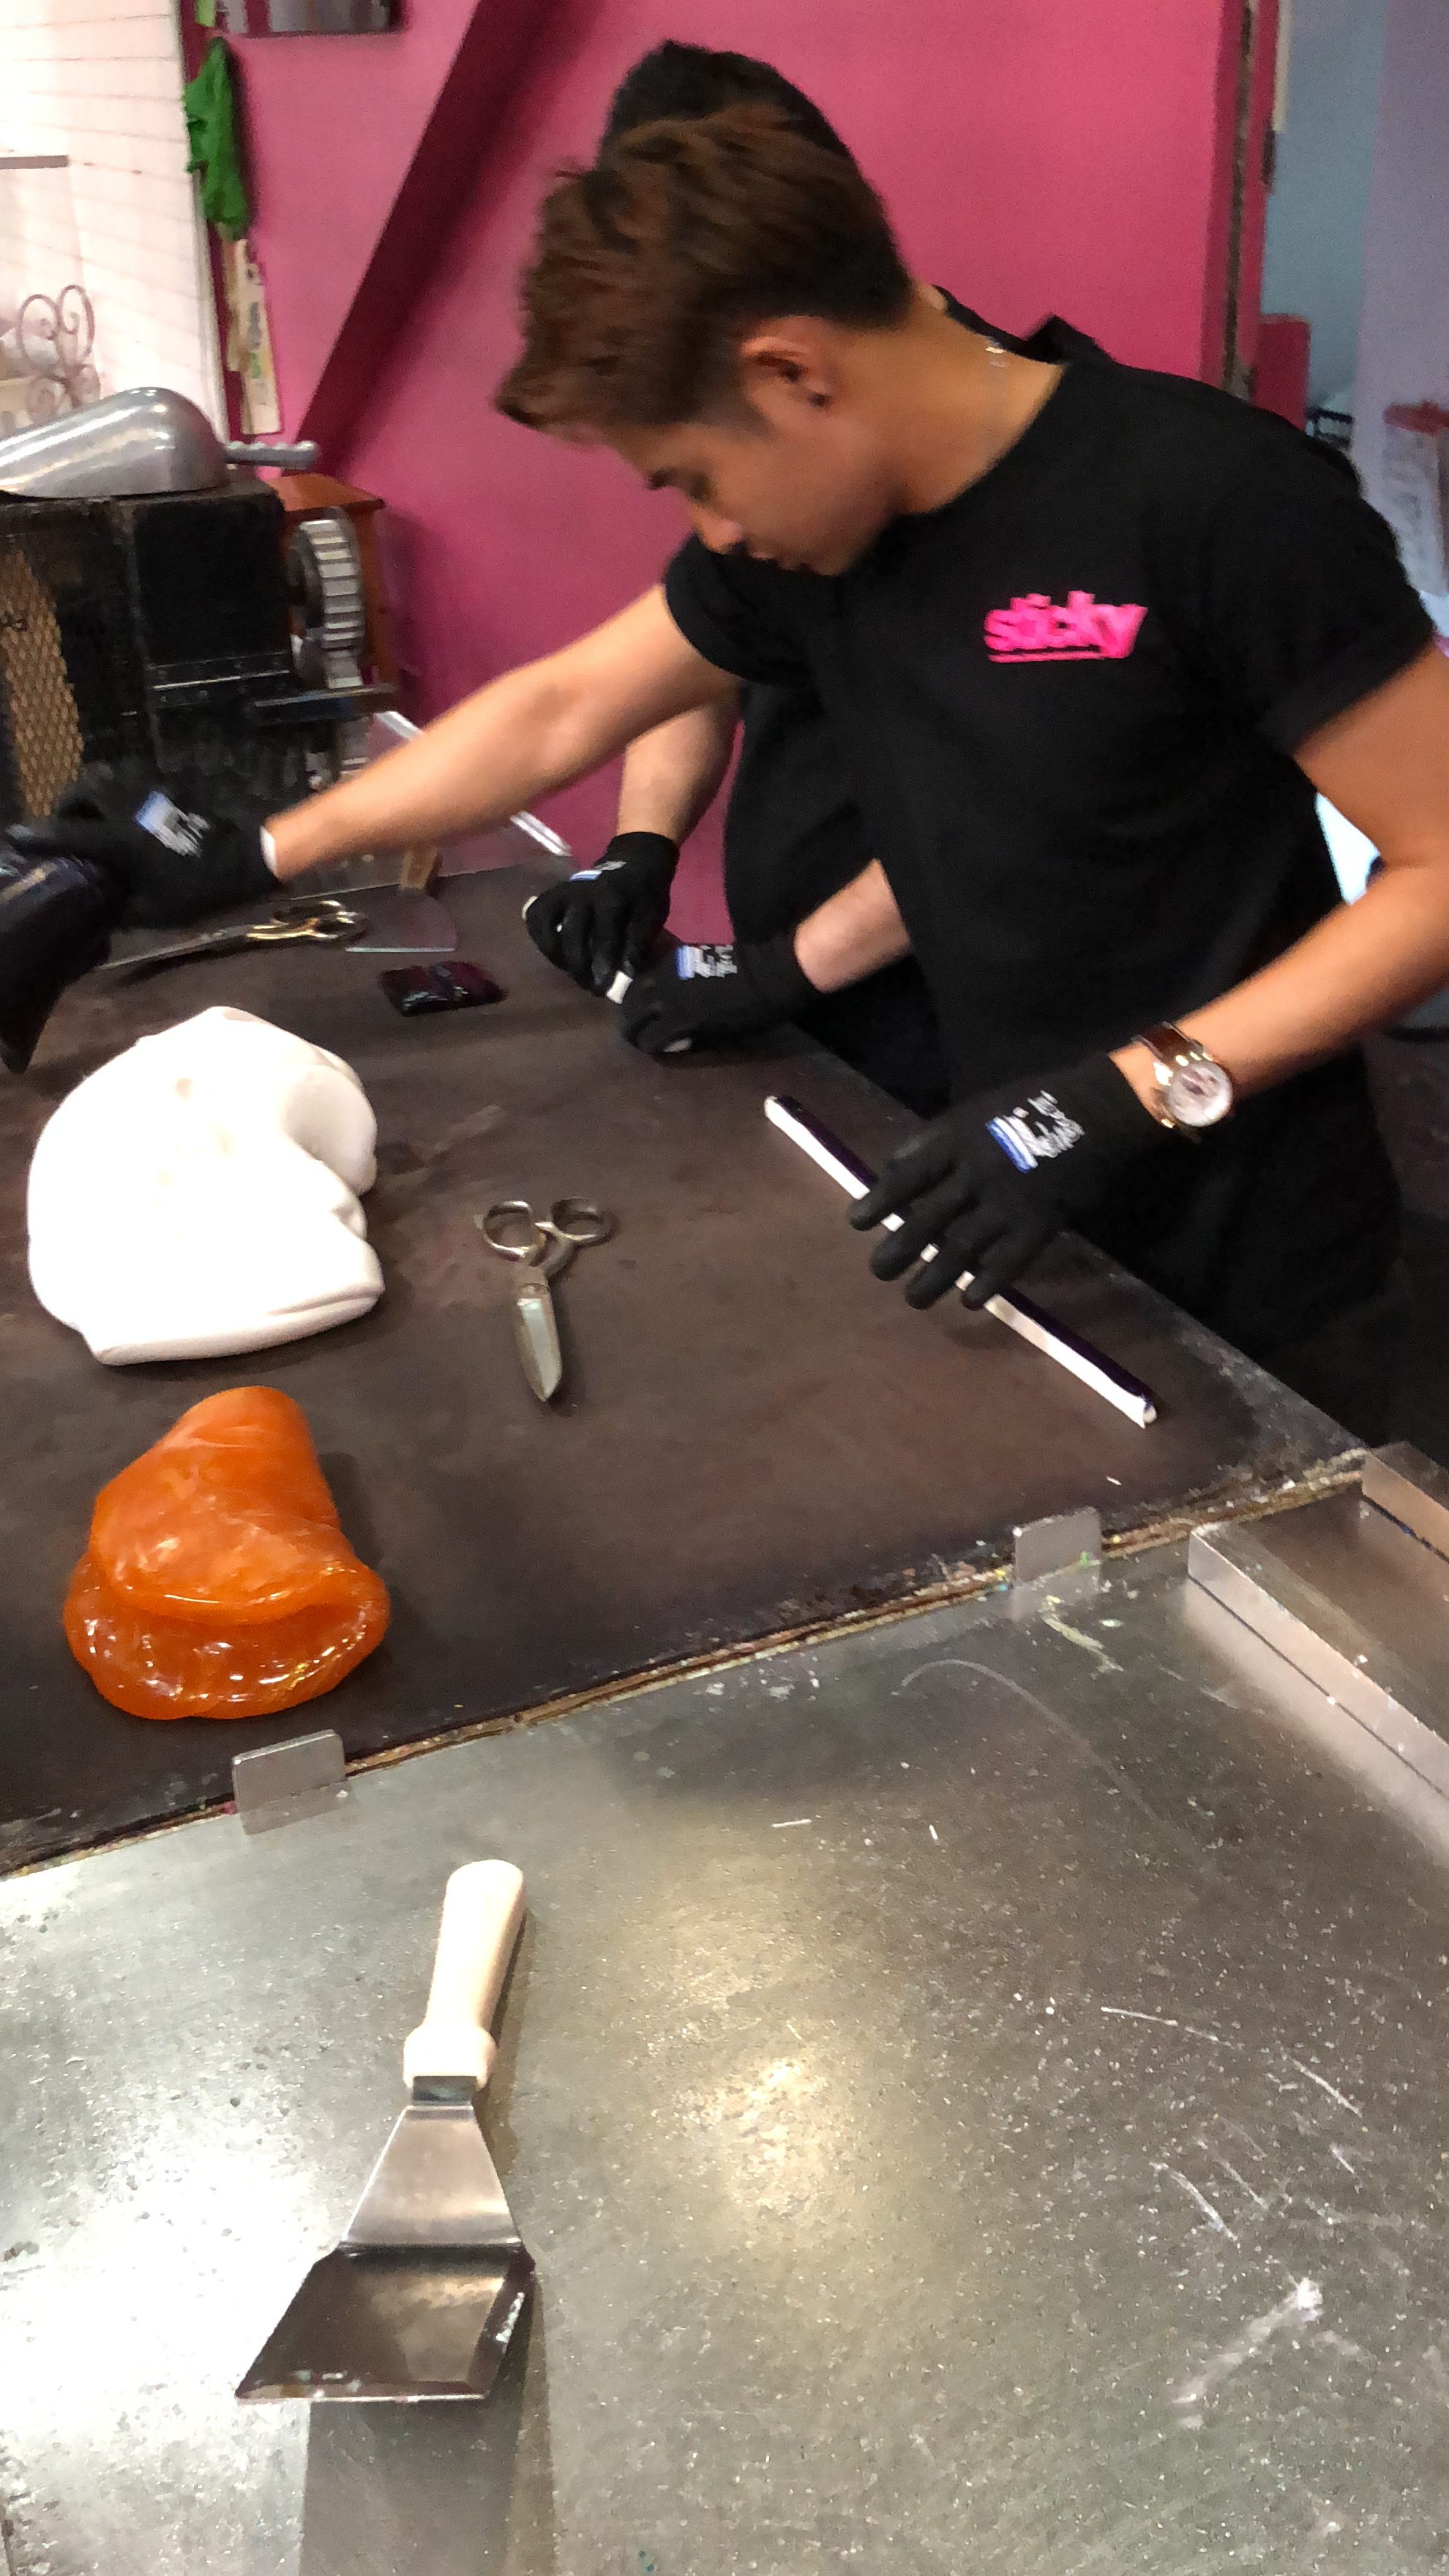
To do this, they told me they had to individually craft the alphabets and external layer of colour, before putting it all together and rolling/stretching out until the candy size is achieved.
The sugar was first melted, then mixed with colouring and placed on the cold counter to harden a little again, before placing on the hot counter to mould out the letters and shape and then stretched and placed on the cold counter again. When it is cooled, the rods are then cut to the small pieces forming the candy.
Steps:
- Boil the sugar
- Cool it down
- Put the colouring and flavouring
- Stretch out the candy
- Lay on hot counter
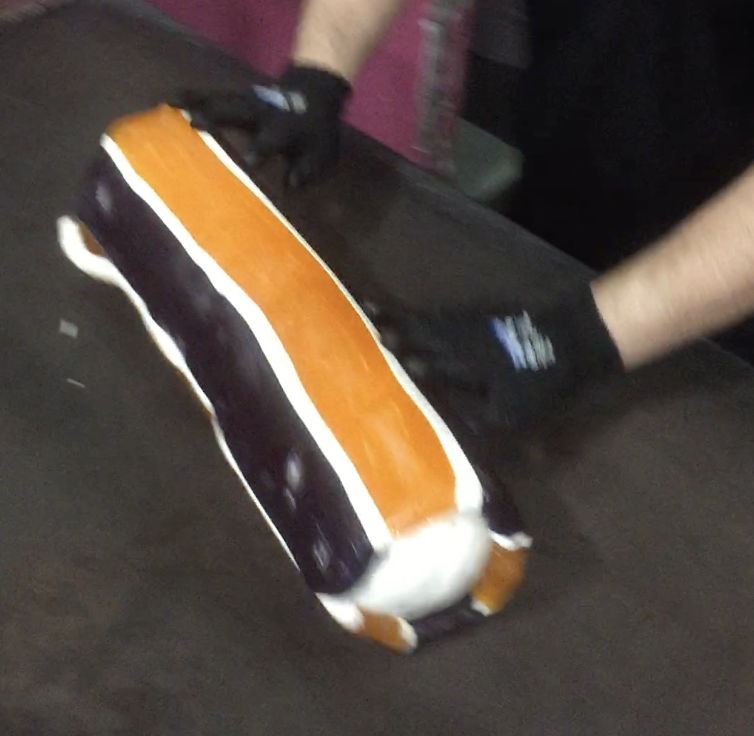
- Cut out a section from diff colours to form the design and words
- Roll all the parts together
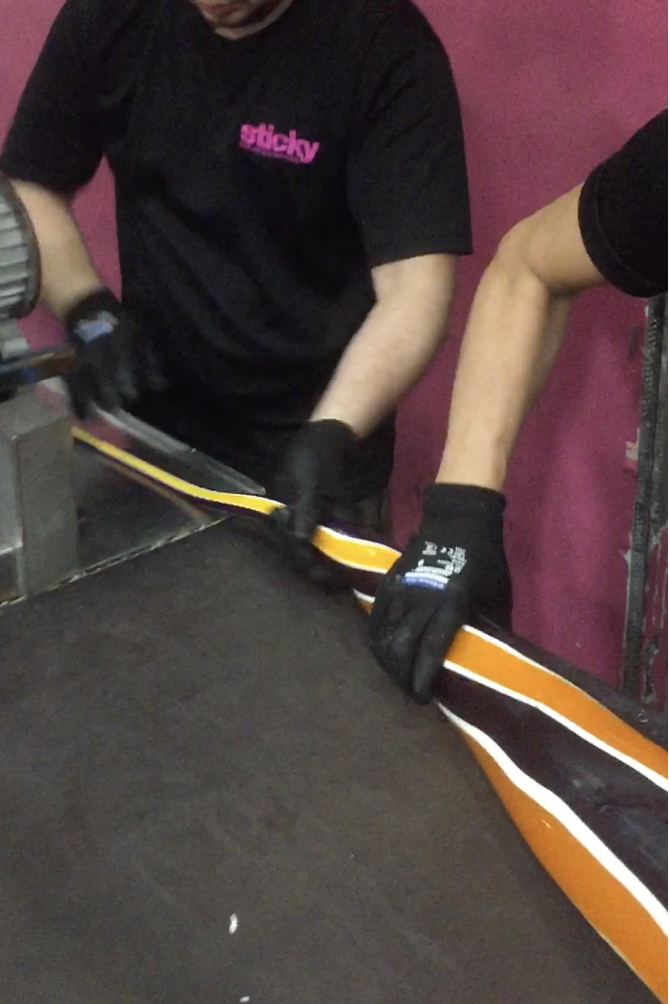
- Stretch it to candy size
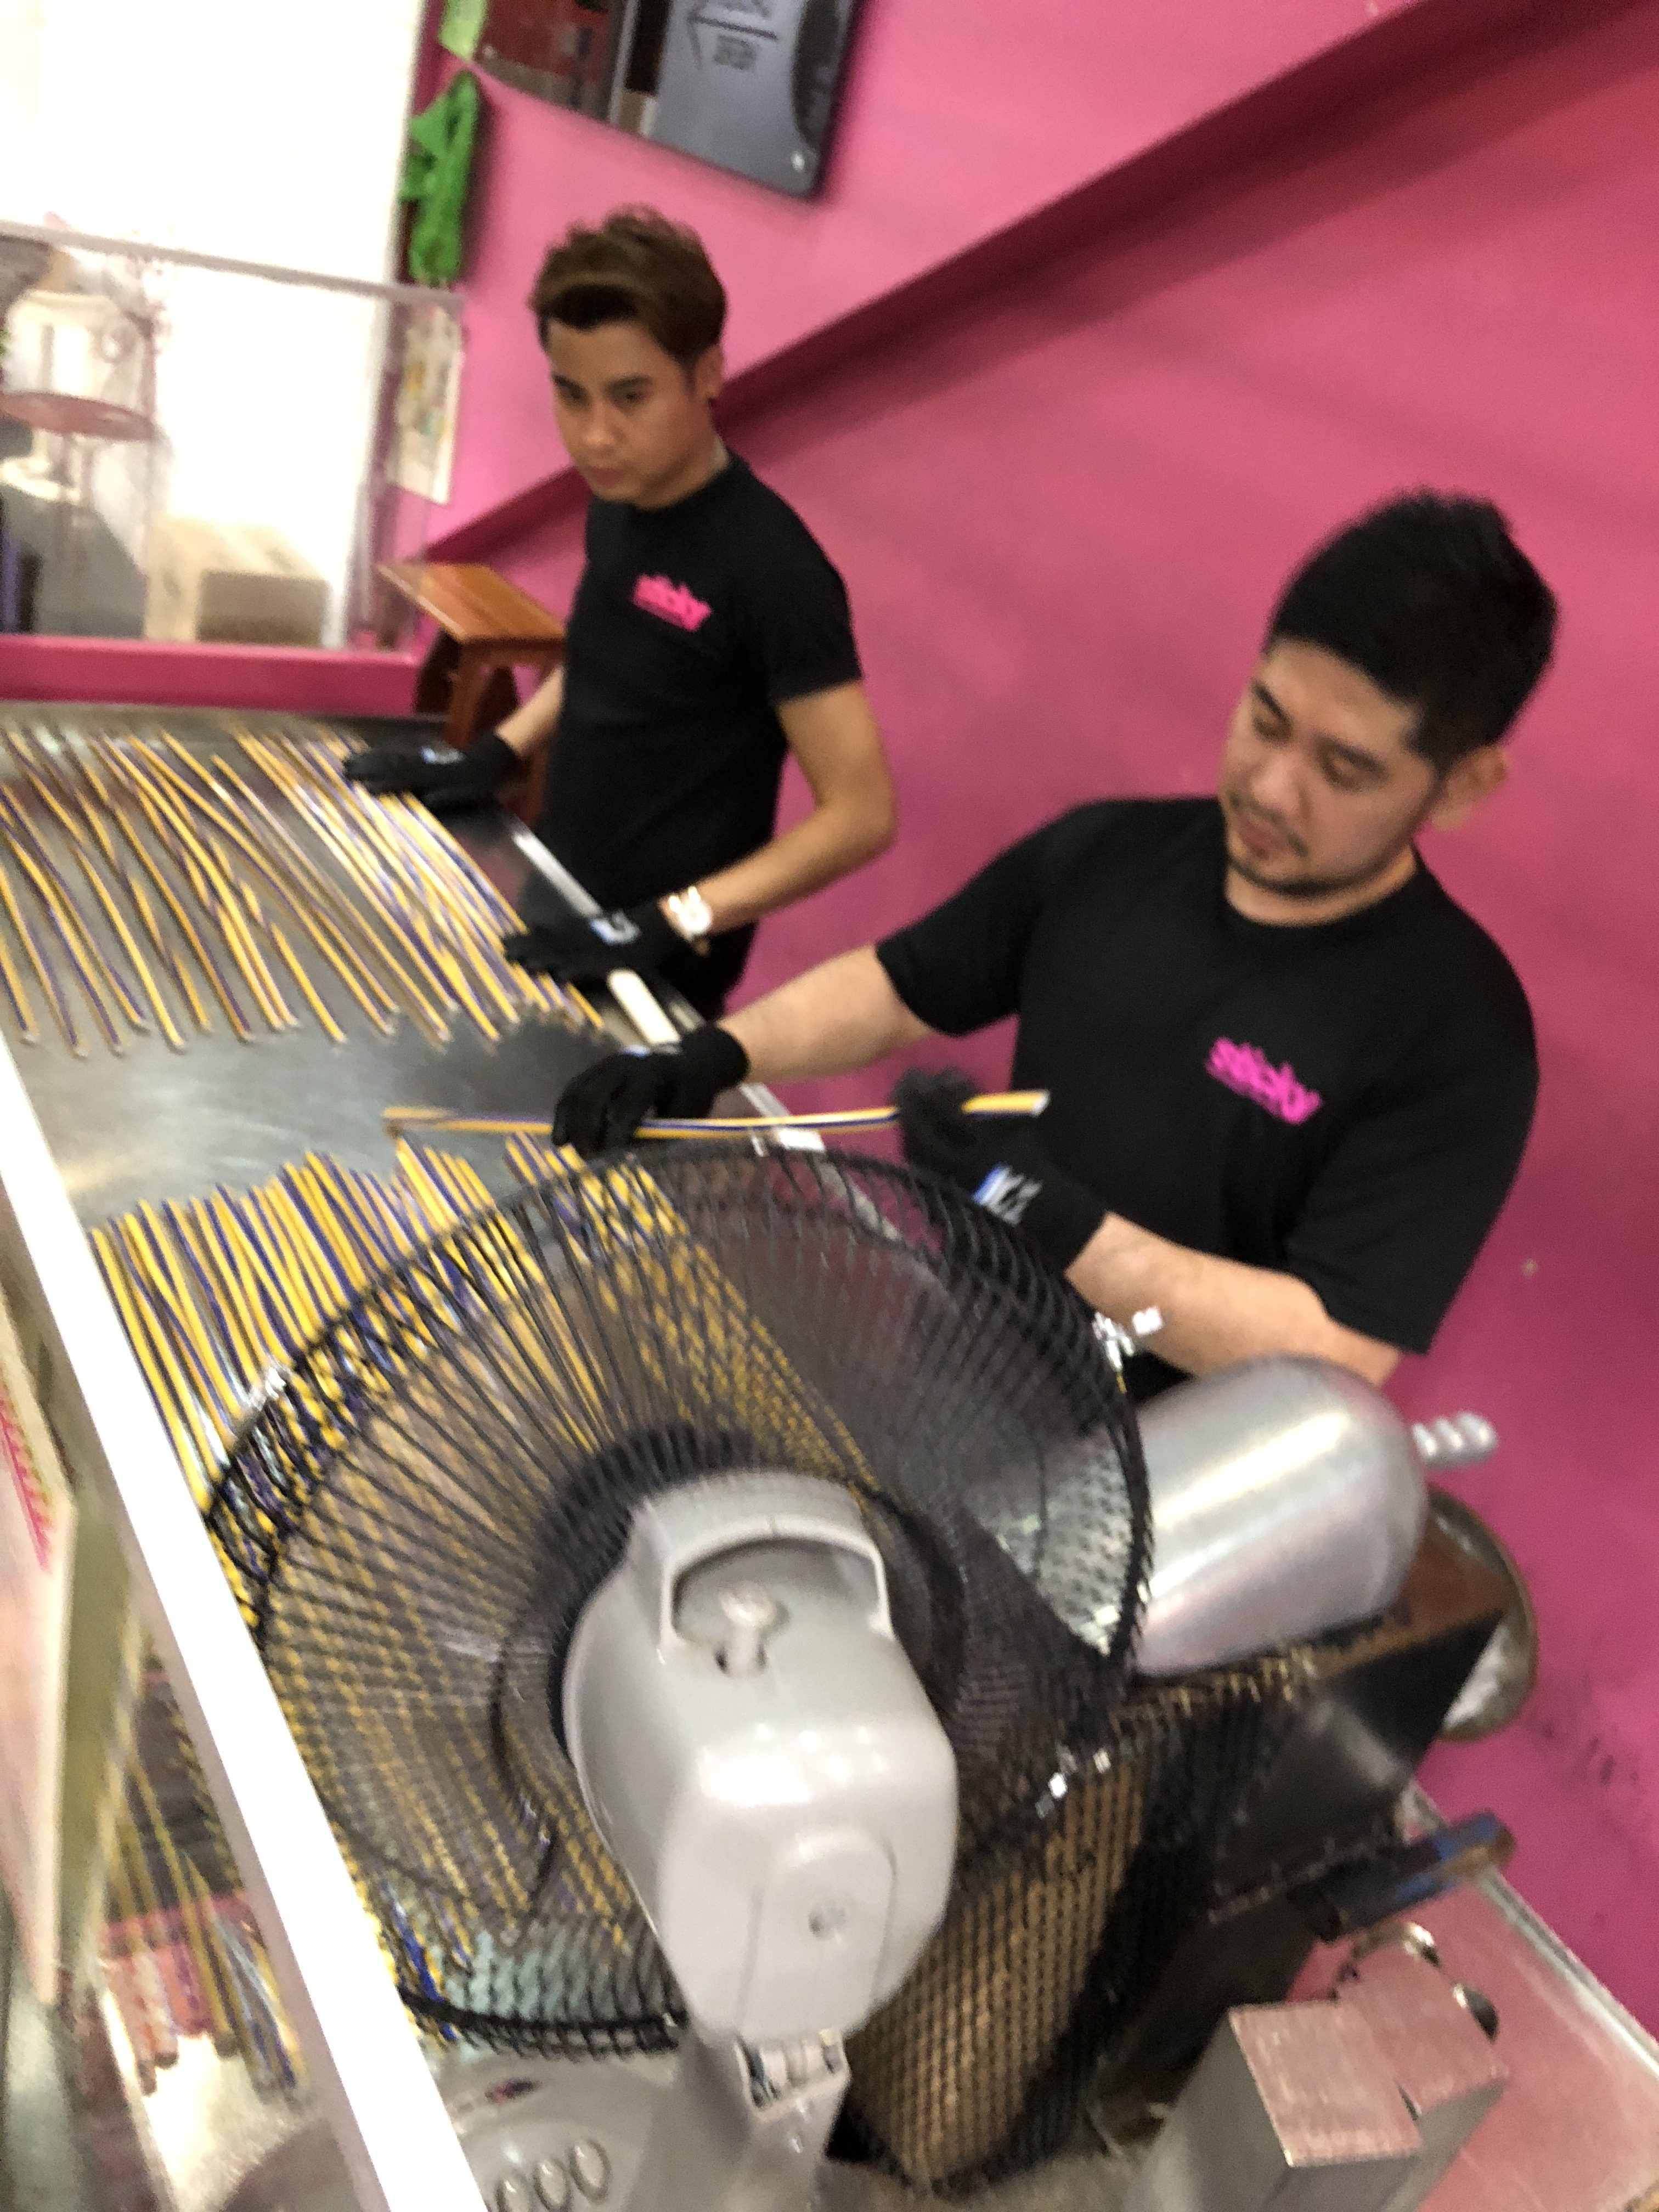
- Move to the cold counter for it to harden
- Chop into bite-sized pieces


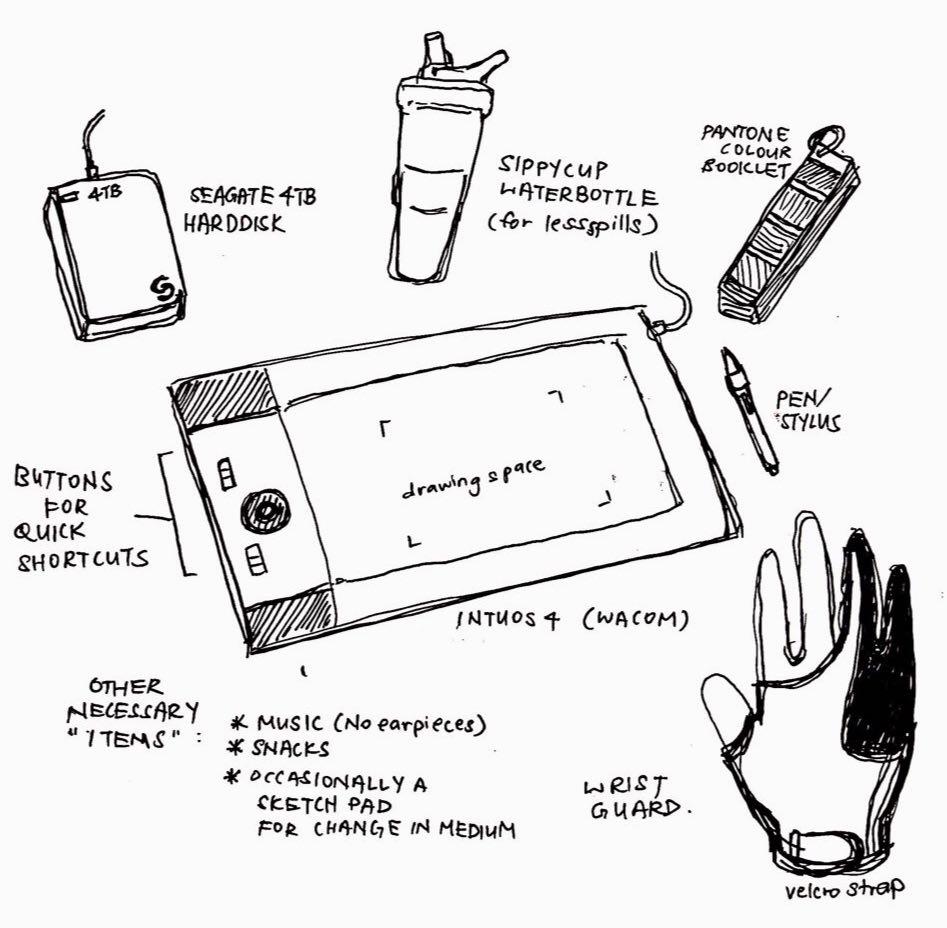
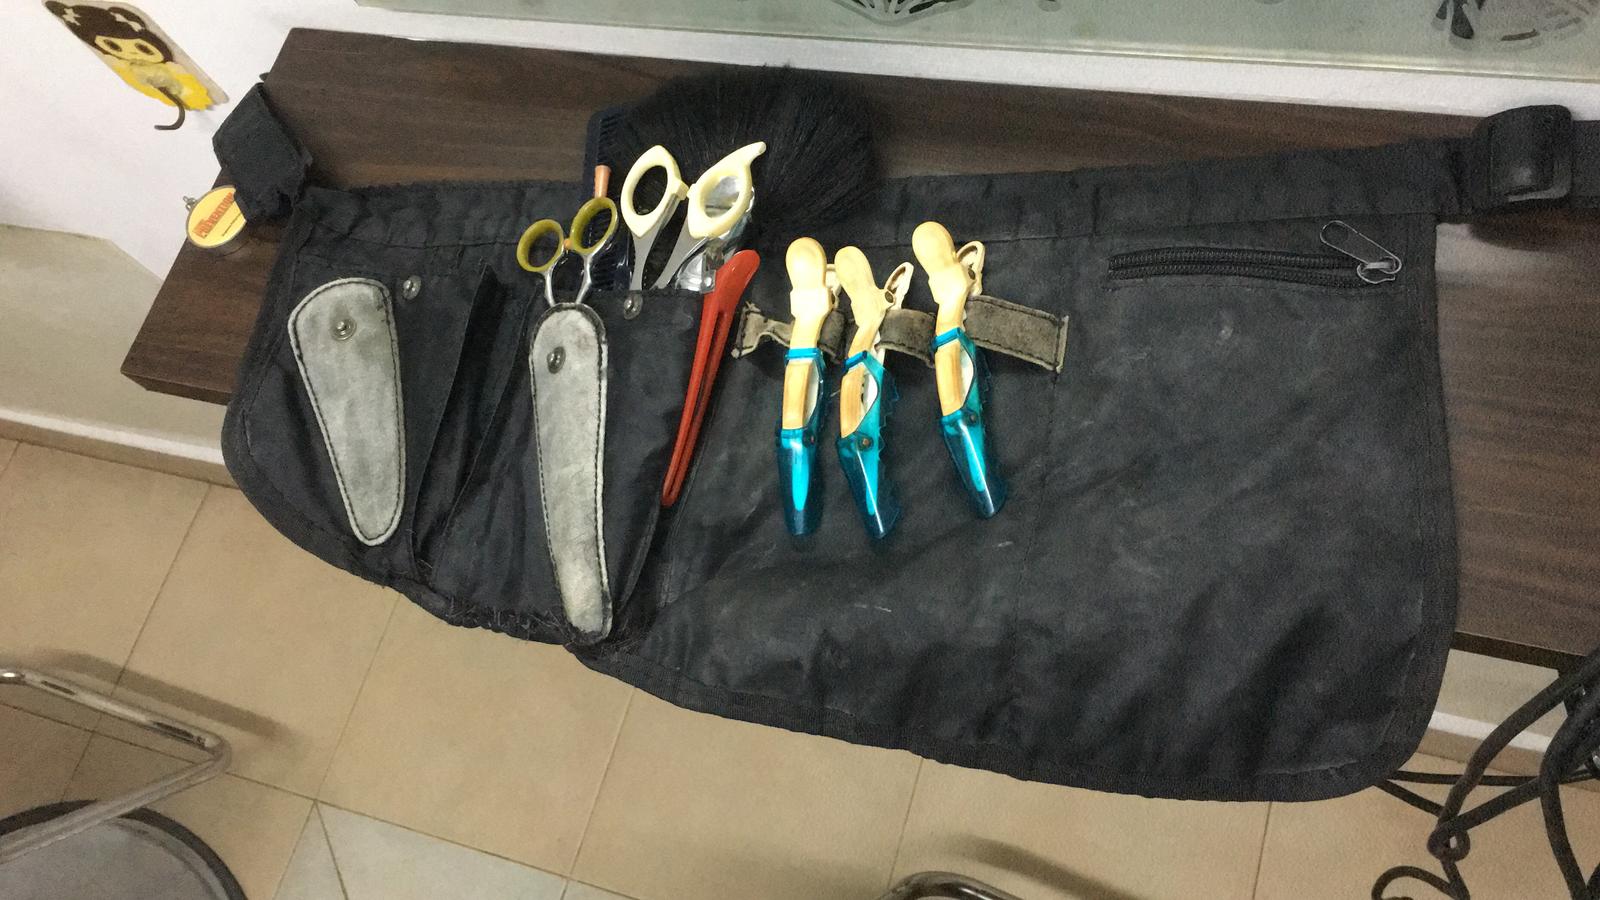
Tools Used
- Hot counter
- Cold Counter
- Metal rod to shape candy
- Scraper
- Gloves
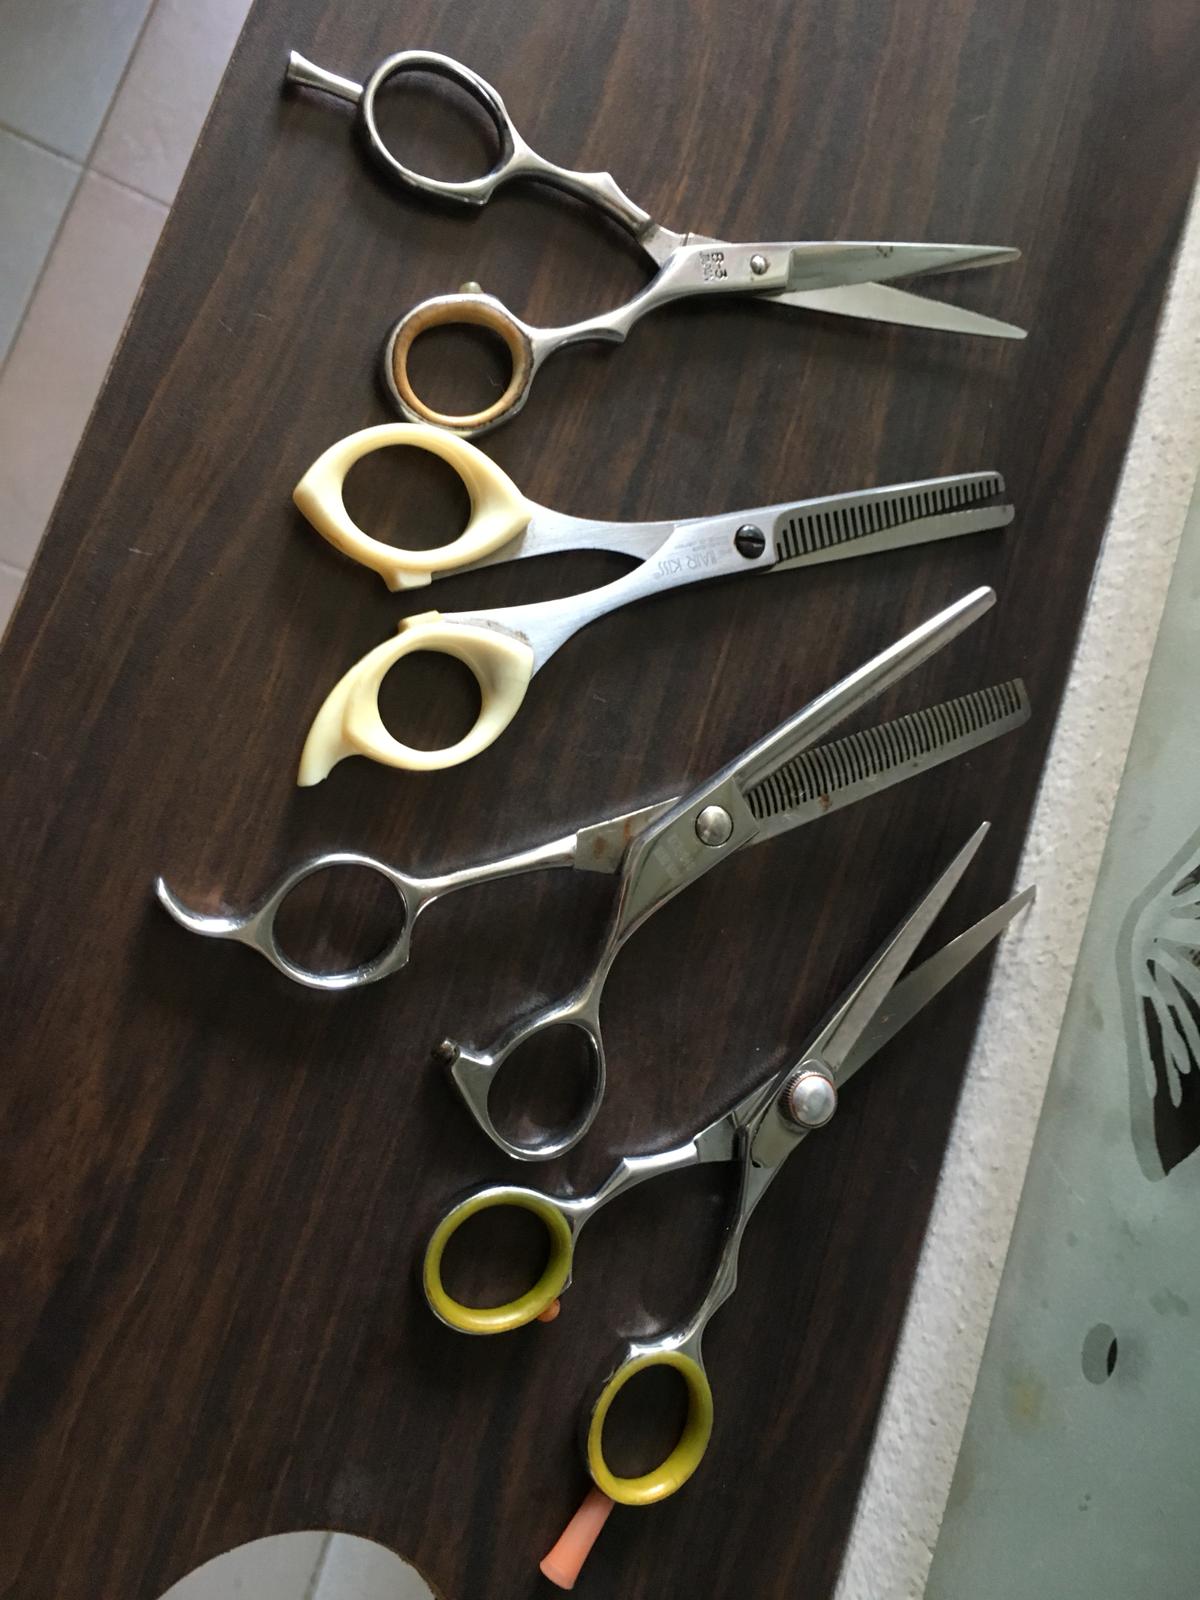
- Scissors
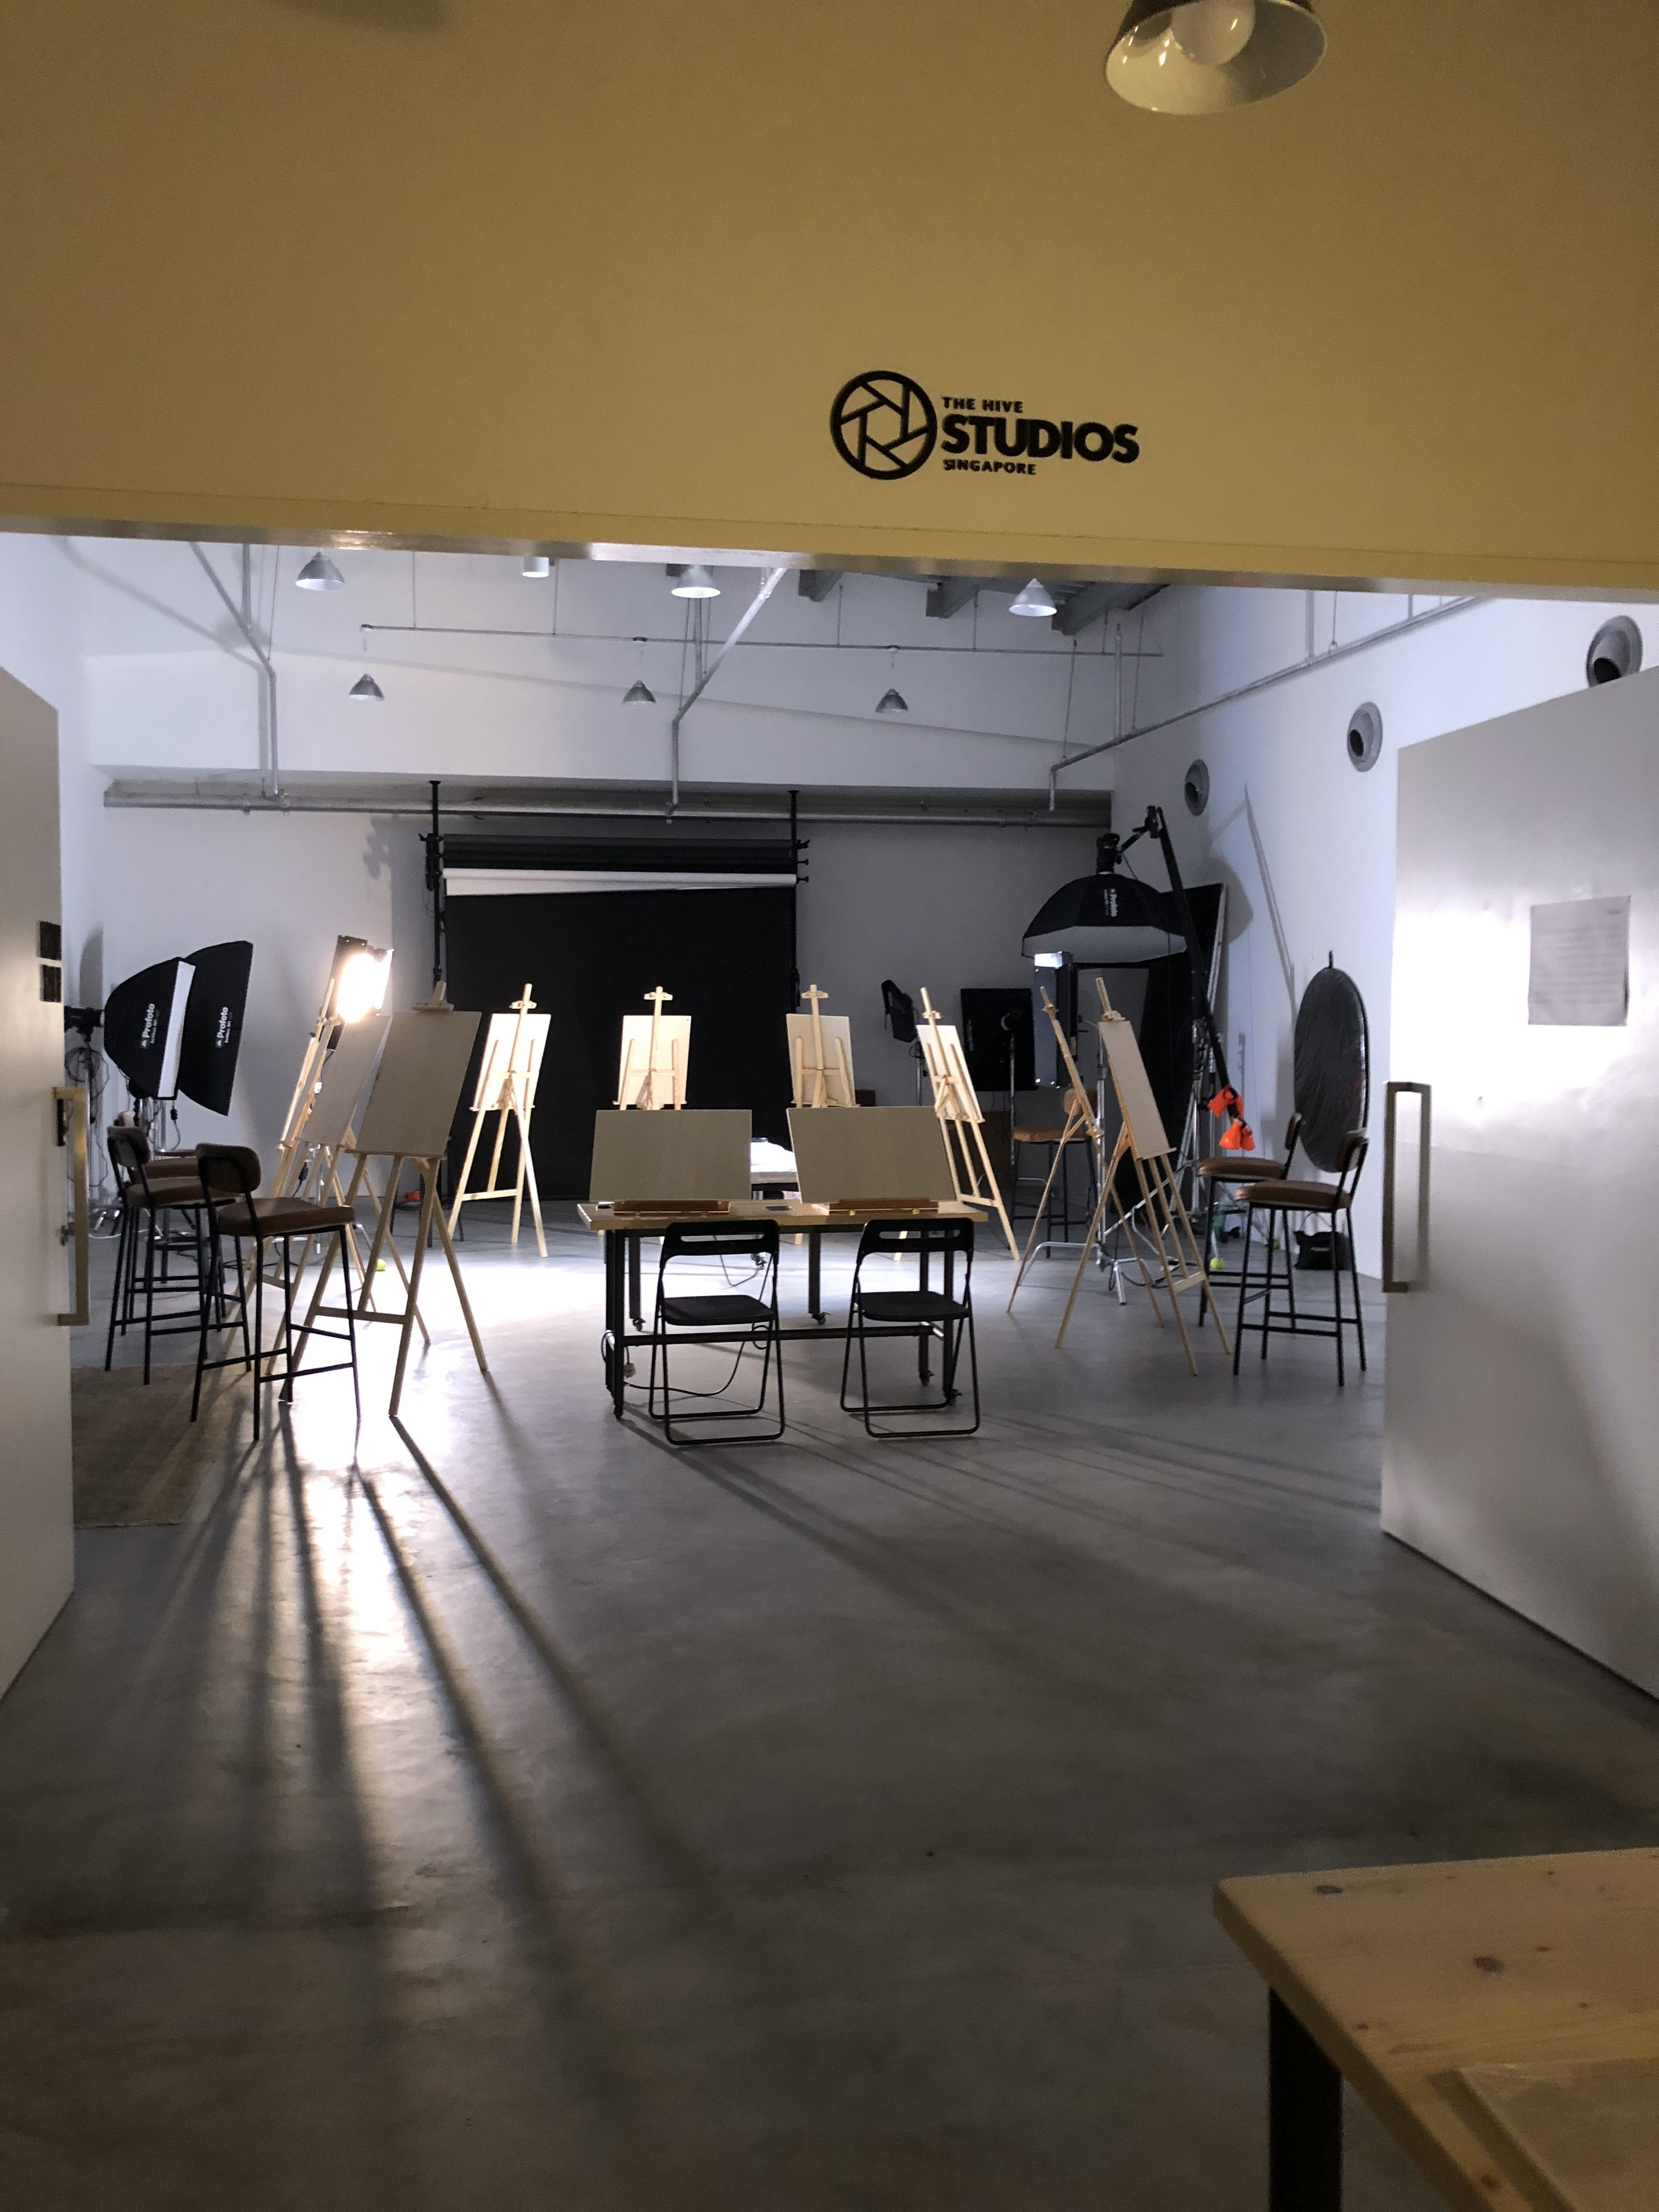
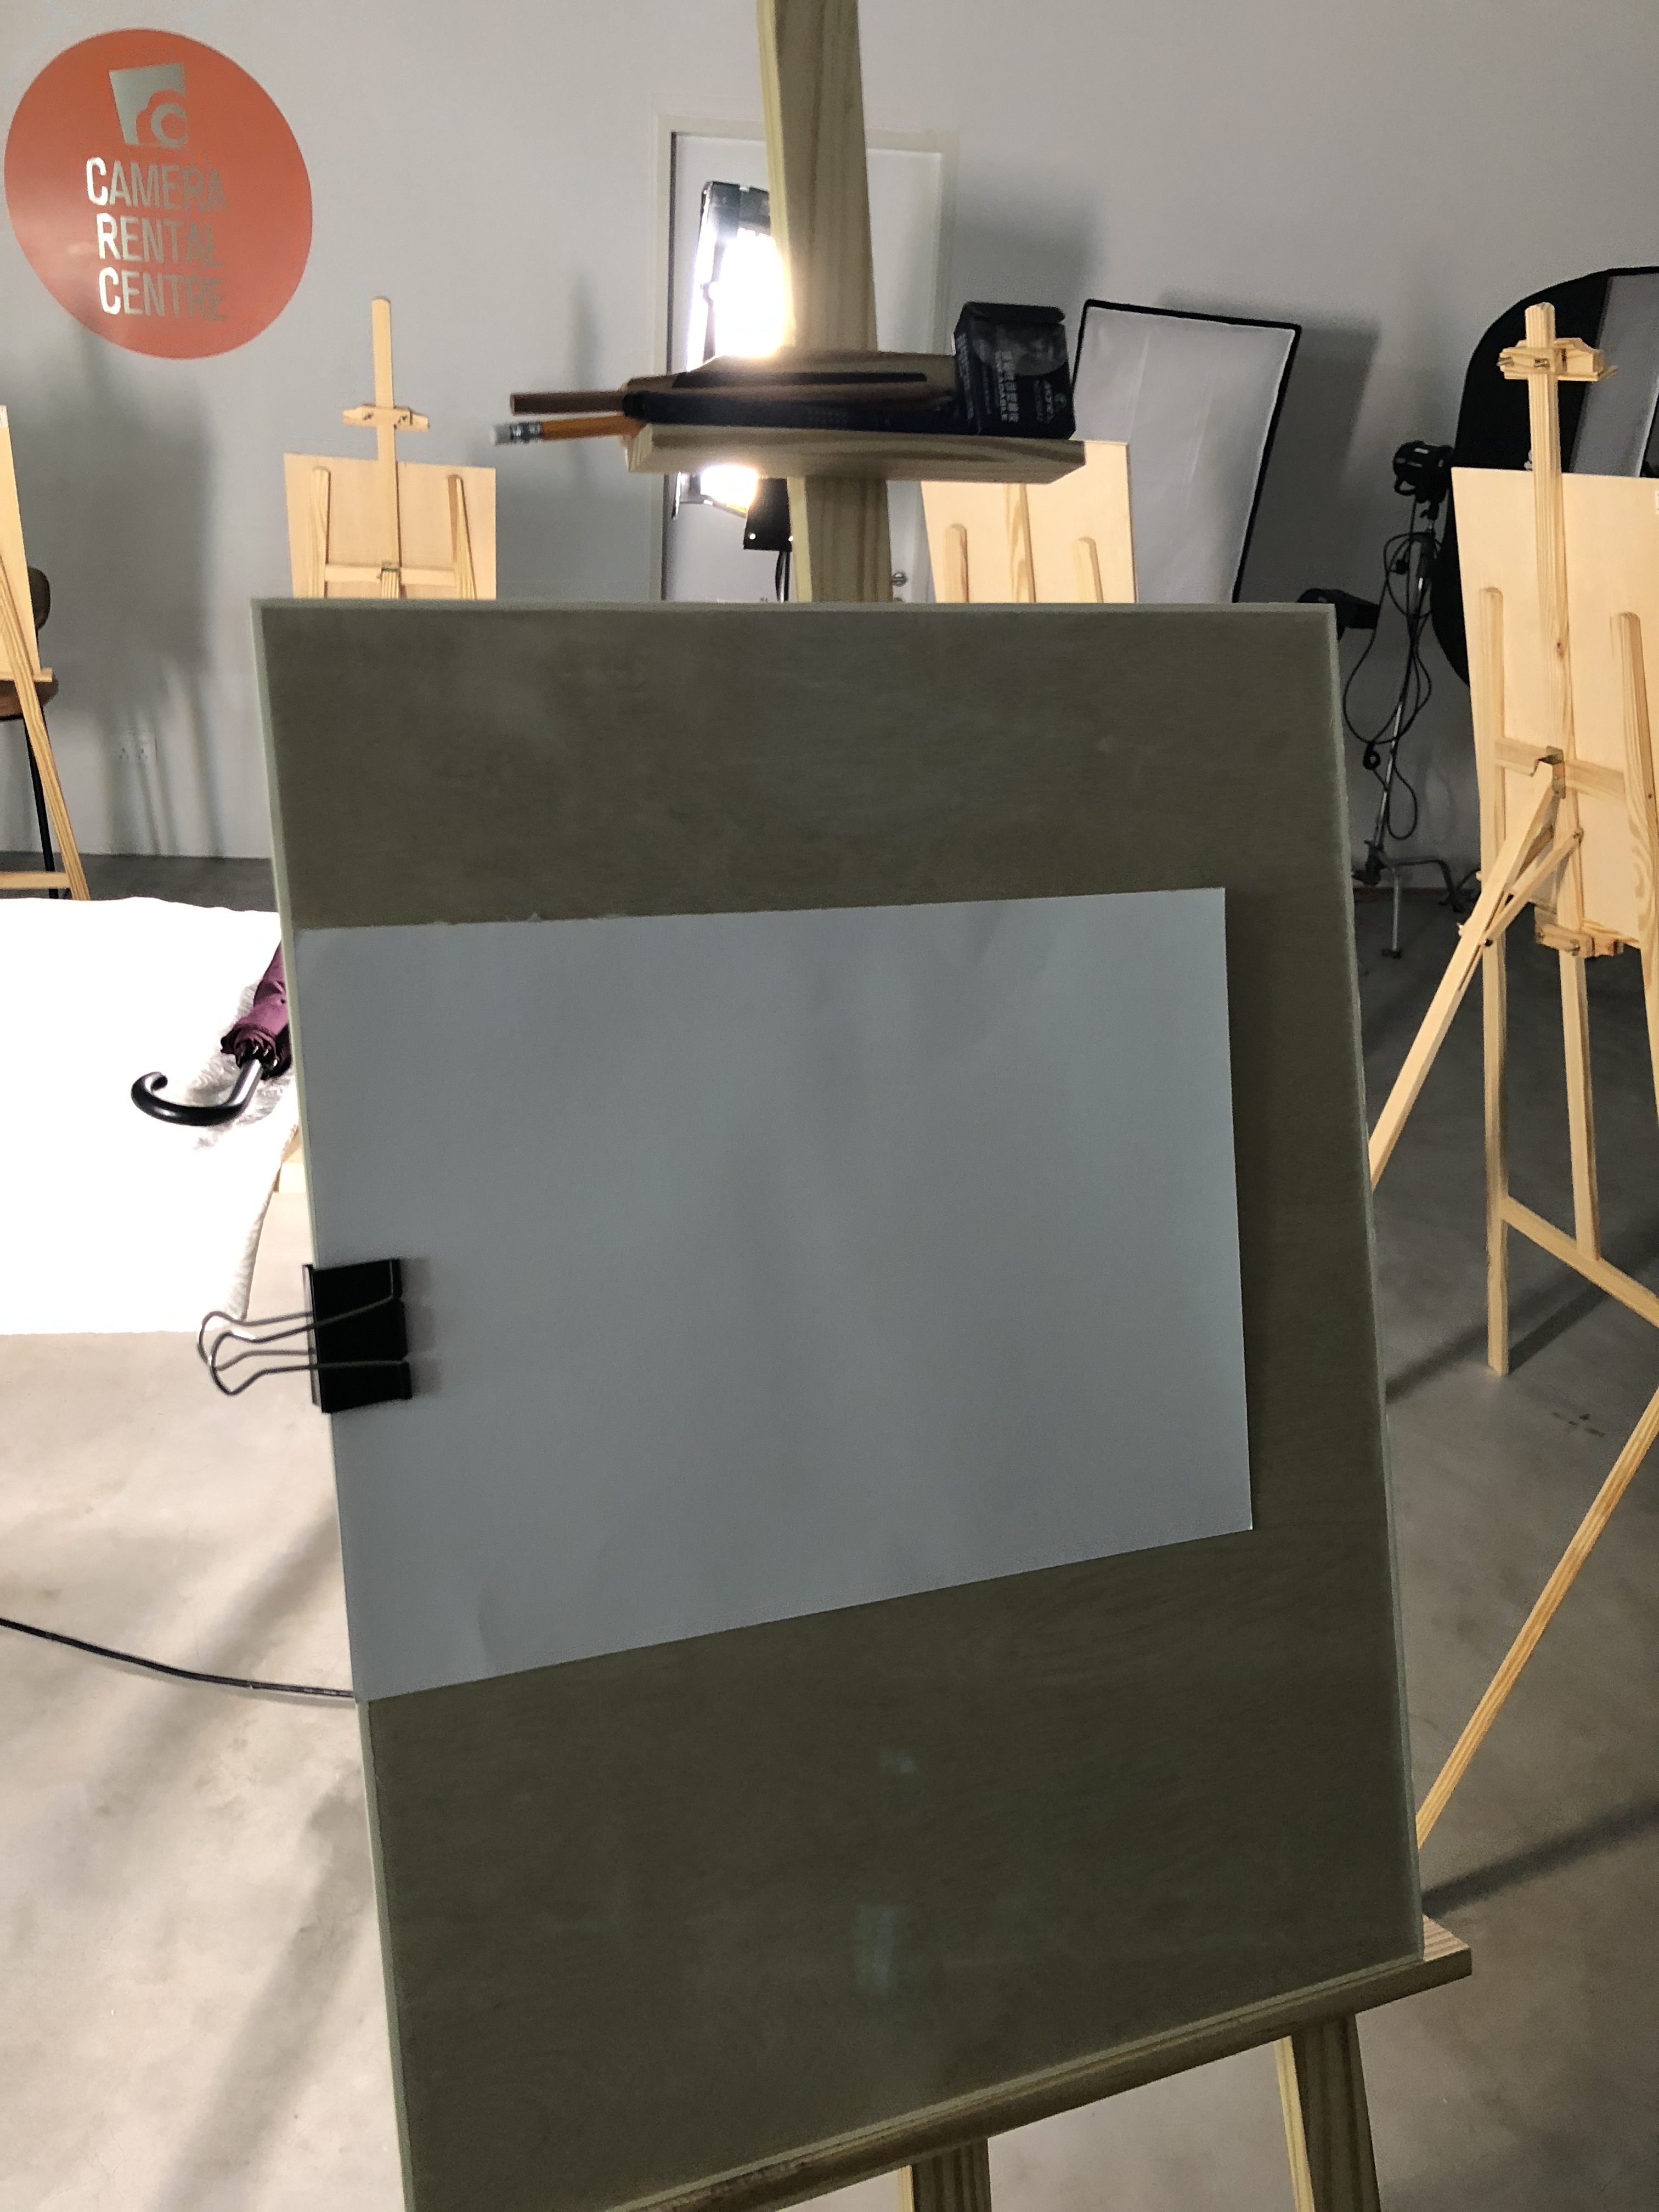
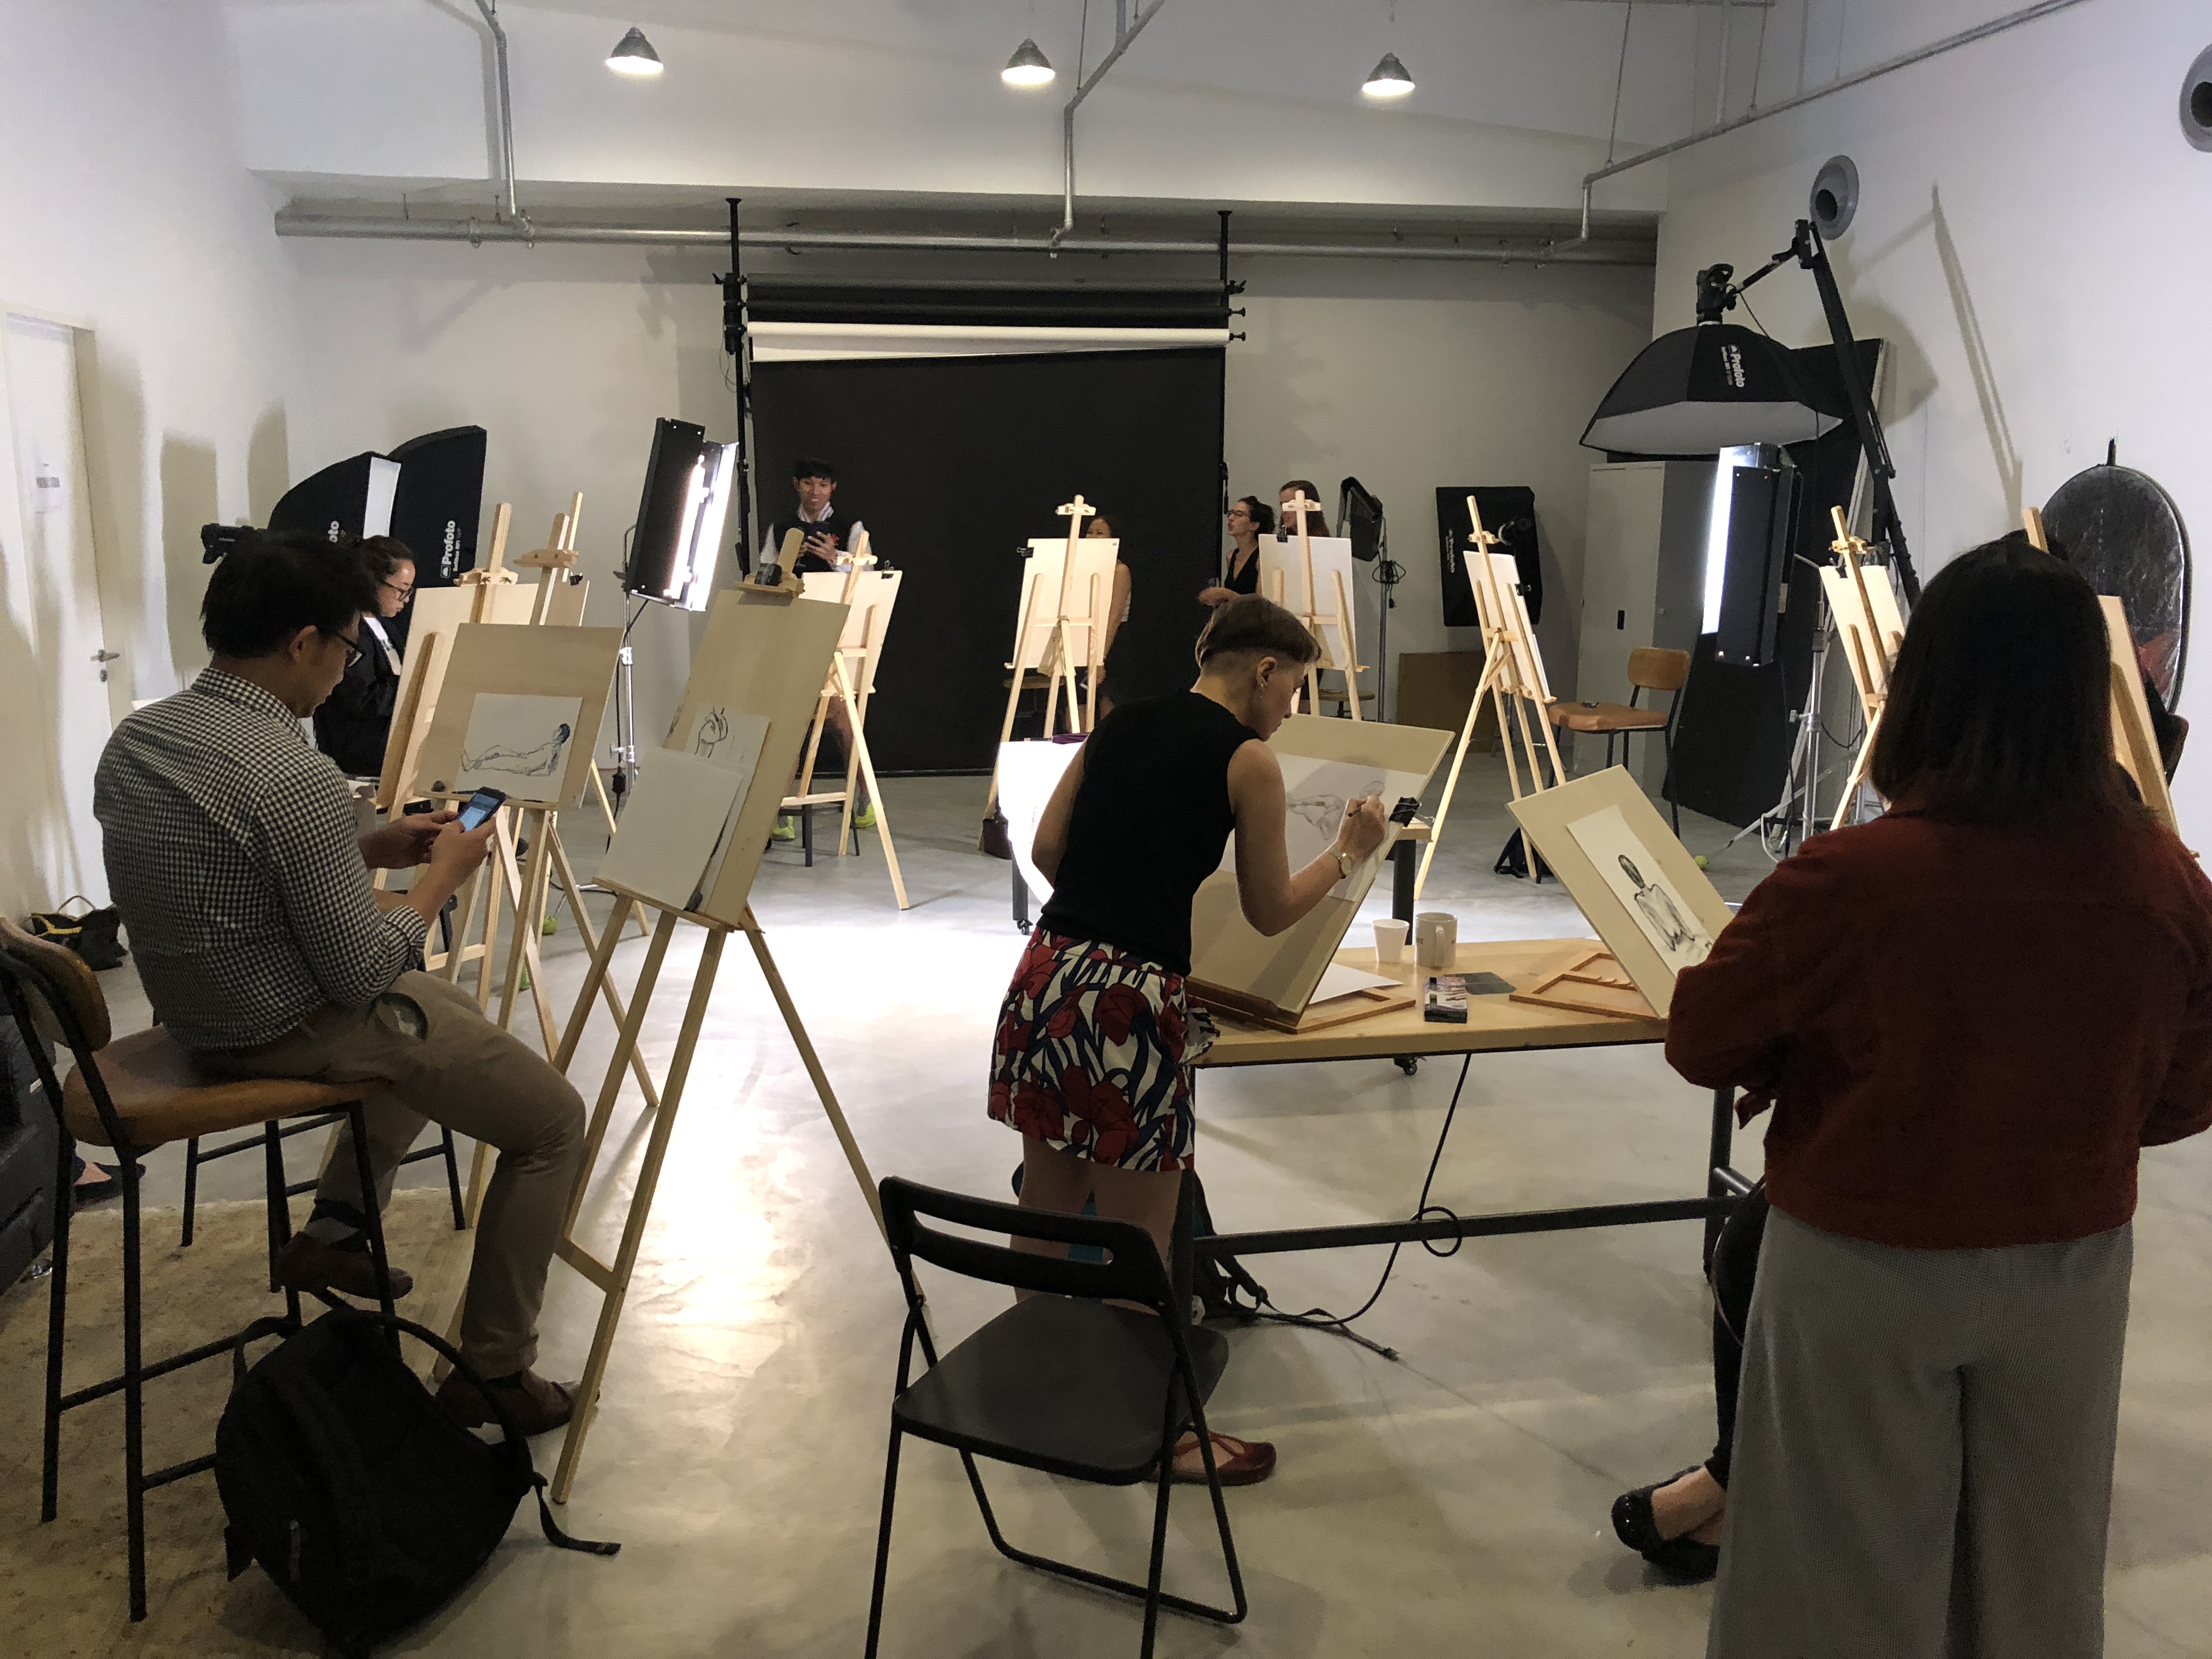
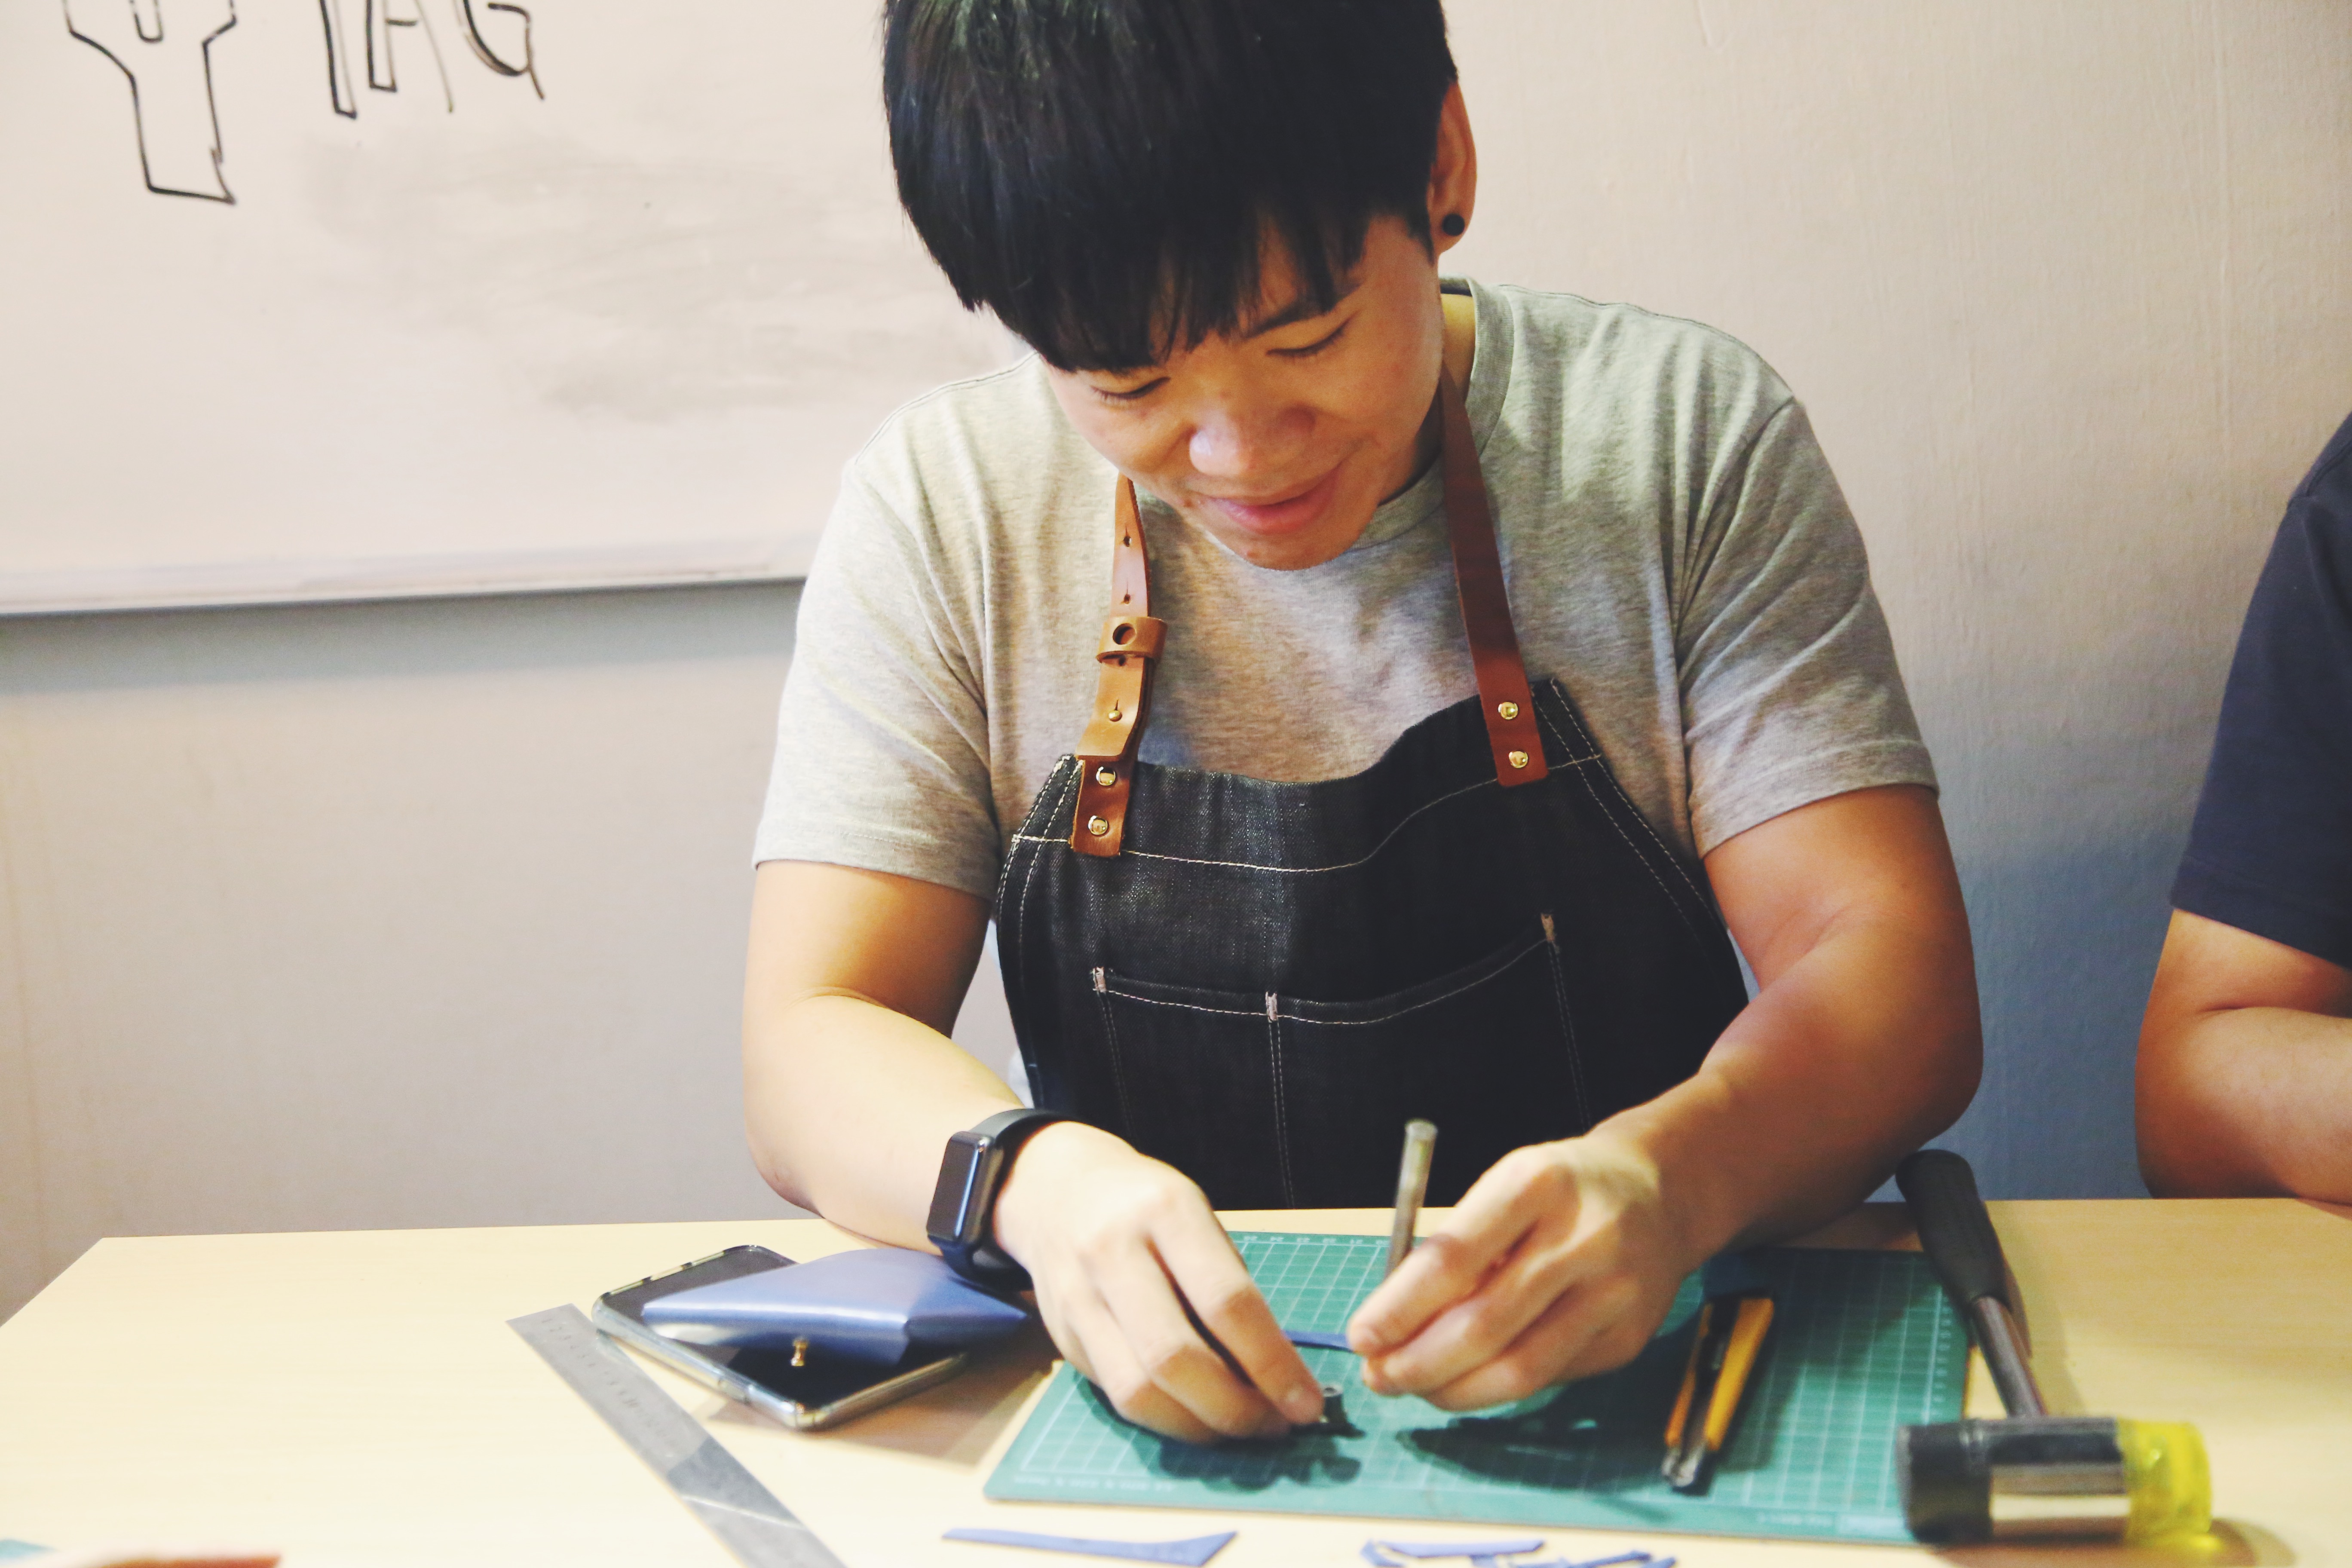
Worksite Documentation
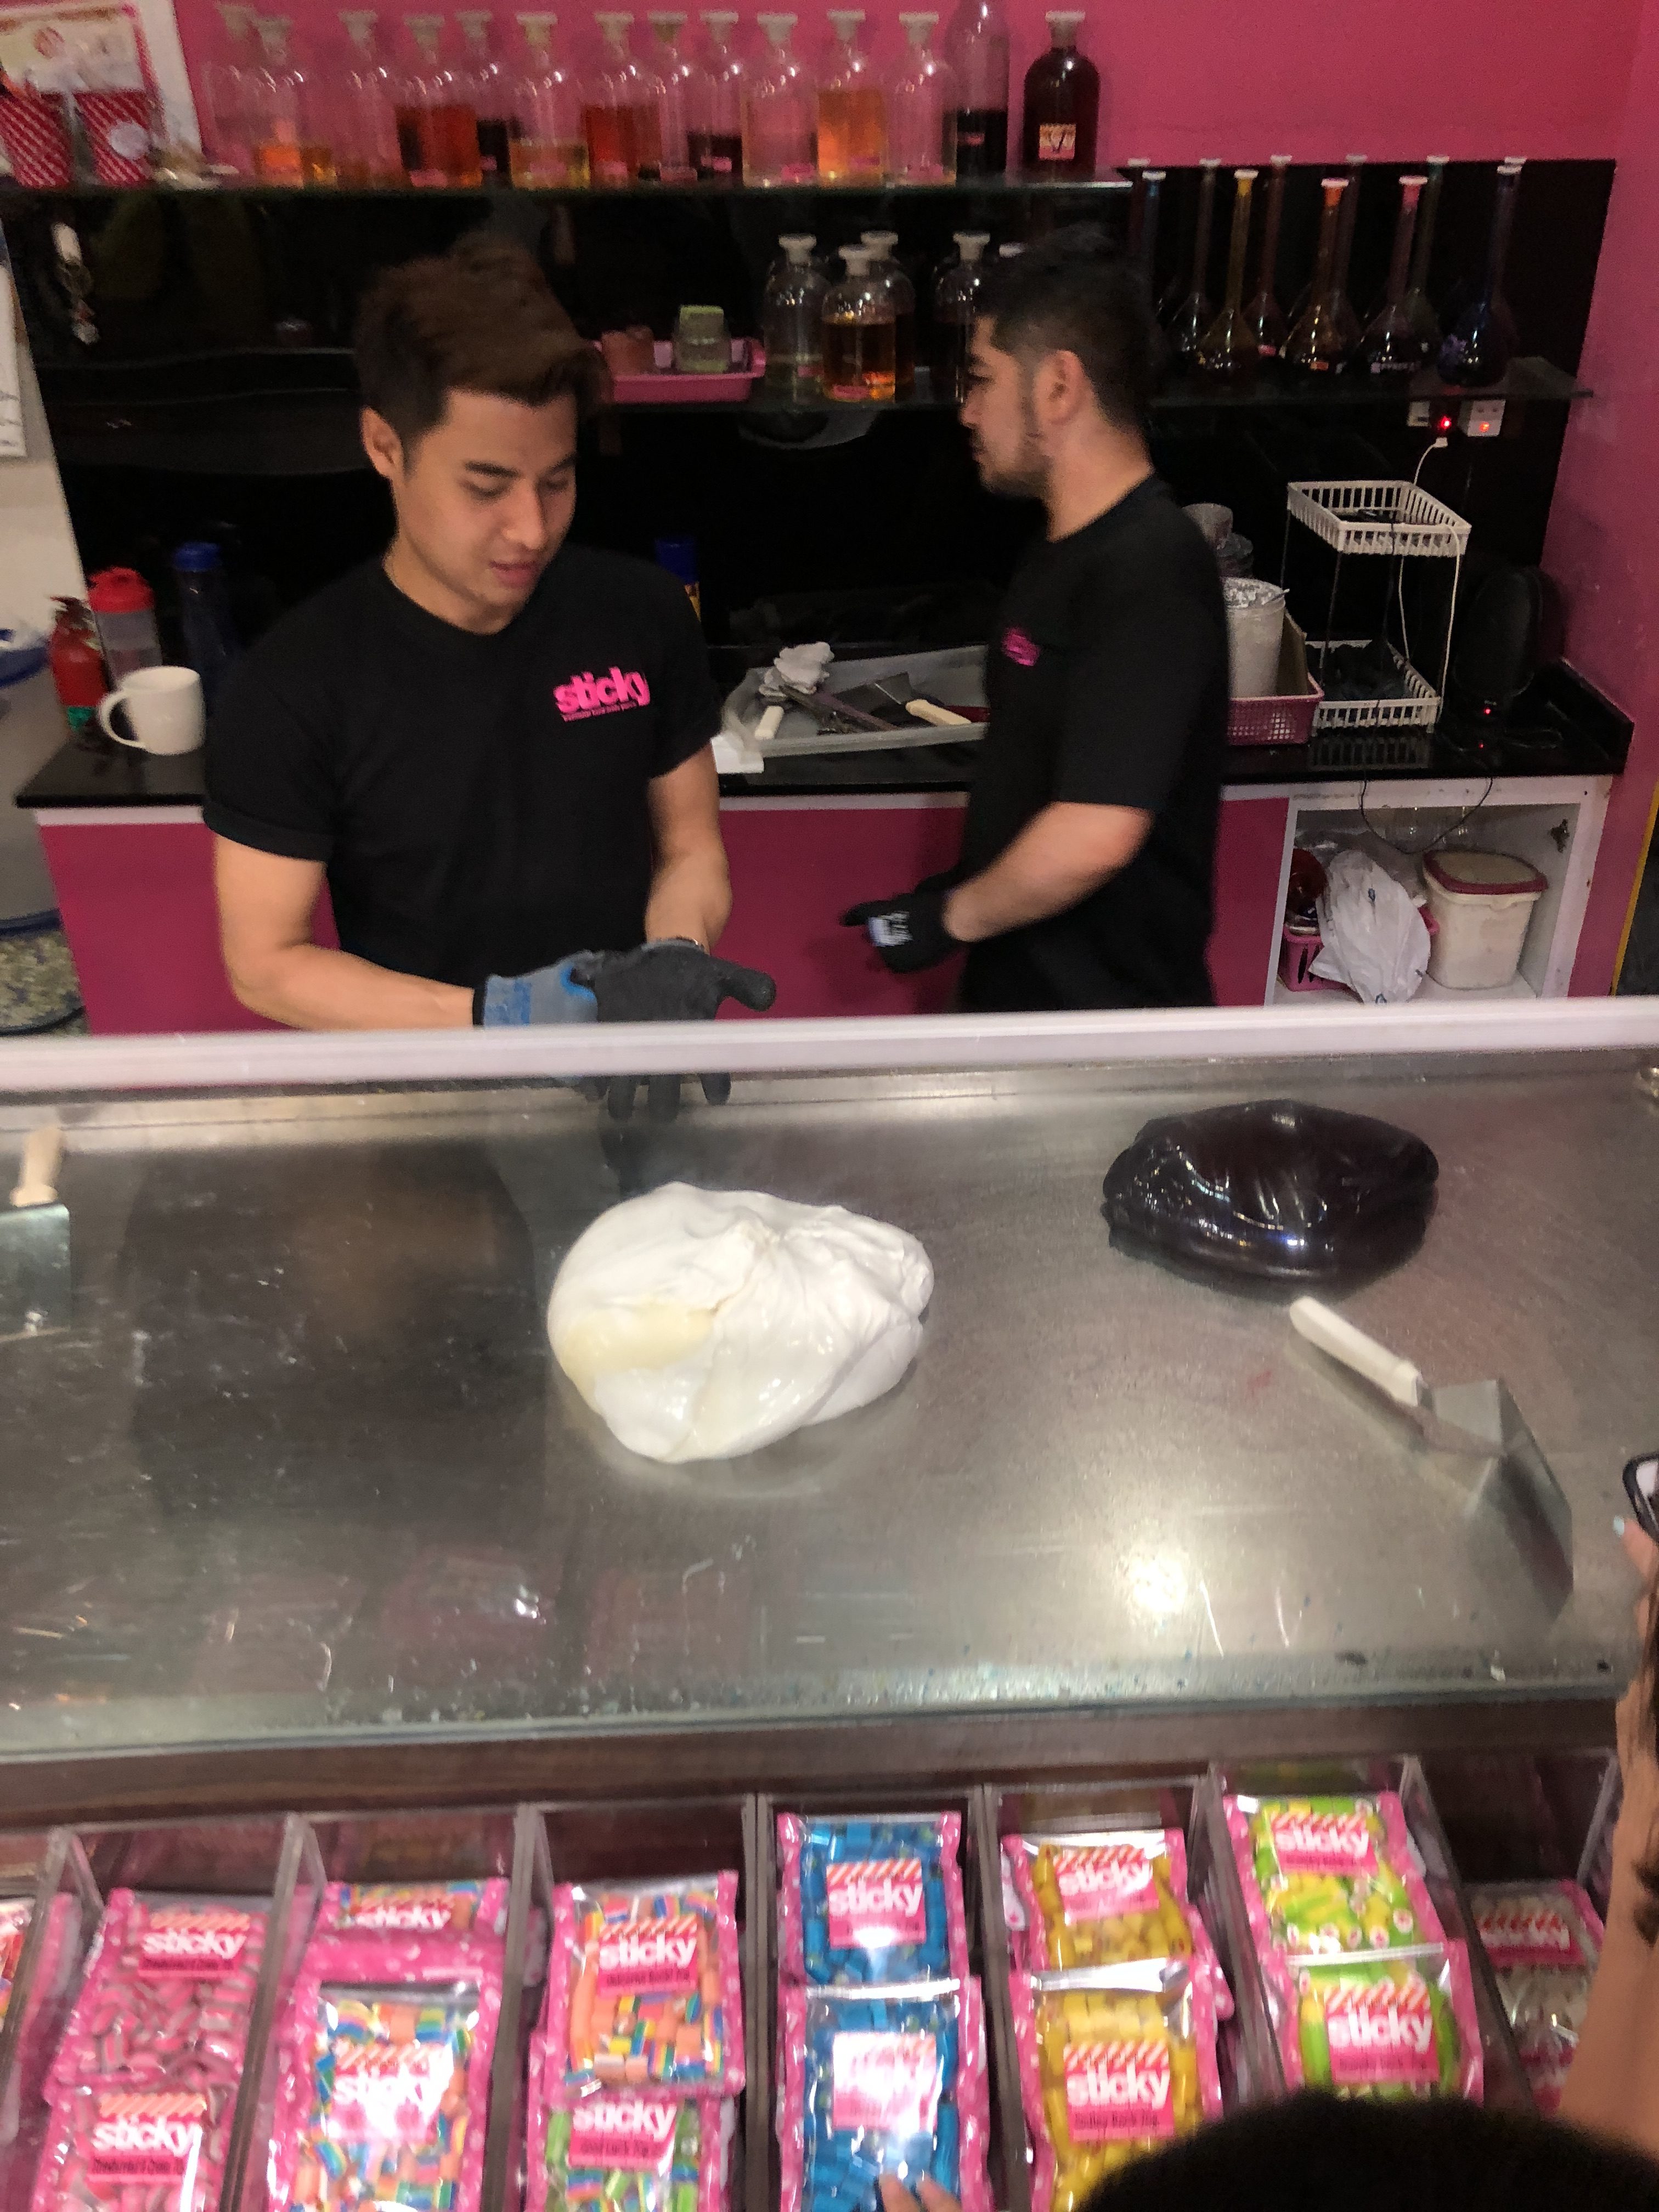
At least a 2 counter space for the candy making process. Only a few required tools needed. Need counter to be wide as well for stretching out the candy
Pain Points
One thing that really stood out to me was the tedious and time-consuming process in crafting out the letters and strokes individually. One must have adequate imagination and patience to form out the letters and then put them together
Another was how the candy had to be constantly stretched or pulled or moving or else it would harden up easily. One must be able to do it efficiently and easily.