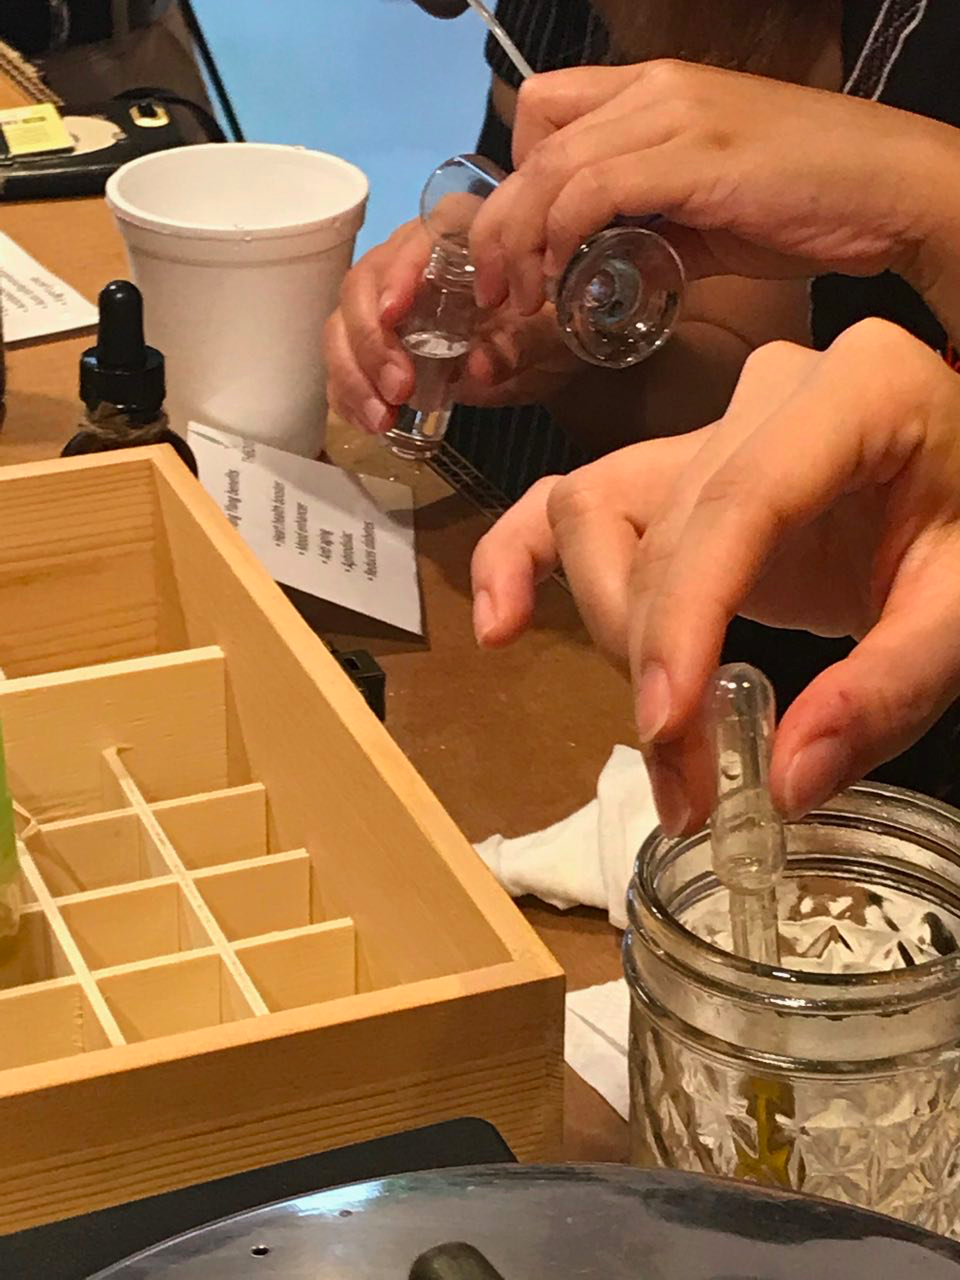
Creative Practice
Sticky is the FIRST and ORIGINAL Australian rock candy store which came to Singapore in 2008.
Using traditional techniques transformed and updated for a modern market, the confectioners at Sticky Singapore hand-sculpt mouthwatering sugar creations made from refined sugars from SIS.
Process Documentation
We waited for 20min for the candy-makers to melt the sugars in order for them to start the candy shaping process.
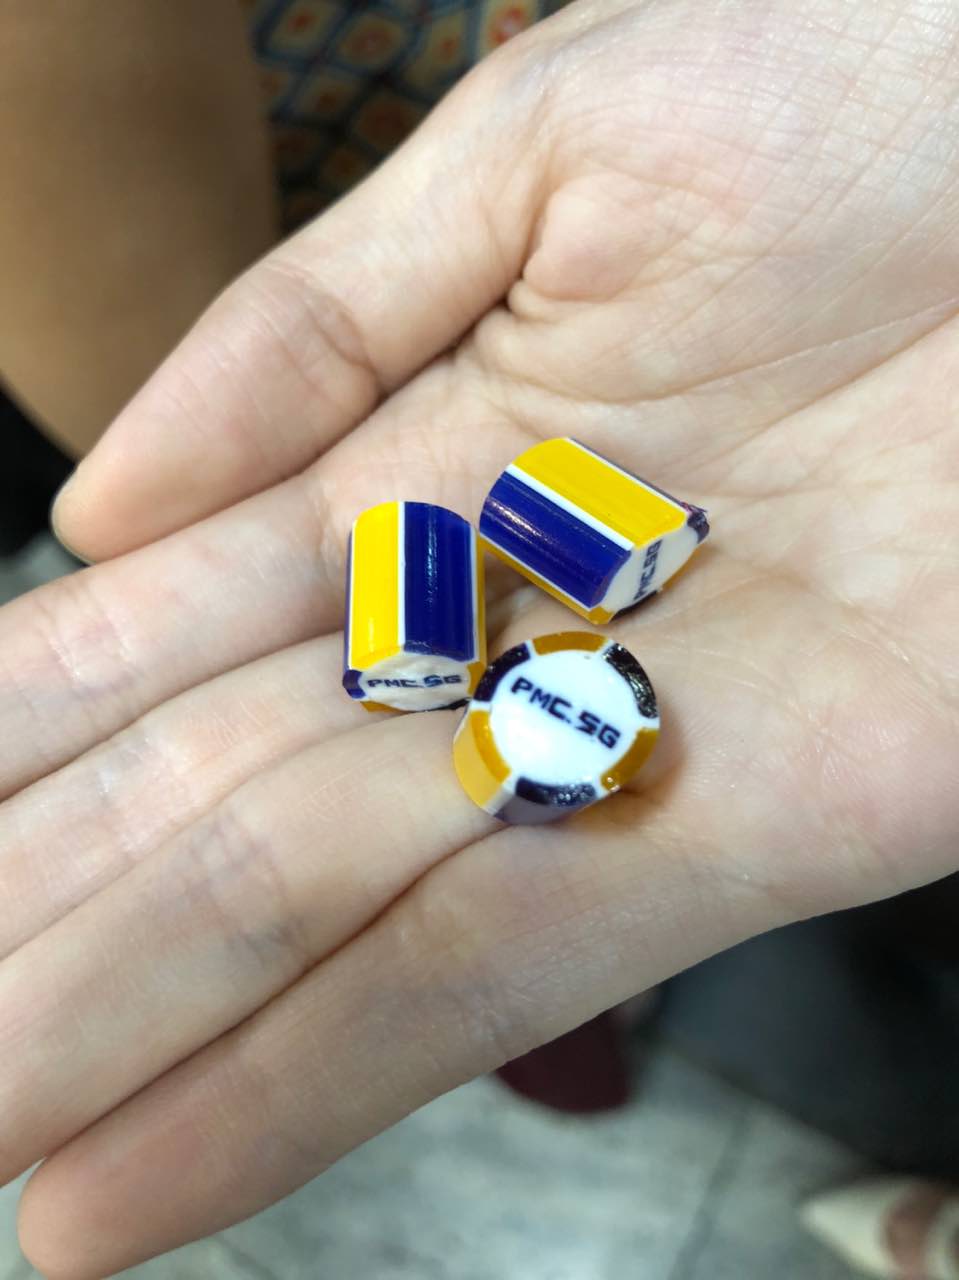
This was an example of what they were going to make for a client!
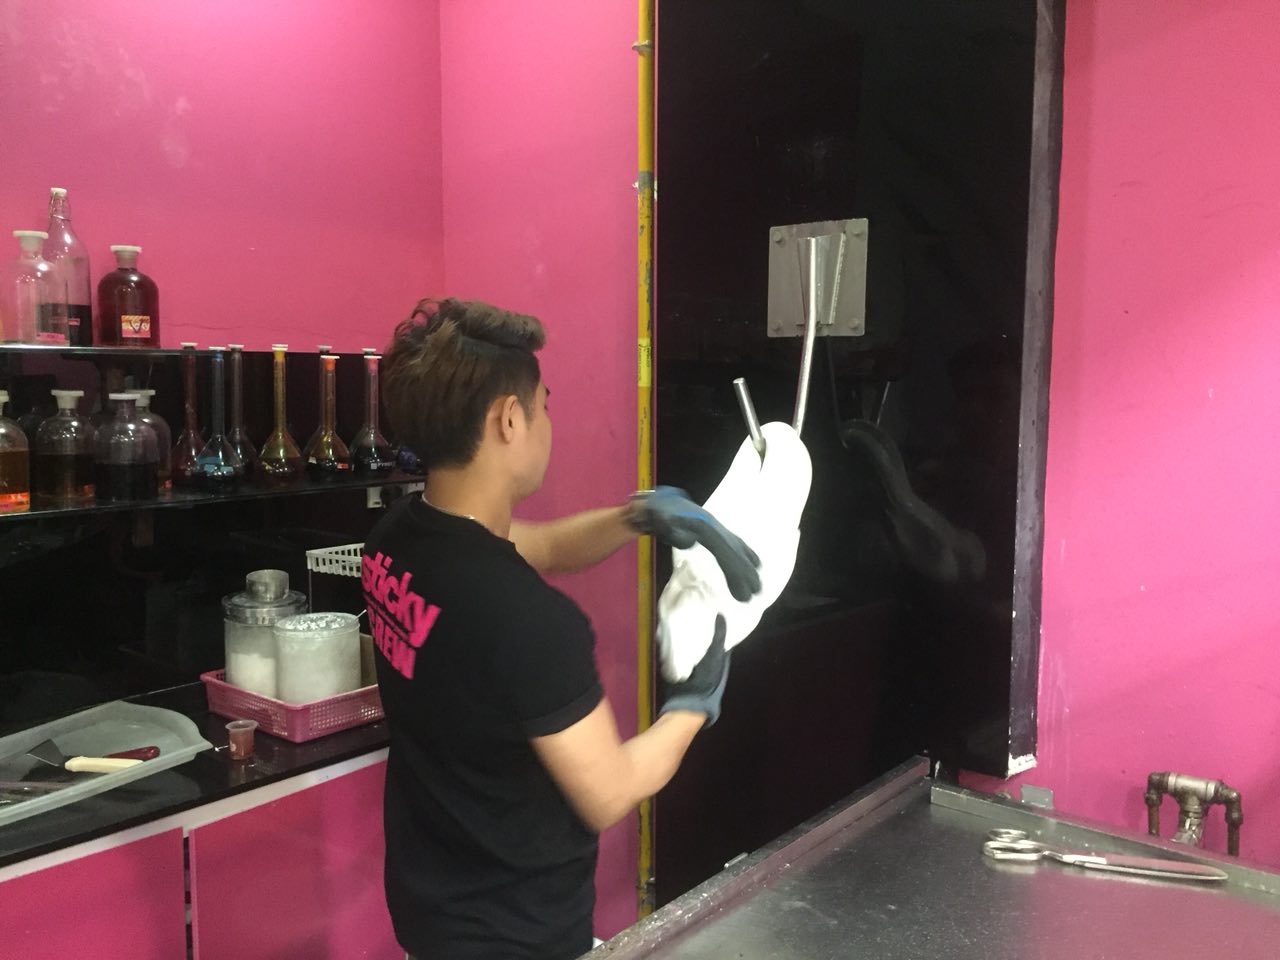
They first used a stretching hook to stretch out the melted candy much like how we first stretch a rubber balloon before blowing it!
This was to incorporate air and increase the malleability of the melted candy.
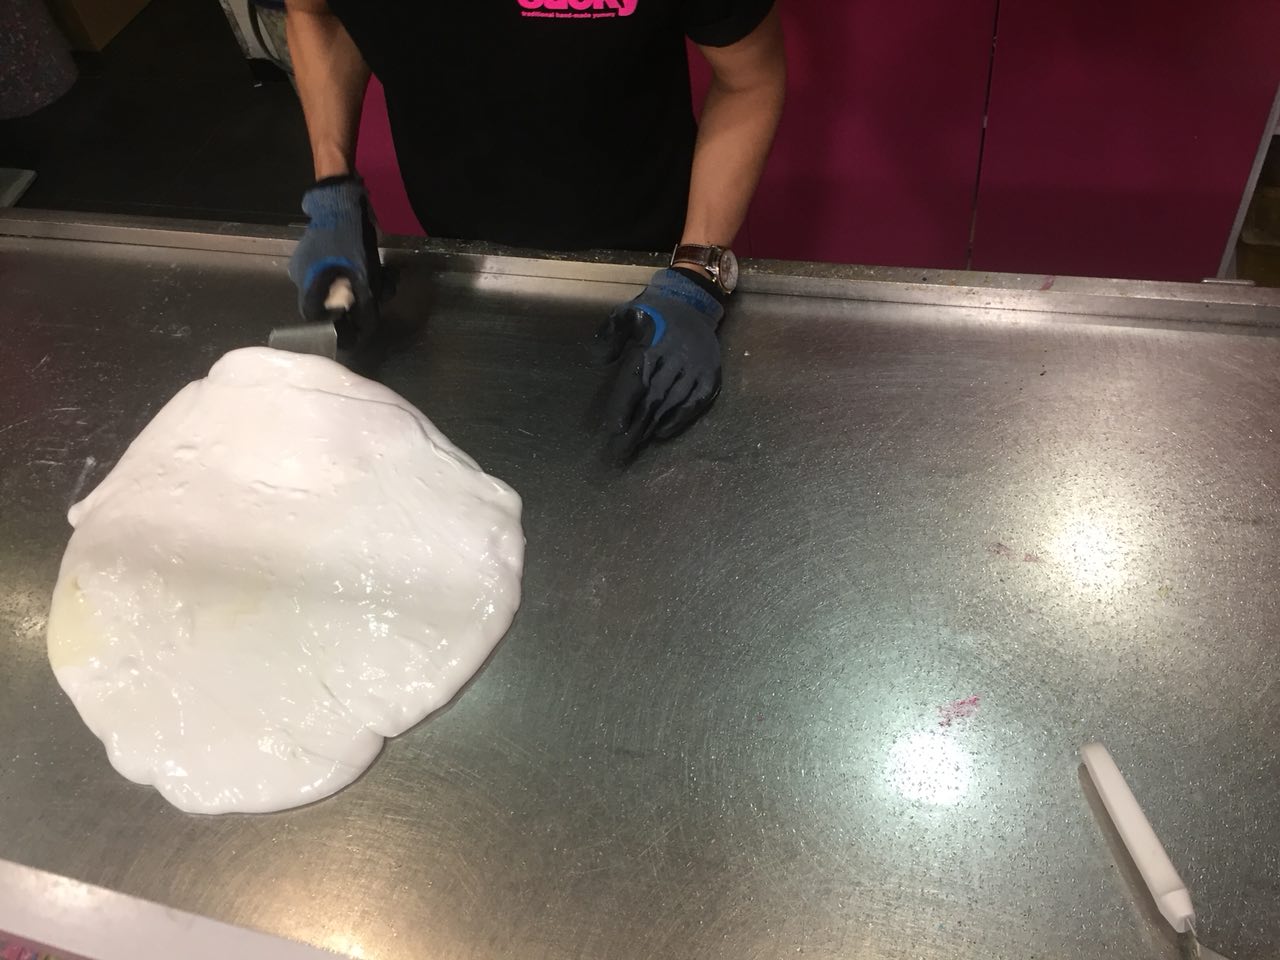
Then, they would start kneading the sugar onto a Hot metal surface first.
Whenever needed, they would use the spatula to flip the sugar or cut out the excess. Alternating between the hot and cold metal surfaces, the candy-maker would then be able to shape the mould on the hot surface, then allow the mould to cool and repeat the process again until the shape is perfected.
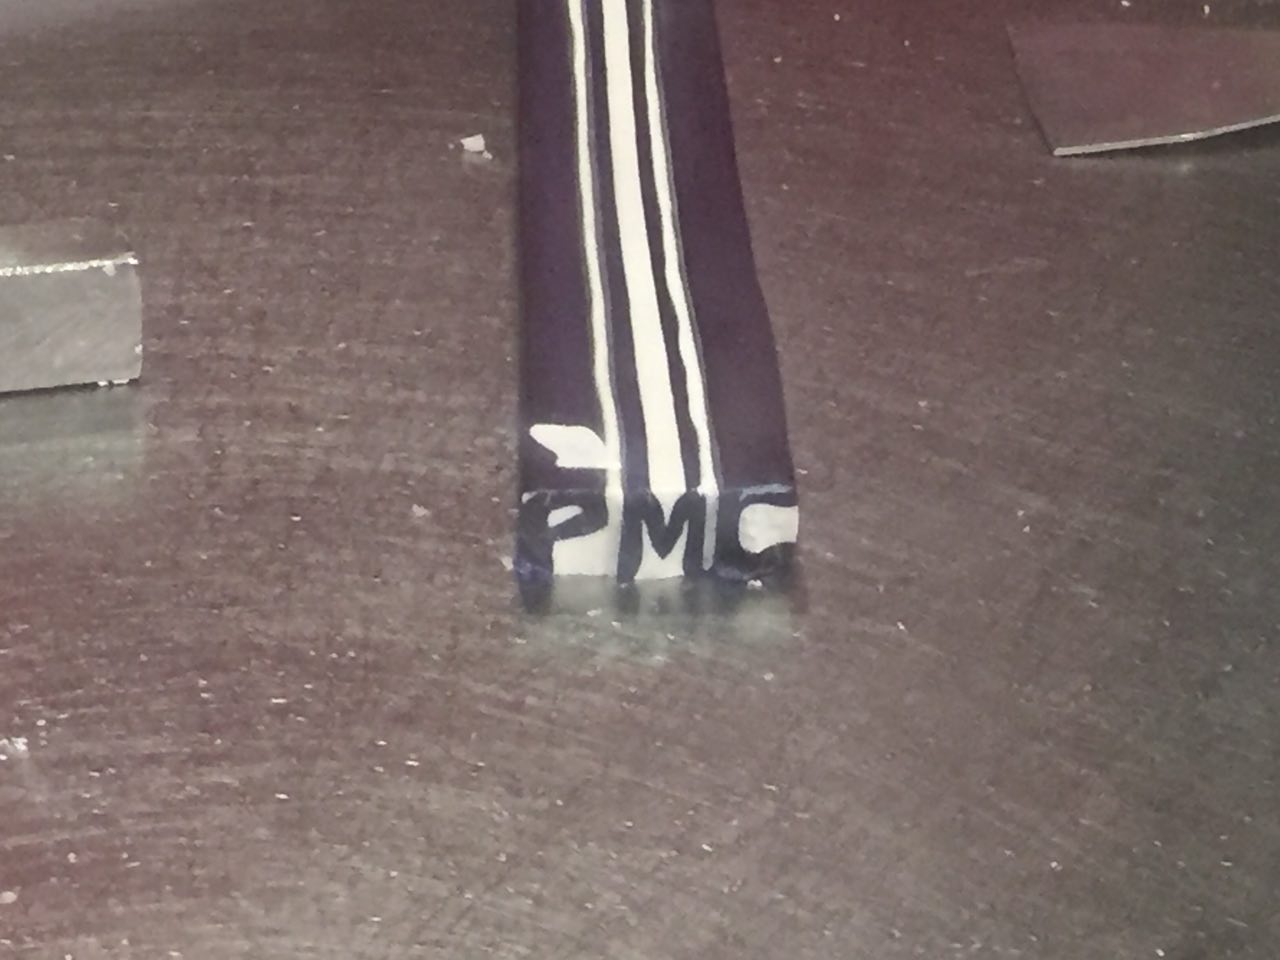
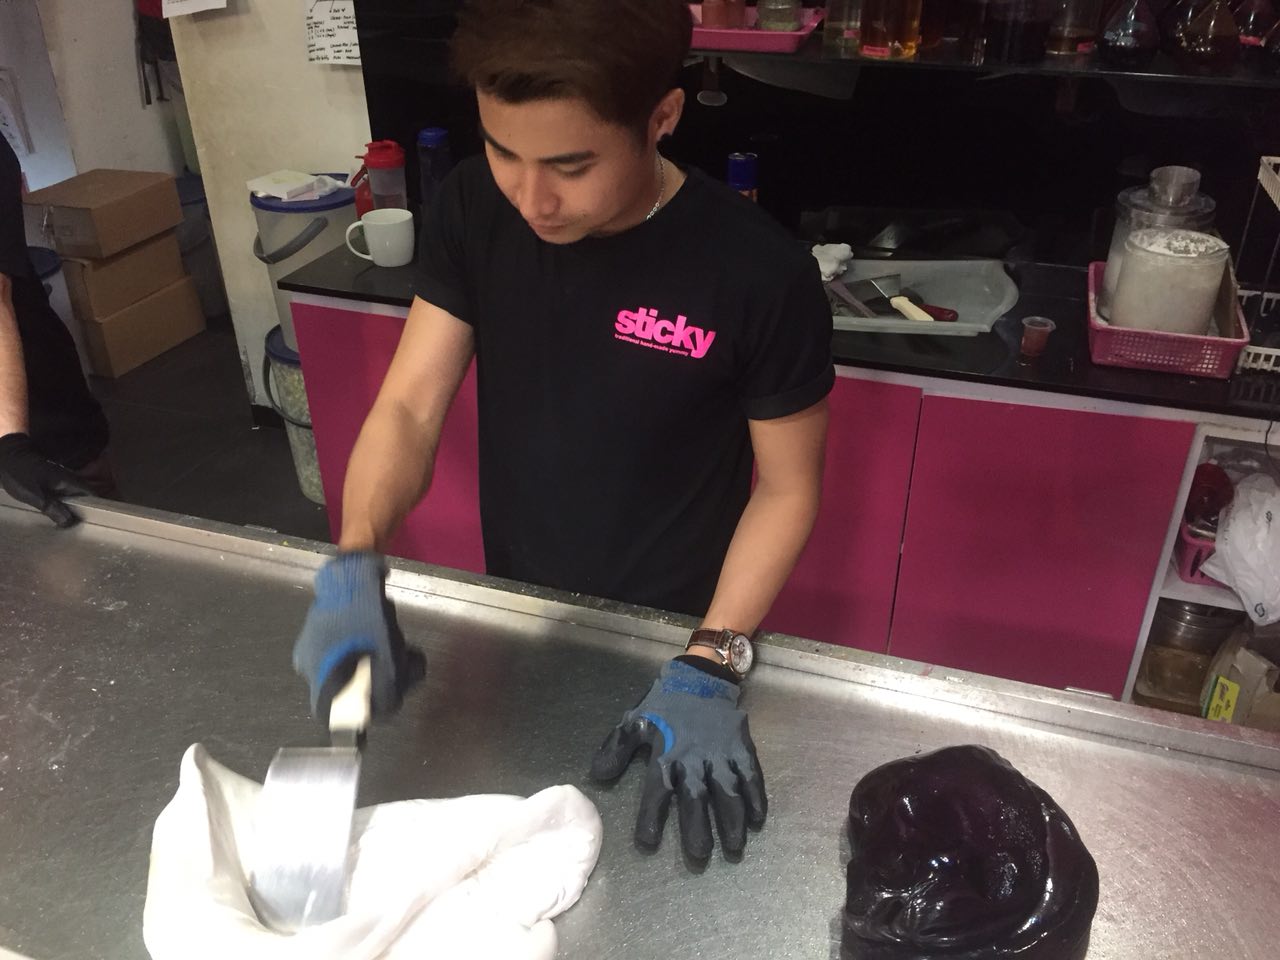
Once done, the sugar moulds (blue, orange and white) would be then combined together. The details of the candy would be made in this stage through an
Then once the details of the PWC were done, the sugar mould would be covered with an outer layer of sugar and smoothened out with the sanding sponge and rolled continuously even out the block.
Then, the candy-maker would stretch out the big block of candy such that it becomes smaller in width whilst continuing the rolling motion to keep the block in its cylindrical shape.
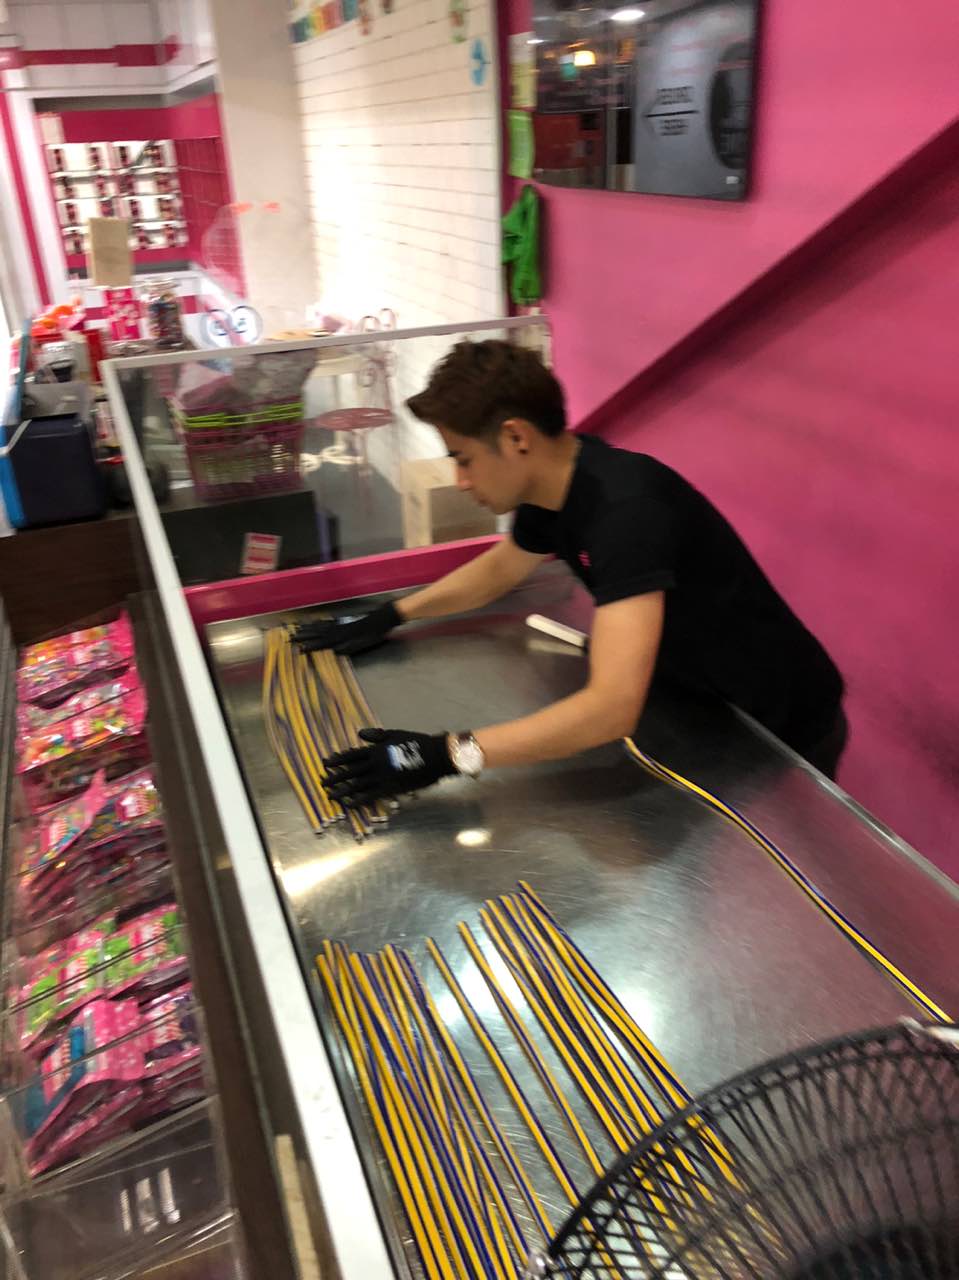
Using the cool metal surface and a fan, the finished candy will be cooled and cut into pieces using the spatula.
Finished candy product!!
Tools Used
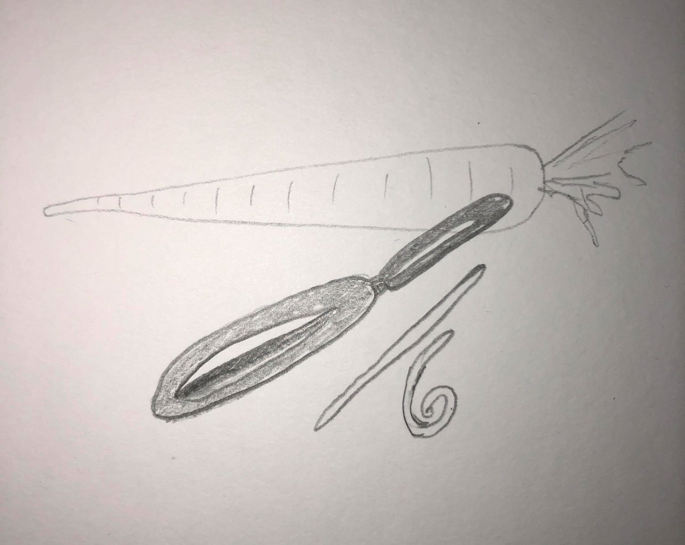
Scissors
Spatula
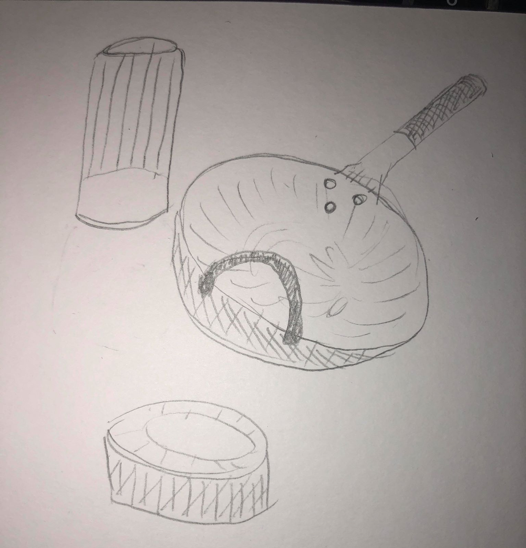
Sanding Sponge (to smoothen candy)
Fan (to cool finished products)
Cold and Hot Metal Surfaces (to shape candy)
Metal Shaping Rod
Gloves
Stretching Hook
Pain Points
Upon interviewing the candy-makers, their pain points were unianimous: THE INTRINSIC DETAILS OF THE CANDY DESIGN. Since all the designs were made from scratch, with no help from any pre-conceived design moulds, the process of crafting the design details one by one was the most tedious part of the candy-making process as deemed by the practitioners. After hearing this, I really had a newfound respect for Sticky candy-makers! Everything from scratch!! I asked them about a particularly cute yet delicate Unicorn design I saw in the candy and they said they really did the rainbow effects of the unicorn layer by layer and even had eyes and a mouth for the unicorn. Much respect!!
Further, they also mentioned that the sugar moulds were extremely heavy so to continuously mould and handle it for consecutive hours straight was another pain point for them. It was obvious from their droplets of sweat that this was a pain point too!