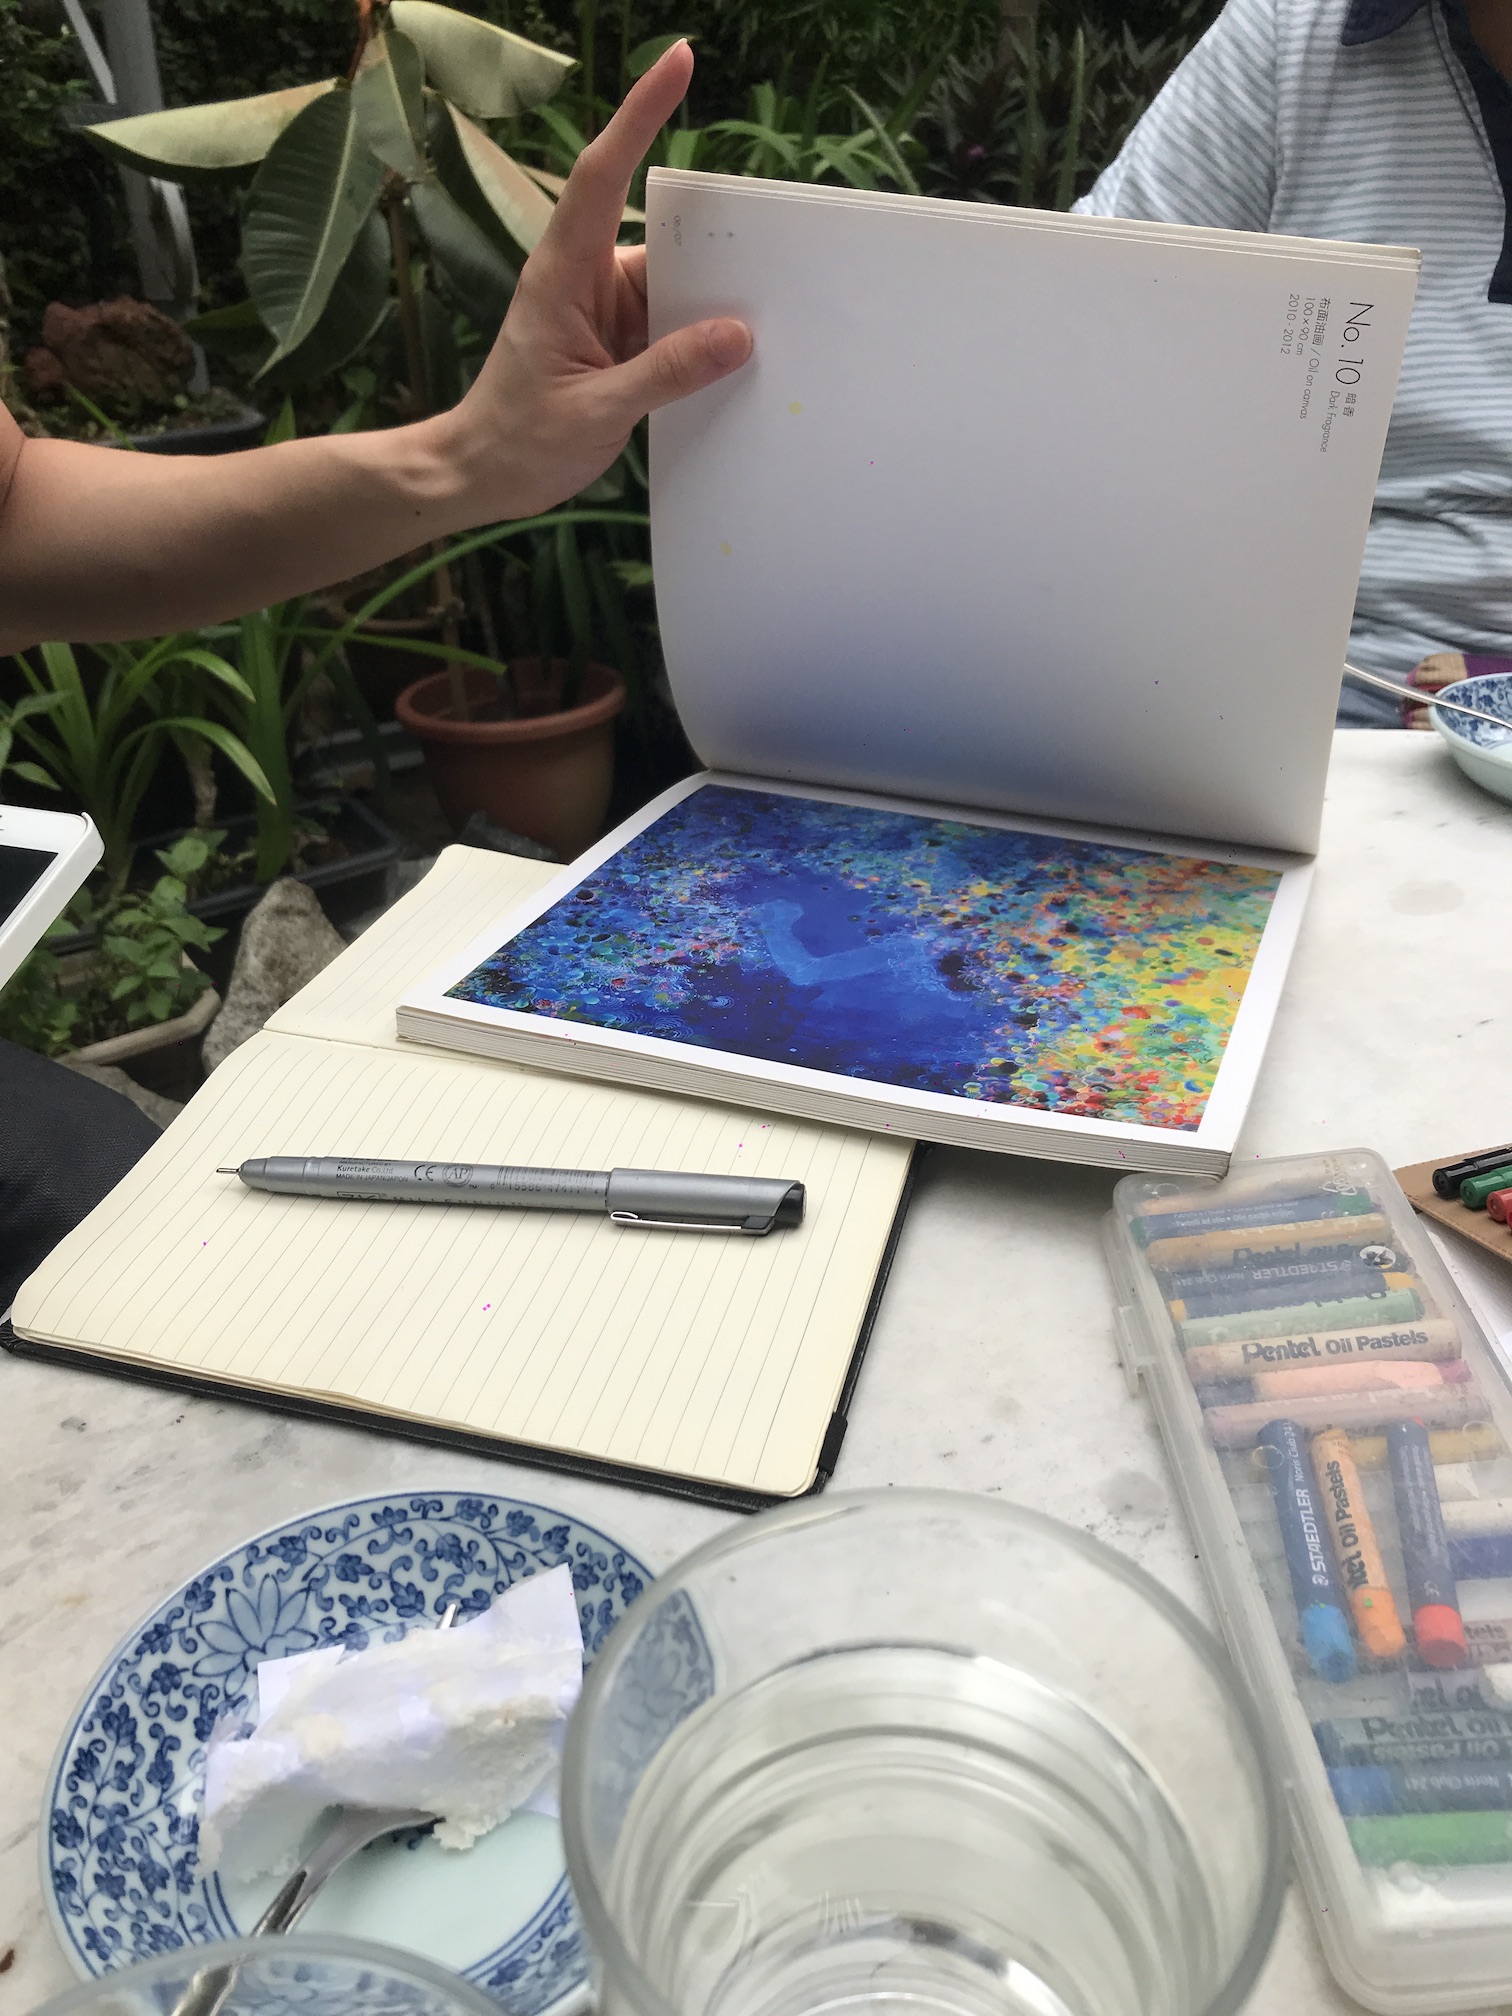
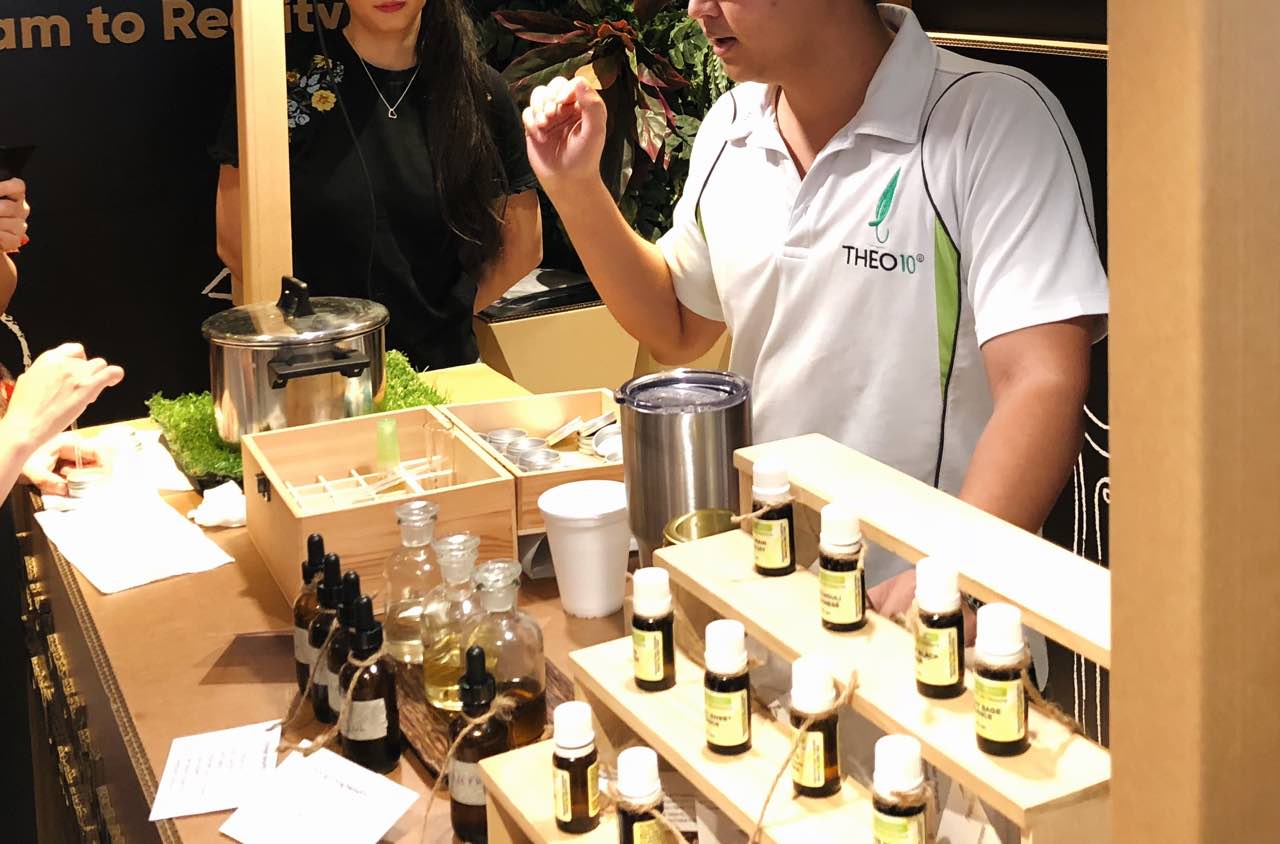
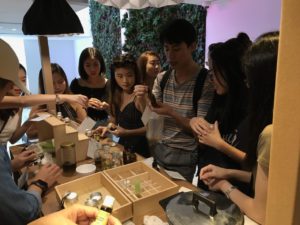
During the recess week, I visited a workshop conducted by Theo10 with a few other classmates. The workshop conductor, Theodore, guided us through the process of making moisturizers and insect repellents that can be customized to serve different purposes.
Workplace Documentation:
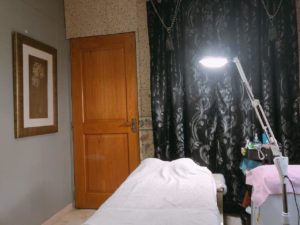
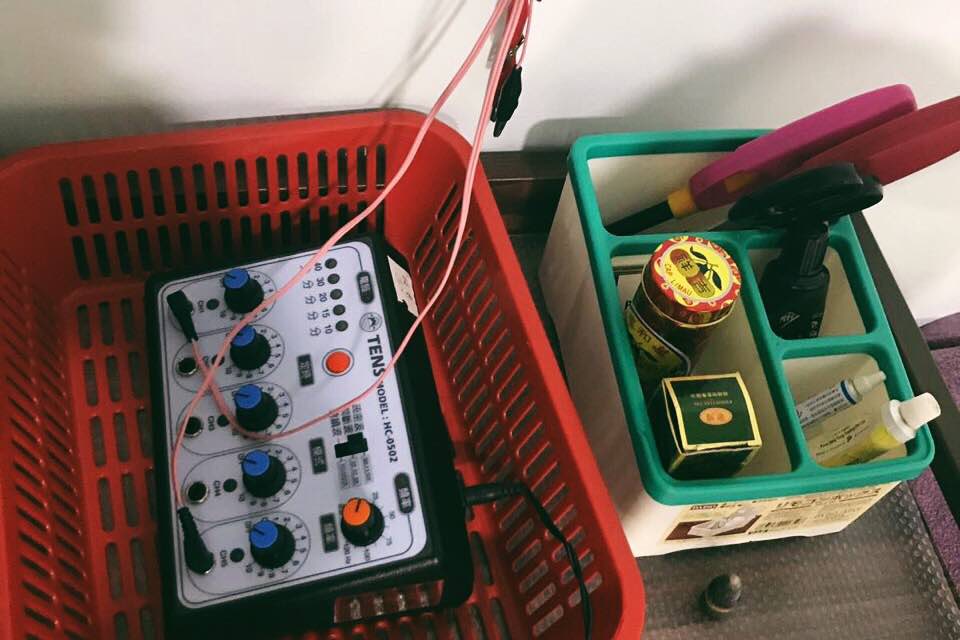
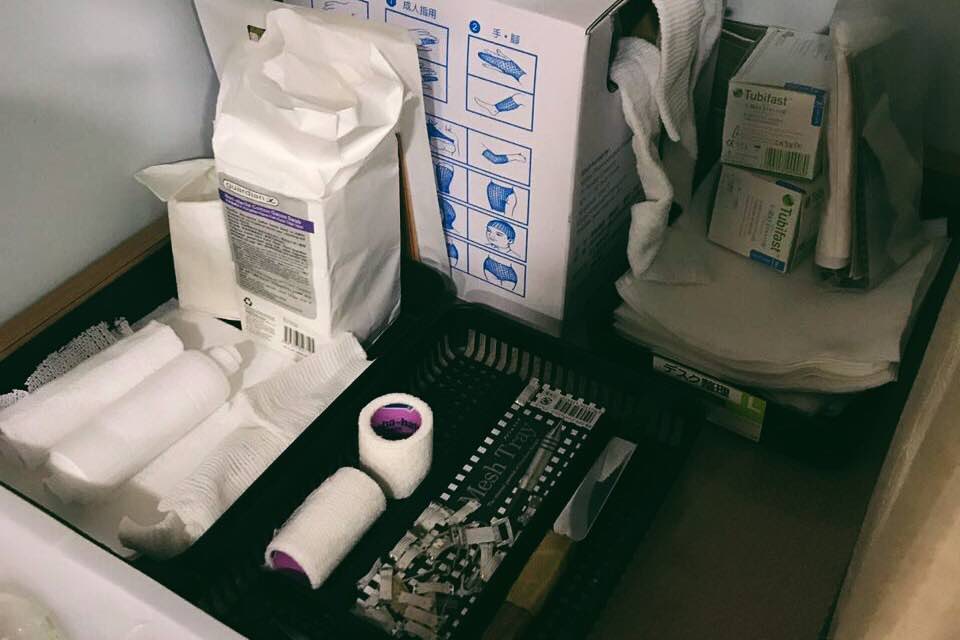
The workplace for the workshop was generally well organised and was simplified to only include the bare minimum equipment that’s needed to conduct the workshop. However the actual factory or workplace houses a myriad of different machinery and technologies that helps develop
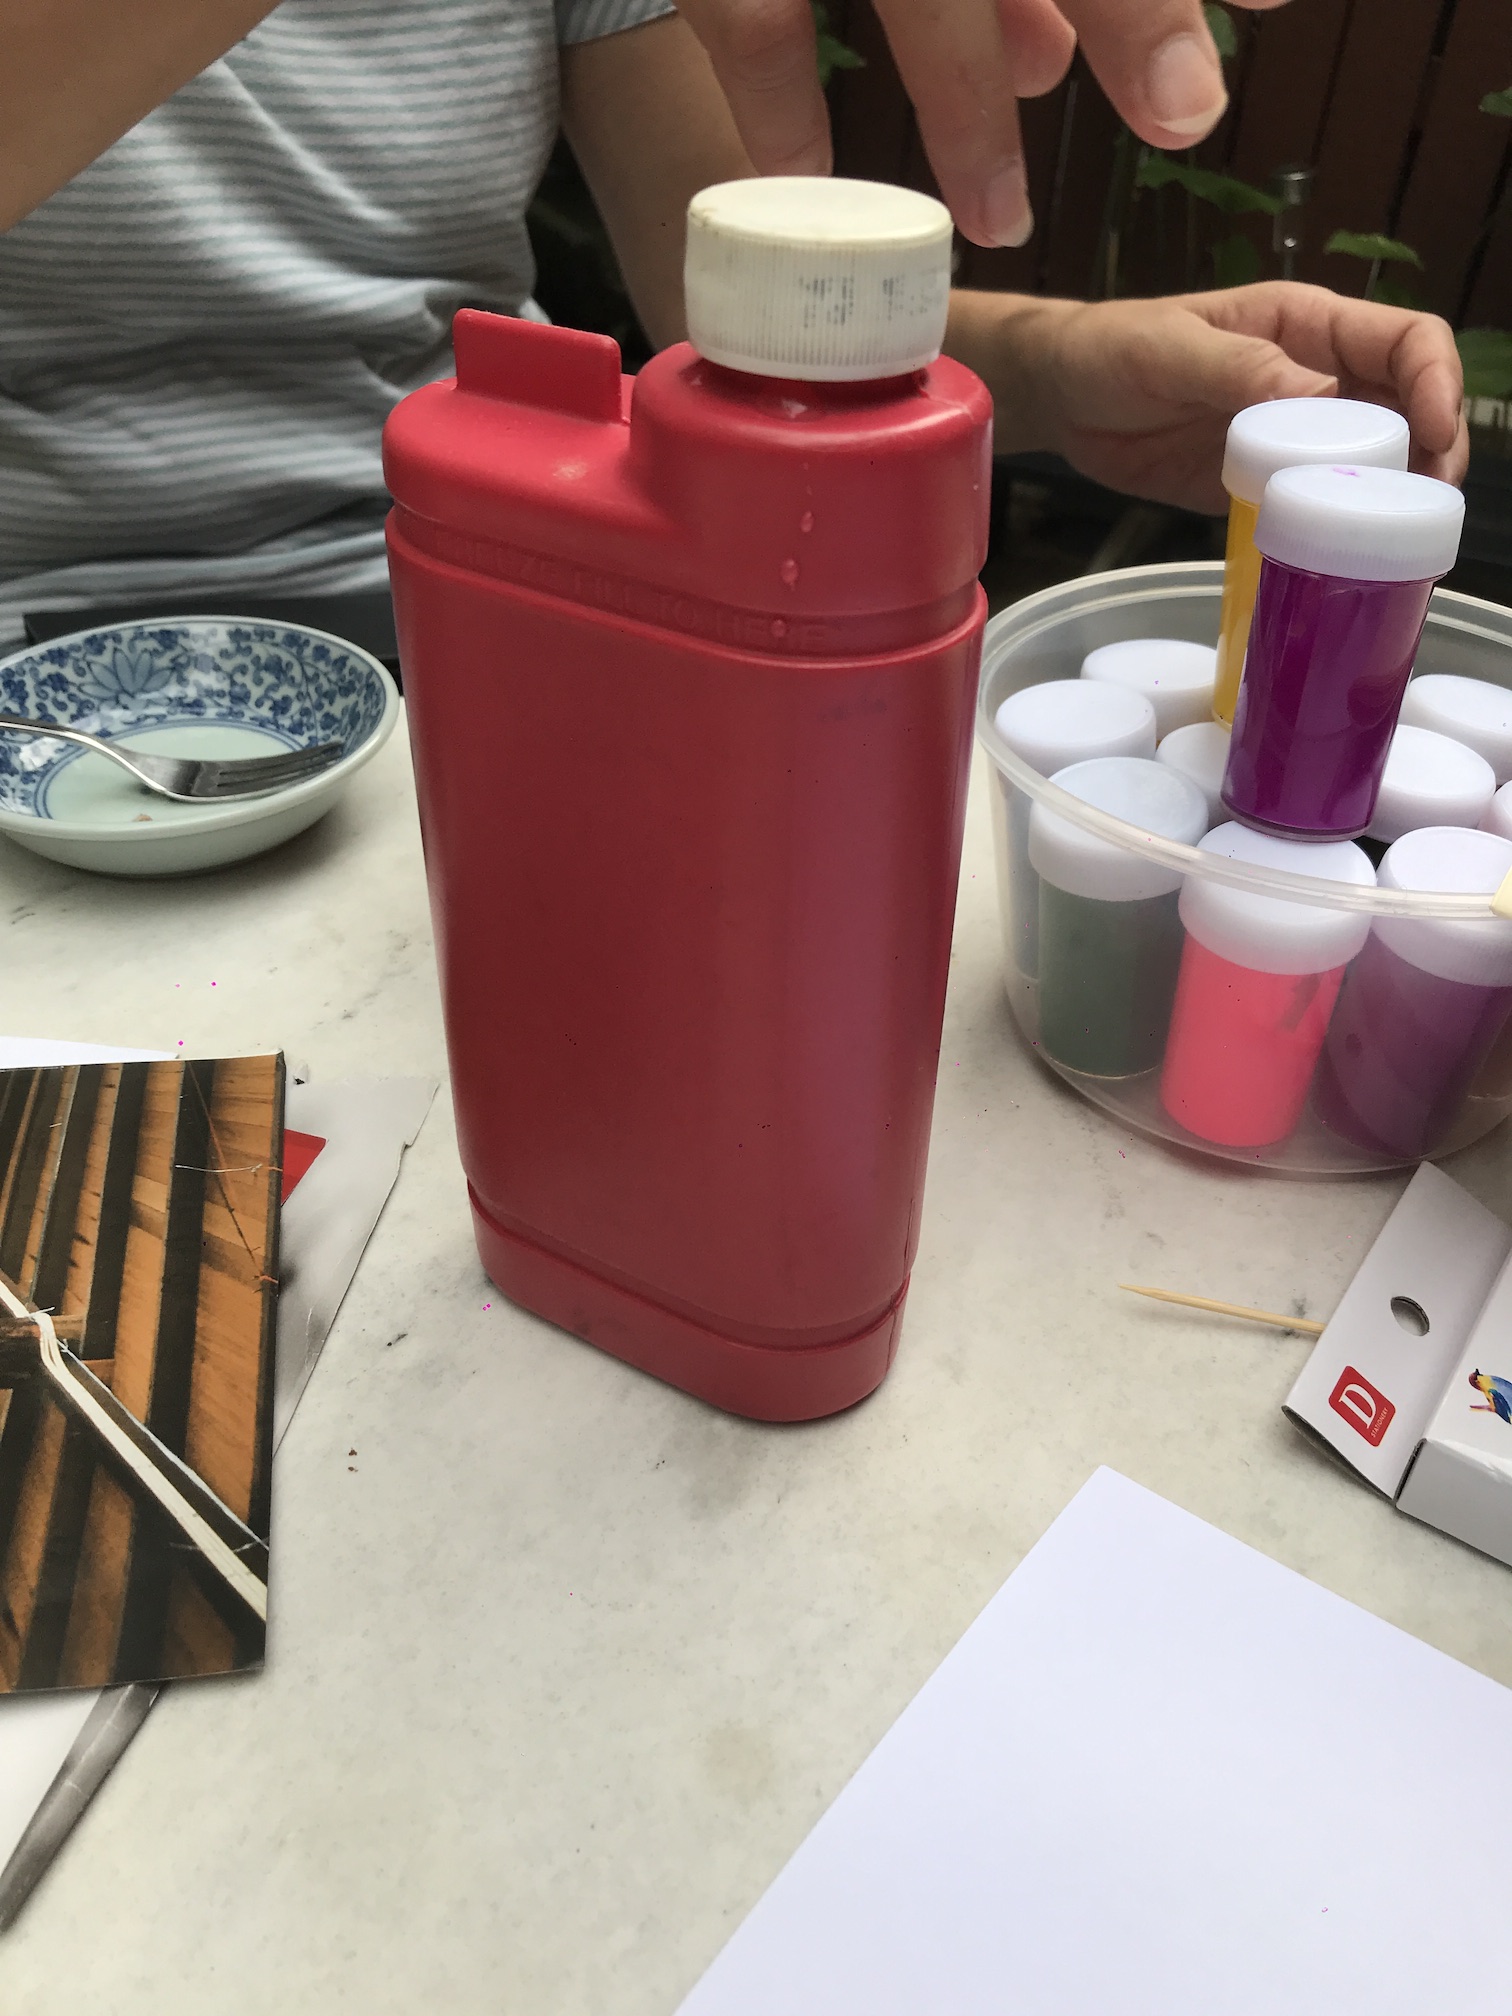
the product in the most efficient and accurate manner which is a key aspect in the process. Taking the insect repellent we made for example, Theodore mentioned that is it crucial that we get the measurement of 10ml of water and 2ml of base (company’s secret ingredient) right, if not the repellent we make will not work.
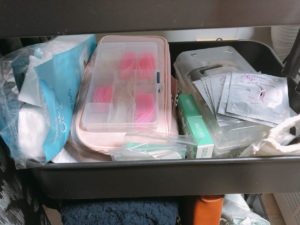
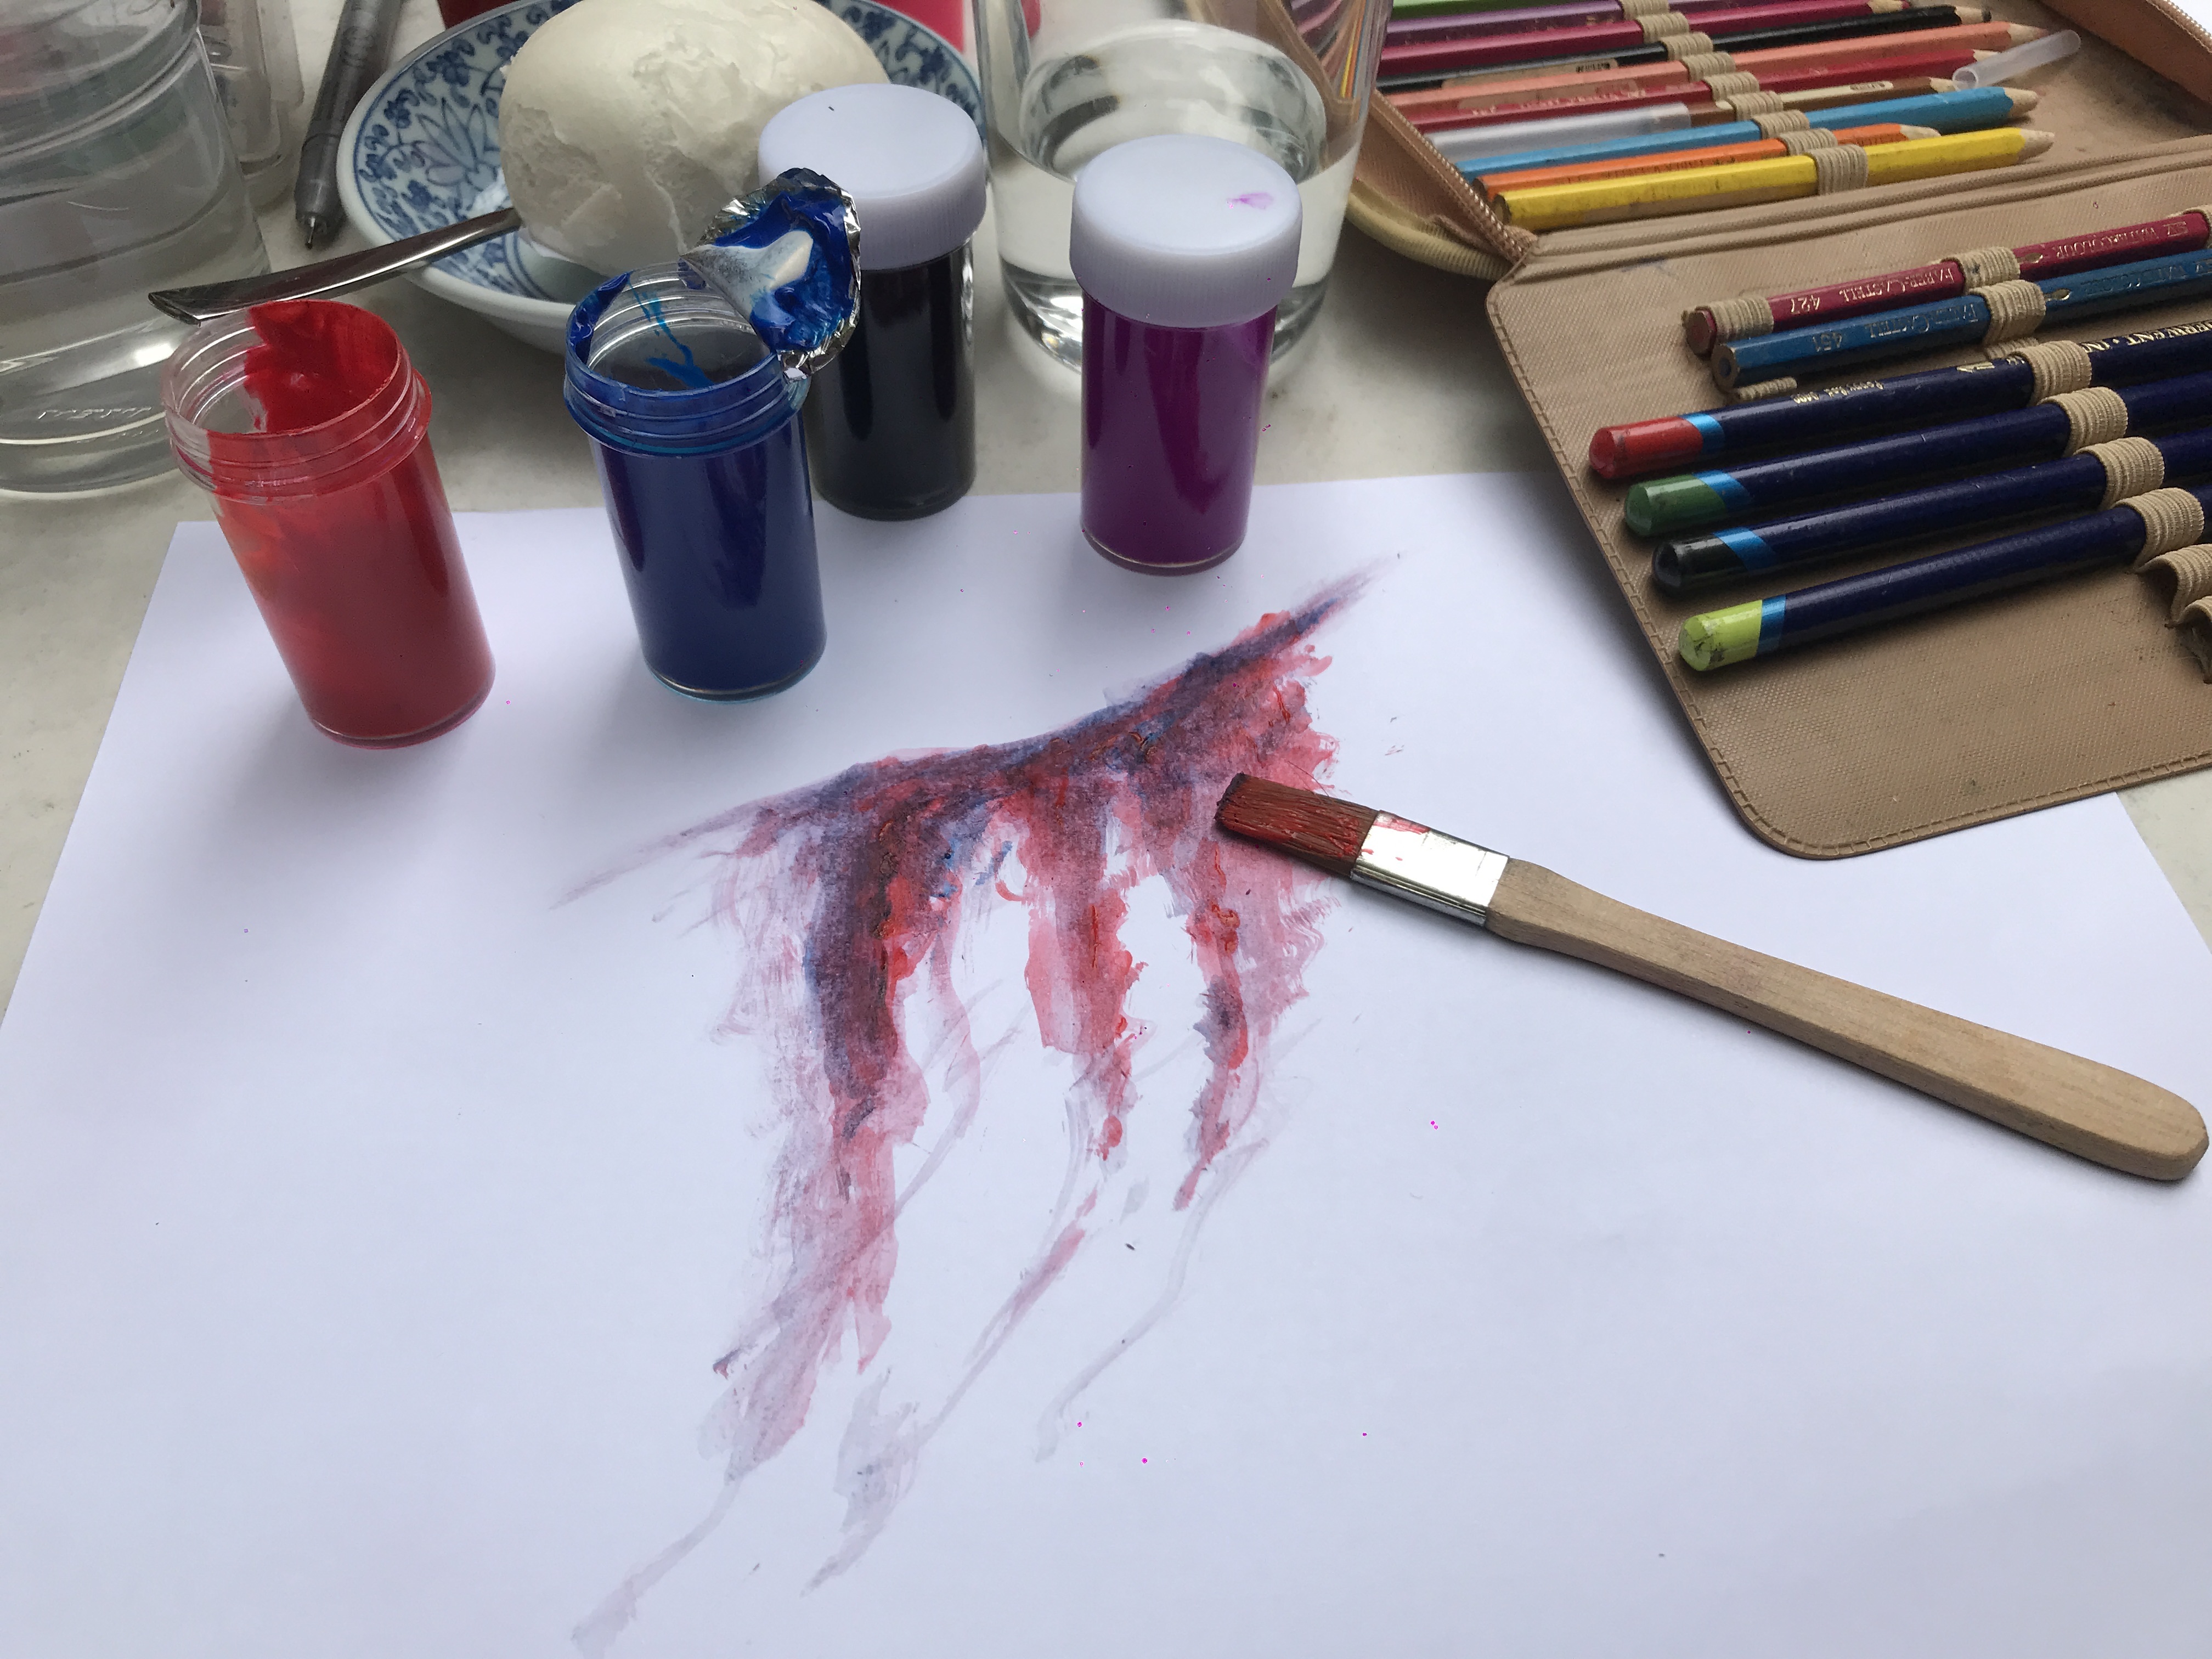
Key Tools Used:
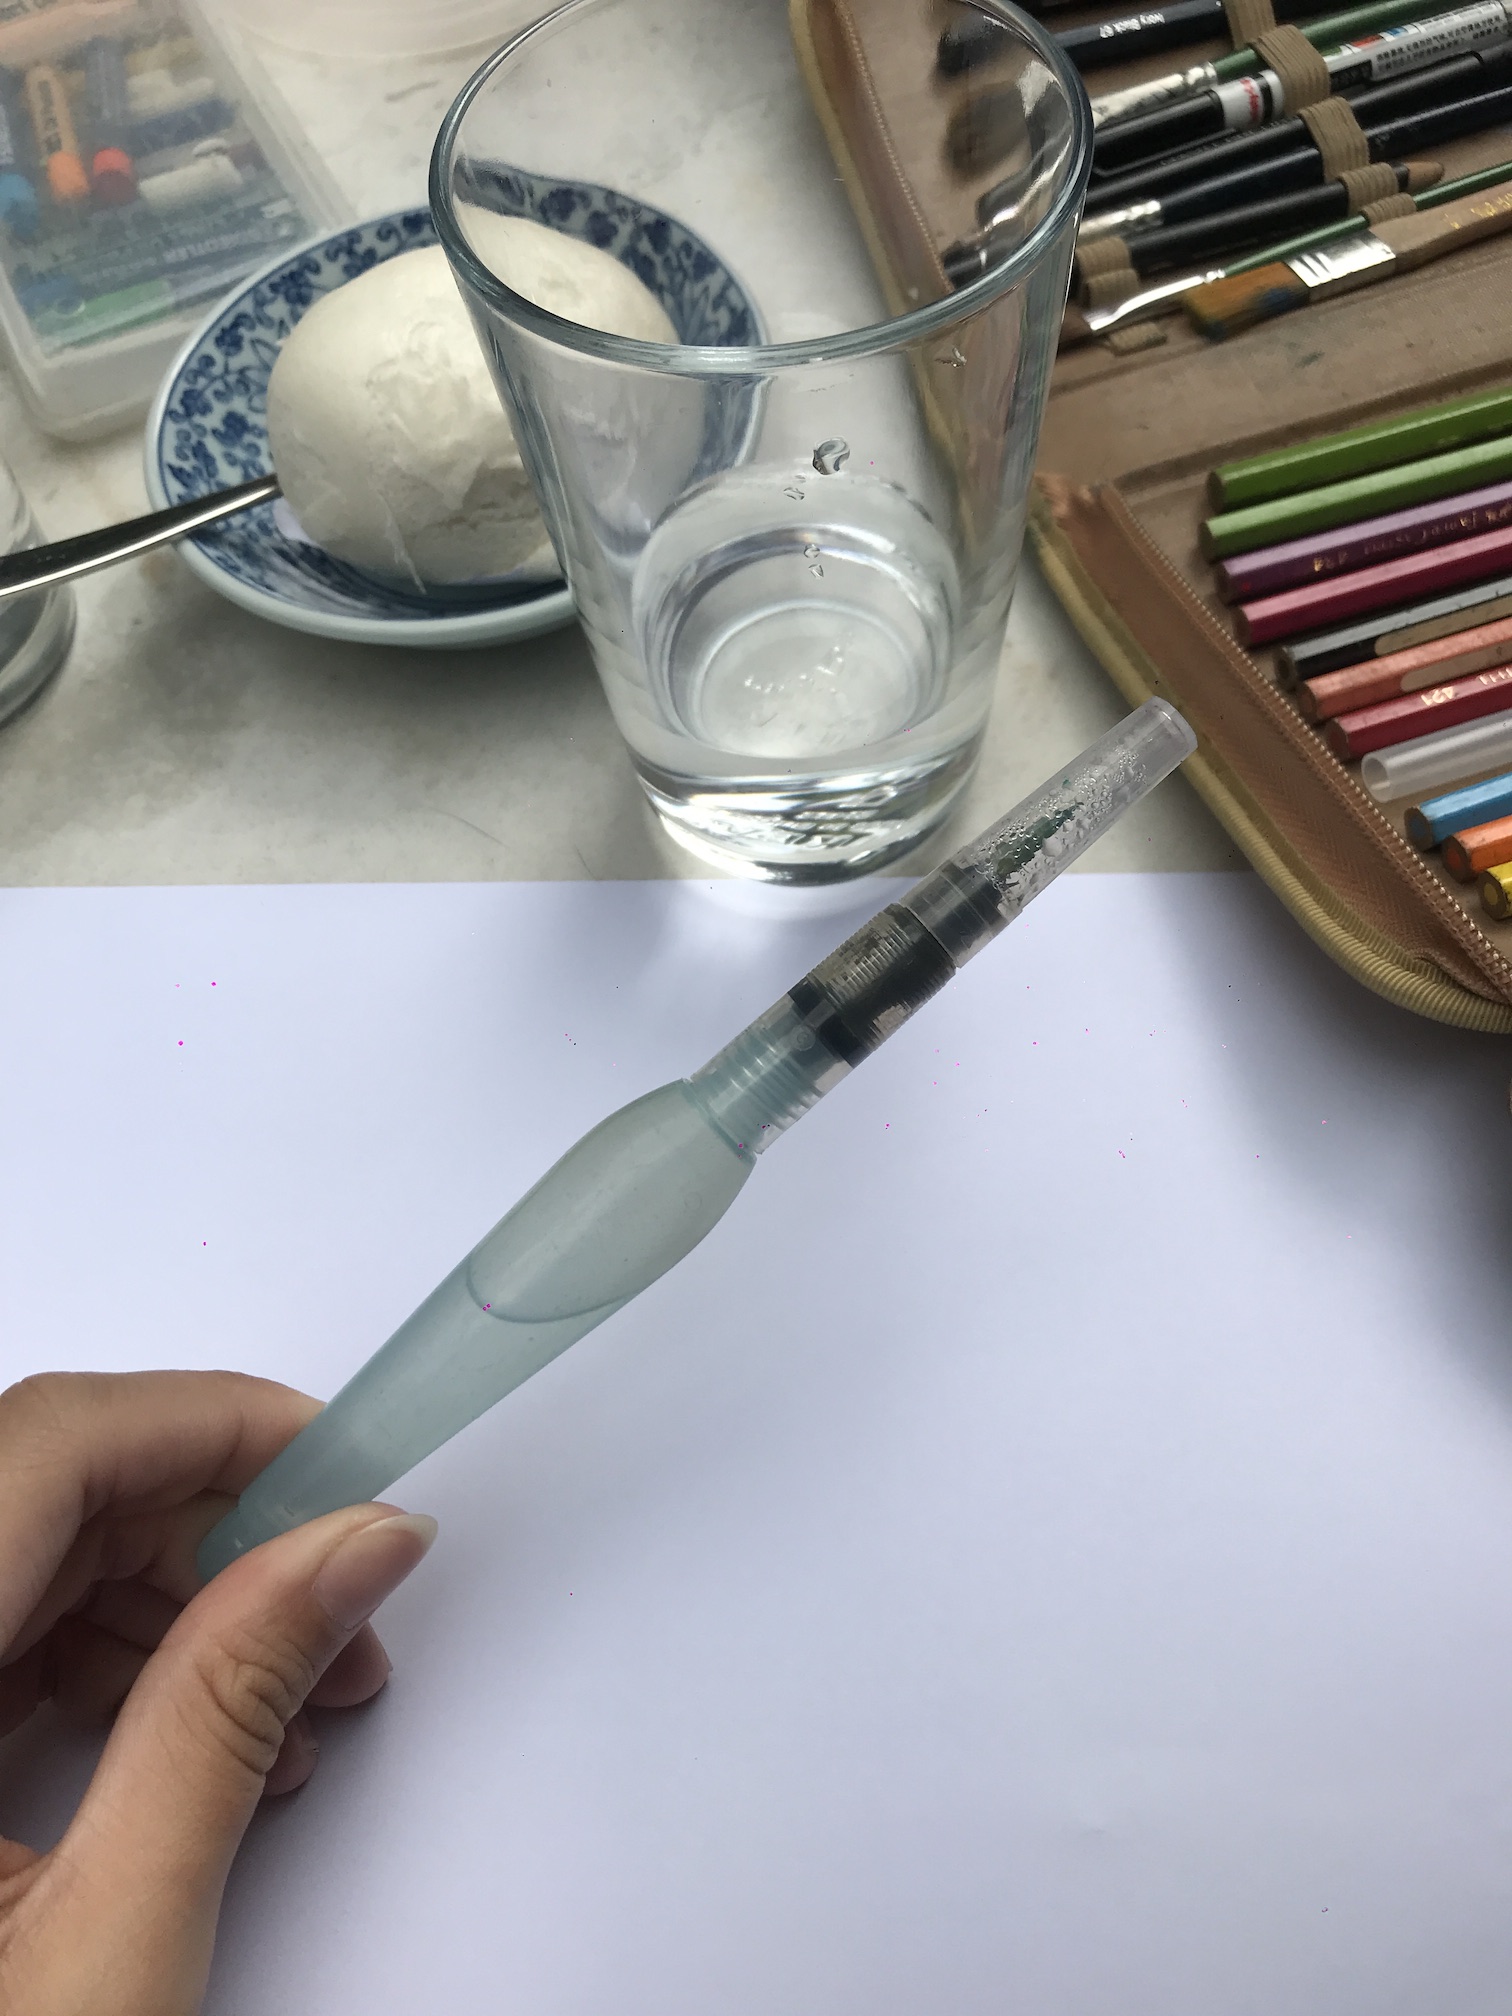
- Pipette
- Measuring cylinder
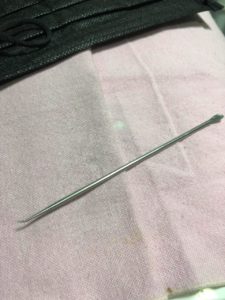
- Temperature Measuring Stick
- Glass Rod (to mix the mixture)
- Heater
- Cooking Pot
- Pipettes
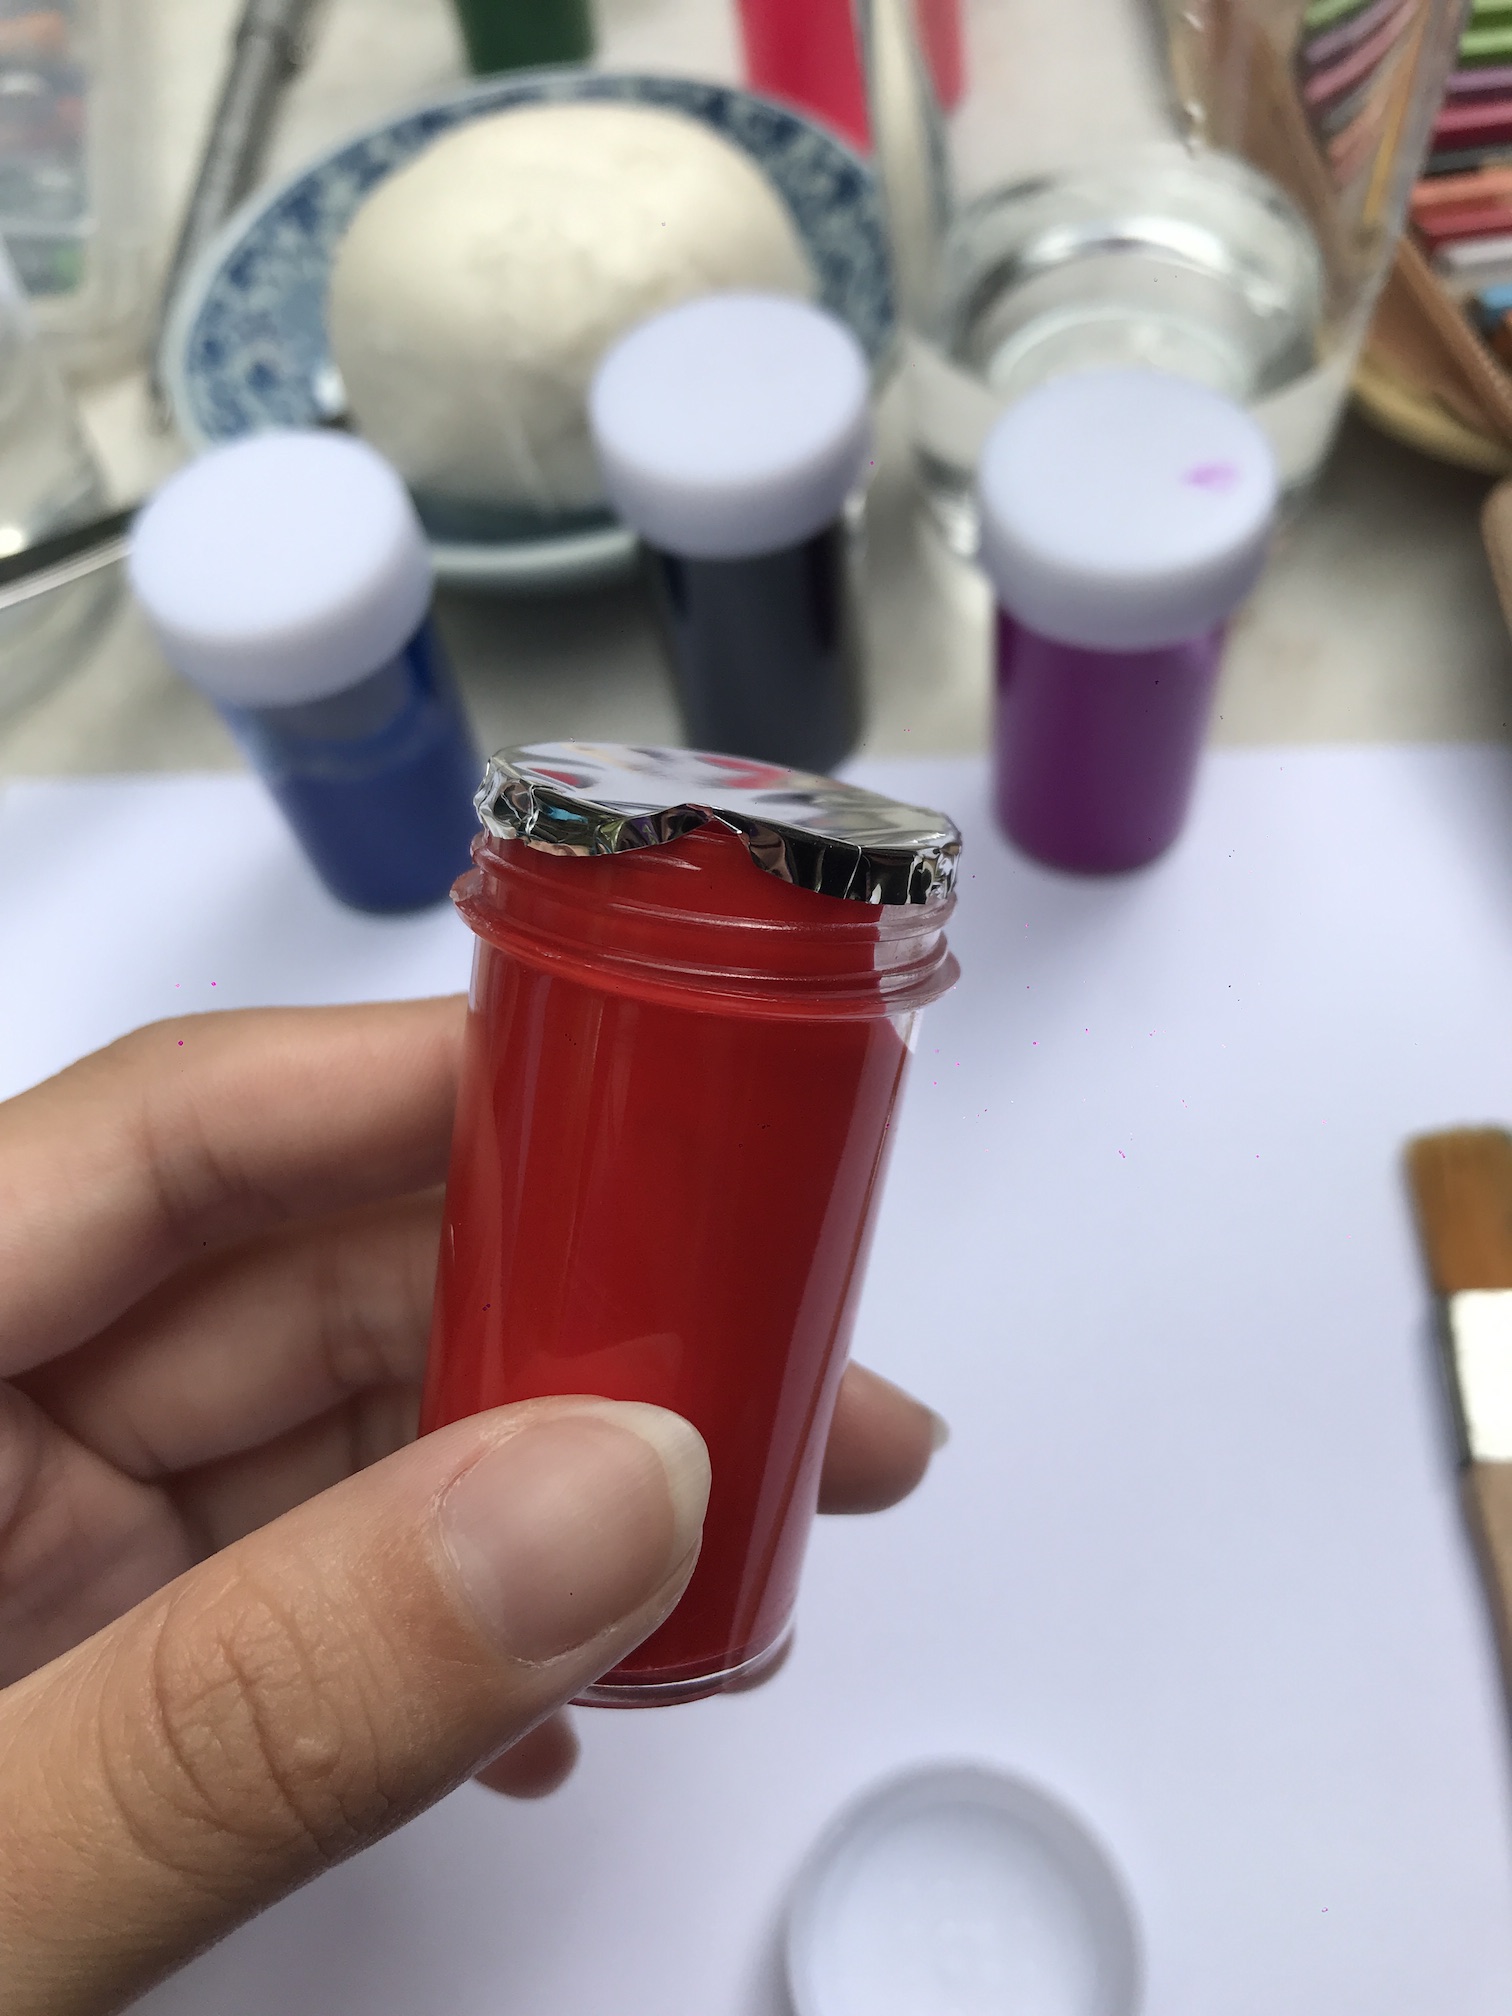
- Essential Oil in glass bottles
- Spray Containers
- Spoon to scoop mixture
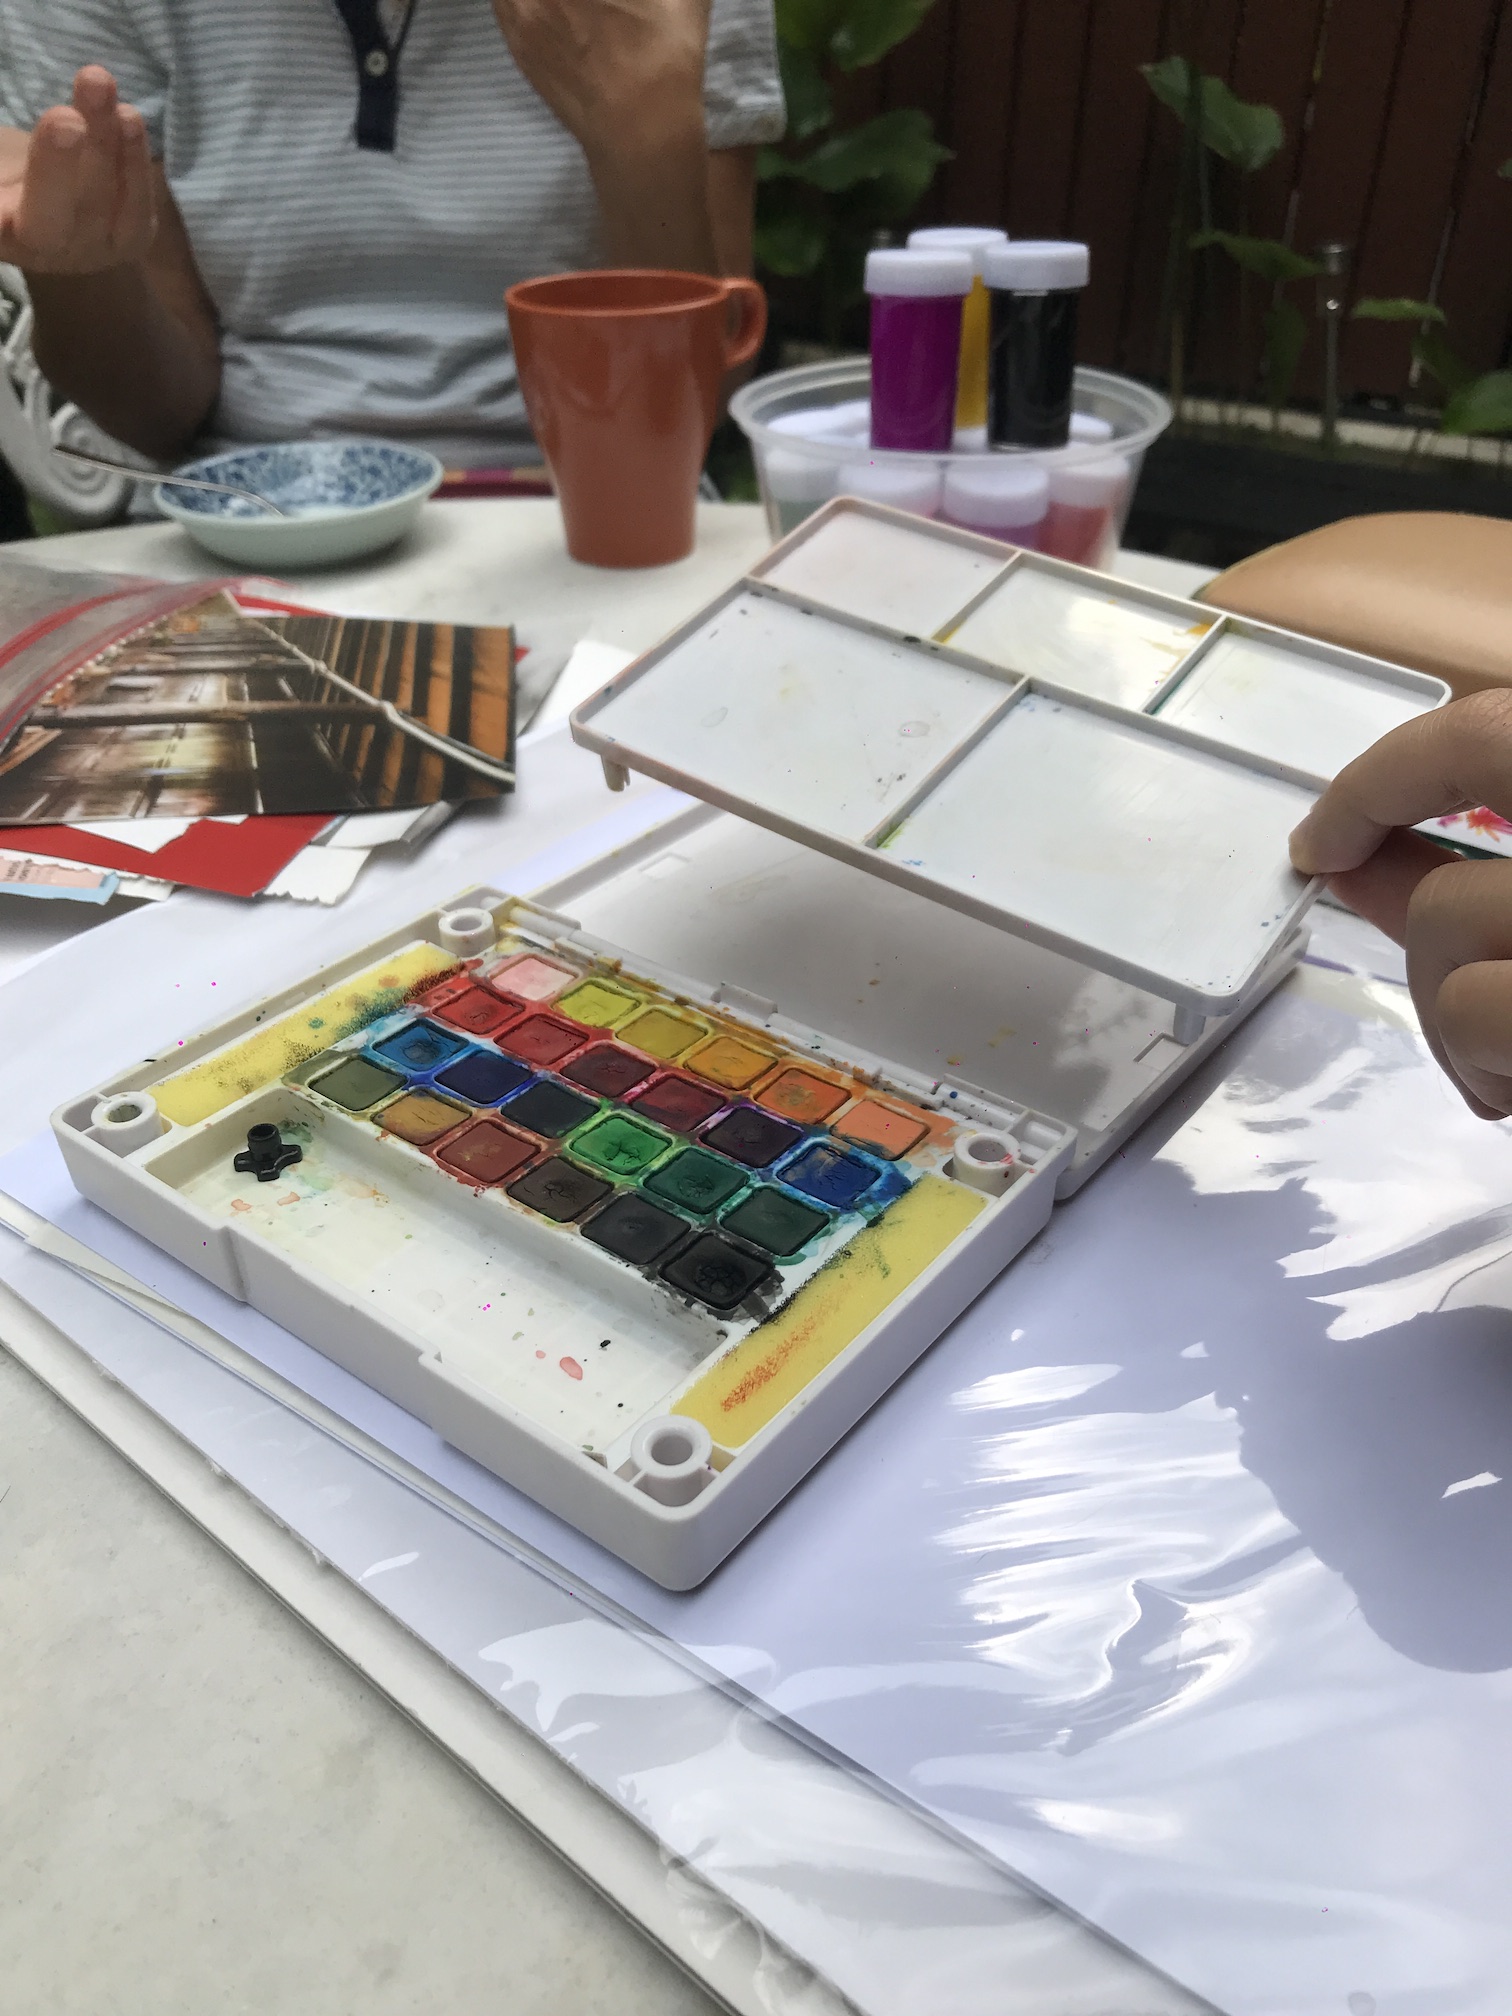
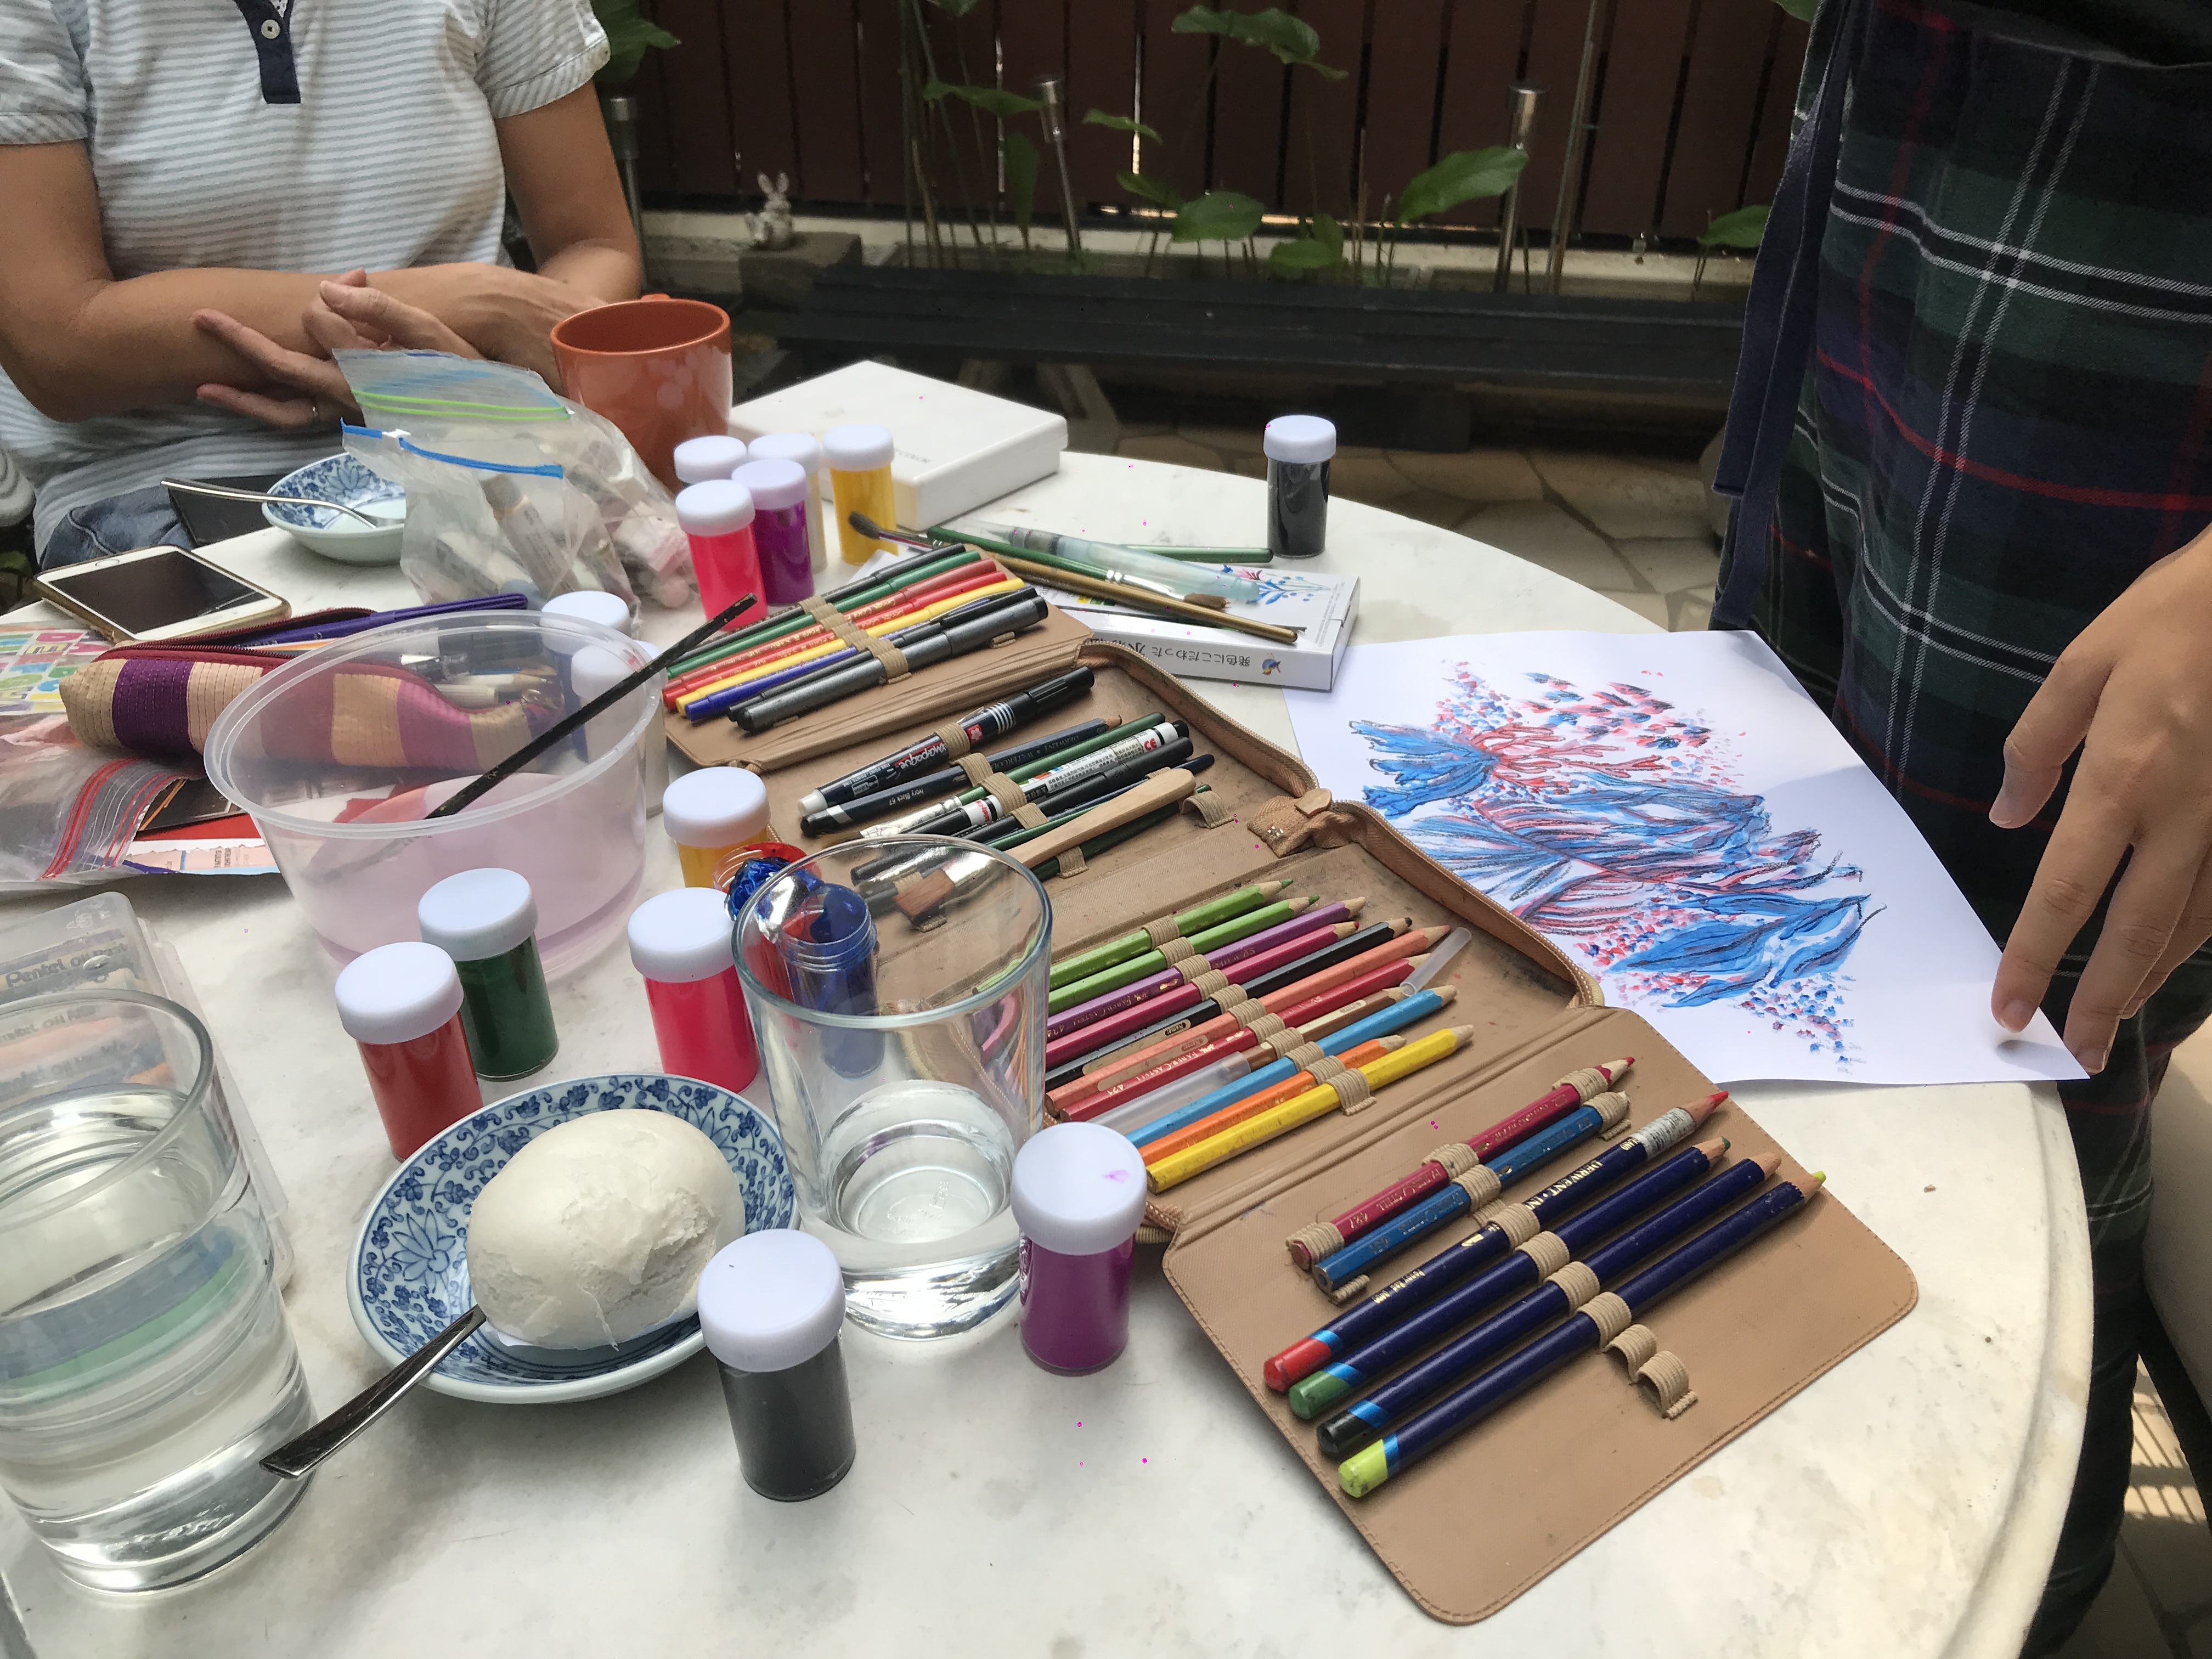
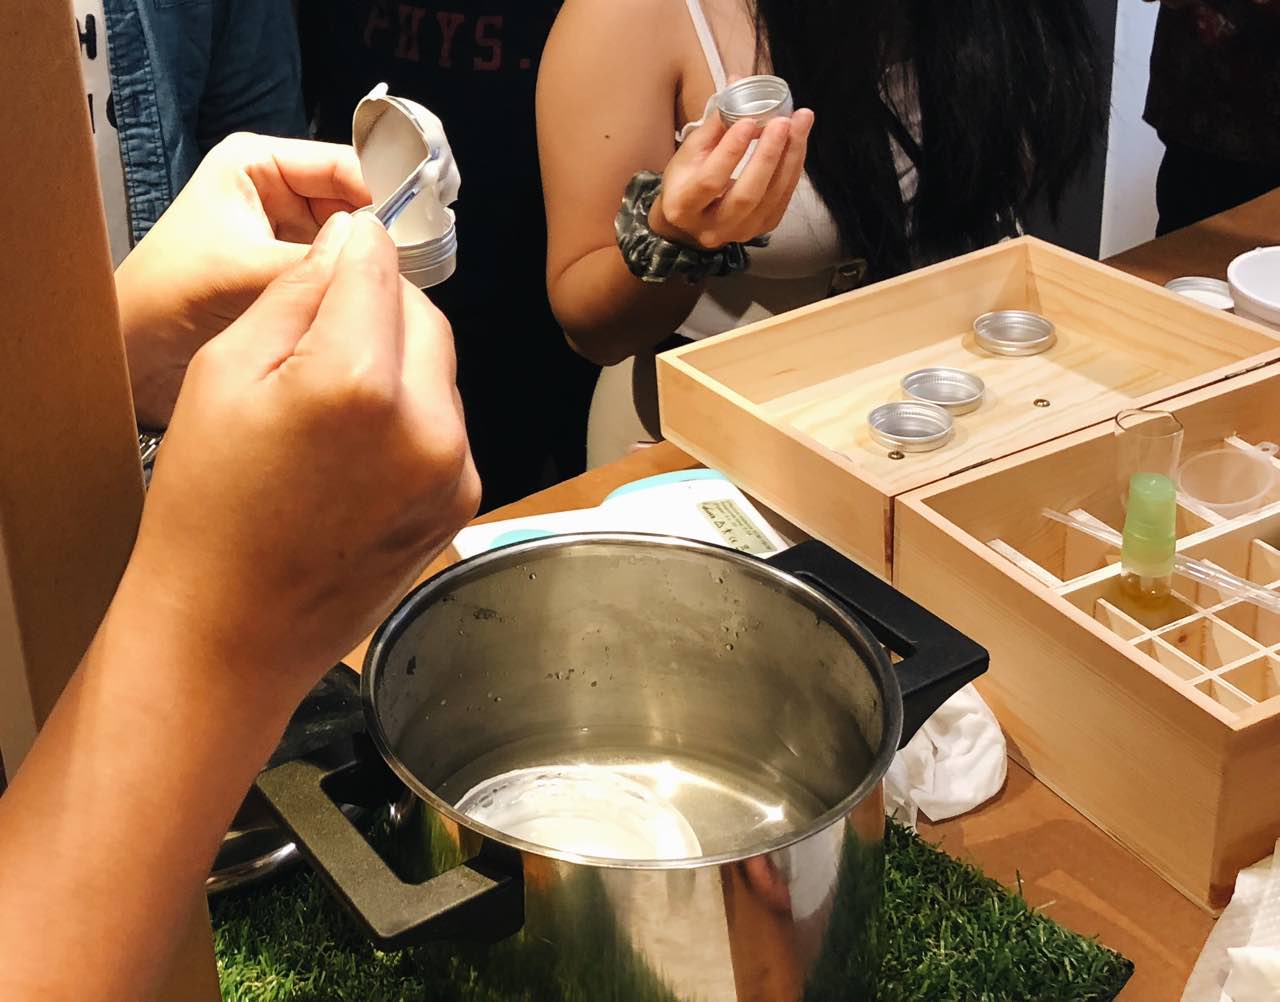
Process Documentation:
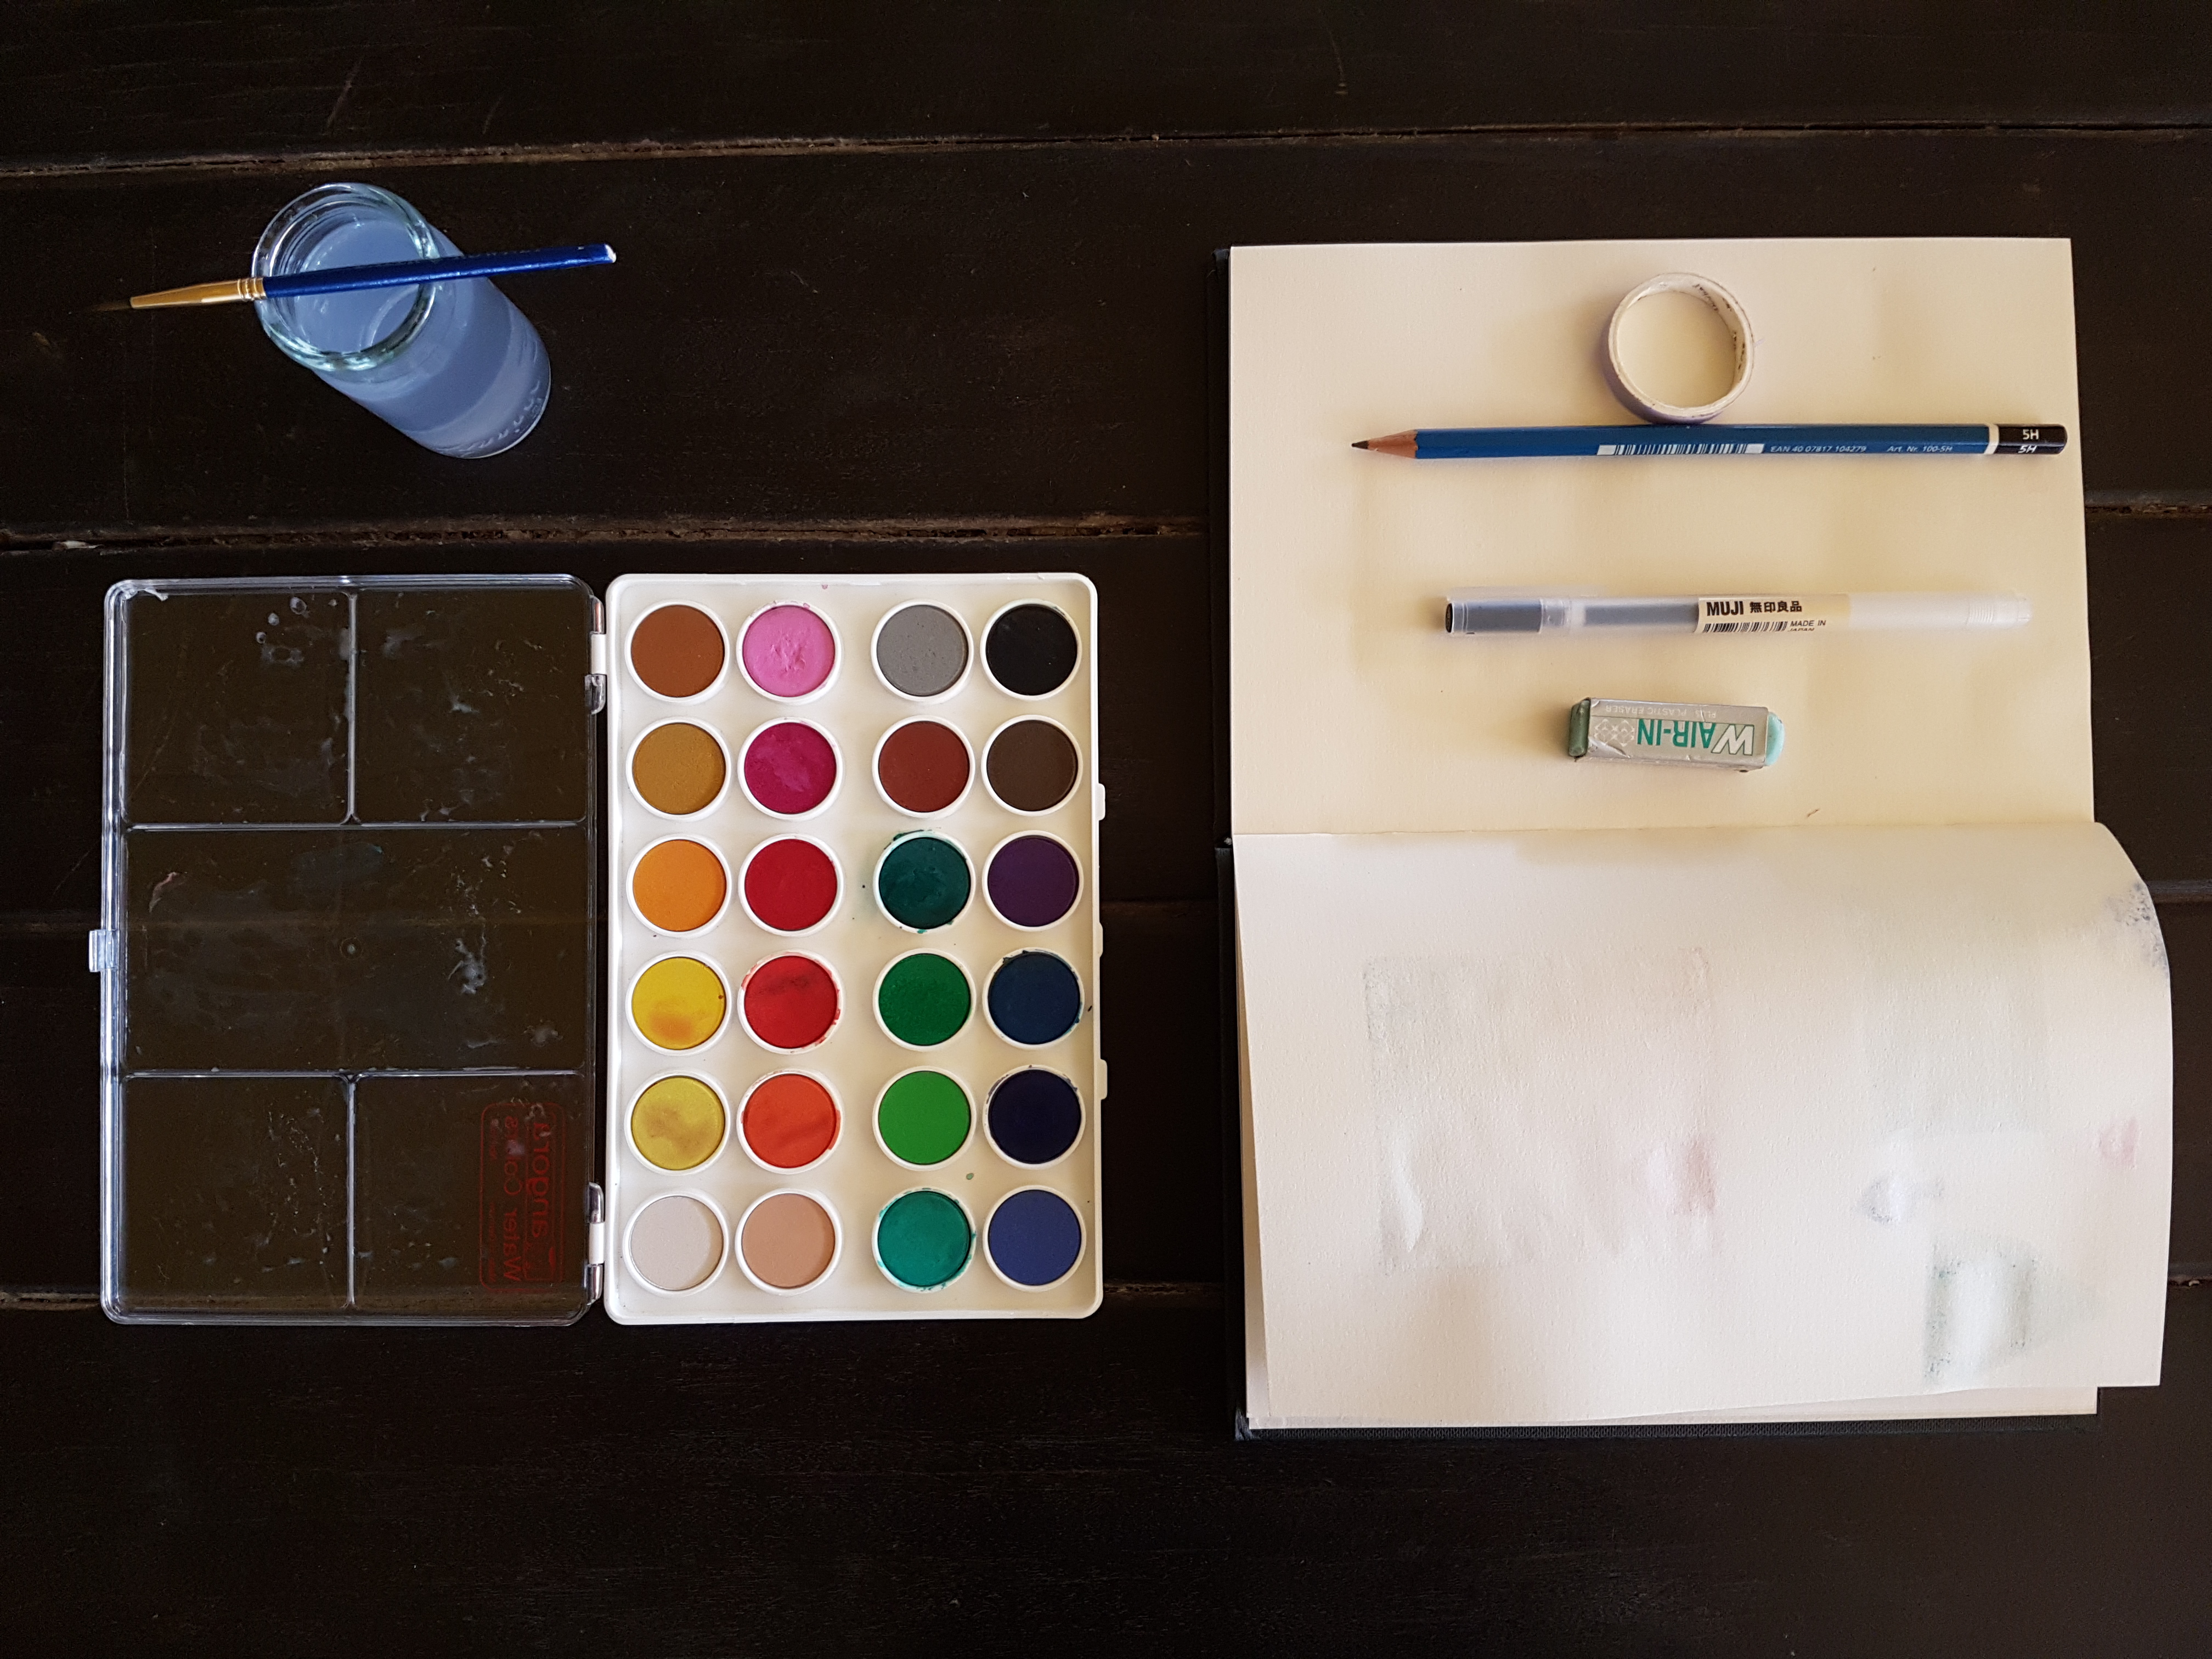
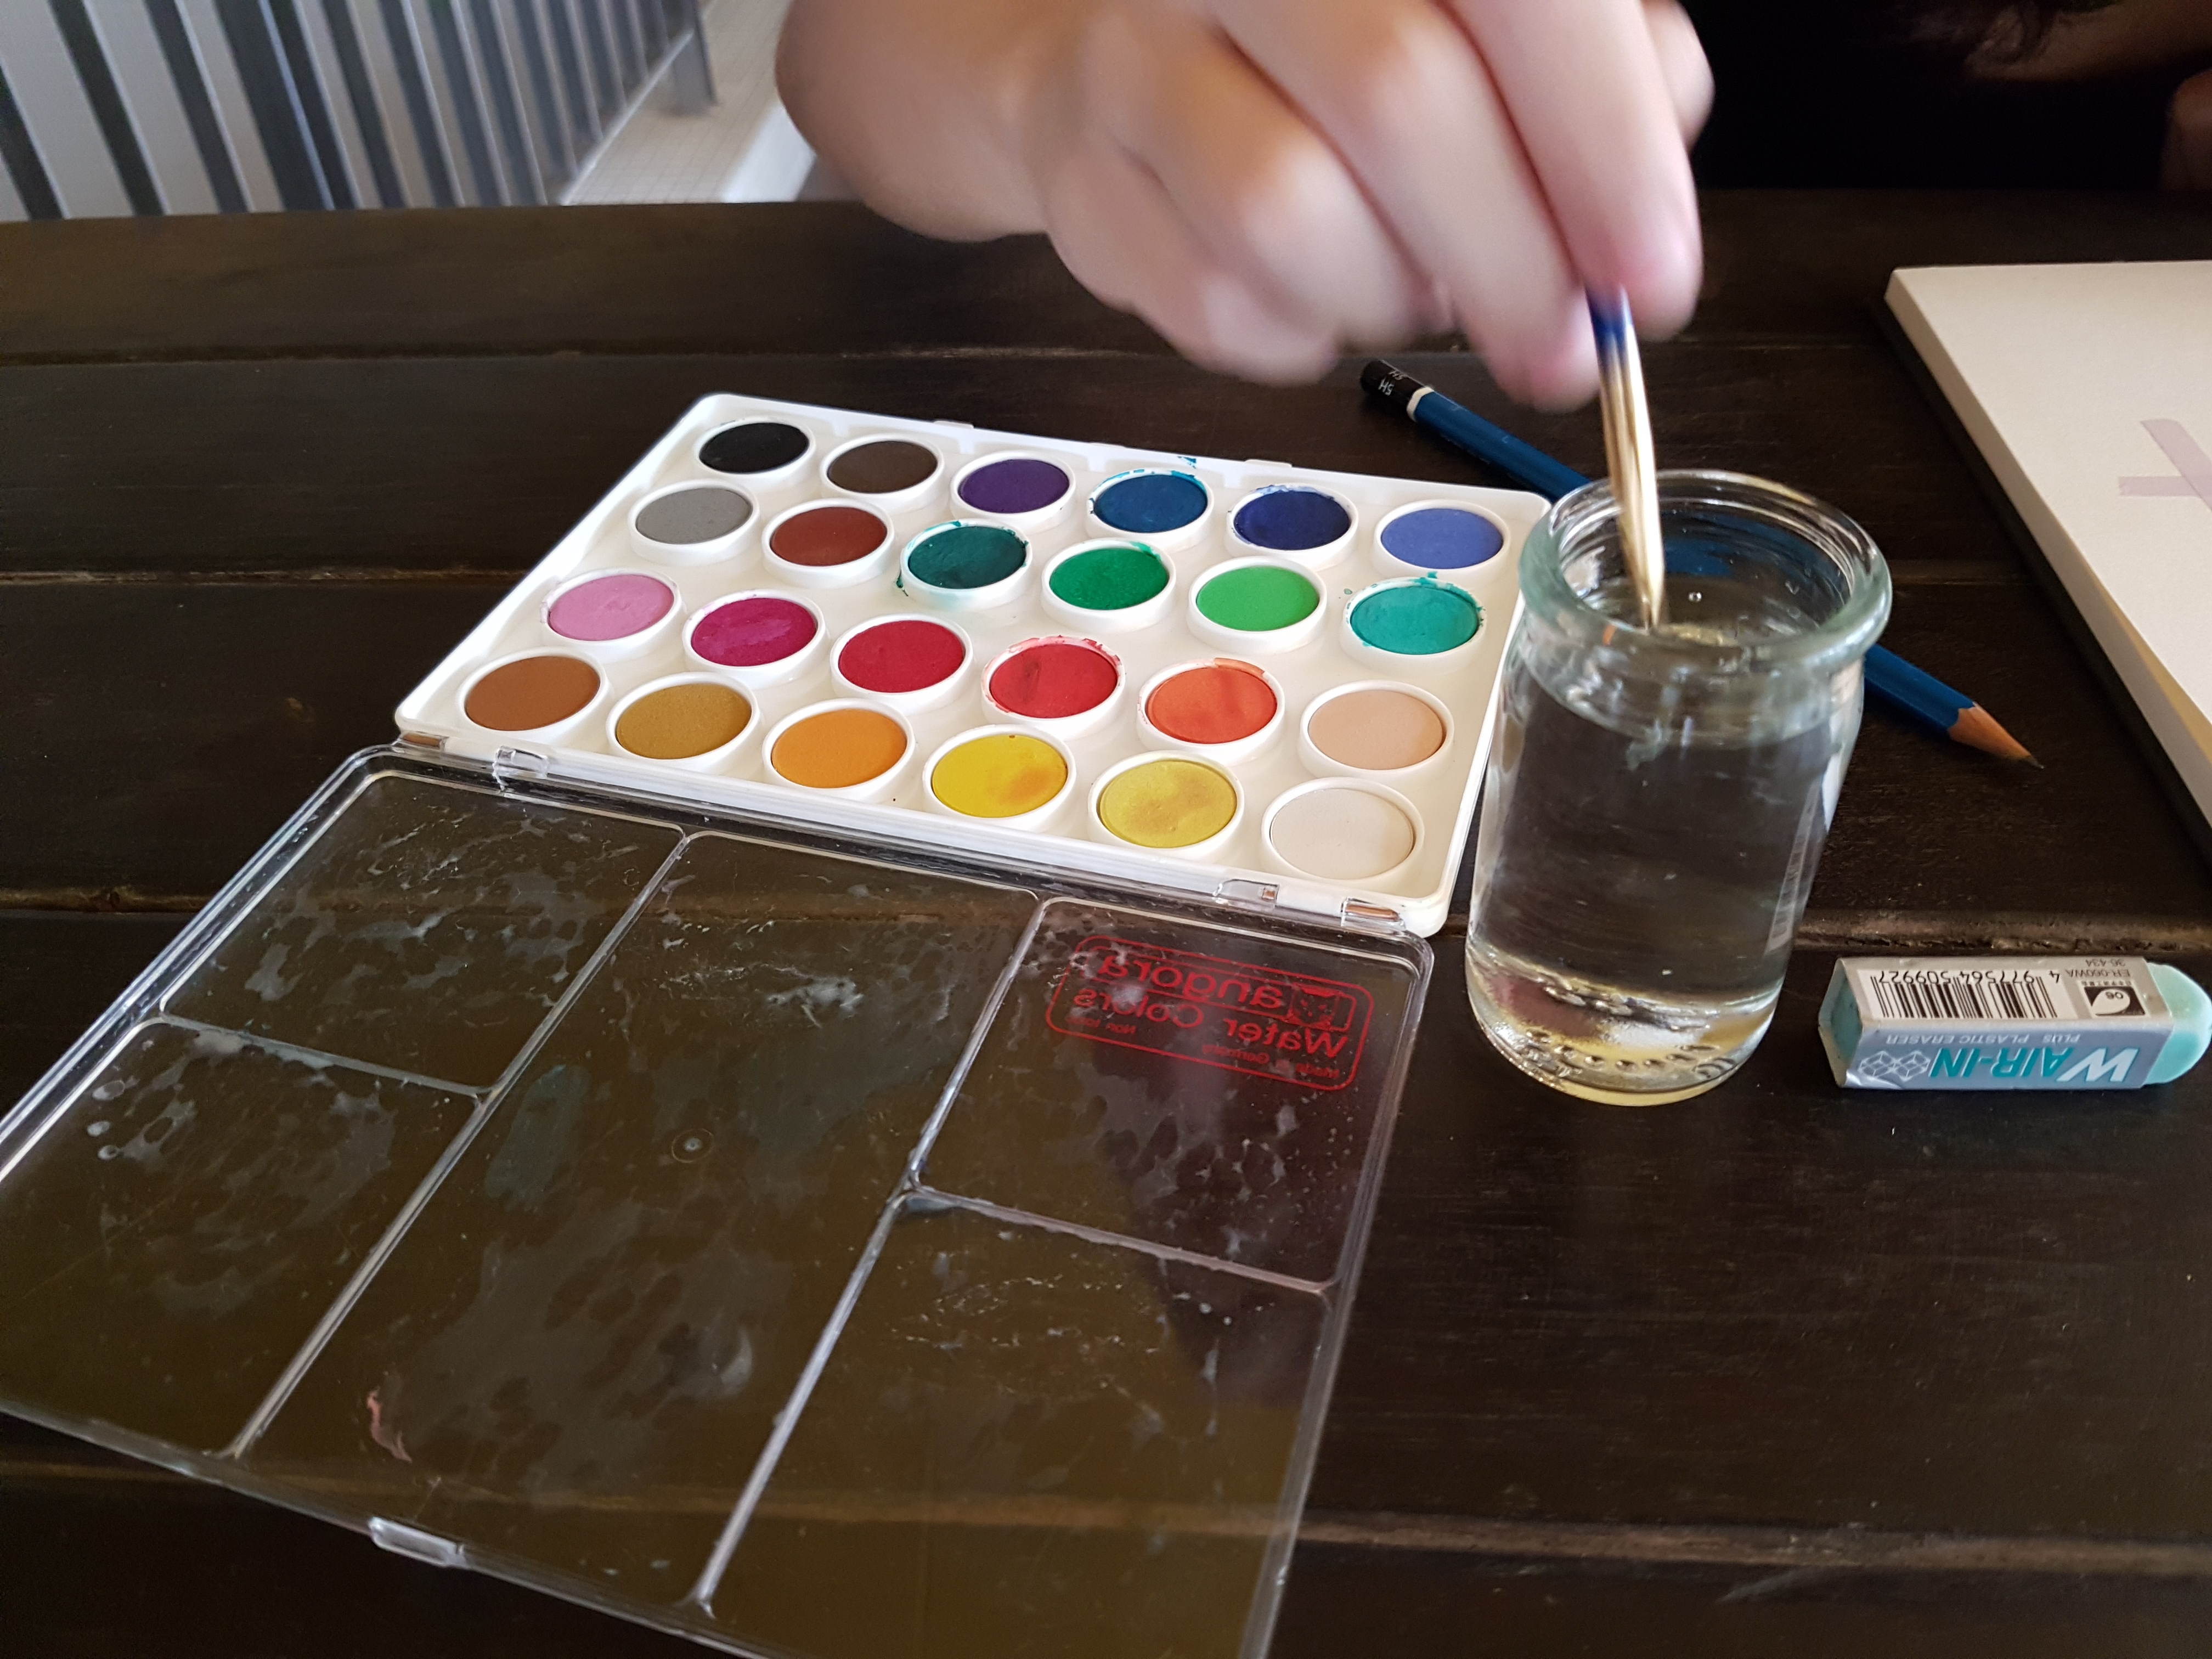
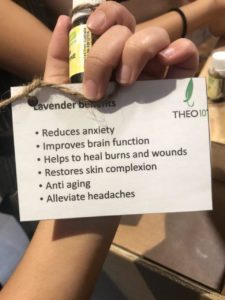
Moisturizer – We started off by learning how to make our very own customized moisturizer. The moisturizer base is a white cream, made up of Coconut oil, Jojoba, and Aloe Vera. Theodore heated up the mixture for us to melt the cream before having us add the essential oils
into the mixture, using the glass rod to mix it well. For me I chose a combination of lavender and rose scent, due to personal preference to their smell and its individual benefits.
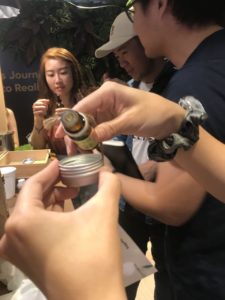
Insect Repellent – For the insect repellent, the process was a lot more complicated whereby more measuring tools such as the pipettes and water beaker were used. The base for the insect repellent was a concoction developed by Theo10 and we were supposed to add 2 ml of it through the pipette to 10ml of water before adding essential oils to mask the smell. The smell of that base was overpowering, smelling a lot like fish sauce so all of us had difficulties trying to mask the smell with the different essential oils.
Pain Points:
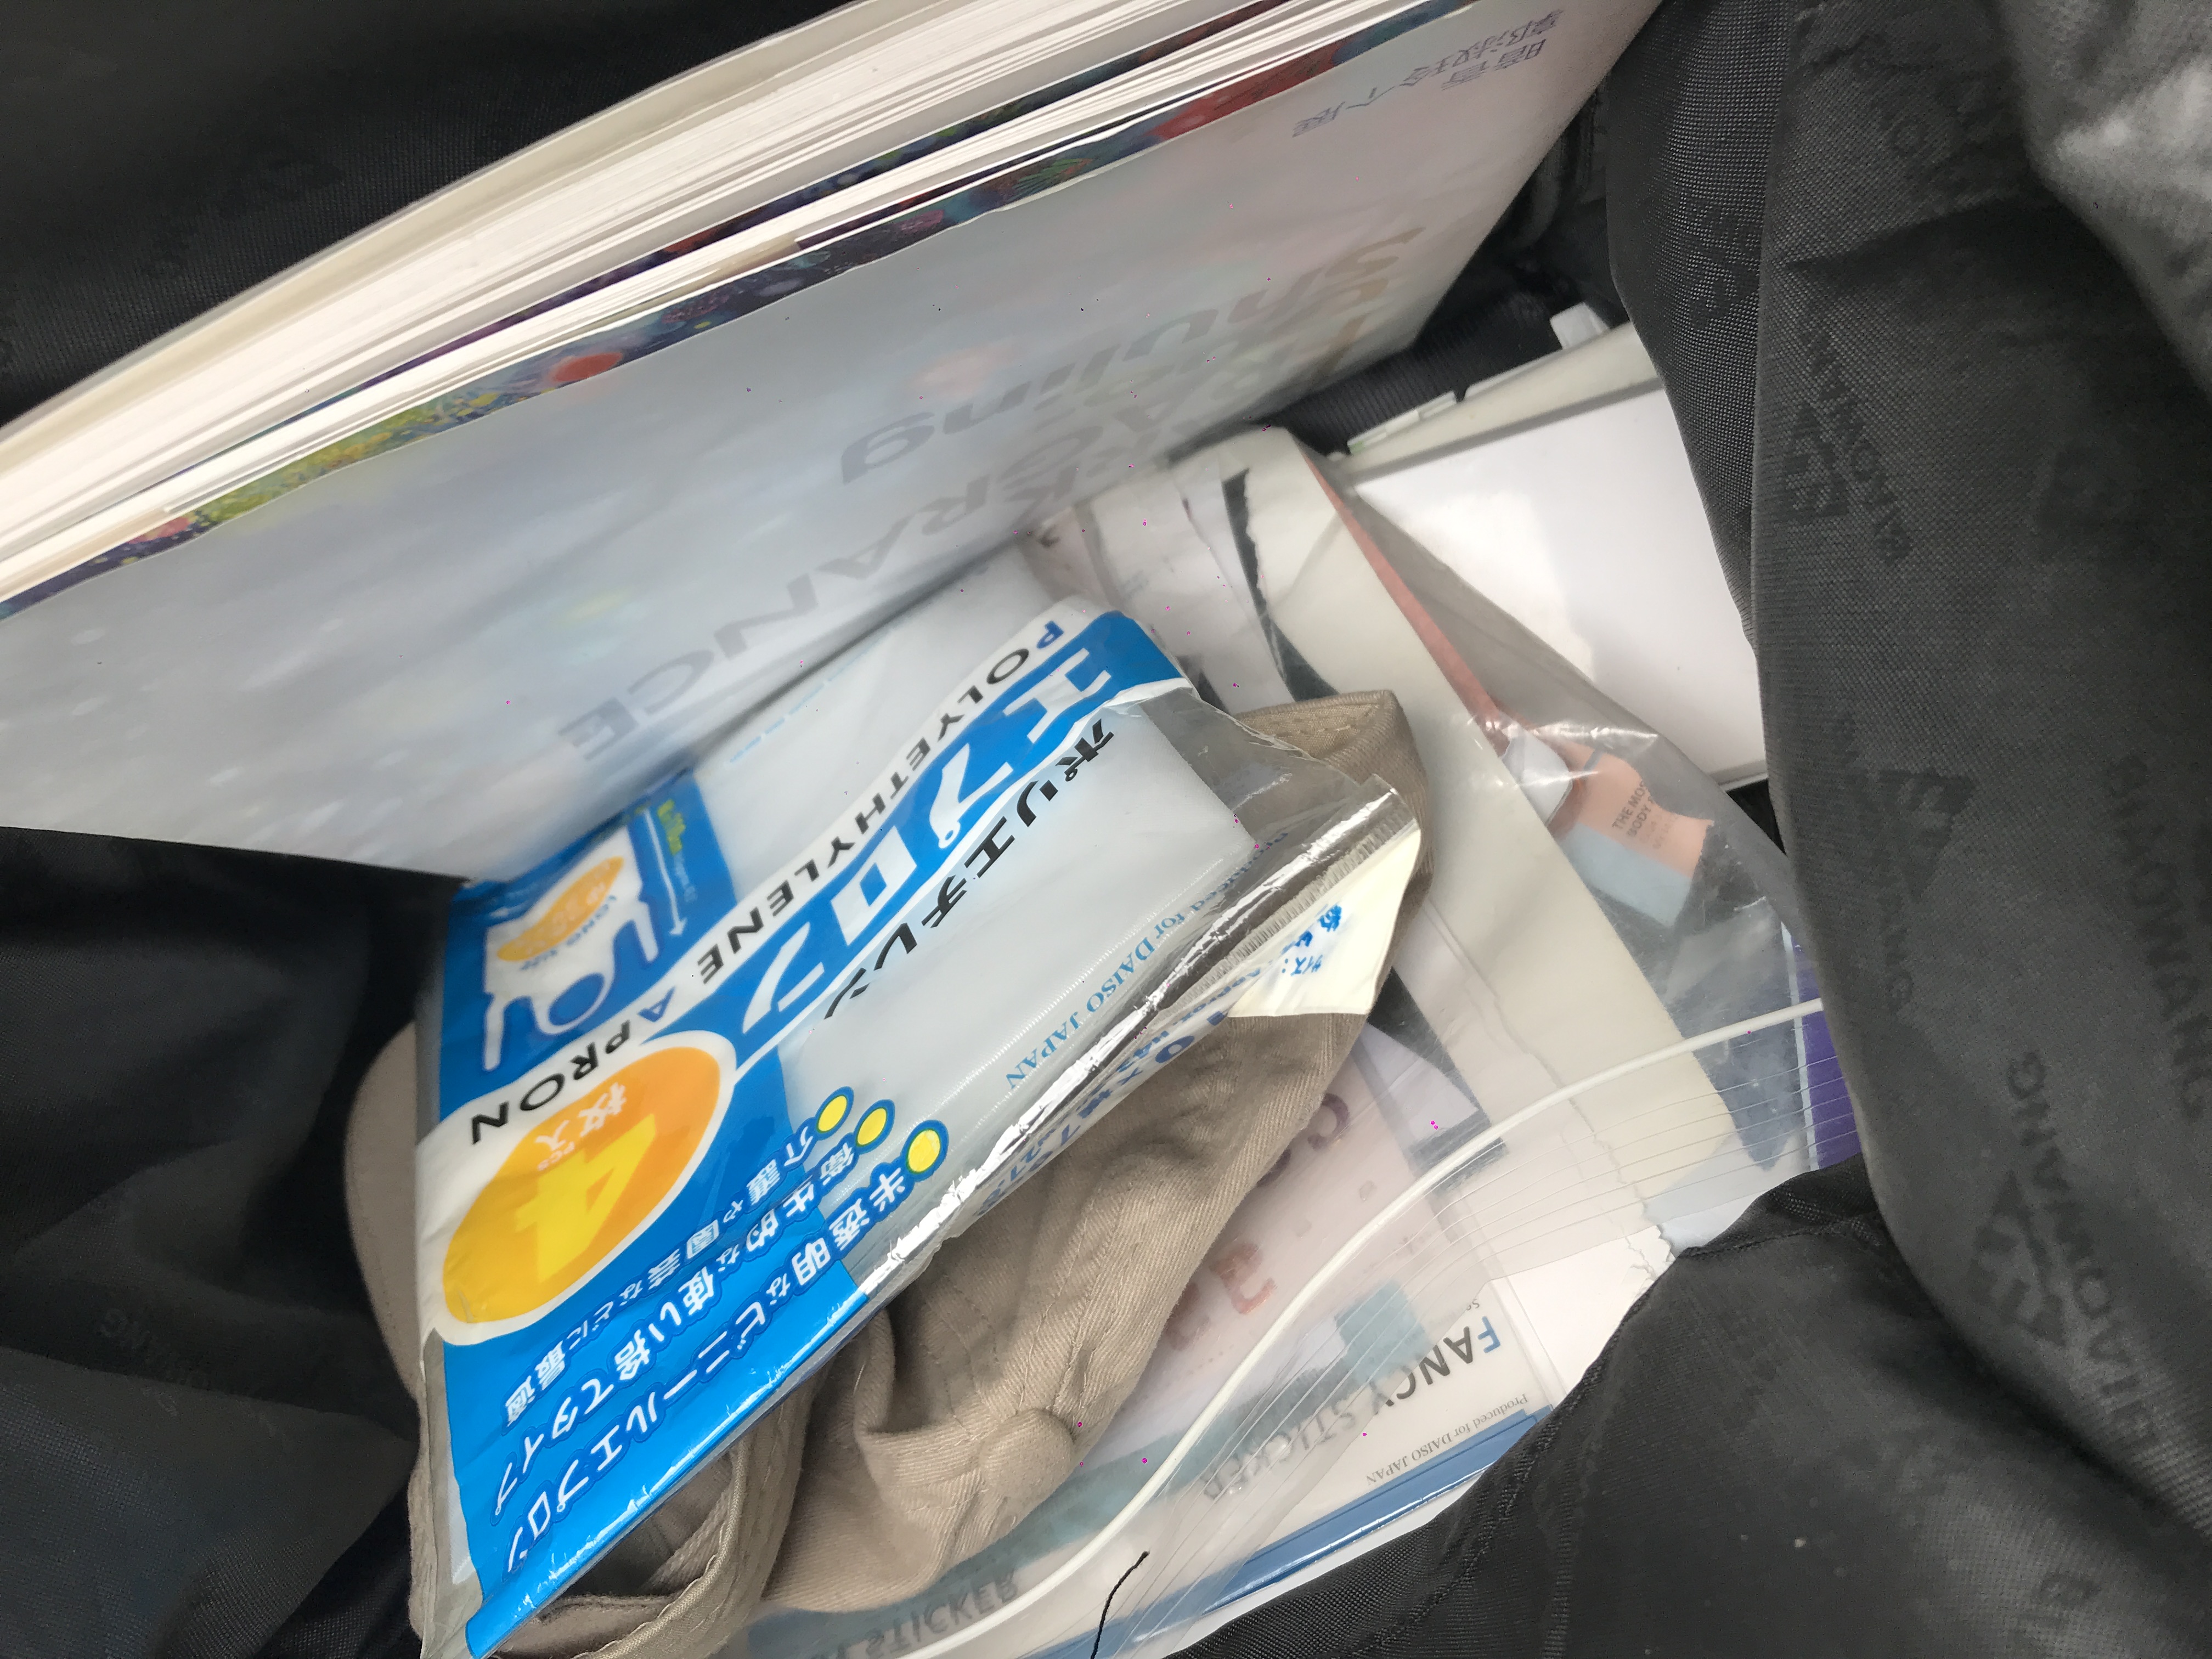
One pain point that Theodore mentioned was that this profession often requires a lot of trial and error in order to develop an actual working product. When he first started out, his insect repellent prototype actually ended up attracting more mosquitoes when he applied it. In general, it was also difficult to carry all the equipments outdoors as there are just too many tools required.
Personally I think as of now its not something that is mobile, but in the near future, it would definitely be beneficial if this profession could be mobile
as the products developed could serve so many different types of purposes such as relieving eczema and cuts, which is perfect for outfields and more!